Wondering how to hook up RV water tank systems without causing leaks or contamination? Many owners accidentally flood their rigs by confusing the city water inlet with the gravity fill port. Using the wrong connection can ruin seals or dry out your pump instantly.
This guide explains exactly how to connect to city water and fill your fresh tank correctly. You will learn essential safety steps, pressure regulation tips, and winterization tricks. Follow these instructions to ensure clean water and prevent costly damage on your next trip.
Connect to City Water Safely and Efficiently

Connecting to a campground spigot requires specific steps to protect your plumbing from high municipal pressure. Always start by flushing the source to remove sediment before attaching your equipment.
Install a Pressure Regulator First
Municipal water pressure often exceeds 80 PSI, which can burst your RV seals. You must install a water pressure regulator set to 50 PSI or less directly on the spigot. Never skip this step, as even brief exposure to high pressure risks catastrophic failure.
Use a Y-Connector and Inline Filter
Attach a Y-connector to the spigot to allow simultaneous use of your RV hose and a secondary cleaning hose. Install an inline water filter on the RV line to reduce chlorine taste and sediment. This setup prevents you from disconnecting your main hose during extended stays.
Flush and Sanitize the Spigot
Open the spigot for 30 to 60 seconds to clear stagnant water and debris from the lines. Apply a 1:10 bleach-water solution to the spigot threads and let it run for a minute to disinfect the connection point. This prevents bacteria from entering your potable water system.
Attach Hose to the City Water Inlet
Screw your potable water hose securely into the city water inlet on your RV service panel. Hand-tighten the connection firmly but avoid over-tightening, which strips plastic threads. Turn on an interior faucet briefly to purge air from the lines once water flows.
Release Pressure Before Disconnecting
Open an outdoor shower valve or low-point drain inside the RV to relieve system pressure before disconnecting. Unscrew the hose from the spigot end first to avoid damaging the RV inlet fitting. Coil your hose with both ends joined to keep the interior clean and dry.
Fill Fresh Water Tank Correctly for Boondocking

Use the gravity fill port when city water is unavailable or when you need to store water for off-grid adventures. This process relies on gravity rather than pump pressure.
Locate the Gravity Fill Port
Find the threaded fill port, often labeled “Fresh Water” or “Fill,” located separately from the city water inlet. Do not confuse these two, as inserting a hose into the city water inlet will not fill your tank. Unscrew the cap completely before inserting your hose.
Insert Hose and Start Gravity Flow
Insert a drinking-safe hose directly into the fill port and turn on your water source. No pressure regulator or pump is needed since this is an open gravity-fed system. Water will flow in while displacing air through a dedicated vent near the fill opening.
Watch for Overflow Signals
Monitor the air vent near the fill port closely for water spurting out, which signals a full tank. Do not rely solely on electronic sight gauges, as they are often inaccurate. Stop filling immediately when water backs up around the hose to prevent overflow damage.
Manage Water Weight Carefully
Water weighs 8.34 lbs per gallon, meaning a 50-gallon tank adds over 400 lbs to your vehicle. Only fill the amount you need to preserve fuel economy and reduce stress on your suspension. Overloading can cause frame stress and increased brake wear, especially in smaller trailers.
Secure the Fill Cap Tightly
Screw the fill cap back on tightly immediately after filling to prevent contamination. A loose cap allows dirt, insects, and road chemicals like salt to enter your fresh water supply. Never leave the cap off during travel, as sloshing water can spill into compartments.
Install Water Tank with Secure Mounting
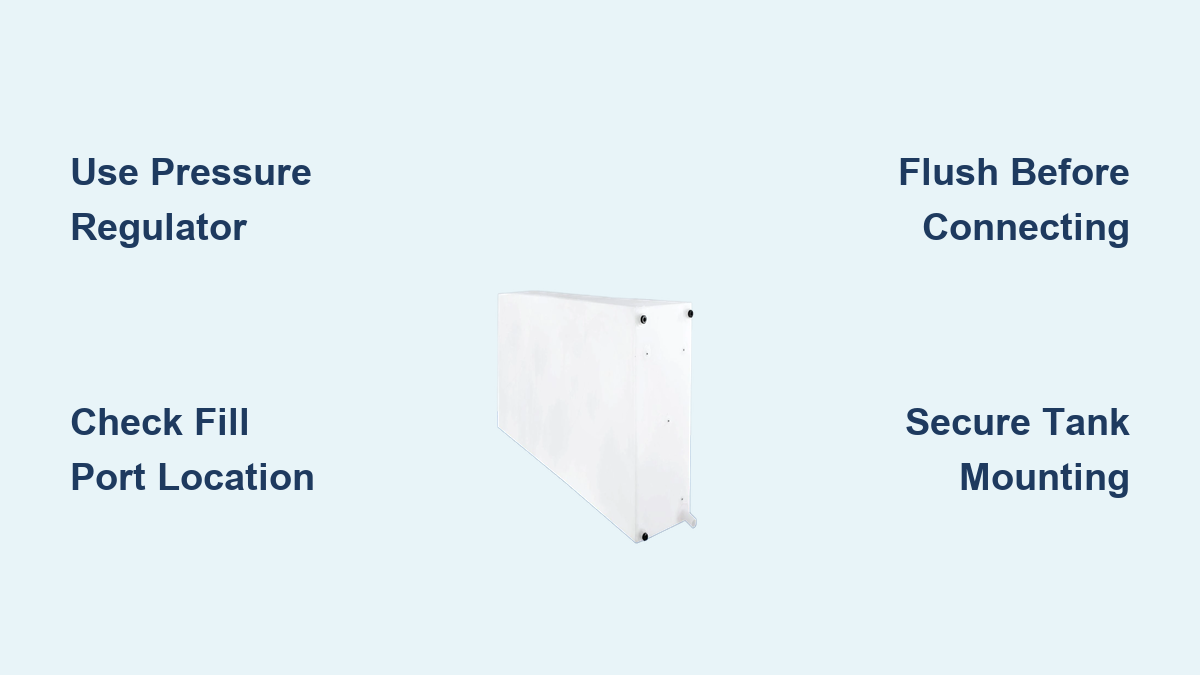
Custom builds or tank replacements require secure mounting to ensure safety and functionality during travel. Proper support prevents shifting and structural damage.
Choose Internal or External Mounting
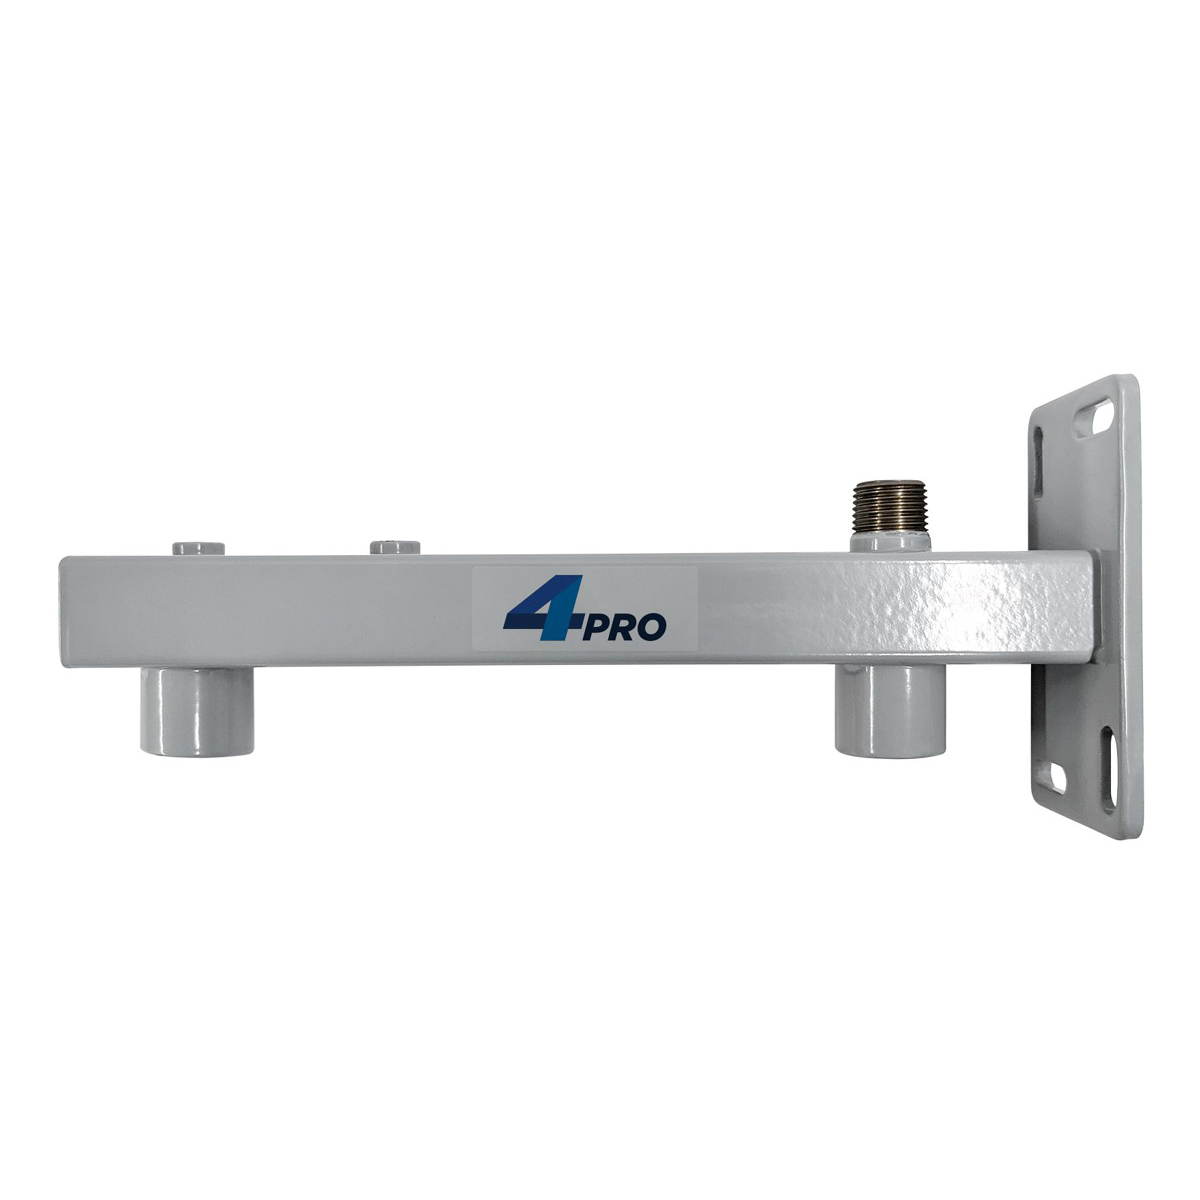
Internal mounting keeps tanks protected from freezing and impact, making it ideal for cold climates. External underfloor mounting saves interior space but requires frame-level support using 1/8-inch steel brackets. Always bolt external mounts directly to the chassis with grade 8 hardware.
Support Tank with Straps or Cage
Secure the tank using heavy-duty poly straps or a steel cage to prevent movement. Never rely on foam padding or loose brackets, as the tank must not shift during travel. For underfloor installs, use truck fuel tank mounts or Unistrut channels attached to frame rails.
Insulate and Protect from Cold
Wrap underfloor tanks in closed-cell foam or build an insulated box to retain heat. Add a 12V heating pad with a thermostat that activates below 38°F to prevent freezing. Pair this with a muffin fan to circulate warm air from the cabin into the tank enclosure.
Drill and Fit Tank Connections Properly

Proper fittings prevent leaks and ensure long-term reliability for your water system. Precision during installation is critical for maintaining seal integrity.
Mark and Drill Fitting Holes
Use a half-inch hole saw bit to drill holes in the top or side of the tank at marked locations. Position the fill port at the highest point and the drain valve at the lowest side point. Drill slowly to avoid cracking the polyethylene and remove plastic burrs with a utility knife.
Install Threaded Fittings with O-Rings
Use half-inch NPT threaded fittings with rubber O-rings, as they handle up to 120 PSI better than push-fit options. Insert the fitting, hand-start the threads, and tighten with pliers without over-tightening. Soften the plastic slightly with a heat gun if the fit is too tight.
Seal Floor Penetrations Effectively
Seal any hoses routed through the floor with silicone caulk to prevent water intrusion. Let the sealant cure overnight before testing the system to ensure a watertight bond. Use a clear sight tube from the tank bottom to the top for accurate visual level checks.
Test, Sanitize, and Maintain Your System
New or winterized tanks must be sanitized before first use to ensure safe drinking water. Regular maintenance prevents biofilm buildup and unpleasant tastes.
Perform Leak Test Under Pressure
Fill the tank and pressurize the system with the water pump to check for leaks. Inspect all fittings, hoses, and floor seals, paying close attention to pump connections and drain valves. Fix any drips immediately before hitting the road to prevent water damage.
Sanitize with Bleach or DiChlor
Mix one-quarter cup of household bleach per 15 gallons of tank capacity and pour it into the fill port. Fill the tank, run the solution through all faucets until you smell bleach, and let it sit for 2 to 3 hours. Drain completely and refill with clean water, flushing again until no odor remains.
Replace Gaskets and Clean Regularly
Carry spare O-rings and replace them every 2 to 3 years as gaskets degrade over time. Clean the tank every 3 to 6 months to prevent biofilm formation and maintain water quality. Avoid storing water for weeks at a time to ensure better taste and safety.
Prevent Freezing and Winterize Effectively
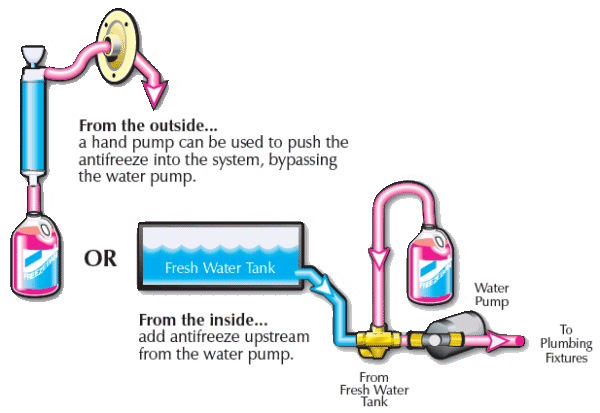
Cold weather demands proactive protection to prevent cracked pipes and damaged tanks. Follow these steps to winterize your system safely.
Use Antifreeze Safely
Never use automotive antifreeze containing ethylene glycol, as it is toxic. Only use propylene glycol-based RV antifreeze pre-diluted to approximately 35 percent concentration. Connect a 3-way winterizing valve to draw antifreeze from a jug and run the pump until pink fluid appears at every faucet.
Bypass Hot Water Heater
Engage the hot water heater bypass valves to prevent filling the tank with antifreeze. This saves fluid and avoids contamination of your water heater. Reconnect the valves before refilling the system with fresh water in the spring.
Drain All Low Points
Open low-point drains under sinks and near the water heater to remove all standing water. Leave faucets open during storage to allow expansion if any moisture remains inside the lines. This prevents freeze damage to pipes and fixtures during cold snaps.
Critical Safety Rules for RV Water Systems
Adhering to strict safety guidelines protects your health and your vehicle investment. Ignoring these rules can lead to system failure or health hazards.
Never Exceed 50 PSI Pressure
Even brief exposure to high pressure can crack fittings or blow out hoses within your RV. Always use a pressure regulator on city water connections and test your regulator annually with a pressure gauge. Consistent low pressure extends the life of your entire plumbing network.
Avoid Contamination Risks
Never use a non-potable hose, as standard garden hoses leach chemicals into your water. Only use drinking-water-rated hoses with NSF certification for all RV water connections. Sanitize spigots before connecting to ensure the source water is safe for consumption.
Secure External Tanks to Frame
Tanks over 70 gallons weigh nearly 600 lbs and become dangerous projectiles in a crash if poorly mounted. Mount large external tanks with frame-level steel brackets and grade 8 bolts, similar to fuel tank standards. Proper engineering ensures safety during collisions and rough road travel.
Don’t Drink From Tank Long-Term
Many users avoid drinking directly from the fresh water tank due to taste or bacterial concerns over time. Instead, use 2.5-gallon bottled water jugs for drinking and cooking needs. Reserve the tank water for showers, sinks, and flushing to maintain better hygiene.
Frequently Asked Questions About RV Water Hookups
Can I use a regular garden hose to fill my RV water tank?
No, you must use a hose explicitly rated for potable water. Standard garden hoses contain materials that leach chemicals and cause contamination in your fresh water system. Look for NSF certification on the hose label to ensure safety.
What happens if I connect my hose to the wrong inlet?
Connecting to the city water inlet instead of the gravity fill port will not fill your tank and may cause flooding. The city inlet bypasses the tank entirely, potentially overflowing the system if the backflow valve fails. Always verify you are using the correct port labeled for tank filling.
How often should I sanitize my RV fresh water tank?
You should sanitize your tank every 3 to 6 months to prevent biofilm and bacterial growth. Additionally, perform this process after winterization or if the water develops an odd taste or smell. Regular cleaning ensures safe and pleasant-tasting water for your trips.
Do I need a pressure regulator for filling the fresh water tank?
No, a pressure regulator is not needed when using the gravity fill port. Regulators are only required when connecting to city water to protect the plumbing from high municipal pressure. The gravity fill system is open and relies on natural flow rather than forced pressure.
How much weight does a full water tank add to my RV?
Water weighs approximately 8.34 lbs per gallon, so a 50-gallon tank adds over 400 lbs. A 100-gallon tank exceeds 800 lbs, which significantly impacts fuel economy and suspension life. Only fill the amount of water you actually need for your specific trip duration.
Key Takeaways for Hooking Up Your RV Water Tank
Mastering how to hook up RV water tank systems ensures safe travels and reliable water access. Always distinguish between the city water inlet and the gravity fill port to prevent flooding. Use a pressure regulator for city connections and secure your tank properly to handle road vibrations.
Regular sanitization and winterization protect your health and prevent costly freeze damage. By following these steps, you maintain a clean water supply and extend the life of your RV plumbing. Start your next trip with confidence by applying these essential water management practices today.