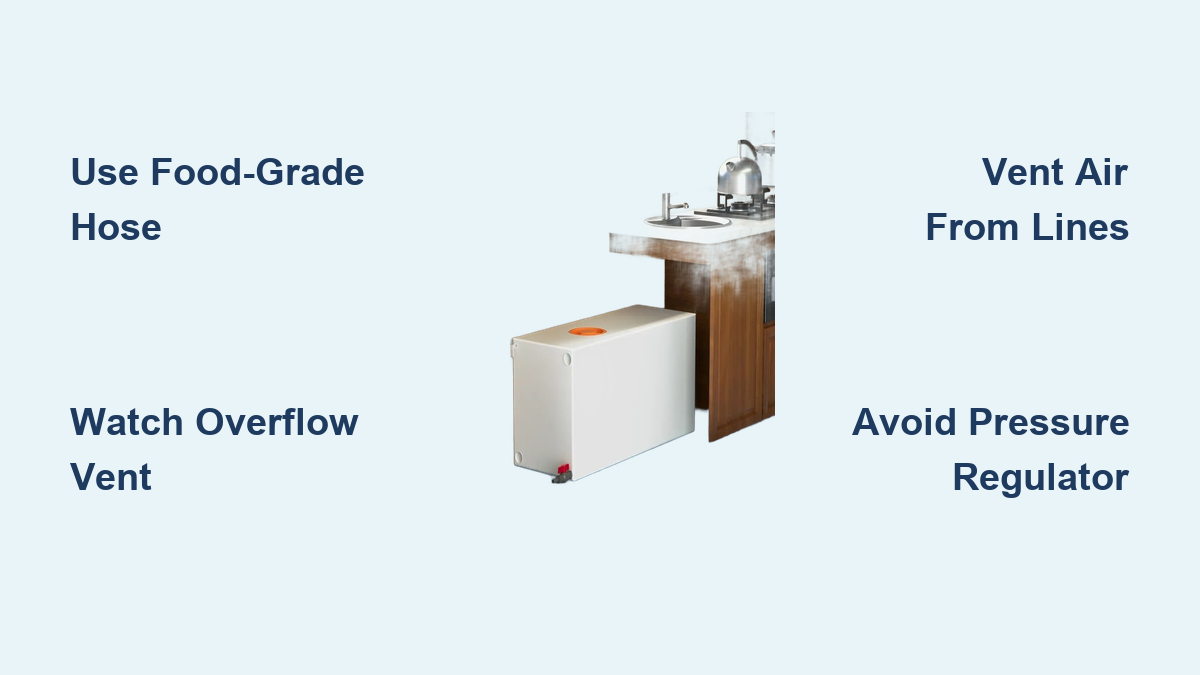
Running out of water on the road ends adventures quickly, so knowing how to fill a motorhome water tank properly keeps your supply safe and your trip on track. Using the wrong hose or overfilling can lead to contamination, inaccurate readings, or water loss while driving.
This guide walks you through selecting food-grade equipment, venting air from lines, and avoiding common overflow mistakes. You will learn to use portable bladders for off-grid fills and verify water levels when digital gauges fail.
Choose the Right Filling Equipment for Safe Water
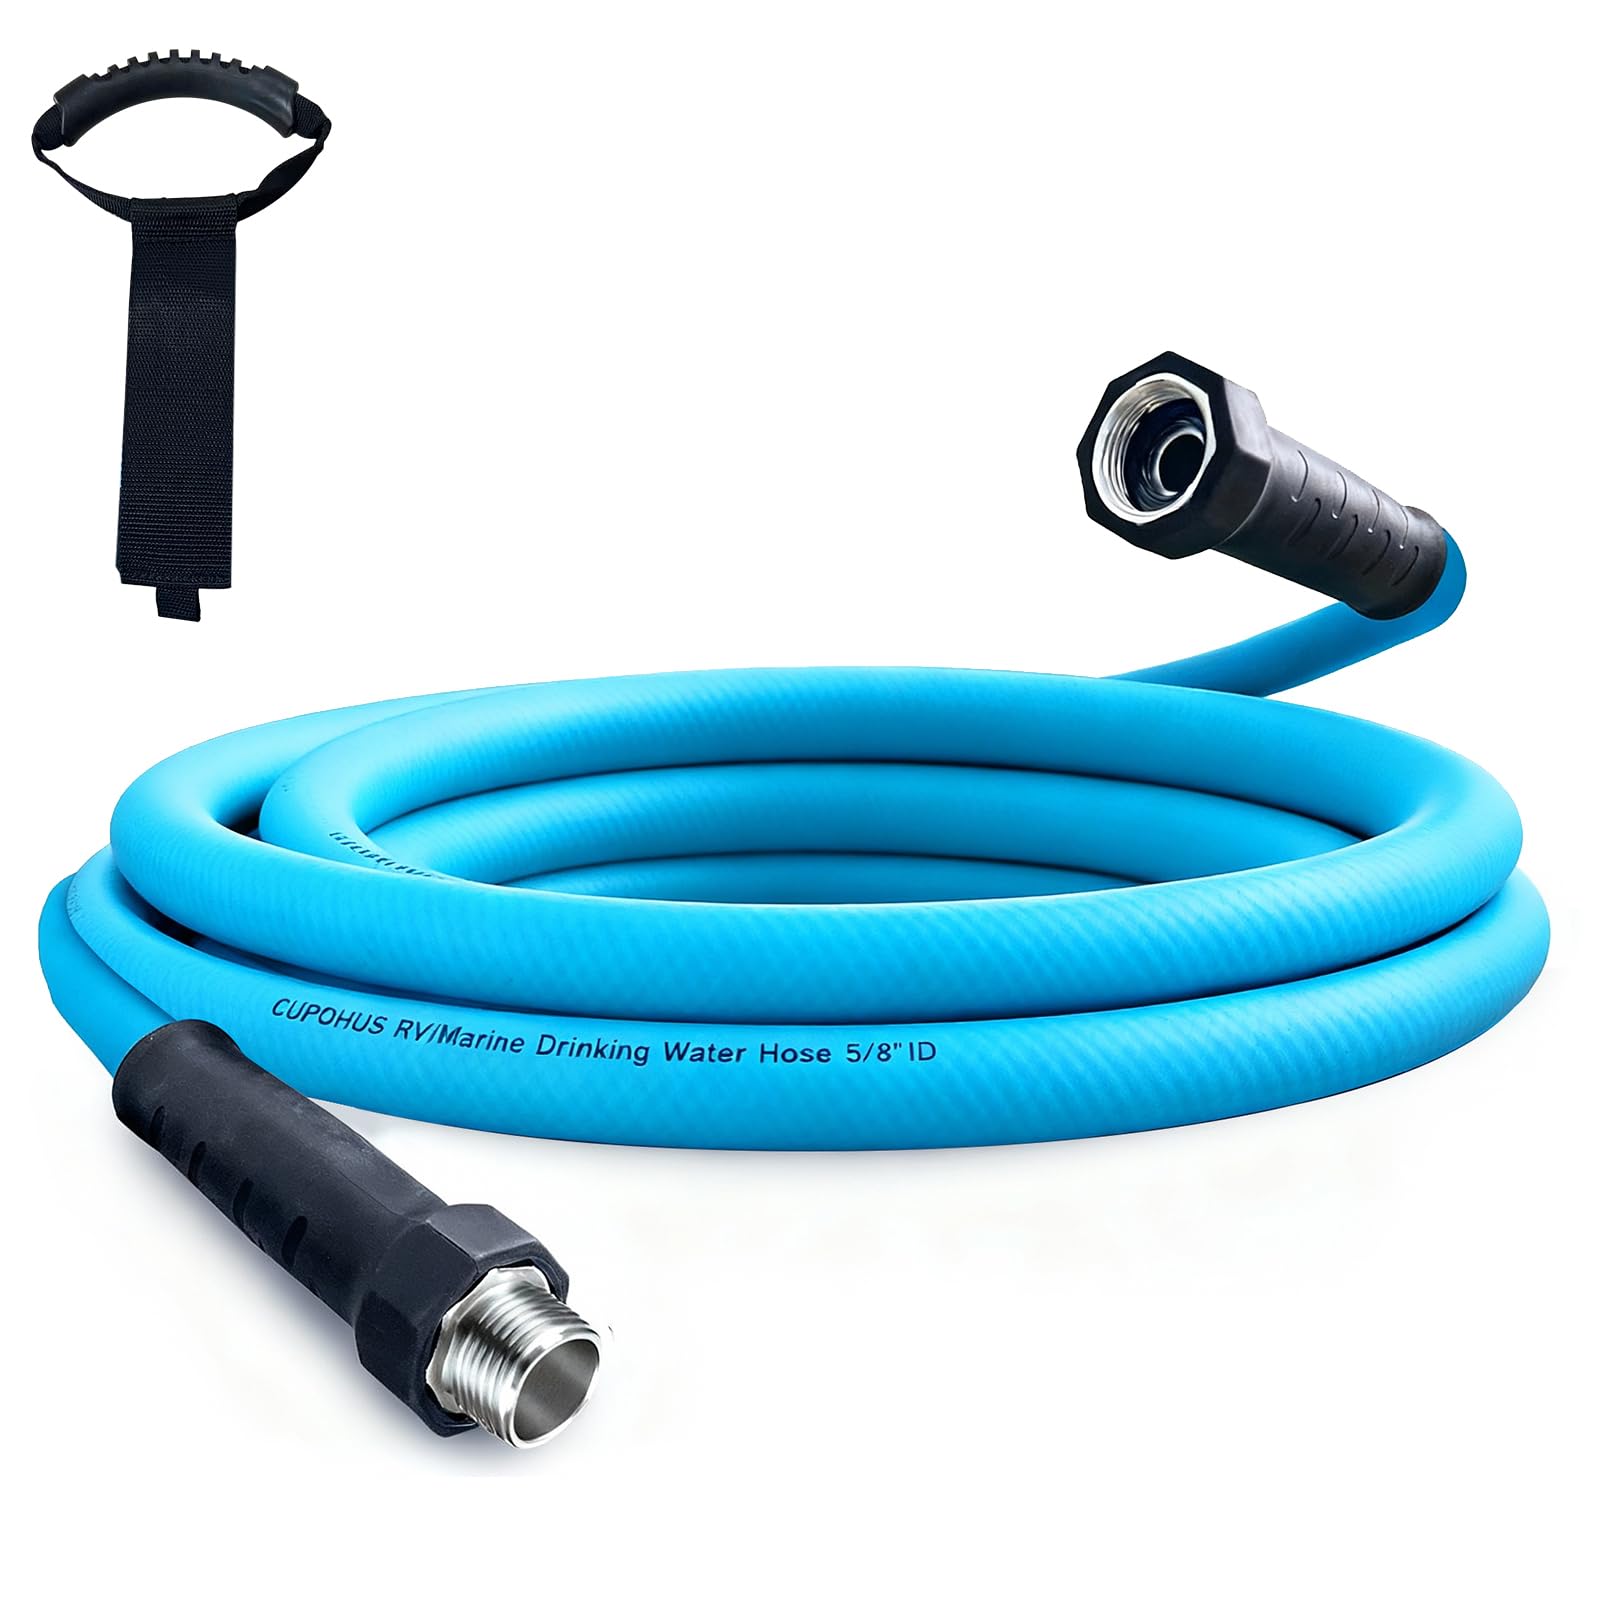
Using proper tools ensures clean water and prevents damage to your motorhome plumbing system. The wrong hose or fittings can introduce toxins or cause leaks during the filling process.
Use Only Food-Grade Hoses
Never use a standard garden hose for your drinking water. These often contain materials that leach lead and chemicals into your supply. Instead, use a drinking water-safe hose labeled NSF-61 or FDA-compliant. These resist mold and kinking while keeping your water pure.
Install an Inline Water Filter
Even clean-looking sources may contain sediment or bacteria. Attach a filter to your hose before connecting to the motorhome to remove debris. Replace this filter regularly, especially after filling from rural spigots or public parks.
Skip the Pressure Regulator
A pressure regulator is essential for city hookups but should not be used when filling your tank. Regulators maintain high pressure that can force water into the overflow tube prematurely. Use low-pressure flow from a standard spigot to prevent stress on tank seams.
Locate the Freshwater Fill Port Correctly
Finding the correct inlet prevents accidental connections to waste tanks and ensures safe water intake for your travels.
Identify the Blue Drinking Water Cap
The freshwater fill is typically marked with a blue cap labeled “Drinking Water.” It is located on the side or rear of the motorhome near other utility connections. Unlike waste tank valves, this port has a built-in adapter that accepts a standard hose.
Avoid Confusing It With City Water Inlet
Many motorhomes have two water connections that look similar. The freshwater fill is for filling the onboard tank, while the city water inlet is for direct pressurized supply. Connecting a hose to the city water inlet does not fill the tank, so always double-check labels.
Fill Tank Using the Spigot Method
This standard method works at RV parks, campgrounds, and public water sources with accessible spigots.
Connect Hose to Freshwater Inlet
Screw the food-grade hose securely into the blue fill port. Hand-tighten only because overtightening can strip plastic threads. A snug fit prevents leaks during the filling process.
Start Filling Slowly
Turn on the spigot gradually to avoid trapping air in the lines. A sudden rush of water causes splashing and inaccurate tank readings. Let water flow at a moderate pace to allow air to escape naturally through the vent.
Vent Air After 10–15 Gallons
After the first 10–15 gallons enter the tank, turn on the water pump and open a hot water faucet inside. Let it run until water flows steadily without sputtering to remove air from the heater. Once done, shut off the pump and close the faucet.
Watch for Overflow Indication
As the tank nears capacity, water will begin to drip from the overflow vent tube. This is the most reliable sign the tank is full, so do not rely solely on the digital gauge. When water exits the vent, immediately shut off the spigot and disconnect the hose.
Use Portable Bladder for Off-Grid Fills
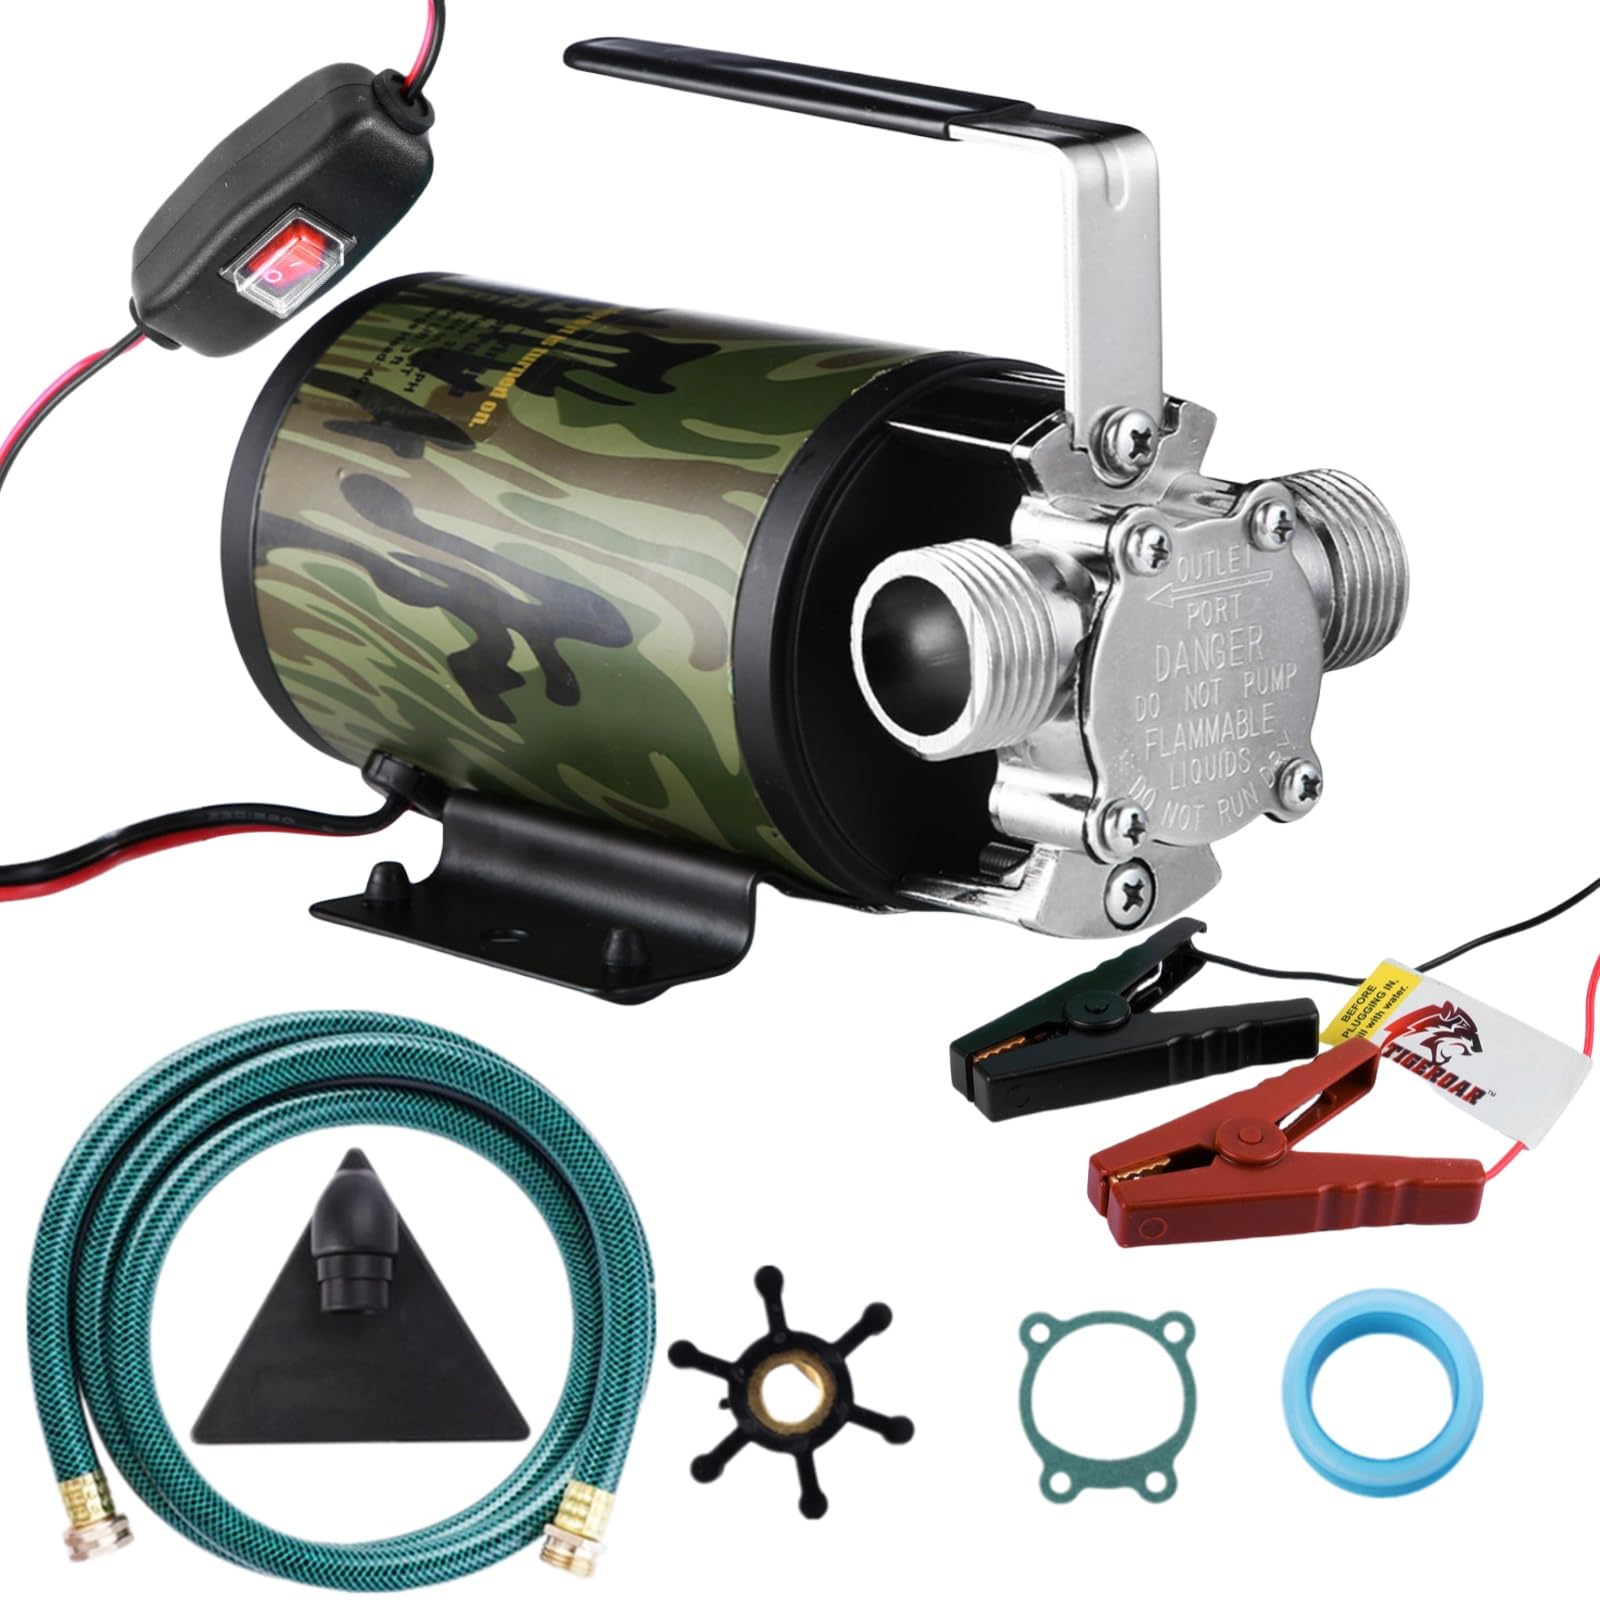
When no spigot is available, a portable water transfer system lets you fill your tank remotely.
Gather Transfer System Components
You will need a water bladder with top-fill and bottom-drain ports. Include a 12V transfer pump, an inline strainer, and quick-connect fittings. Ensure all parts are clean and dedicated to potable water use.
Set Up Bladder and Pump
Place the bladder near your vehicle and fill it from a safe source using the top port. Connect the bottom outlet to the hose, then attach the inline strainer and pump. Confirm the flow direction arrows on the pump point toward the motorhome.
Open Valve Halfway to Prevent Collapse
Before turning on the pump, open the bladder outlet valve only halfway. This allows air to enter as water drains, preventing the bladder from sucking shut under vacuum. A fully closed valve stops flow while fully open can cause collapse.
Pump Until Tank Is Full
Power the 12V pump from your auxiliary battery or converter. Monitor the tank digital gauge or watch the overflow vent for water. Once water appears, turn off the pump, close the bladder valve, and disconnect.
Know Your Tank True Capacity
Manufacturers often advertise total water volume, but not all of it is in the fresh tank.
Subtract Water Heater Volume
A motorhome advertised with an 81-gallon fresh water system usually includes the water heater. The actual holding tank is often 75 gallons, with the remaining 6 gallons in the heater. Use 75 gallons as your actual fill capacity for planning purposes.
Calculate Water Weight for Safety
Water weighs 8.34 pounds per gallon, adding significant weight to your vehicle. A full 75-gallon tank adds roughly 625 lbs to your load. Always account for this weight when checking Gross Vehicle Weight Rating to ensure safe handling.
Prevent Overflow Siphon Loss

Losing water while driving due to siphoning is common and easily avoidable with proper technique.
Stop Filling at First Overflow Drip
Never top off after water starts flowing from the vent. If the tank is filled beyond the vent tube internal opening, water can rise into the tube. During travel, turns or bumps can start a siphon that drains up to one-third of your water.
Install Overflow Shutoff Valves
For frequent travelers, install ball valves on overflow lines to control air release. Open the valve before filling to allow air escape, then close it immediately after filling to block siphoning. Reopen before the next fill to avoid tank damage from pressure buildup.
Troubleshoot Gauge and Fill Issues

Electronic tank monitors often give false readings, so you must know how to verify levels manually.
Check Fuse and Wiring
If the water level gauge shows empty or erratic levels, locate the 12V fuse labeled monitor or kitchen. Replace it if blown and inspect wires behind the converter for corrosion. Sensor rods inside the tank can also fail due to mineral buildup.
Measure Water Manually
When gauges fail, time how long it takes to fill a 5-gallon bucket to determine your flow rate. You can also screw a digital water meter onto your fill hose to track exact gallons delivered. These methods provide accurate data when electronic sensors fail.
Find Safe Water Sources Anywhere
Knowing where to refill is as important as knowing how to fill motorhome water tank safely.
Use Trusted Fill Locations
RV parks and dump stations are the most reliable sources for potable water. Public parks, community centers, and some gas stations also offer water fills. Always verify potability before use by asking locals or checking online forums.
Verify Potability Before Use
Not all spigots provide drinkable water, so caution is required. Avoid filling from agricultural or industrial areas unless confirmed safe. Test with a portable water tester if you are unsure about the source quality.
Maintain Equipment After Filling
Proper care extends the life of your gear and keeps water clean for future trips.
Drain and Store Hose Properly
After use, drain all water from the hose to prevent bacterial growth. Coil it loosely and store in a shaded, dry place. Never leave it coiled while wet as this encourages mildew.
Sanitize Tank Periodically
If water tastes stale or you filled from a questionable source, sanitize the tank. Mix bleach with water, fill the tank partially, and run it through all faucets. Let it sit for 12 hours, then flush completely before use.
Frequently Asked Questions About Filling Motorhome Water Tanks
Can I use a regular garden hose to fill my RV water tank?
No, you should never use a standard garden hose because it can leach chemicals like lead into your drinking water. Always use a hose specifically labeled as food-grade or drinking water safe to ensure purity.
How do I know when the motorhome water tank is full?
The most reliable sign is when water begins to drip from the small overflow vent tube near the fill port. Do not rely solely on digital gauges as they are often inaccurate or prone to failure.
Why does my RV lose water while driving after filling?
This is likely caused by the siphon effect from overfilling the tank past the overflow tube. Stop filling immediately when you see the first drip from the vent to prevent water from being sucked out during turns.
Do I need a pressure regulator to fill my fresh water tank?
No, you should not use a pressure regulator when filling the tank as it maintains high pressure that can cause premature overflow. Use a standard spigot with low pressure to fill the tank gently and safely.
How much weight does a full water tank add to my motorhome?
Water weighs approximately 8.34 pounds per gallon, so a 75-gallon tank adds about 625 lbs to your vehicle. Always factor this weight into your Gross Vehicle Weight Rating calculations for safe driving.
Key Takeaways for How to Fill Motorhome Water Tank
Filling your motorhome water tank requires specific equipment like food-grade hoses and inline filters to ensure safety. You must avoid pressure regulators during this process and vent air from the system by running the hot water faucet early in the fill.
Trust physical signs like the overflow vent over digital gauges to prevent overfilling and siphoning losses. Check your local RV park or dump station for safe water sources and maintain your equipment by draining hoses after every use.