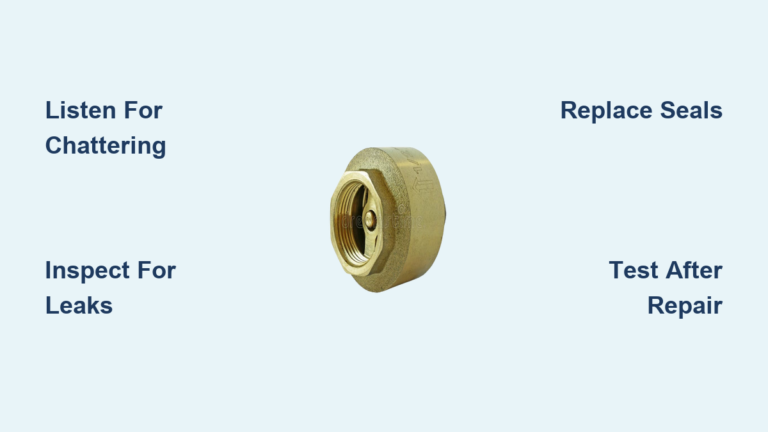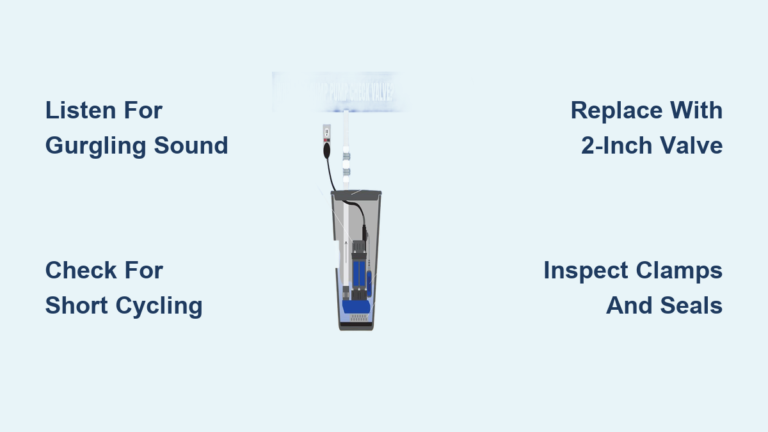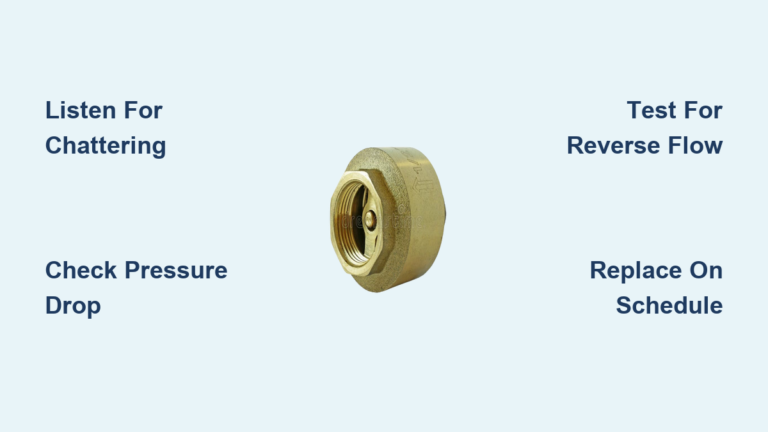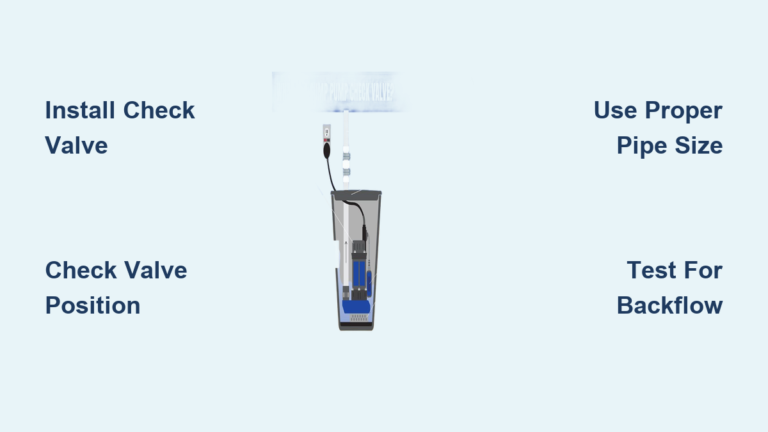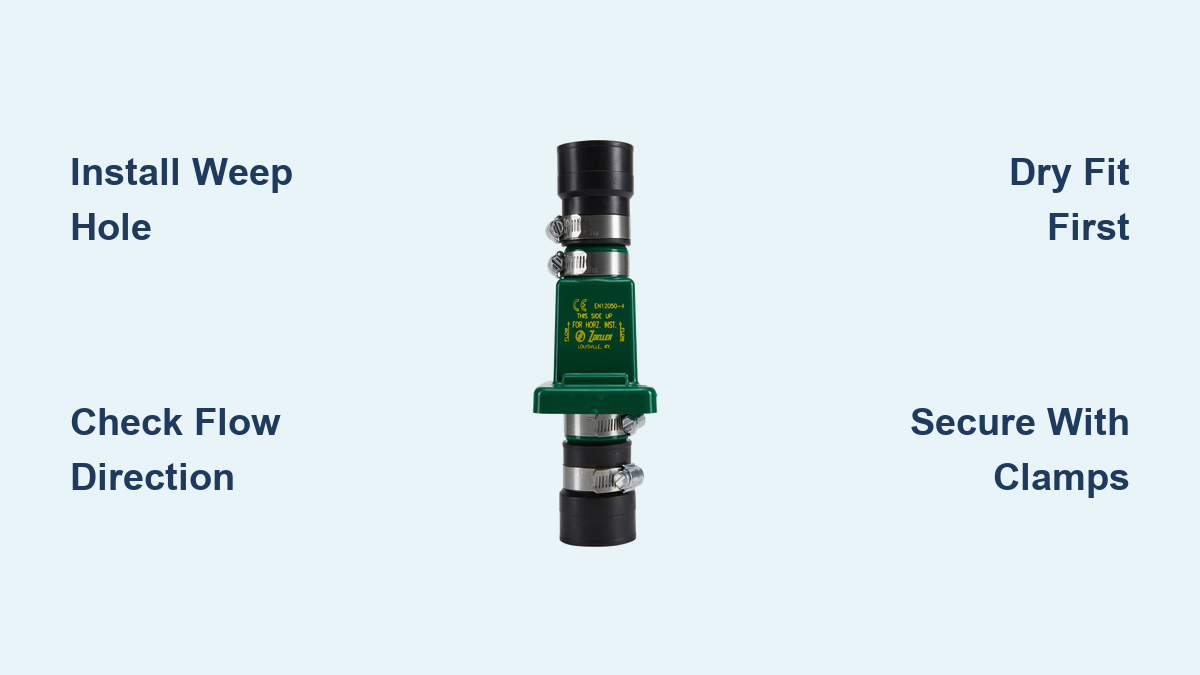
If your sump pump keeps cycling or you hear a loud thump after it shuts off, the problem may not be the pump. It is likely a missing or failed Zoeller check valve. Without this small but critical component, water flows back into the sump pit after each pump cycle, forcing the unit to restart unnecessarily. This constant cycling wears out the motor, shortens pump life, and increases flood risk.
Installing a Zoeller check valve stops backflow, reduces noise, and protects your entire drainage system. In this guide, you will learn exactly how to install a Zoeller check valve correctly and safely, whether you are replacing a faulty unit or upgrading from a basic flapper valve.
Choose the Right Zoeller Check Valve Model
Zoeller offers two primary check valve types: the Quiet Check Valve and the Metal-Washer Check Valve. Your choice depends on noise sensitivity, durability needs, and system configuration.
Quiet Check Valve vs. Metal-Washer Model
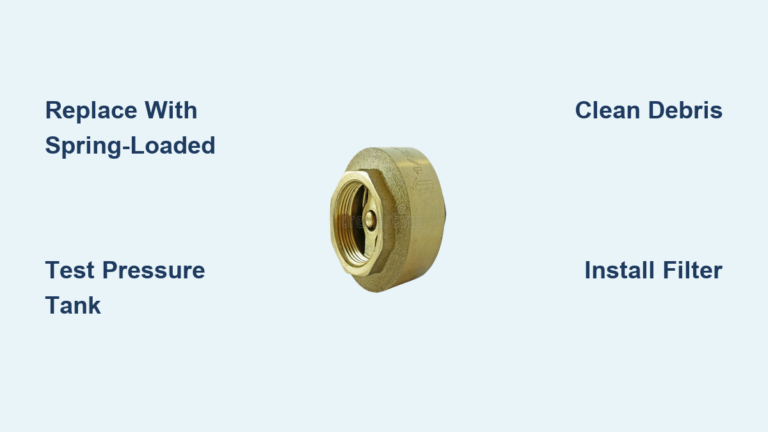
The Quiet Check Valve (models 30-0040, 30-0041, 30-0181) uses a 1/2 lb spring-loaded mechanism to close smoothly, eliminating water hammer and flapping noises. It is ideal for basements where noise matters. The 30-0041 version has a clear PVC body, allowing visual confirmation of operation and debris inspection.
The Metal-Washer Check Valve replaces rubber flappers with a brass washer seal, offering superior resistance to wear and corrosion in high-cycle or chemically aggressive environments. While slightly noisier than the spring model, it delivers unmatched sealing longevity.
Both models are rated for 50 PSI (115 feet of head), support vertical or horizontal installation, and measure approximately 8.5 inches long. They connect via 1.5-inch rubber boots or slip-fit PVC joints, depending on the variant.
Match Valve to Pump and Pipe Size
Ensure your chosen valve matches your discharge pipe diameter, typically 1.25″ or 1.5″ PVC. Zoeller valves are designed to fit standard sump pump discharge lines. If using PVC glue, verify compatibility with your existing piping material.
For systems with frequent cycling or high water tables, the spring-loaded Quiet Check Valve is strongly recommended. Its controlled closure prevents pressure surges and extends pump life more effectively than flapper-style valves.
Prepare Tools and Assess System Condition
Before installing a new valve, confirm the old one is failing. Key symptoms include:
- Trickling sound after pump shutdown (indicates backflow)
- Frequent pump cycling (water returns to pit, retriggering float switch)
- Loud banging (water hammer) or flapping noise
- Visible cracks in PVC components or hardened rubber seals
If the pump runs but water is not clearing efficiently, backflow from a failed check valve could be the culprit.
Gather Required Tools and Materials
You will need the following for a professional installation:
- PVC cutter or hacksaw (for clean, burr-free cuts)
- 5/16″ hex wrench (preferred for tightening hose clamps)
- Channel locks or pipe wrench
- PVC primer and cement (if gluing)
- Bucket (to catch residual water)
- Drill with small bit (optional, for draining trapped water)
- Hose clamps (spares recommended)
- Sump pump stand (to elevate pump above sediment)
- Zip ties (for cord management)
- Backing board (to stabilize joints during glue cure)
Having all tools ready prevents mid-job delays and ensures a dry, efficient workspace.
Drain System and Remove the Old Valve
Shut Off Power and Drain the Discharge Line
- Unplug the sump pump. Never work on an energized system.
- Place a bucket under the discharge line near the pump.
- Loosen the bottom hose clamp connecting the flexible coupling to the pump outlet. Water will drain from the pipe into the bucket.
Warning: If the discharge line runs upward and is sealed (for example, under a radon cover), pressure may trap water above the valve. To safely drain:
- Drill a small 1/8″ hole near the top of the existing check valve.
- Attach a short plastic hose to direct water into the bucket.
- Expect an initial burst, so be ready.
Disconnect and Remove the Old Valve
Once drained, loosen both top and bottom clamps securing the old valve. Gently twist and pull the valve free from the rubber boots or PVC fittings. Inspect the exposed pipe ends for cracks, debris, or mineral buildup. Clean thoroughly before proceeding.
If the old valve was glued in place, you will need to cut it out carefully and re-pipe the section.
Measure and Modify Pipe for Proper Fit
Account for Valve Length and Insertion Depth
The Zoeller check valve is 8.5 inches long, with 1 inch of pipe insertion required on each end into the rubber boots or glued fittings. This leaves about 6.5 inches of exposed valve body.
Measure the space left by the removed valve. If the gap is too short (such as 3 to 4 inches), you must cut and extend the discharge pipe.
Cut and Deburr PVC Pipe
- Remove the discharge pipe section from the basement if necessary for access.
- Use a PVC cutter or hacksaw to make straight, square cuts.
- Deburr both inside and outside edges with a file or deburring tool. Sharp edges can damage seals and cause leaks.
- For tight spaces, consider cutting 3/4 inch off the top pipe segment and adding a top coupler to adjust height and alignment.
Pro Tip: Dry-fit all components before gluing. This ensures the valve sits level, the weep hole aligns correctly, and there is no strain on connections.
Dry Fit Components Before Gluing
Verify Flow Direction and Assembly Sequence
Before applying any adhesive, slide the check valve into position with the arrow pointing upward. This indicates flow direction away from the pump. Confirm the valve fits without forcing. If connections are strained, re-measure and adjust pipe length.
If using threaded or compression fittings, install nuts or collars on the pipe first, before gluing. Forgetting this step means cutting the pipe again.
Prevent Common Assembly Errors
- Double-check orientation. A reversed valve blocks flow and damages the pump.
- Ensure full insertion. Pipes must seat fully against internal stops in rubber boots.
- Check for obstructions. Remove any debris that could prevent a tight seal.
A proper dry fit eliminates leaks, stress, and future repairs.
Glue PVC Joints or Secure Rubber Boots
Glue Bottom Joint First for PVC Systems
For installations using PVC primer and cement:
- Apply PVC primer to the pipe end and inside of the fitting. Let it haze for 5 to 10 seconds.
- Apply PVC cement to both surfaces.
- Glue the bottom connection first to secure the valve base.
- Push and twist the joint together. Hold for 10 to 15 seconds until set.
- Repeat for the top joint, ensuring the coupling or fitting is properly aligned.
Expert Note: Use a backing board to support the joint while curing. Avoid over-tightening with channel locks, which can crack PVC.
Allow 5 to 10 minutes of curing time before handling or testing.
Install Rubber Boot Connections for Slip x Slip Models
For models like the 30-0181 (Slip x Slip):
- Slide the rubber boots onto each end of the PVC pipe.
- Insert the pipe into the valve body until it bottoms out against the internal stop.
- Position the hose clamps over the boots, just past the ridged section.
- Tighten with a 5/16″ hex wrench to provide even torque and prevent slipping.
- Ensure clamps are snug but not overtightened. Do not crush the rubber.
Visual Check: The rubber should compress slightly but remain smooth. No gaps or bulges should be visible.
Install a Weep Hole Below the Check Valve

A weep hole is mandatory for reliable operation. Without it, trapped air can cause air locking, preventing the pump from priming.
- Drill a 1/8-inch hole in the discharge pipe just below the check valve, on the side opposite the pump intake.
- Position the hole facing downward so water drains back into the pit, not toward the pump.
- This allows air to escape during startup, water to drain from the line (preventing freeze damage in outdoor runs), and pressure equalization.
Never omit the weep hole. It is a small step with major system protection benefits.
Stabilize the Pump and Manage Cords
Elevate Pump and Prevent Sediment Clogging
Place the sump pump on a dedicated pump stand, not cinder blocks or bricks. These degrade over time and can shift, causing misalignment or damage.
The stand lifts the pump 1 to 2 inches above the pit floor, preventing sediment and debris from entering the intake or clogging the check valve.
Secure Power Cord with Zip Ties
Use zip ties to fasten the power cord to the discharge pipe every 12 to 18 inches. This prevents tangling with the float switch, reduces strain on electrical connections, and keeps cord away from moving parts and pets.
Always reinstall the sump pit cover after work. It keeps out debris, moisture, and pests while maintaining indoor air quality.
Test the System and Verify Performance
Power Up and Monitor Operation
- Plug the pump back in.
- Simulate a water rise by slowly pouring a bucket into the pit, or wait for natural water accumulation.
- Watch the float rise and trigger the pump.
Listen for Silent, Smooth Operation
A properly installed Zoeller check valve should operate silently. There should be no thumping, banging, or flapping sounds, no trickling after shutdown, and no frequent restarts.
If the pump cycles rapidly, check for a weep hole blockage, reversed valve orientation, or air lock due to a missing or clogged weep hole.
Inspect for Leaks
Check all connections, including glued joints for seepage, hose clamps for drips, and O-rings (if present) for proper seating. Tighten clamps slightly if needed, but avoid over-compression.
Maintain the Valve for Long-Term Reliability
Perform Annual Visual Inspections
Check the system at least once per year. Look for cracks, leaks, or corrosion. Inspect hose clamps for rust or loosening. Ensure the weep hole is clear and confirm cord integrity and float movement.
If using the Clear Body model (30-0041), visually confirm the internal disc closes gently after each cycle. Watch for debris buildup or irregular flow.
Understand Durability Advantages
Zoeller valves outlast generic models due to their brass washer or spring mechanism (which resists hardening and corrosion), cast iron or clear PVC body (built for wet, abrasive environments), and 1-year limited warranty covering defects.
Unlike rubber flappers that degrade in 2 to 3 years, Zoeller’s metal and spring components maintain performance for over a decade with proper installation.
Frequently Asked Questions About Zoeller Check Valve Installation
How do I know if my Zoeller check valve is failing?
Common signs include a trickling sound after the pump shuts off, frequent pump cycling, loud banging or flapping noises, and visible cracks or hardened rubber seals. If the pump runs but water returns to the pit quickly, backflow from a failed check valve is likely the cause.
Do I need a weep hole with a Zoeller check valve?
Yes, a weep hole is mandatory. Drill a 1/8-inch hole in the discharge pipe just below the check valve, facing away from the pump intake. This prevents air locking, allows water to drain back into the pit, and protects against freeze damage in outdoor discharge lines.
Can I install a Zoeller check valve vertically?
Yes, Zoeller check valves support both vertical and horizontal installation. The arrow on the valve body must always point upward to indicate correct flow direction away from the pump.
What tools do I need to install a Zoeller check valve?
You will need a PVC cutter or hacksaw, a 5/16″ hex wrench, channel locks, PVC primer and cement (if gluing), a bucket, hose clamps, a sump pump stand, and zip ties. A drill with a small bit is optional for draining trapped water.
How long does a Zoeller check valve last?
With proper installation, Zoeller’s metal and spring components maintain performance for over a decade. Unlike rubber flapper valves that degrade in 2 to 3 years, the brass washer and spring mechanism resist corrosion and wear in wet basement environments.
Why is my sump pump still cycling after installing a new check valve?
If cycling continues, check for a blocked weep hole, reversed valve orientation, or air lock. Ensure the arrow points upward and that the weep hole is clear of debris. Persistent cycling may also indicate a failing float switch or an undersized pump.
Key Takeaways for a Successful Zoeller Check Valve Installation
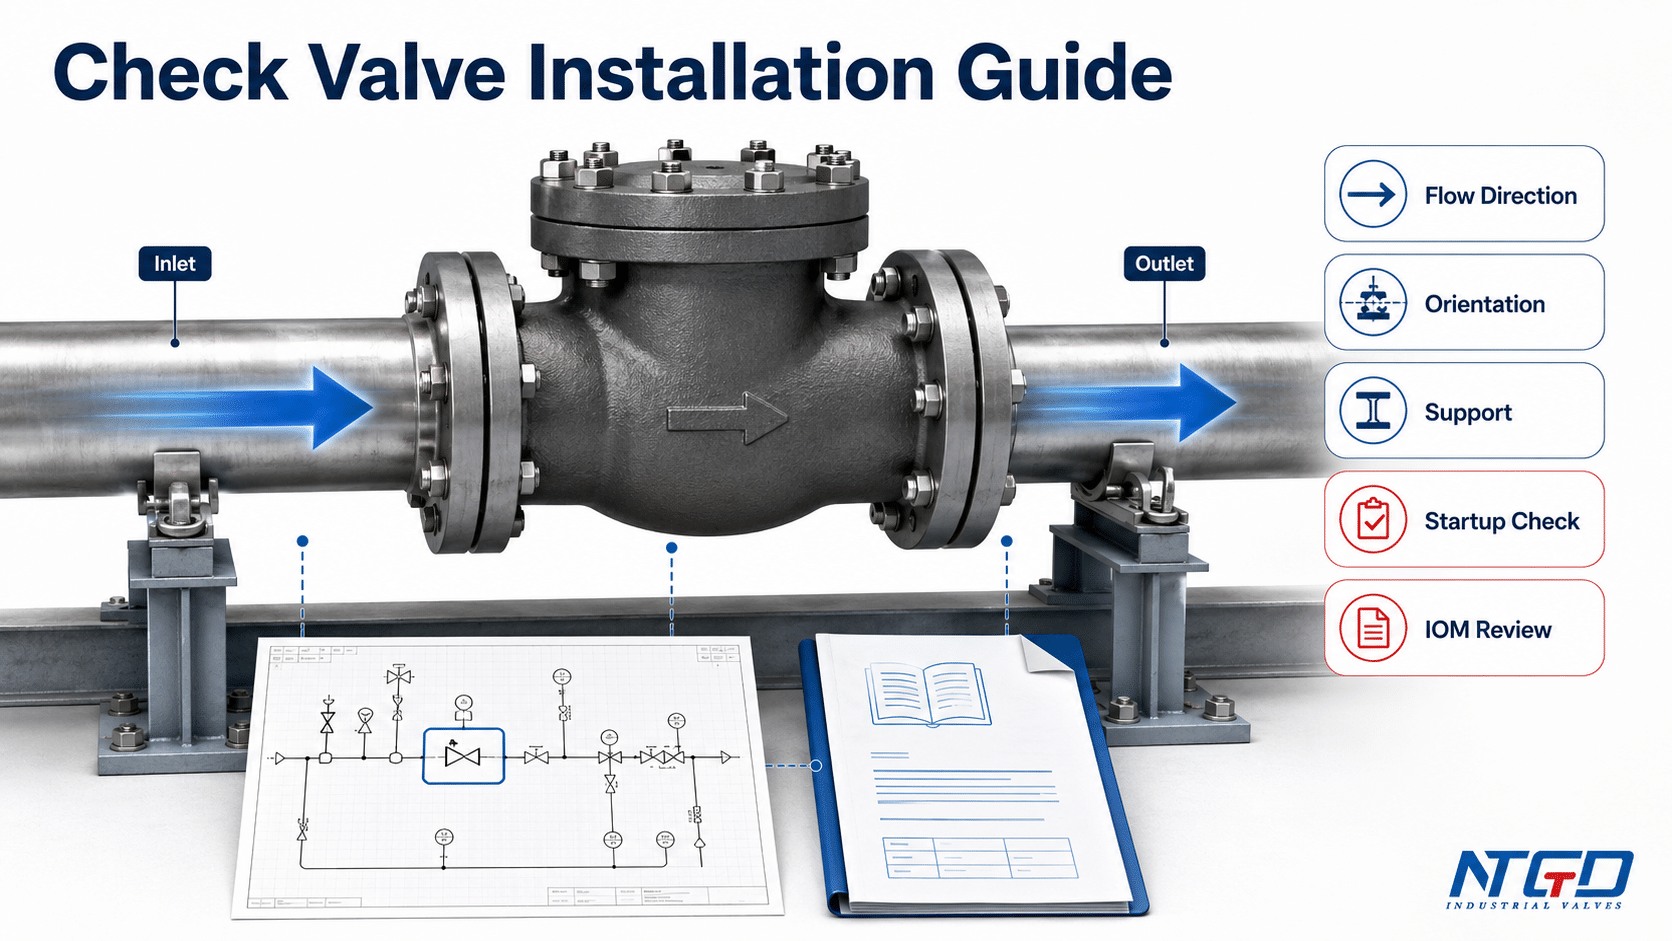
Installing a Zoeller check valve is a small job with massive returns. You get quieter operation, longer pump life, and better flood protection. By following precise steps, including accurate measurement, dry fitting first, correct gluing, weep hole installation, and connection stabilization, you ensure a professional, leak-free setup.
Whether you are replacing a failed valve or upgrading from a noisy flapper, this simple fix pays for itself in reliability and peace of mind. Gather your tools, choose the right Zoeller model for your system, and complete the installation in under an hour for years of dependable sump pump performance.