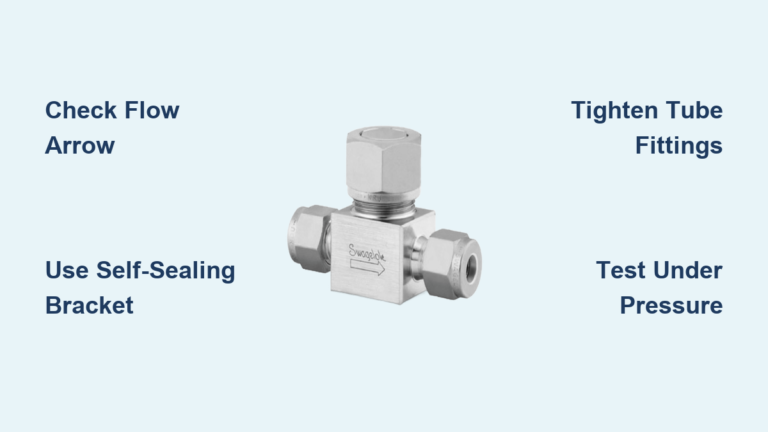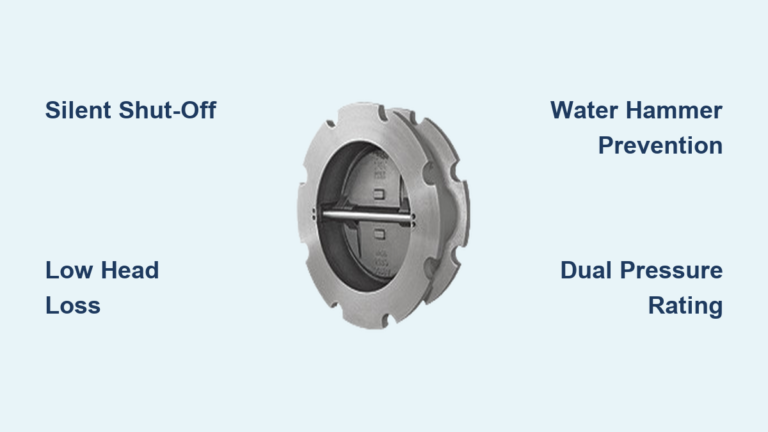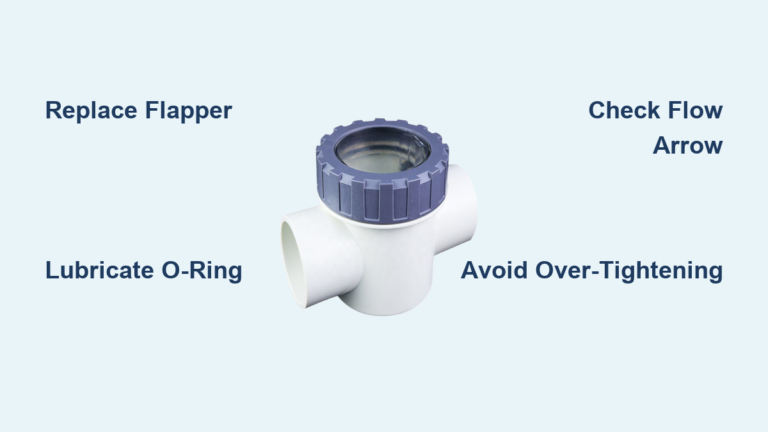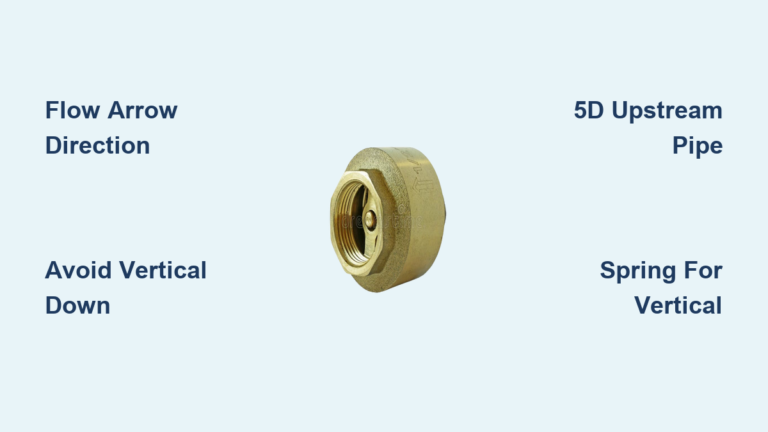
You’ve just brought home a SharkBite check valve to stop hot water from creeping into your cold lines or to protect your recirculation pump. Smart move. But if you install it wrong, you risk leaks, backflow, or even dangerous pressure buildup that can damage your water heater. The good news? SharkBite’s push-to-connect system makes a SharkBite check valve installation fast and tool-free when you follow the right steps. In this guide, you’ll learn exactly how to complete a SharkBite check valve installation on copper, PEX, CPVC, or HDPE pipe, avoid common mistakes, and understand where the valve fits in complex setups like water heater feed lines.
Why a SharkBite Check Valve Matters in Your Plumbing
The Core Purpose of a Check Valve
A check valve stops water from flowing backward in your plumbing system. Inside the brass body sits a spring-loaded disc that opens when water pushes forward and snaps shut the moment flow reverses. This simple mechanism protects your home from several common problems.
Without a working check valve, you may notice lukewarm water at cold taps, wasted energy, or frequent pressure relief valve discharges on your water heater.
Key Benefits of Choosing SharkBite
SharkBite check valves offer real advantages over traditional brass check valves:
- No tools required for installation (a disconnect clip is needed for removal)
- Reusable with proper disconnect tools
- Compatible with five pipe types including copper, PEX, CPVC, PE-RT, and HDPE SDR-9
- Rated for 150 psi and 200°F, suitable for all domestic hot and cold lines
- Lead-free brass construction for safe drinking water
These benefits make SharkBite check valve installation especially valuable during retrofits in tight spaces where open-flame soldering isn’t safe or practical.
Pipe Compatibility and Orientation Rules
Supported Pipe Materials
SharkBite check valves connect directly to:
- Copper (Type K, L, and M)
- PEX from any manufacturer
- CPVC (Schedule 40 or 80)
- PE-RT
- HDPE SDR-9
You don’t need adapters, even when transitioning between materials like copper to PEX in the same run.
Critical Note: Always cut, deburr, and smooth the pipe end. Burrs or scratches can tear the internal O-ring and cause immediate leaks.
Installation Orientation Flexibility
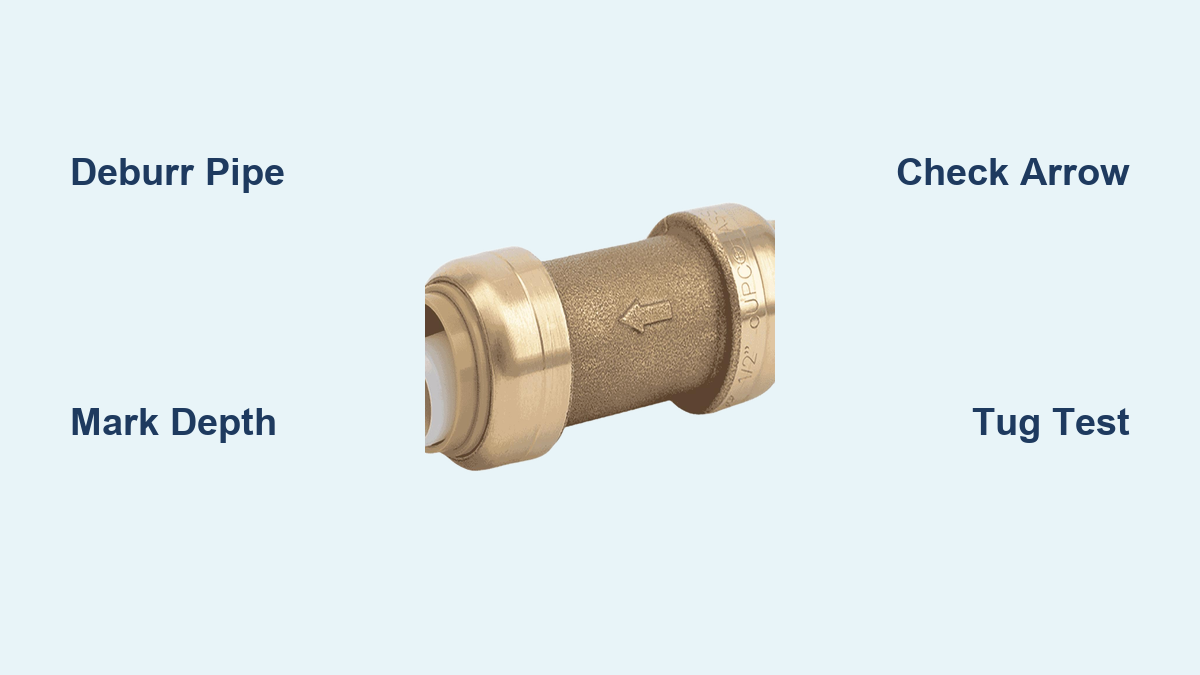
You can install the valve in horizontal runs or vertical pipes flowing up or down. As long as the flow arrow on the valve body points in the direction of water travel, orientation does not affect performance. This flexibility makes SharkBite check valve installation ideal for cramped utility closets and tight plumbing stacks.
Tools and Parts You Need
Essential Items for Installation
While the valve installs without special tools, these items ensure a successful SharkBite check valve installation:
- Pipe cutter (for clean, square cuts)
- Deburring tool or fine file
- Permanent marker
- SharkBite depth gauge (included with some kits or sold separately)
- Disconnect clip or tongs (for future removal)
Optional but helpful items include a flashlight to verify the depth mark and a clean rag to wipe the pipe before insertion.
Available Sizes and SKUs
| Size | SKU Code | Configuration |
|---|---|---|
| 1/2″ | U2008-0000LF | Straight |
| 3/4″ | U2016-0000LF | Straight |
| 1″ | U2020-0000LF | Straight |
All models are lead-free and CSA B125.3 certified for residential and commercial use.
Step-by-Step SharkBite Check Valve Installation
Cut and Prepare the Pipe
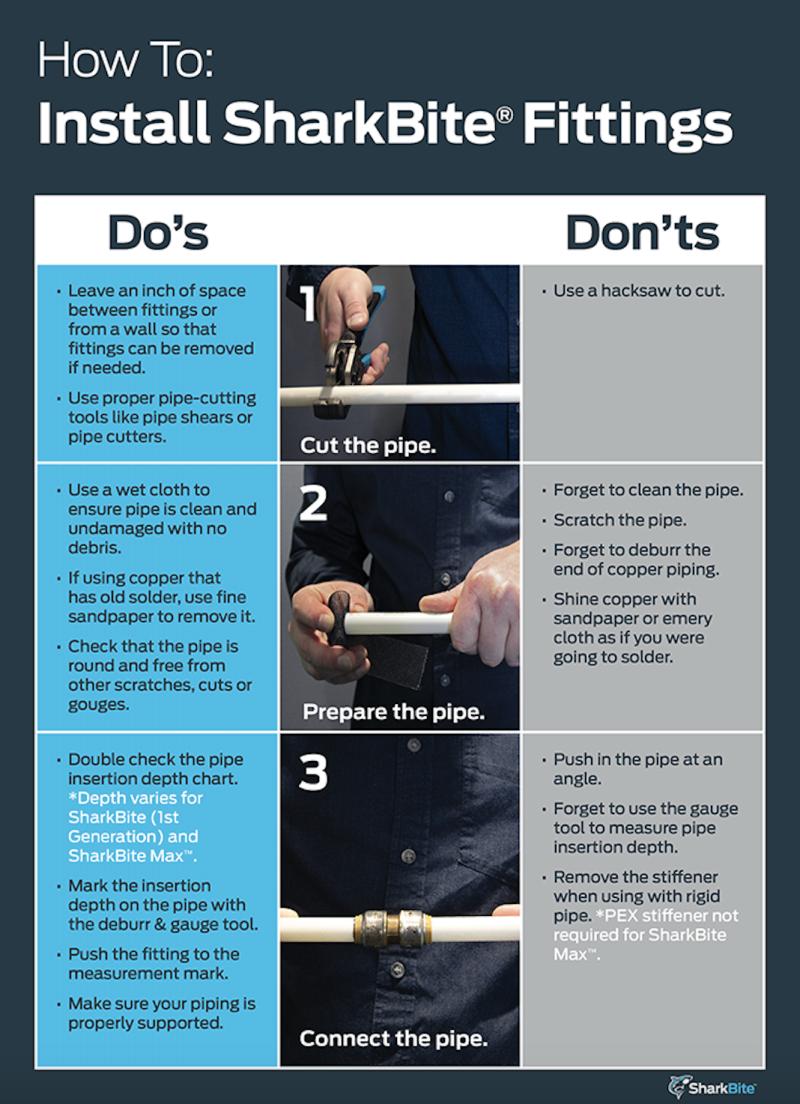
Proper pipe preparation is the most important part of any SharkBite check valve installation. Follow these steps carefully:
- Shut off the water supply and relieve pressure by opening a nearby faucet.
- Cut the pipe squarely using a rotary pipe cutter or fine-tooth saw.
- Deburr both the inside and outside of the pipe end, especially crucial for copper.
- Smooth any rough edges with a deburring tool or emery cloth.
Pro Tip: A jagged edge can slice the internal O-ring and cause immediate leaks. Take your time here. This step prevents most installation failures.
Mark the Insertion Depth
Marking the correct depth ensures the stainless steel grab ring locks securely and the O-ring seals completely.
- Slide the depth gauge onto the pipe until it stops against the fitting.
- Mark the pipe at the gauge line with a permanent marker.
- Remove the gauge. This mark shows how far the pipe must travel into the fitting.
Insert the Pipe into the Valve
Now you’re ready to complete the actual connection:
- Check the flow direction arrow on the valve body. It must point with the water flow.
- Align the pipe and push straight in without twisting.
- Push firmly until the pipe reaches the depth mark.
- Listen for a click that confirms the grab ring has engaged.
- Perform a tug test by pulling gently on the pipe. It should not come out.
Visual Check: The depth mark should sit flush with or just inside the fitting body when fully seated.
System Testing and Leak Inspection
Pressurize the System Slowly
After completing your SharkBite check valve installation, test the connection carefully:
- Open the main shutoff slowly to prevent water hammer.
- Watch the connection closely for drips or seepage.
- Let water run through the line for 30 seconds to flush debris.
Verify Backflow Prevention
Confirm the valve is doing its job:
- In recirculation systems, turn off the pump and feel both lines. The cold line should stay cold.
- Use a flow indicator or pressure test if accessible.
- If backflow occurs, verify the valve is not installed backward.
Warning: No leak now doesn’t mean success. Some failures appear after thermal cycling. Recheck after 24 hours of normal operation.
Advanced Installation: Water Heater Feed Line

Correct Fitting Sequence
When performing a SharkBite check valve installation on a water heater feed line, the order of fittings is critical. Incorrect placement can trap pressure and cause dangerous over-pressurization.
Correct Order (from main line to heater):
1. Shut-off valve
2. Vacuum breaker (must be upstream)
3. Check valve (arrow pointing toward heater)
4. Expansion tank tee (must be downstream)
5. Pressure gauge tee
6. 90° elbow if needed
7. Threaded adapter to heater hose
Why the Expansion Tank Must Be Downstream
If the expansion tank sits before the check valve, the check valve blocks thermal expansion from reaching the tank. Pressure builds in the closed system and the Temperature and Pressure (T&P) valve releases frequently. This creates a real risk of tank rupture or pipe failure.
Placing the tank after the check valve allows it to absorb expanding water safely.
Time Savings: Replacing soldered joints with SharkBite fittings reduces water heater feed modifications from over an hour to under 5 minutes.
Troubleshooting Common Installation Issues

Valve Leaking at the Connection
Common causes include:
- Pipe not deburred properly
- Insertion depth insufficient
- Debris trapped in the O-ring groove
- Scratched or dirty pipe surface
To fix the issue:
- Shut off the water supply.
- Use a disconnect clip to remove the pipe.
- Inspect the O-ring and pipe end for damage.
- Clean or replace the O-ring if damaged.
- Re-cut, deburr, and reinsert the pipe to the depth mark.
Prevention: Always wipe the pipe with a clean rag before insertion.
Backflow Still Occurring
Likely causes include:
- Valve installed backward with the arrow pointing the wrong way
- Spring mechanism blocked by debris
- Valve stuck open due to mineral buildup
To resolve backflow:
- Rotate the valve so the arrow faces the correct flow direction
- Flush the line thoroughly before installation
- Replace the valve if internal parts show corrosion
Quick Test: Blow through the valve. Air should only pass in one direction.
Pressure Fluctuations or T&P Valve Leaks
These symptoms usually indicate:
- Expansion tank installed upstream of the check valve
- Expansion tank failed or waterlogged
- Air charge in the tank too low
To correct pressure problems:
- Relocate the tank to the downstream side
- Test tank pressure with a tire gauge (should match house pressure, typically 60 to 80 psi)
- Replace the tank if water comes out of the air valve
Removal and Reusability
How to Disconnect Safely
SharkBite fittings are reusable, which makes future modifications easy:
- Shut off the water and drain the line.
- Insert the disconnect clip between the pipe and fitting.
- Push the clip inward to compress the grab ring.
- Pull the pipe straight out while holding the clip in place.
- Inspect the O-ring and grab ring for wear.
Reusability: Fittings can be reused multiple times if the O-ring remains intact and clean.
When Not to Reuse a Fitting
Do not reuse the fitting if:
- The O-ring is cracked, stretched, or nicked
- The grab ring is bent or damaged
- The fitting was exposed to excessive heat or pressure
Replace the valve if you have any doubt. Safety comes first.
Maintenance and Long-Term Care
Annual Inspection Checklist
Check your SharkBite check valve installation once a year for:
- Leaks around connections
- Corrosion on the brass body
- Flow restriction or reduced water pressure
- T&P valve cycling that indicates pressure issues
Preventative Measures
Keep your system running smoothly with these habits:
- Install sediment filters upstream in hard water areas
- Flush recirculation lines every 6 to 12 months
- Label the check valve location for future reference
Pro Tip: Add a quarter-turn ball valve upstream for easier servicing without shutting off water to the whole house.
Professional Tips and Best Practices
Maximize Efficiency in Tight Spaces
When space is limited:
- Use the SharkBite Max Push Check Assembly for 1/2″ applications with tighter bends
- Plan the layout so the valve stays accessible for future disconnection
- Avoid installing behind walls unless accessible through a panel
Avoid These Common Mistakes
| Mistake | Consequence | Fix |
|---|---|---|
| Skipping deburring | O-ring damage causes leaks | Always deburr both sides |
| Ignoring the flow arrow | Backflow continues | Rotate valve to correct direction |
| Wrong fitting order | Pressure buildup | Follow the correct sequence |
| Over-tightening | Cracks the brass | Hand-tight only |
Warning: Never use thread sealant or glue on SharkBite fittings. It voids the warranty and damages the seals.
Final Installation Checklist
Before turning the water back on, confirm every item:
- Pipe cut cleanly and deburred
- Depth mark clearly visible
- Flow arrow pointing the correct direction
- Pipe fully inserted to the mark
- Tug test passed
- Expansion tank downstream if applicable
- Vacuum breaker upstream if applicable
- No tools left in the line
Recheck the connection after 24 hours under normal operating temperature and pressure.
Frequently Asked Questions About SharkBite Check Valve Installation
Do I need any special tools for SharkBite check valve installation?
No. The push-to-connect design requires only a pipe cutter, deburring tool, permanent marker, and depth gauge. You only need a disconnect clip or tongs when you want to remove the valve later.
Can I install a SharkBite check valve vertically?
Yes. The spring-loaded mechanism works in horizontal runs and vertical pipes flowing up or down. The only requirement is that the flow arrow on the valve body points in the direction of water travel.
What pipe materials work with SharkBite check valves?
SharkBite check valves work with copper (Type K, L, M), PEX, CPVC, PE-RT, and HDPE SDR-9. No adapters are needed for mixed-material transitions.
Where should the check valve go on a water heater feed line?
The check valve must sit between the vacuum breaker (upstream) and the expansion tank tee (downstream). This sequence allows the expansion tank to absorb thermal expansion safely without pressure buildup.
How do I know if my check valve is installed backward?
Look for the flow arrow molded into the valve body. It must point in the direction of water flow. If backflow continues after installation, the arrow is likely pointing the wrong way and the valve needs to be rotated.
Can I reuse a SharkBite check valve after removing it?
Yes, as long as the O-ring and grab ring are intact and clean. Replace the valve if the O-ring shows cracks, stretching, or nicks, or if the fitting was exposed to excessive heat or pressure.
Key Takeaways for a Leak-Free SharkBite Check Valve Installation
A successful SharkBite check valve installation depends on three critical factors: clean pipe preparation, accurate depth marking, and correct flow direction. Always deburr the pipe thoroughly, mark the insertion depth clearly, and verify the arrow points with the water flow before pushing the pipe home.
For complex setups like water heater feed lines, the sequence of fittings matters just as much as the check valve itself. Place the vacuum breaker upstream and the expansion tank downstream to prevent dangerous pressure buildup.
Your next step is to gather your tools, shut off the water, and follow the step-by-step process above. With proper preparation, your SharkBite check valve installation will deliver years of maintenance-free service and reliable backflow prevention.