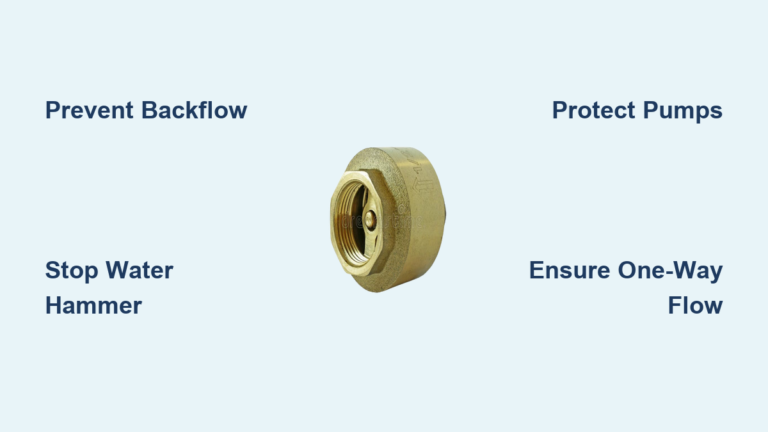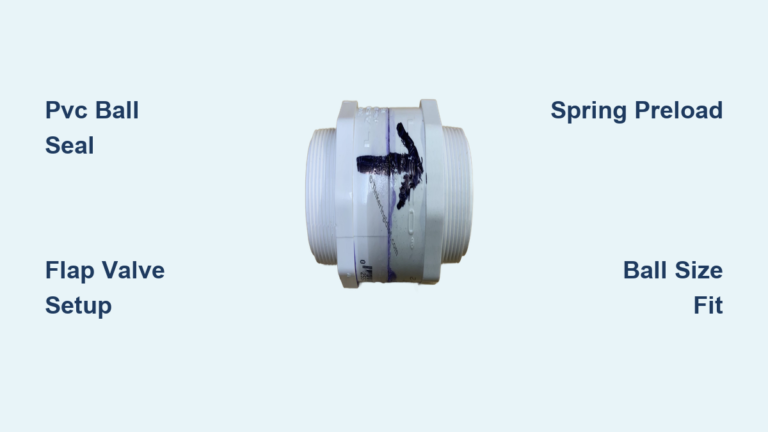
A single power outage can turn your aquarium setup into a flood zone. When an air pump shuts off, water siphons backward through the airline tubing, flooding your pump, damaging electronics, and threatening your fish. The aquarium check valve installation is a simple, five-minute task that prevents this disaster by allowing air to flow only one direction: from pump to tank.
This guide covers every detail of proper installation, including placement, orientation, component sequencing, and troubleshooting. Whether you run a small nano tank or a large planted aquarium, correct check valve use protects your equipment, your home, and your livestock. You will learn where to position the valve, how to verify its direction, why component order matters, and when to add a bleed valve for high-resistance setups.
Install the Check Valve Immediately After the Air Pump

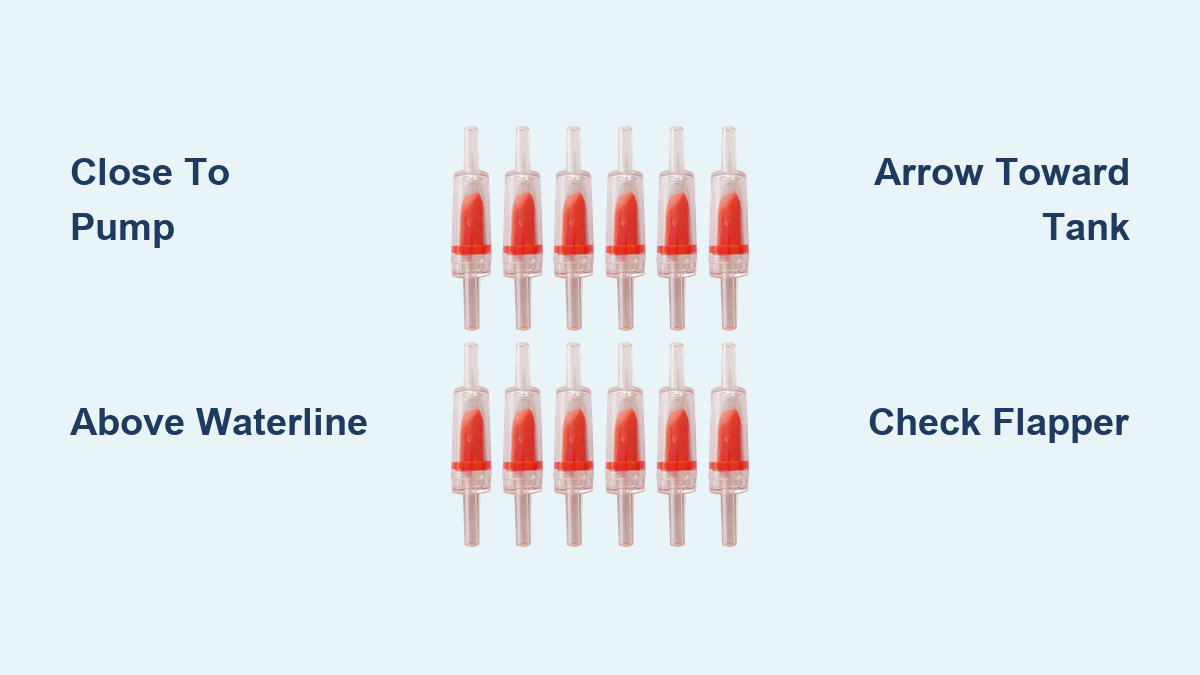
Positioning is the first rule of aquarium check valve installation. Place the valve as close to the air pump outlet as possible, ideally within 4 to 5 inches (10 to 12 cm). This minimizes the unprotected tubing length where back-siphoning water could reach the pump.
Why Proximity to the Pump Matters
When the pump stops running, gravity pulls water down through the airline, creating suction. If the check valve sits too far from the pump, water travels through the unprotected section before the valve can seal it off. Keeping the valve near the source reduces this vulnerable zone to just a few inches.
Common Placement Mistakes to Avoid
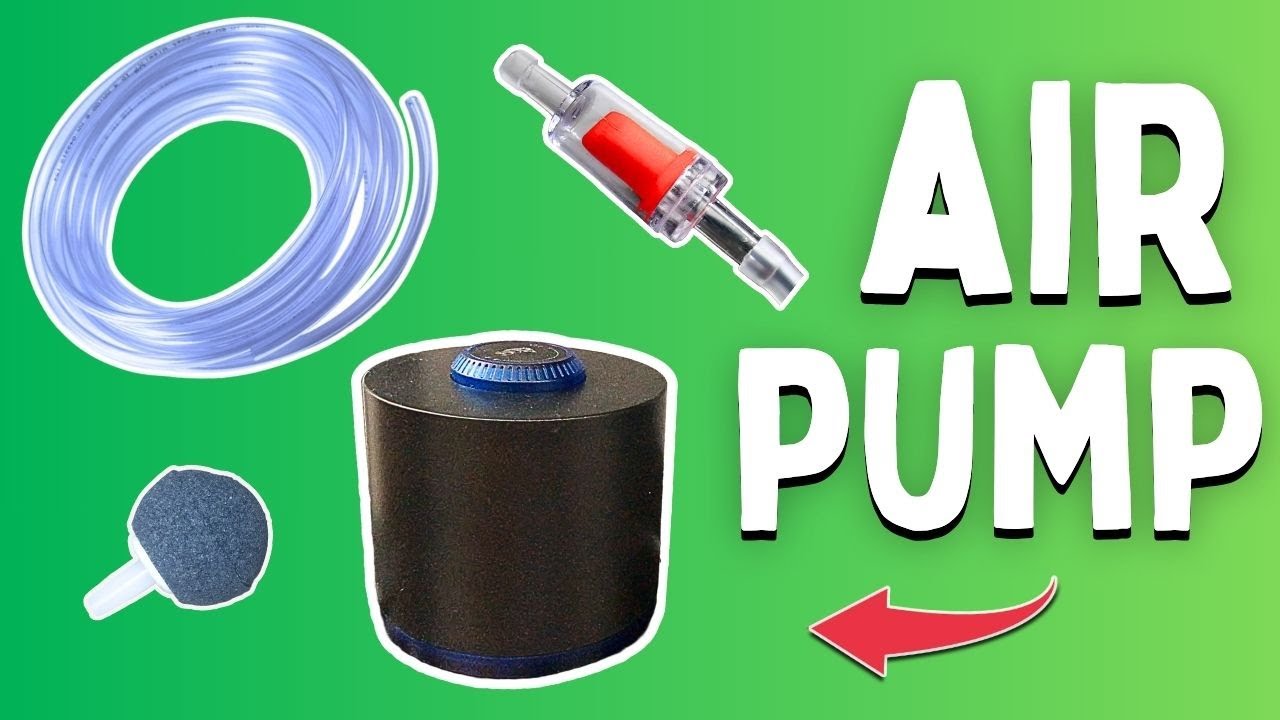
Many hobbyists install the check valve near the tank or after airflow control valves. This creates unnecessary risk. Always follow the correct sequence: pump, then check valve, then control valve, then T-fitting, then airstone. Placing regulation components before protection traps pressure and complicates maintenance.
Position the Valve Above the Water Level
Elevation plays a critical role in preventing backflow damage. The ideal aquarium check valve installation places the valve outside the tank and above the water surface, near the tank rim.
High Placement Eliminates Pressure Buildup
If the check valve sits below the waterline, the entire airline between the tank and valve fills with water during a power outage. This creates hydrostatic pressure that stresses connections and causes leaks at the pump end. Installing the valve high, just above the rim, stops the water column at the top and protects all seals.
What to Do When the Pump Sits Below the Tank
Most setups place the pump in a cabinet or on the floor, well below the aquarium. In these cases, the check valve is mandatory, not optional. Route the airline vertically upward from the pump to the valve location. Use cable ties or clips to secure the tubing and maintain elevation throughout the run.
Align Flow Direction Correctly
A check valve only works when installed in the correct orientation. Misalignment causes complete failure, either blocking airflow or eliminating backflow protection.
Identify the Flow Arrow
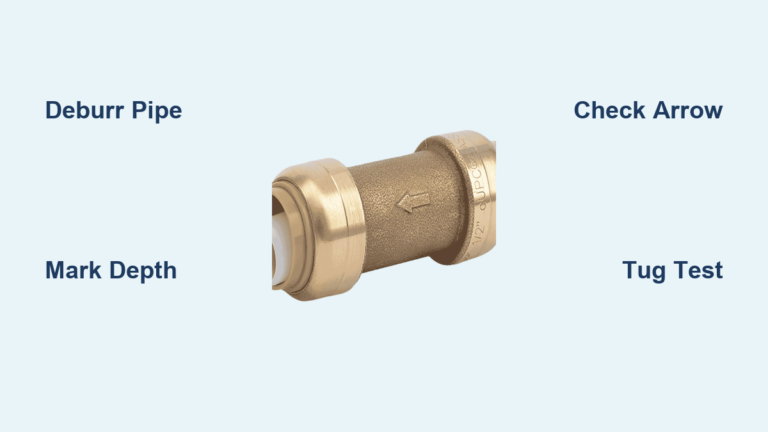
Every check valve features an embossed arrow on its body. This arrow must point toward the aquarium, showing the direction of intended airflow. If the arrow points back toward the pump, water flows freely into your equipment during a power loss.
Check the Internal Flapper Position
Transparent valves reveal an internal colored bar or flapper. This flapper sits on the pump side. When air flows, it pushes the flapper open. When the pump stops, water pressure slams the flapper shut, sealing the line. The flapper end connects to the air pump, while the open end connects to the airstone or tank accessory.
Test for Backward Installation
After completing the setup, turn on the pump. If no bubbles appear in the tank, the valve is likely installed backward. Flip it around and retest. Air should flow freely in the correct orientation.
Cut and Fit Tubing Properly
A secure seal depends on clean, flexible airline tubing. Poor cuts or aged tubing cause leaks even with perfect valve placement.
Use Sharp Tools for Clean Cuts
Cut tubing with sharp scissors or dedicated tubing cutters. Avoid jagged edges, crimps, or angled slices. A straight, flat cut ensures full contact with the valve nozzles and prevents air leaks.
Replace Hardened Tubing
Over time, airline tubing dries out, cracks, and loses elasticity, especially in UV-exposed or saltwater environments. Brittle tubing fails to seal tightly around the valve nozzles, allowing air leaks or water seepage during power loss. Replace tubing every 6 to 12 months or whenever it feels stiff.
Push Tubing Fully Onto Valve Nozzles
Slide the tubing all the way onto the valve nozzles until it reaches the shoulder. Gaps or loose fits create weak points prone to leaks. If a connection feels loose, cut a fresh end and reattach firmly.
Sequence Components in the Correct Order

The order of components in your airline system affects performance, safety, and pump lifespan. Follow this standard hydraulic sequence for optimal results.
The Correct Flow Path
- Air pump (source)
- Check valve (protection)
- Control valve (bubble rate adjustment)
- T-fitting (if splitting to multiple devices)
- Airstone or diffuser (destination)
This sequence isolates the pump immediately, regulates airflow downstream, and allows easy access to controls.
Why the Control Valve Must Come After
Placing the control valve before the check valve traps pressurized air between the two components. While the check valve still blocks backflow, this setup increases strain on the pump diaphragm and makes pump maintenance harder. Always protect first, then regulate.
Add a Bleed Valve When the Pump Strains
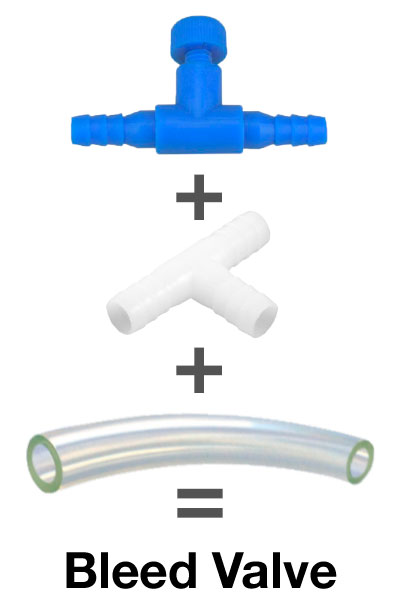
High-resistance setups, such as fine-pore airstones or multiple filters, can overwork small air pumps. A bleed valve relieves excess pressure and extends pump life.
When to Use a Bleed Valve
If your pump sounds loud, vibrates excessively, or overheats when the control valve is partially closed, it operates under back pressure. A bleed valve vents excess air, reducing strain on the motor and diaphragm.
How to Install a Bleed Valve Correctly
- Place a T-fitting between the check valve and the main control valve.
- Attach a second control valve to the open leg of the T.
- Leave this second valve slightly open to vent air continuously.
Never install a check valve on the bleed line, as it must release air freely into the atmosphere.
Test Whether You Need a Bleed Setup
Run the pump with the main airstone disconnected. If the pump runs quietly without the airstone but strains when connected, you need a bleed setup. Low-wattage pumps between 1.5W and 3W often operate fine without one.
Troubleshoot No Airflow or Leaks
Even with correct installation, problems can arise. Most issues are simple to diagnose and fix.
No Air Coming Through the Valve
Valve Installed Backward
Flip the valve so the arrow points toward the tank.
Clogged Flapper
Debris or salt creep can jam the internal flapper. Remove the valve and rinse it in freshwater. Use a thin wire or toothpick to gently clear obstructions from the air holes.
Pinched or Kinked Tubing
Check the entire airline path. Ensure the tubing is not bent sharply or trapped under equipment. Reroute the line if necessary.
Prevent Water in the Pump After Power Loss
Finding water inside your air pump means the check valve failed or was missing. Immediate action is required to prevent further damage.
Causes and Fixes
- Missing valve: Install one immediately. Never operate an air pump without it.
- Backward installation: Reorient the valve with the arrow pointing toward the tank.
- Submerged valve: Move it above water level. A valve underwater cannot stop the siphon.
- Failed or worn valve: Replace it. Check valves cost under $5, far less than a new air pump.
Warranty Protection Considerations
Most air pump manufacturers void warranties when water damage occurs without a check valve. Installing one protects your equipment coverage and demonstrates proper maintenance.
Maintain and Replace Valves Regularly
Check valves are durable but not permanent. Over time, flappers degrade, seals weaken, and debris accumulates inside the body.
Recommended Inspection Schedule
Check your valve every 3 to 6 months. Look for cracks in the plastic body, discoloration or brittleness, a stiff or stuck flapper, and salt buildup in marine tanks.
Cleaning and Replacement Guidelines
Rinse the valve in clean freshwater during inspections. For stubborn deposits, soak it briefly in fresh water. If the flapper does not move freely or seal tightly, replace the valve entirely. Replacement parts are inexpensive insurance against pump damage.
Special Case: CO2 System Installation
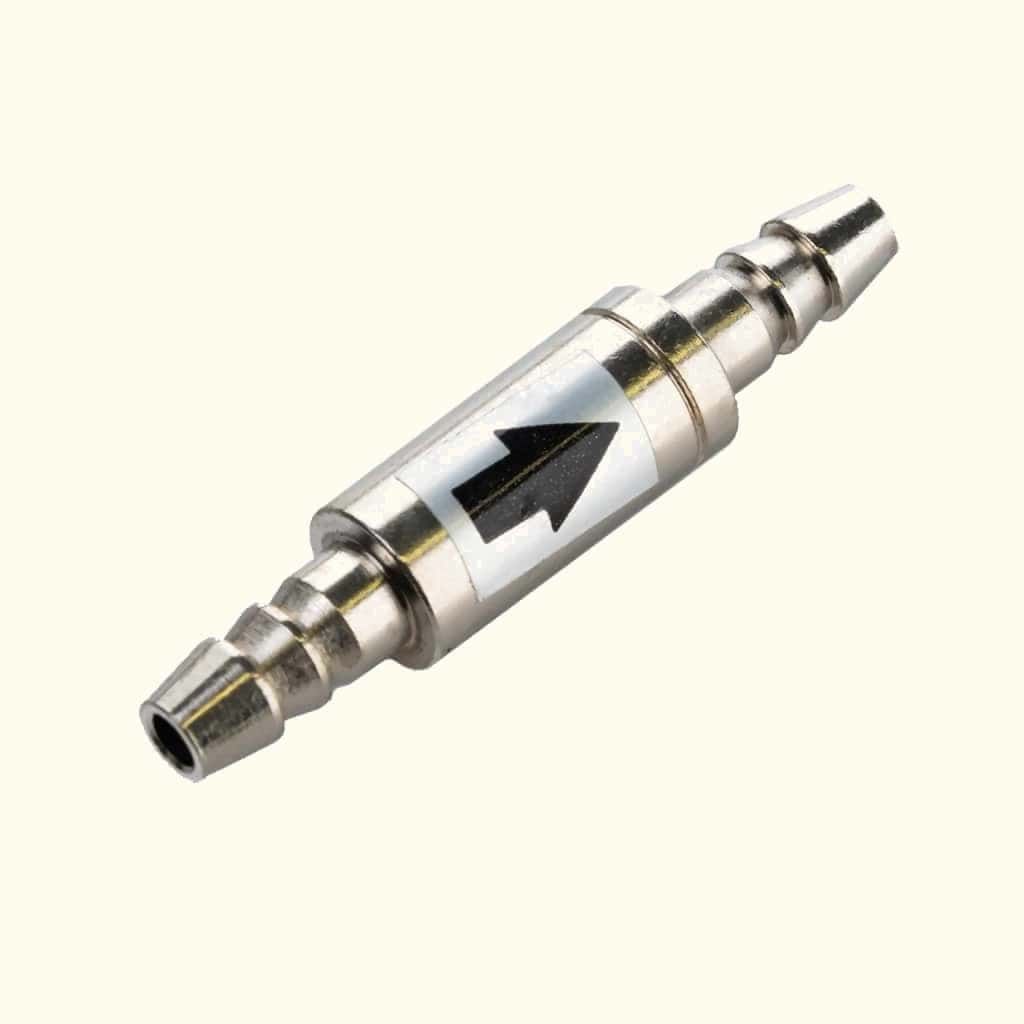
Check valves serve an equally critical role in CO2 injection systems, though with some additional considerations.
Use CO2-Rated Valves for Pressurized Systems
Standard plastic check valves work for low-pressure CO2 setups such as yeast reactors. However, pressurized CO2 tanks produce higher pressure and acidic byproducts like carbonic acid. Over time, these can degrade standard valves. Best practice requires a CO2-rated check valve made from chemically resistant materials like acetal or stainless steel for pressurized systems.
Installation Principles Remain Identical
Even with CO2, the rule remains the same: CO2 cylinder, then regulator, then check valve, then diffuser. Place the valve close to the regulator, above water level, with the flow arrow pointing toward the tank. This prevents acidic water from siphoning back into the regulator and corroding internal components.
Frequently Asked Questions About Aquarium Check Valve Installation
Where exactly should I place the check valve on my airline?
Install the check valve as close to the air pump outlet as possible, ideally 4 to 5 inches away, and position it above the tank rim. This placement minimizes unprotected tubing length and prevents hydrostatic pressure from building up in the line.
How do I know which direction the check valve should face?
Locate the embossed arrow on the valve body and ensure it points toward the aquarium. The flapper end (where the internal colored bar sits) connects to the pump, while the open end connects to the airstone or tank accessory.
Can I skip the check valve if my air pump sits above the tank?
While gravity reduces immediate risk when the pump is elevated, best practice recommends installing a check valve regardless. Accidental pump displacement or tipping can eliminate the height advantage and trigger backflow.
What causes water to enter the air pump?
Water enters the pump when the check valve is missing, installed backward, submerged below the waterline, or has failed mechanically. Any of these conditions allows siphoning during a power outage.
Do I need a special check valve for CO2 systems?
Standard plastic check valves work for low-pressure CO2 setups like yeast reactors. Pressurized CO2 tanks require CO2-rated valves made from chemically resistant materials to handle higher pressure and acidic carbonic acid byproducts.
How often should I replace my check valve?
Inspect the valve every 3 to 6 months and replace it when the flapper sticks, the seal weakens, or the plastic shows cracks or discoloration. Most valves last 1 to 2 years under normal conditions.
Key Takeaways for a Safe Aquarium Check Valve Installation
Proper aquarium check valve installation protects your pump, prevents flooding, and maintains warranty coverage. Install the valve immediately after the pump, position it above the waterline, and ensure the arrow points toward the tank. Follow the correct component sequence, replace hardened tubing, and inspect the valve every few months. For CO2 systems, use valves rated for chemical resistance and pressure. This small, inexpensive component delivers massive peace of mind and should never be skipped in any aquarium setup.