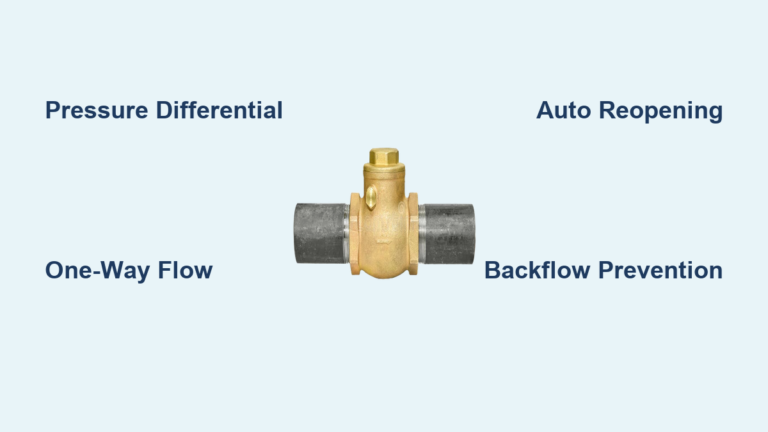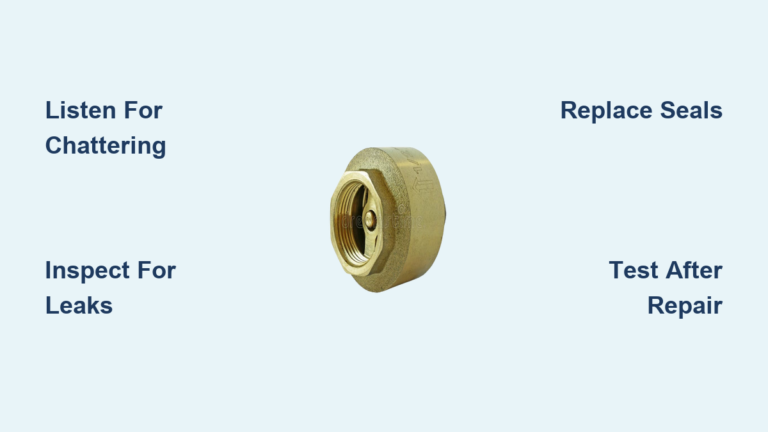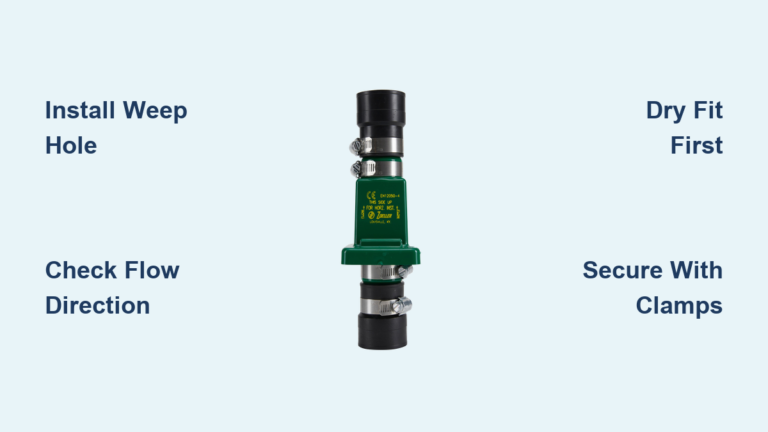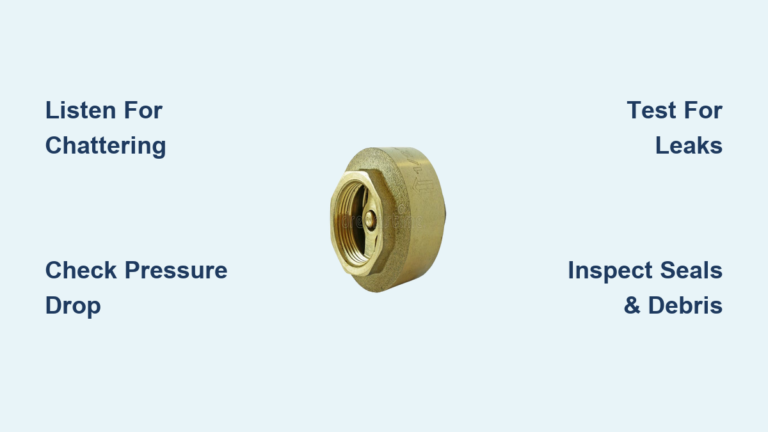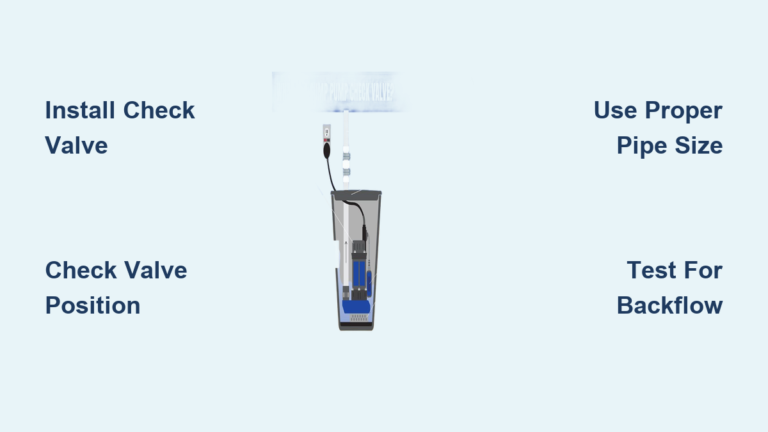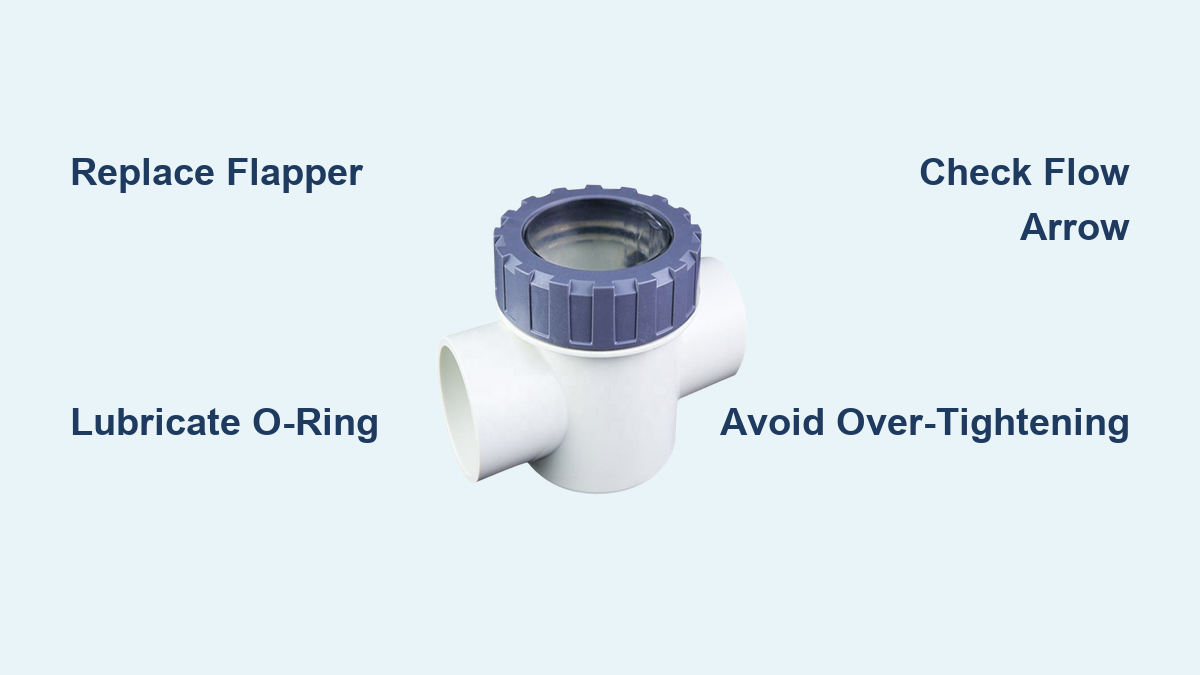
If your spa mysteriously empties every time the pump shuts off, a faulty pool check valve is almost certainly to blame. This one-way valve stops water from flowing backward into the pool when the system powers down. When it fails, gravity pulls spa water back down through the plumbing, wasting water, driving up chemical costs, and potentially damaging equipment. The good news is that most failures trace back to worn internal parts like the flapper, spring, or O-ring, all of which you can replace in under 30 minutes with basic tools.
This guide walks you through diagnosing a failed check valve, identifying your specific valve type, replacing internal components, and validating the repair. You will learn how to avoid common mistakes like cross-threading, incorrect orientation, and using the wrong lubricant. Whether your system uses a Jandy-style cover or a pin-valve assembly, this step-by-step process restores full function and stops unwanted drainage, saving water, time, and money.
Diagnose Check Valve Failure

Spa Drains When Pump Is Off
The clearest sign of a failed check valve is a spa that loses water after the pump stops running. If the water level drops until it matches the main pool’s level, gravity is pulling water back through unsealed plumbing. This only happens when the check valve’s internal flapper fails to close properly.
Do not confuse this with evaporation or cracks in the spa shell. A true check valve issue follows a predictable pattern: water drains only when the pump is off and stops when the pump restarts. If your spa refills each time the system runs but empties afterward, the check valve is not sealing.
Confirm Reverse Flow
To verify the diagnosis, turn off the pump and listen near the equipment pad. You may hear water flowing backward through the pipes, producing a gurgling or rushing sound. Some systems visibly bubble at the return jets in the pool as spa water re-enters.
Another clue is a spa that takes longer than usual to fill. This may mean the flapper is partially stuck open, allowing both forward and reverse flow. Complete drainage indicates total failure.
Identify Your Check Valve Type
Pin Valve vs. Jandy Style
Two main designs dominate residential pool and spa systems: pin valves and Jandy-style units (also found on Pentair CPVC models). Knowing which type you have determines what replacement parts to buy.
- Pin Valve (Modular Guts): Features a removable internal assembly. The flapper, spring, and shaft can be replaced independently. Brands like CMP sell just the “guts” kit, letting you reuse the existing cover.
- Jandy Style (Integrated Cover): The flapper is attached to the cover. Manufacturers sell the entire top assembly as one unit. Replacing it means swapping the whole cover, not just internal parts.
Check your valve body for branding such as Jandy, Pentair, or CMP. You can also inspect how the flapper connects to the cover. If it lifts out separately, it is likely a pin valve. If it is fused to the cover, it is Jandy-style.
Screw-Down vs. Twist-On Cover
Covers come in two styles:
- Screw-Down (8-Screw): Held by eight perimeter screws. This is the most common style and requires a screwdriver but offers secure sealing.
- Twist-On Nut: A large outer nut unscrews counter-clockwise. Faster to remove but less common.
Take a photo before disassembly. Note the flow arrow on the cover or body, as this dictates correct reinstallation.
Gather Tools and Parts
Essential Repair Tools
You do not need specialty tools for this job. Standard hand tools work fine:
- Phillips and flathead screwdrivers
- Pocket knife or plastic pry tool
- Smartphone for taking orientation photos
- Clean rag
Avoid power tools during reassembly, as over-tightening can crack plastic housings.
Required Replacement Materials
Buy these based on your valve type:
- Pin Valve: Flapper kit (includes spring, shaft, and flapper)
- Jandy Style: Complete cover and flapper assembly
- O-rings and gaskets: Always replace these, even if they look fine
- Silicone-based pool lube: Never use petroleum grease, as it swells and ruins rubber seals
Keep spare O-rings on hand. A $5 backup can prevent an emergency service call.
Shut Off System and Depressurize
Power Down the Pump
Before touching anything, turn off the pump at the breaker. Never work on pressurized plumbing. Confirm power is off by trying to start the system.
Even with the pump off, residual pressure may exist. Wait a few minutes after shutdown. For pin valves, slight internal pressure can help slide out the guts, but manual force should be minimal.
Document Valve Orientation
Take clear photos of the valve from multiple angles. Focus on the flow direction arrow. Many repairs fail because the cover is reinstalled backward, blocking water flow entirely.
Labeling the pipe (for example, “to spa”) with tape adds extra insurance for future maintenance.
Remove the Valve Cover
Unscrew 8-Screw Cover
For screw-down models, follow these steps:
- Remove all eight mounting screws completely.
- Use a flat tool or pocket knife to gently pry up the cover.
- Apply even pressure on opposite sides to avoid cracking.
- Lift the cover; the flapper and spring will come with it.
If the cover is stuck, twist it slightly while prying. Age and sealant can bond it to the housing.
Undo Twist-On Nut
For twist-on covers, follow these steps:
- Grip the large outer nut.
- Turn counter-clockwise to unscrew.
- Lift off the nut and attached cover/flapper assembly.
No screws mean faster access, but the same caution applies: do not force it.
Extract and Inspect Internal Components
Remove O-Ring and Flapper
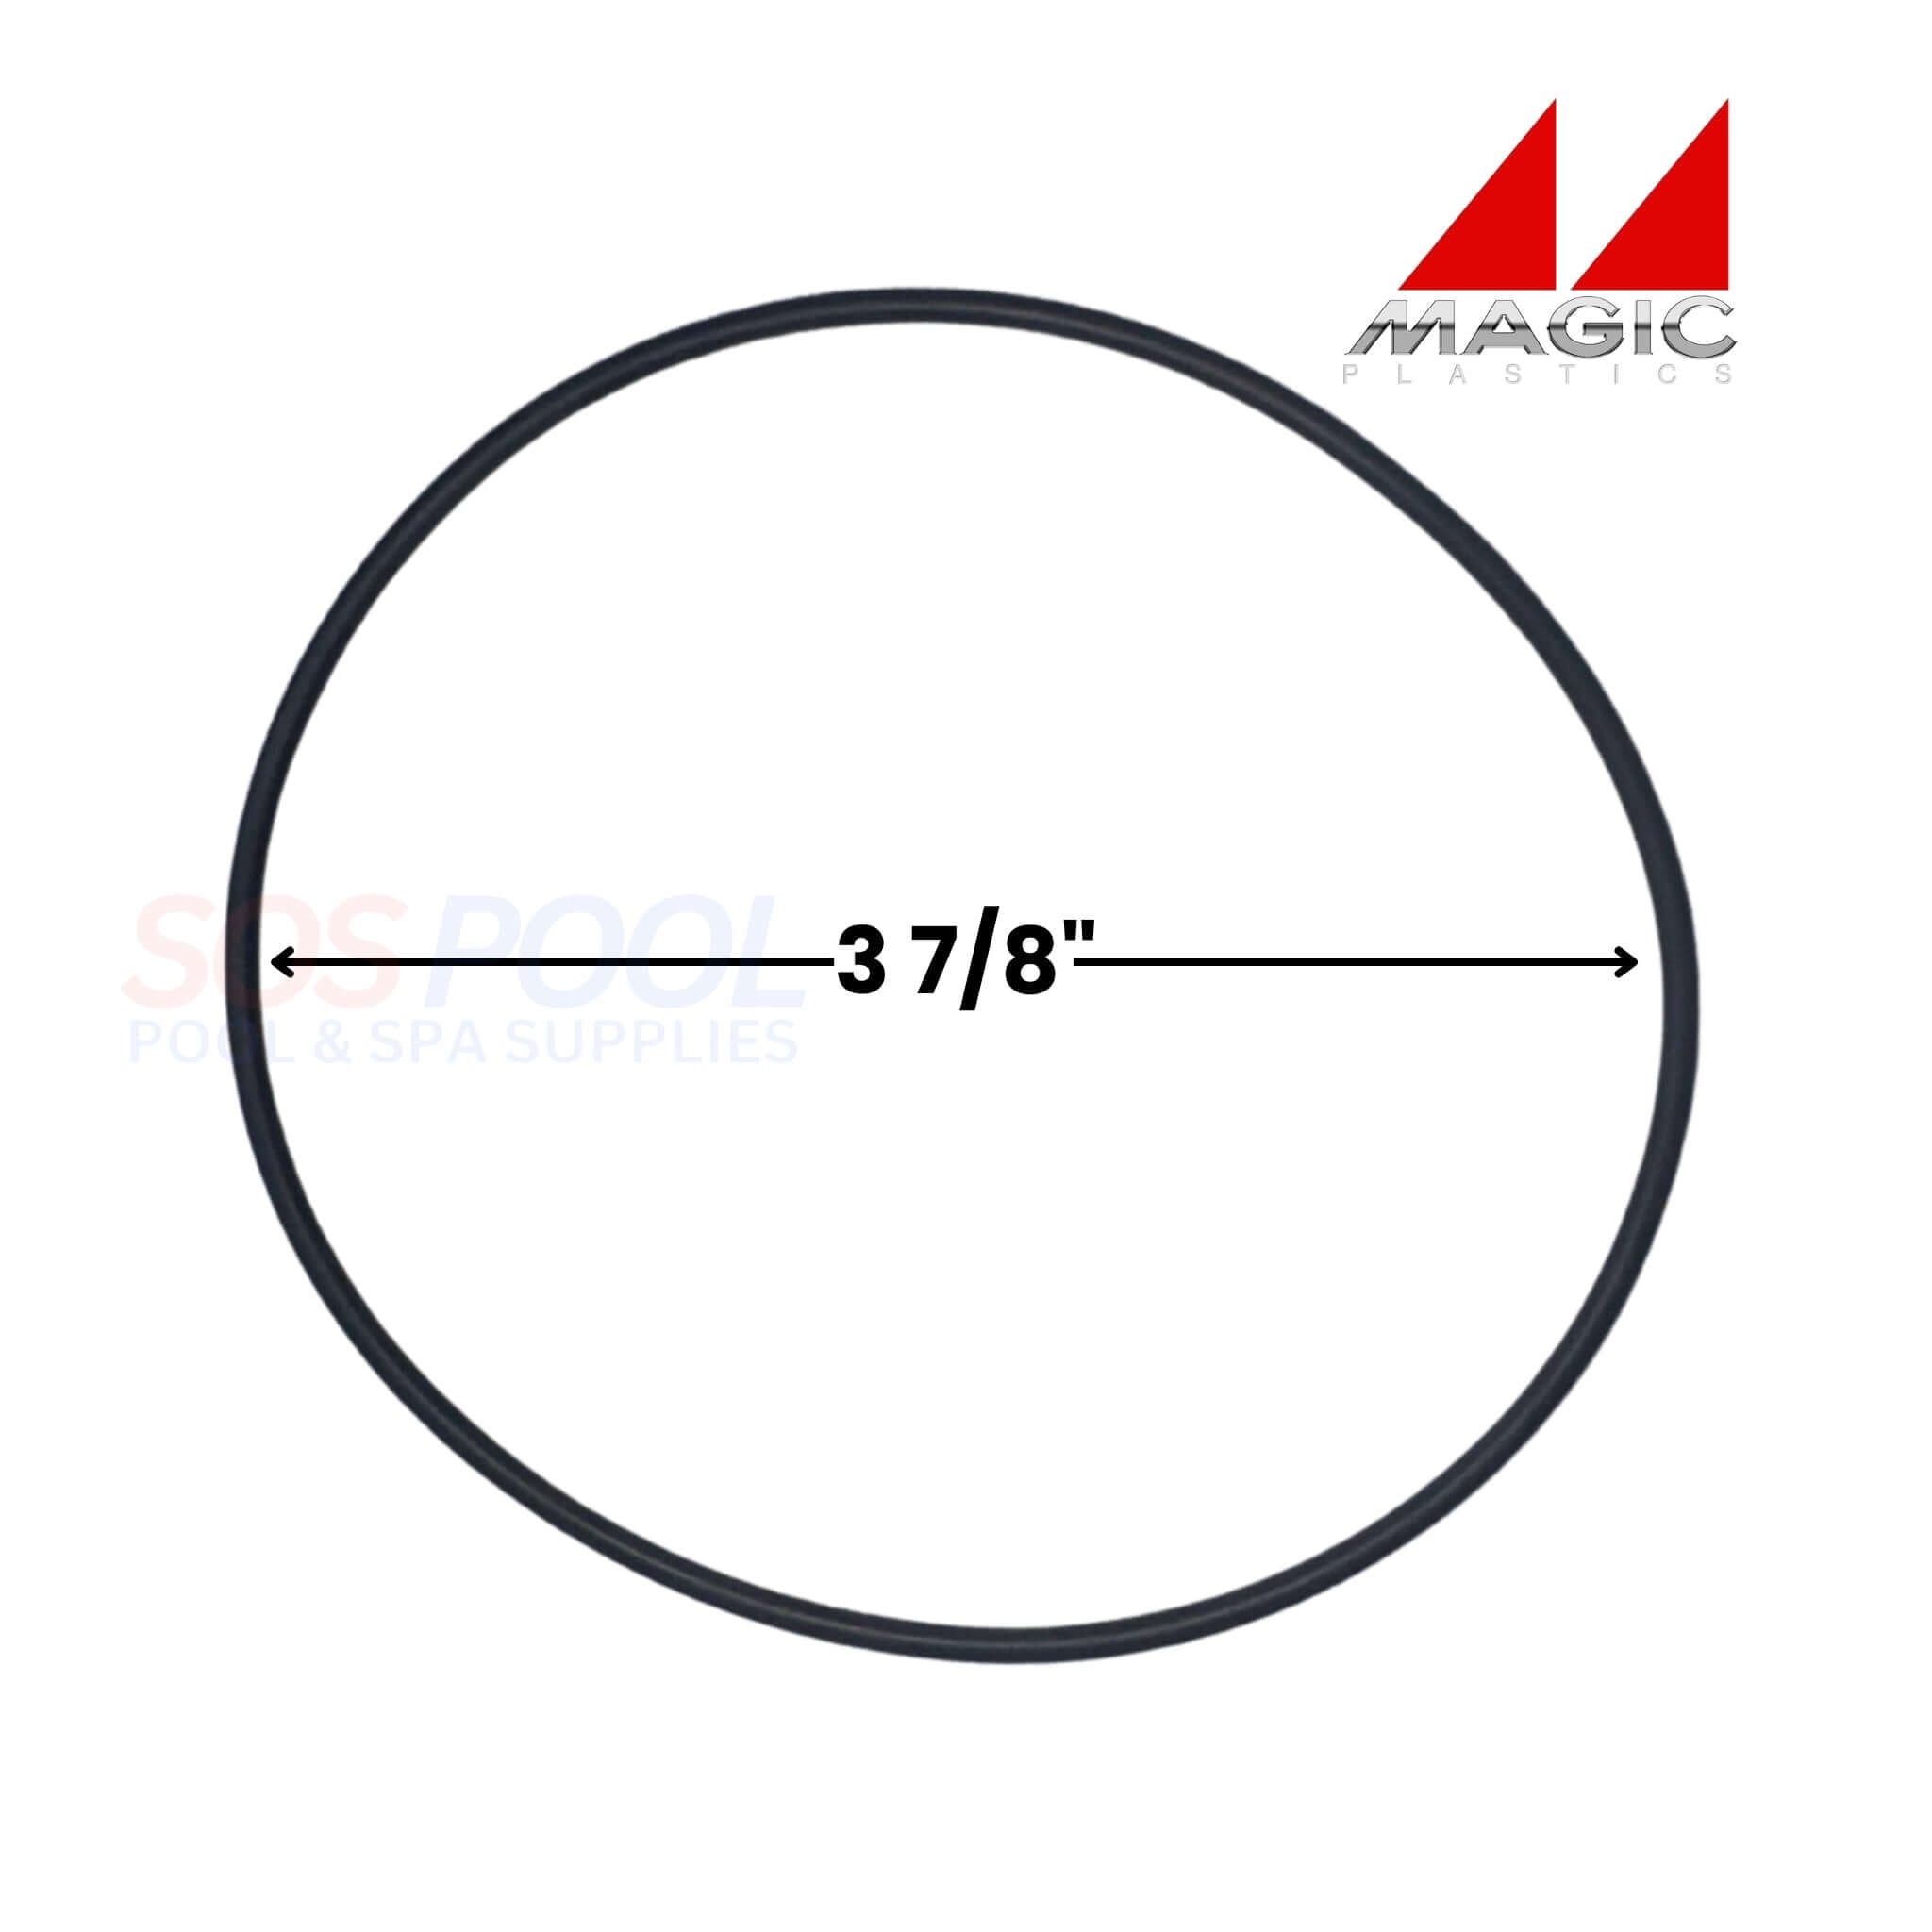
Turn the cover upside down. Pop out the O-ring from its groove. Inspect for cracks, flattening, or brittleness.
Next, detach the flapper assembly:
- Pin Valve: Slide out the metal shaft. Lift the spring off the flapper’s center post. Remove old spring ends from cover holes.
- Jandy Style: The entire cover comes off as one piece, so no disassembly is needed.
Check for Common Damage
Examine these failure points:
- Flapper: Look for missing rubber lining, hardening, cracks, or scale buildup. A smooth, flexible seal is critical.
- Spring: Rust, corrosion, or loss of tension prevents the flapper from closing. Replace if discolored or weak.
- Gasket: If compressed or cracked, it will not seal against the housing. Replace every time.
Compare old parts to new ones. A degraded flapper often shows white mineral deposits or a worn black grommet.
Clean Valve Body and Prep for Reassembly
Wipe Down All Surfaces
Use a clean rag to remove debris, algae, and old lubricant from:
- Interior of valve body
- Cover sealing surface
- Flapper seat where the flapper rests
Even small particles can prevent a tight seal. Rinse with fresh water if needed, but dry thoroughly before reassembly.
Avoid harsh cleaners. Plain water or a mild vinegar solution removes scale without harming components.
Lubricate Before Reinstalling
Apply silicone-based pool lube to:
- New O-ring
- New gasket
- Flapper contact edge
- Housing seal surface
Lubrication ensures a watertight seal and reduces wear. It also makes future disassembly easier.
Never use Vaseline, WD-40, or automotive grease, as these degrade rubber over time.
Reassemble the Check Valve
Install Spring and Flapper (Pin Valve)
For modular assemblies, follow these steps:
- Insert ends of the new spring into holes on the inside of the cover.
- Place the flapper so the coiled spring ends sit inside its arms.
- Flip the spring loop over the flapper’s center post.
- Slide the metal shaft through the cover posts, flapper, and spring.
- Ensure the flapper seal faces downward and is not visible from the top.
Jiggle parts if alignment is tight. The flapper should pivot freely.
Seat the O-Ring
Press the lubricated O-ring into the groove on the cover rim. Make sure it is seated evenly with no twists or pinches.
For Jandy-style units, simply verify the new cover’s O-ring is in place and lubricated.
Reinstall Cover Correctly
Align Flow Direction Arrow
Double-check your photos. The arrow must point toward the spa, in the direction of water flow.
Installing it backward blocks flow entirely. The pump may run, but no water reaches the spa.
Seat Cover and Secure
Place the cover onto the valve body. Align tabs on the housing with slots on the cover.
Then secure using the appropriate method:
- Screw-Down: Start each screw backwards (counter-clockwise) until it drops into the thread. This prevents cross-threading. Then tighten in a star pattern, opposite screws first, until snug.
- Twist-On: Place the cover, then screw the nut on clockwise until hand-tight.
Do not over-tighten. Cracked plastic housings are the leading cause of rework. Use hand tools only.
Test the Repair

Run Pump and Check for Leaks
Turn the pump back on. Watch the check valve area for drips or sprays around the cover.
If you see leaks:
- Shut off the pump.
- Loosen screws slightly.
- Re-seat the cover.
- Retighten in star pattern.
External leaks usually mean the O-ring is not seated or the housing is cracked.
Perform Static Hold Test
This is the real test of your pool check valve repair:
- Let the spa fill completely until water overflows into the pool.
- Shut off the pump.
- Wait for the appropriate duration:
– Quick check: 1 to 2 minutes
– Reliable test: 1 hour
– Definitive test: 24 hours (overnight)
Success: Water level stays high with no backflow.
Failure: Spa drains to pool level.
If it fails:
- Reopen the valve.
- Check flapper orientation (seal down?).
- Clean seat again.
- Verify O-ring is lubricated and seated.
- Confirm flow arrow direction.
A slow leak may mean debris is still trapped under the flapper.
Prevent Future Failures

Inspect Annually
Schedule a yearly check valve inspection. Remove the cover, clean components, and re-lubricate O-rings, even if no symptoms exist.
In saltwater or high-chlorine systems, inspect twice a year. Corrosion accelerates in aggressive environments.
Replace Flapper Every 2–3 Years
Even if it looks okay, replace the flapper assembly every 2–3 years in harsh conditions. Proactive replacement prevents surprise drainage events.
Keep a spare kit on hand. A $20 part avoids a $200 service call.
Maintain Water Chemistry
Balanced water reduces scale and corrosion. Test regularly for:
- pH (7.4 to 7.6)
- Chlorine (1 to 3 ppm)
- Salt (if applicable, per manufacturer)
High chlorine or low pH eats rubber and metal components fast.
Avoid Common Repair Mistakes
Don’t Cross-Thread the Screws
Starting screws clockwise without alignment strips plastic threads. Always begin counter-clockwise to self-align.
Never Use Wrong Lubricant
Petroleum-based greases destroy rubber. Only use pool-grade silicone lube (such as Magic Lube).
Don’t Overtighten
Hand-tight is enough. Power tools crack covers. Snug plus a quarter-turn is the maximum.
Don’t Ignore Debris
A grain of sand under the flapper causes failure. Clean the seat thoroughly before closing.
Frequently Asked Questions About Pool Check Valve Repair
How do I know if my pool check valve is bad?
The most common sign is a spa that drains down to the pool’s water level after the pump shuts off. If water only drains when the system is off and stops when the pump runs, the check valve flapper is likely failing to seal.
Can I repair a check valve without replacing the whole unit?
Yes. Most check valve failures involve internal parts like the flapper, spring, and O-ring. These components can be replaced individually on pin-style valves. For Jandy-style valves, you typically replace the integrated cover assembly, which is still less expensive than replacing the entire valve body.
What lubricant should I use on a pool check valve?
Use only pool-grade silicone-based lubricant, such as Magic Lube. Petroleum-based products like Vaseline or WD-40 cause rubber O-rings and gaskets to swell and degrade over time.
How long does a check valve repair take?
A standard pool check valve repair takes less than 30 minutes once you have the correct replacement parts on hand. This includes disassembly, cleaning, reassembly, and initial testing.
How often should I inspect my pool check valve?
Perform a visual and functional inspection at least once per year. In saltwater or high-chlorine environments, inspect twice annually and consider proactive flapper replacement every 2 to 3 years.
What happens if I install the check valve backward?
Installing the valve with the flow arrow pointing the wrong way blocks water from reaching the spa entirely. The pump will run, but no water flows through. Always verify the arrow points toward the spa before securing the cover.
Key Takeaways for a Lasting Pool Check Valve Repair
A failing check valve is a common but highly fixable issue. By replacing worn flappers, springs, and O-rings, and reassembling with proper lubrication and correct orientation, you restore one-way flow and stop spa drainage. The repair takes less than 30 minutes and costs under $30 in parts for most residential systems.
With annual maintenance and proactive replacement in aggressive water conditions, your check valve can last for years without incident. Keep a spare flapper kit and silicone lube on hand so you are never caught off guard. Bookmark this guide for your next inspection and enjoy a full spa every time you step outside.