A slow drip from your water tank float valve wastes gallons daily and drives up utility bills significantly. Ignoring this issue often leads to mold growth or structural damage inside your bathroom or utility room.
This guide teaches you how to identify your specific valve type, measure for the correct replacement size, and complete the repair yourself. You will learn actionable steps to stop the leak permanently without calling a professional.
Identify Your Specific Float Valve Type

Determining your exact valve model is the first step in any successful water tank float valve repair. Different designs require unique replacement parts and installation methods.
Common Float Valve Designs
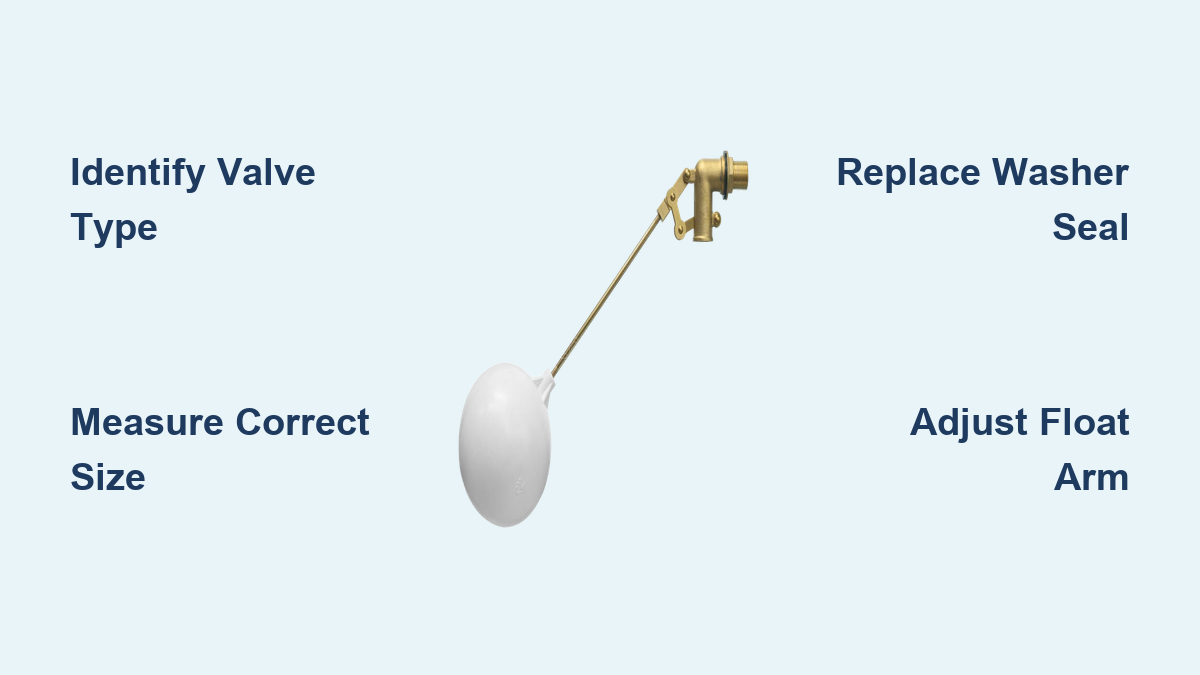
You will typically encounter four main types in residential settings:
* Ballcock Valve: Features a floating ball on a horizontal metal or plastic arm.
* Concealed Top-Entry Valve: Uses a vertical cylindrical float sliding on a central shaft.
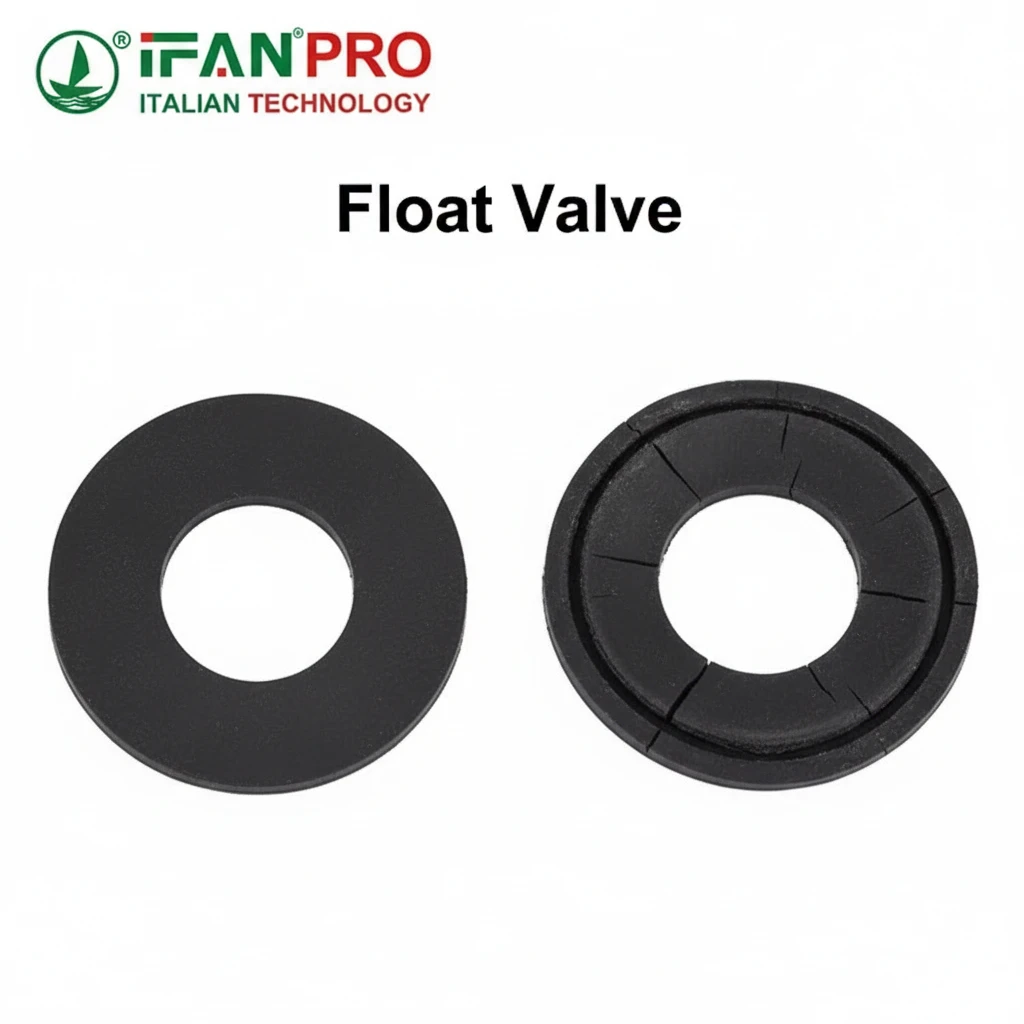
* Piston-Type Valve: Relies on a rubber washer pressing against a seat to stop flow.
* Diaphragm Valve: Uses pressure and a rubber diaphragm, common in pressurized systems.
How to Visually Confirm Your Model
Look inside your tank to see how the mechanism moves. A horizontal arm indicates a ballcock system. A vertical cylinder suggests a modern top-entry concealed valve. If the body is hidden under a cap, you likely have a diaphragm or piston unit.
Measure Dimensions for Correct Replacement Size
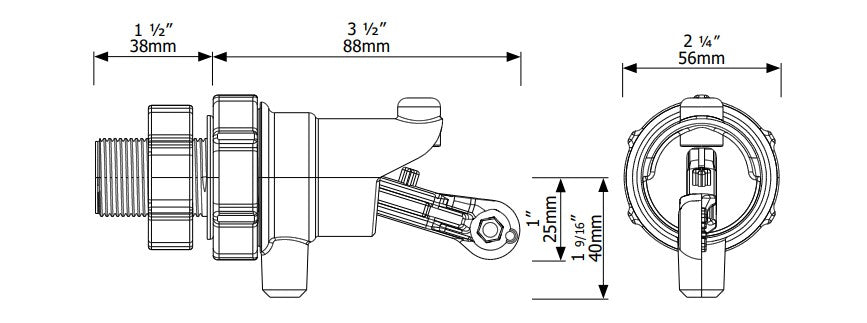
Accurate measurements prevent return trips to the hardware store during your water tank float valve repair. You must match both the thread size and the physical height of the unit.
Shut Off Water and Drain Tank
Follow these safety steps before measuring:
1. Turn off the water supply valve located behind the toilet or near the tank.
2. Flush the toilet or drain the tank completely to remove standing water.
3. Use a sponge to soak up any residual moisture at the bottom.
Record Key Measurements
Use a tape measure to capture these critical dimensions:
* Inlet Pipe Diameter: Measure the thread size, typically ½ inch or ¾ inch NPT.
* Mounting Hole Size: Check the opening in the tank base where the valve connects.
* Valve Height: Measure from the mounting base to the top of the valve assembly.
* Thread Pitch: Count threads per inch if replacing an older, non-standard model.
Match to Standard Sizes
| Valve Type | Standard Size | Typical Use |
|---|---|---|
| Ballcock | ½ inch | Older toilets |
| Top-Entry | ½ inch | Modern cisterns |
| Diaphragm | ¾ inch | Pressurized tanks |
| Universal | Adjustable | Fits most ½” systems |
Select a universal adjustable float valve if your original unit lacks clear markings.
Diagnose the Exact Source of the Leak
Not every leak requires a full replacement. Pinpointing the failure point saves time and money on your water tank float valve repair.
Check External Leak Points
Inspect the exterior of the valve assembly carefully. Water pooling at the base often signals a failed washer or loose compression nut. Check the connection to the supply line and tighten the nut with a wrench if necessary. A drip at the float arm joint suggests corrosion or worn seals.
Inspect Internal Components
Remove the valve cap if your model allows access. Look for cracks, warping, or hardness on the rubber washer or seal. Check the valve seat for pitting or sediment buildup that prevents a tight seal. Shake a plastic float to hear if it sloshes, which indicates it is waterlogged.
Test the Float Mechanism
Manually lift the float arm to see if the water stops immediately. If water continues to flow, the valve has an internal failure. A slow drip is frequently caused by debris on the valve seat or a swollen rubber seal.
Repair Methods Without Full Replacement
You can often fix the issue by replacing small components rather than the entire assembly. This approach is ideal for minor wear during water tank float valve repair.
Replace the Washer or Seal
- Shut off the water and drain the tank completely.
- Unscrew the valve stem using an adjustable wrench.
- Remove the old rubber washer or O-ring from the assembly.
- Install a new washer that matches the original size and thickness.
- Reassemble the unit and test for leaks.
Apply silicone grease to new seals to ensure smooth operation and prevent premature wear.
Clean the Valve Seat
Wrap a pencil eraser or soft cloth around a screwdriver tip. Gently scrub the valve seat in circular motions to remove mineral deposits. Flush out all debris before reassembly. Avoid using metal tools that can scratch the seat and worsen leaks.
Adjust the Float Arm
A misaligned float prevents full closure of the valve. Bend a ballcock arm slightly downward to lower the water level. Turn the adjustment screw clockwise on top-entry valves to lower the cutoff point. Set the water level one inch below the overflow tube.
Replace the Float Valve Entirely

Complete replacement is necessary when internal components are corroded or broken beyond repair.
Choose the Right Replacement Unit
Select a universal fit model like the Fluidmaster 400 or Korky 528 for compatibility. Look for adjustable height settings to match your specific tank depth. Choose brass or stainless steel inlets for durability and ensure the unit has an anti-siphon feature for code compliance. Avoid cheap plastic valves that degrade quickly under constant pressure.
Install the New Valve
- Disconnect the supply line and unscrew the lock nut under the tank.
- Pull the old unit out of the mounting hole.
- Feed the new valve stem through the tank hole from the inside.
- Secure it with the new washer and lock nut, tightening a quarter turn past hand-tight.
- Reconnect the supply line and turn the water back on.
Adjust the float to set the correct water level. Allow 10 to 15 minutes for the tank to fill and stabilize before checking for leaks.
Prevent Future Leaks with Maintenance
Regular upkeep extends the life of your plumbing and prevents recurring water tank float valve repair needs.
Schedule Quarterly Checks
Inspect the valve base monthly for any signs of moisture. Listen for phantom flushing or running water when the toilet is not in use. Clean the inlet filter if your model includes one to prevent debris buildup.
Consider System Upgrades
Install an electronic float switch with a timer for overhead tanks to prevent overfilling. You might also upgrade to a floatless valve that uses electronic sensors. These modern solenoid valves are immune to float failure but require power and cost more upfront.
Troubleshoot Common Post-Repair Issues
Even new installations can encounter problems that require quick diagnosis.
Valve Won’t Shut Off
This usually results from incorrect float adjustment or debris trapped in the valve. Lower the float setting and disassemble the valve to flush out any particles.
Low Water Pressure After Install
Check for a kinked supply line or a partially closed shutoff valve. Ensure the supply valve is fully open and replace old flex hoses if they appear corroded.
New Leak at Connection
This often happens if the nut was over-tightened or a washer is missing. Tighten the nut gently and inspect the rubber or fiber washer for proper placement.
When to Call a Professional Plumber
Most water tank float valve repair tasks are suitable for DIY enthusiasts. However, you should seek professional help if the tank mounting hole is cracked or stripped. Call a plumber if you are dealing with a pressurized expansion tank or if the supply line leaks at the wall connection. Professional assistance is also wise if you are unsure about pipe threading or water pressure regulation.
Frequently Asked Questions About Float Valve Repair
What size float valve do most toilets use?
Most residential toilets use a standard ½ inch NPT inlet size. However, some older models or pressurized tanks may require a ¾ inch valve, so measuring your specific unit is essential.
How do I know if my float valve is broken?
Signs include continuous running water, a slow drip from the overflow tube, or a waterlogged float that does not rise. If adjusting the float does not stop the flow, the valve likely needs replacement.
Can I repair a float valve instead of replacing it?
Yes, you can often fix leaks by cleaning the valve seat or replacing the rubber washer and seal. This works well if the valve body is not cracked or heavily corroded.
How often should I replace my toilet float valve?
You should replace the valve every 5 to 7 years or immediately if it starts leaking. Regular inspection helps identify wear before it causes significant water waste.
Why is my new float valve still leaking?
Check for debris trapped in the valve seat or an incorrectly adjusted float level. Ensure all connections are tight and that the rubber washers are seated properly without twists.
Key Takeaways for Successful Water Tank Float Valve Repair

Fixing a leaking float valve saves money and prevents water damage in your home. By identifying your valve type, measuring accurately, and following proper installation steps, you can complete this repair in under an hour. Regular maintenance ensures your system remains efficient and leak-free for years to come.
Start your water tank float valve repair today by shutting off your water supply and inspecting the unit. With the right replacement part and these clear instructions, you will stop the drip and restore your plumbing system to perfect working order.