This request is unsafe. # Faulty Check Valve: Symptoms, Causes & Fixes
A faulty check valve can quietly sabotage the performance and safety of nearly any fluid or pneumatic system. From residential well pumps to industrial pipelines, this small one-way component often stands behind baffling problems like water hammer, constant pump cycling, or sudden loss of prime. Although it operates without electricity and relies only on flow dynamics, a failing valve sends unmistakable warning signs long before total breakdown. Catching these early signals and understanding the underlying causes can save you from expensive repairs, extend equipment life, and prevent dangerous backflow incidents.
This guide walks you through identifying, diagnosing, and resolving check valve problems across common systems. You will learn how to spot symptoms like chattering noises and pressure drops, trace failures back to their root causes, and apply proven fixes that restore reliable operation.
Spot the Warning Signs of a Failing Check Valve

Listen for Abnormal Noises
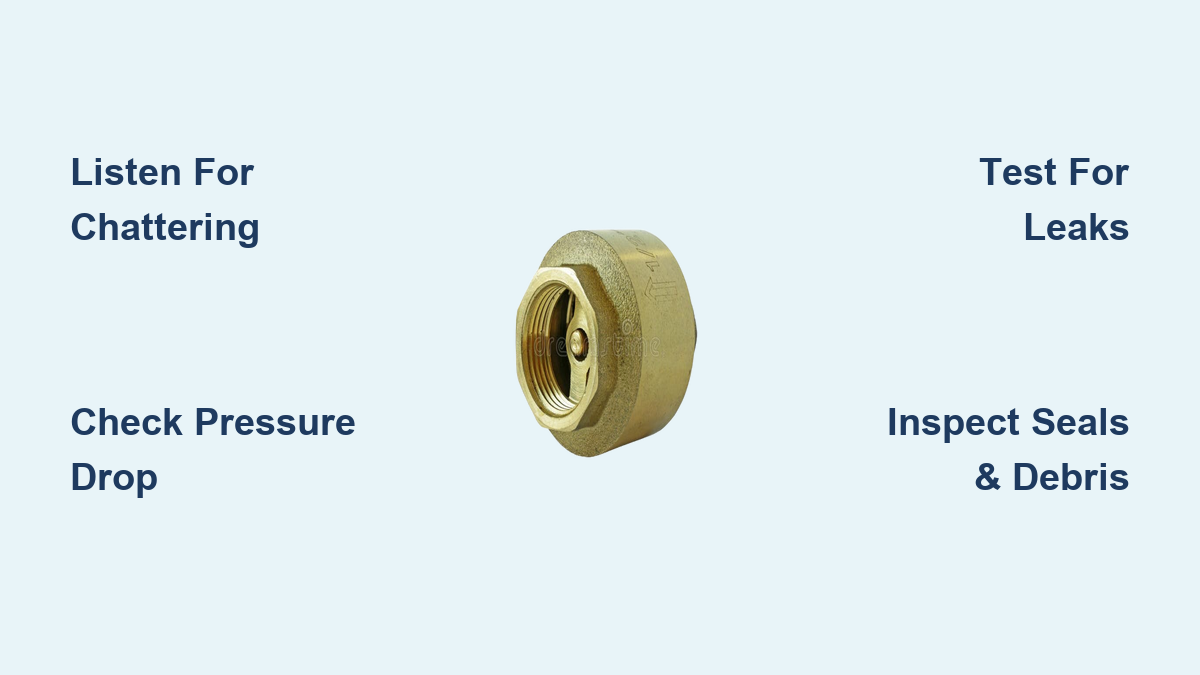
Strange sounds are usually the first clue something is wrong. Chattering or rattling happens when the internal disc rapidly opens and closes due to low flow, low pressure, or worn components. This instability accelerates seal wear over time. Loud banging, commonly called water hammer, occurs when the valve closes too slowly and reverse flow builds momentum before slamming the disc shut. In well systems, a sharp thump at pump startup typically points to a leaking bottom check valve causing water column separation. Hissing or popping in air compressors suggests air is leaking back through the valve when the unit is off.
Monitor Pressure and Flow Behavior
A slow pressure drop with no demand is a classic sign of internal leakage. As fluid flows backward through a failed seal, system pressure declines, triggering frequent pump or compressor cycles. This short-cycling wastes energy, overheats motors, and shortens equipment lifespan. In well systems, delayed water flow after pump activation means water has drained back into the well, proving the check valve is not holding the column. Similarly, reduced fill volume in cisterns occurs when the pump shuts off early despite an empty tank because energy is spent refilling pipes instead of storage.
Watch for Physical and System Issues
Loss of prime is a definitive red flag. The pump pulls air instead of water after shutdown because the entire water column drained back, leaving the pump dry. In bladder tanks, a waterlogged condition is often misdiagnosed as tank failure but is typically caused by a leaking foot valve. External leaks or condensation around the valve body may indicate seal failure or corrosion. In compressors, blown fuses can result from the motor struggling against back-pressure or running continuously due to air leakage.
Diagnose the Root Cause of Check Valve Failure
Assess Material and Seal Degradation
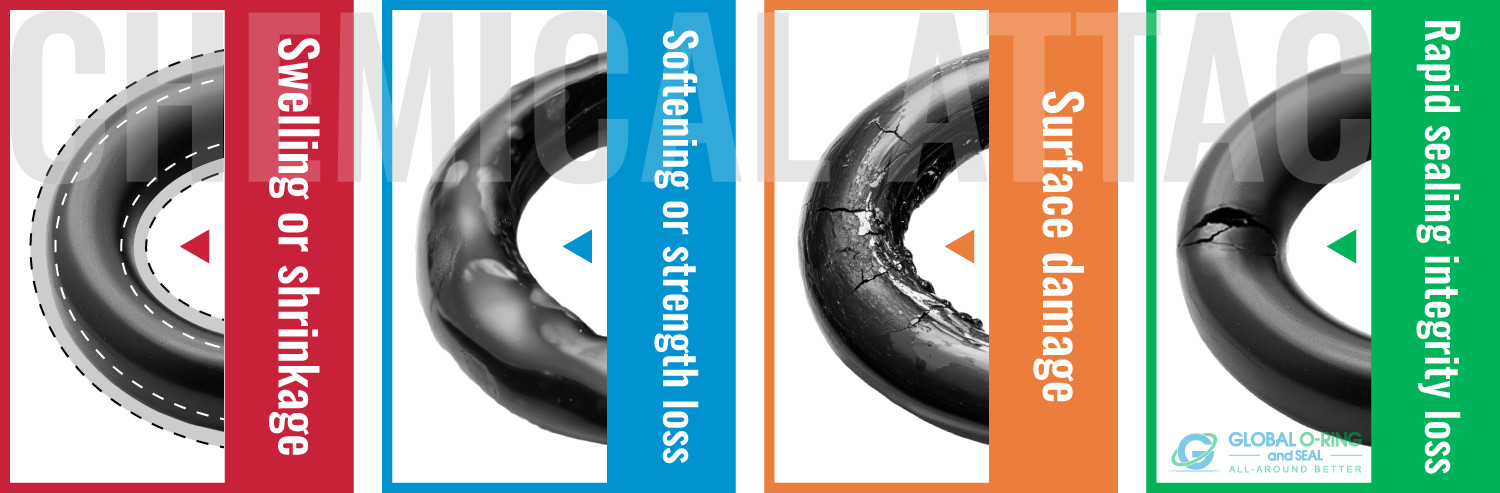
Over time, elastomer seals like O-rings and diaphragms dry out, crack, or lose elasticity, especially in hot or chemically aggressive environments. Rubber components typically last about 5 years before needing replacement. Corrosion and pitting on metal parts, particularly from galvanic reactions between dissimilar metals like brass and stainless steel, can ruin sealing surfaces. In high-temperature systems, heat accelerates material breakdown. If the valve body shows rust, cracks, or discolored seals, material incompatibility or age is likely the culprit.
Check for Debris and Mechanical Wear
Debris, scale, or loose particles can lodge between the disc and seat, preventing a tight seal. Ball check valves are especially prone to sticking when grit is present. In piston or poppet types, worn springs or damaged bolts can hinder full closure. Friction and wear from constant operation degrade moving parts like hinge pins in swing checks, ball surfaces, or seating rings. A valve that opens sluggishly or fails to close fully may be mechanically compromised. Disassemble and inspect for visible damage if accessible.
Verify Sizing and Valve Type
An incorrectly sized valve is a common but overlooked cause of failure. If the Cv (flow coefficient) is too large, there is insufficient pressure drop to fully open the valve, causing chatter and rapid wear. If too small, it creates excessive pressure loss and high-velocity flow that erodes components. Using the wrong valve type, like a swing check in a vertical line without a spring, leads to improper operation. Ensure the cracking pressure matches system conditions. A valve rated for 50 psi will not function in a 20 psi system.
Review Installation Errors
Even a high-quality valve fails when installed incorrectly. Reversed orientation, meaning installing against the flow arrow, blocks forward flow entirely. Insufficient upstream piping (less than 10 pipe diameters of straight run) creates turbulence that disrupts flow and causes instability. In well systems, placing the check valve above 33 feet of water lift risks vacuum formation and column breakage. Thread preparation mistakes, like using low-grade Teflon tape, wrapping it in the wrong direction, or letting tape extend past the thread end, can jam internal parts or cause leaks.
Test Check Valve Functionality
Perform Basic Field Tests
For air compressors, conduct the “finger test”: With the unit off, cover the air filter intake with your finger for 30 seconds. Upon release, if you feel suction or hear a pop, air is leaking back from the tank, confirming a faulty check valve. For RV or low-pressure systems, use the “blow test”: Disconnect the valve and blow through it from the pump side. Air should pass easily. Then blow from the system side. If air flows back, the valve is not sealing.
Conduct a Pressure Decay Test
Isolate the valve using shutoff valves on both sides. Pressurize the upstream side and monitor a gauge. A steady pressure drop over time confirms internal leakage. This test works for water, air, and hydraulic systems. For precise monitoring, use a digital pressure logger over several minutes. No drop means the valve seals properly. Any decline indicates failure.
Use Acoustic and Flow Monitoring
In industrial settings, ultrasonic or acoustic sensors can detect abnormal vibrations or the specific frequency signature of a leaking valve. Flow meters installed upstream and downstream can identify reverse flow, which is a direct indicator of check valve failure. Compare actual flow rates to expected values. Inconsistent or backward flow confirms the issue.
Inspect Internally When Possible
If the valve is accessible, disassemble it carefully. Look for debris between disc and seat, cracked or hardened seals, broken springs, or pitted seating surfaces. Clean all components with a non-abrasive solvent. Reassemble and retest. If the valve still leaks, replacement is necessary.
Fix or Replace the Faulty Check Valve

Select the Right Replacement
Choose a valve that matches the application, media, pressure, and orientation. For corrosive environments, use 304 or 316 stainless steel, PVC, or PP. Avoid brass or cast iron in saltwater or chemical systems. For high temperatures, ensure elastomers like Viton or Buna-N are rated for the service. In well systems, use a spring-assisted piston check rated for deep well use, placed within 25–30 feet of the pump. For space-constrained flanged lines, consider a wafer-style insert valve.
Install with Precision
Always align the flow arrow on the valve body with the direction of fluid movement. Use high-build Teflon tape or pipe dope on threads, wrapping counterclockwise for 3 full turns. Do not overlap the tape beyond the thread end, since loose fragments can enter the system. Tighten fittings 1.5 turns past hand-tight using two wrenches to avoid stressing the body. Ensure 10 pipe diameters of straight upstream piping to prevent turbulence. Verify the valve type supports the installation orientation. Swing checks only work in horizontal lines.
Add Redundancy in Critical Systems
In deep well applications, install two check valves: one at the pump and another every 100–150 feet up the drop pipe. This redundancy prevents total prime loss if one fails and reduces water hammer. In industrial lines, consider dual inline checks or silent check valves with spring assistance to minimize shock.
Prevent Future Check Valve Failures
Follow a Maintenance Schedule
Inspect check valves every 6–12 months, depending on usage. Look for corrosion, leaks, or unusual noises. Replace elastomer-sealed valves every 5 years, even if no symptoms appear. Clean inline filters and flush lines before installing new valves to prevent debris ingress. Lubricate moving parts only if specified by the manufacturer.
Monitor System Performance
Track pump cycle frequency, pressure stability, and fill times. Sudden changes may indicate valve degradation. Install pressure gauges before and after critical valves to detect drops. In automated systems, set alarms for reverse flow or abnormal cycling.
Educate on Common Mistakes
Many failures stem from simple errors: wrong tape application, reversed installation, or poor valve selection. Train technicians on proper procedures. Always consult MSS SP-92 (Valve Users Guide) and MSS SP-61 (pressure testing standard) for best practices. Use only OEM or high-quality aftermarket parts, since cheap valves often use inferior materials that fail quickly.
System-Specific Repair Tips for a Faulty Check Valve
Fix Well System Issues
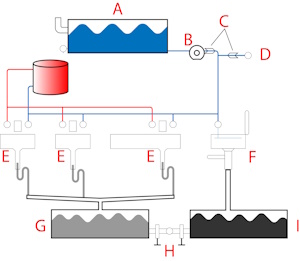
In deep wells, a faulty foot valve mimics pump or tank failure. If the system loses pressure with no usage, pull the pump assembly and inspect the bottom check valve. Replace with a 304 stainless steel piston check. If symptoms persist, check for holes in the drop pipe, which is a separate but similar-acting failure. Always reinstall with proper depth (within 25–30 ft of pump) and secure threading.
Troubleshoot RV Plumbing
In mobile units, freezing is a major cause of failure. Insulate lines and drain systems in cold weather. Test the valve by disconnecting it and performing the blow test. Replace rubber-seated valves every 5 years. Use brass or stainless steel models rated for potable water and vibration resistance.
Repair Air Compressor Valves
A faulty check valve is often the reason compressors blow fuses or cycle excessively. Replacement costs around $20, far less than a new compressor. After removal, inspect the unloader valve. If it fails to release tank pressure, it can mimic check valve issues. Reinstall with proper torque and tape. Test with the finger method to confirm no back-suction.
Maintain Industrial Systems
In chemical or oil and gas lines, backflow poses serious safety risks. Use double-block-and-bleed assemblies or automatic shut-offs downstream. Perform acoustic monitoring for early chatter detection. Replace valves proactively based on fluid compatibility charts and temperature exposure. Document all inspections per regulatory standards.
Frequently Asked Questions About Faulty Check Valves
What causes a check valve to fail?
A check valve typically fails due to material degradation, debris accumulation, mechanical wear, improper sizing, or installation errors. Elastomer seals dry out over time, while corrosion and pitting damage metal components. Wrong valve selection or reversed installation also leads to premature failure.
How do I know if my check valve is bad?
Common signs include chattering or banging noises, slow pressure drops, frequent pump cycling, loss of prime, and external leaks. In air compressors, back-suction during the finger test confirms a faulty valve. Delayed water flow after pump activation is another clear indicator.
Can a faulty check valve cause water hammer?
Yes. When a check valve closes too slowly, reverse flow builds momentum before slamming the disc shut, creating shock waves known as water hammer. This can rupture pipes and damage fittings, especially in systems with long vertical columns or inadequate pressure regulation.
How often should check valves be replaced?
Elastomer-sealed check valves should be replaced every 5 years, even without visible symptoms. Non-elastomer valves can last up to 20 years. Regular inspections every 6–12 months help identify wear before complete failure occurs.
What is the difference between a check valve and a foot valve?
A foot valve is a specific type of check valve installed at the bottom of a well pump or suction line. It combines a check valve with a strainer to maintain prime and prevent debris from entering the pump. All foot valves are check valves, but not all check valves are foot valves.
How much does it cost to replace a check valve?
Replacement costs vary by system. Residential and compressor check valves typically run $10 to $40. Professional well system repairs, including pulling the pump assembly, can cost around $1,600 for basic service or up to $2,000 for a complete overhaul.
Key Takeaways for Resolving a Faulty Check Valve

A faulty check valve is a small part with massive consequences. From water hammer to equipment burnout, its failure disrupts entire systems and leads to costly collateral damage. Recognizing the symptoms, including noise, pressure loss, cycling, or loss of prime, allows you to act before damage spreads. Diagnosing the cause, whether material wear, debris, sizing, or installation errors, ensures you address the root problem rather than just the symptoms.
Replace the valve with one matched to your application, install it following manufacturer guidelines, and maintain it on a regular schedule. Treating the check valve as a critical guardian rather than an afterthought keeps your fluid systems efficient, safe, and reliable. Start by inspecting your most critical valves today, and document baseline performance to catch future deviations early.