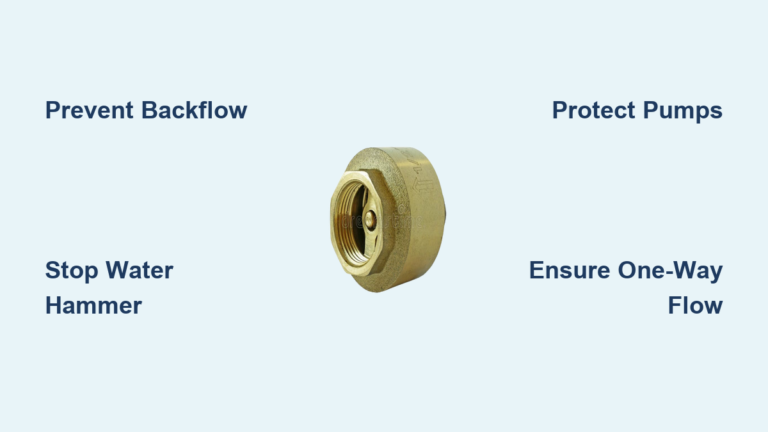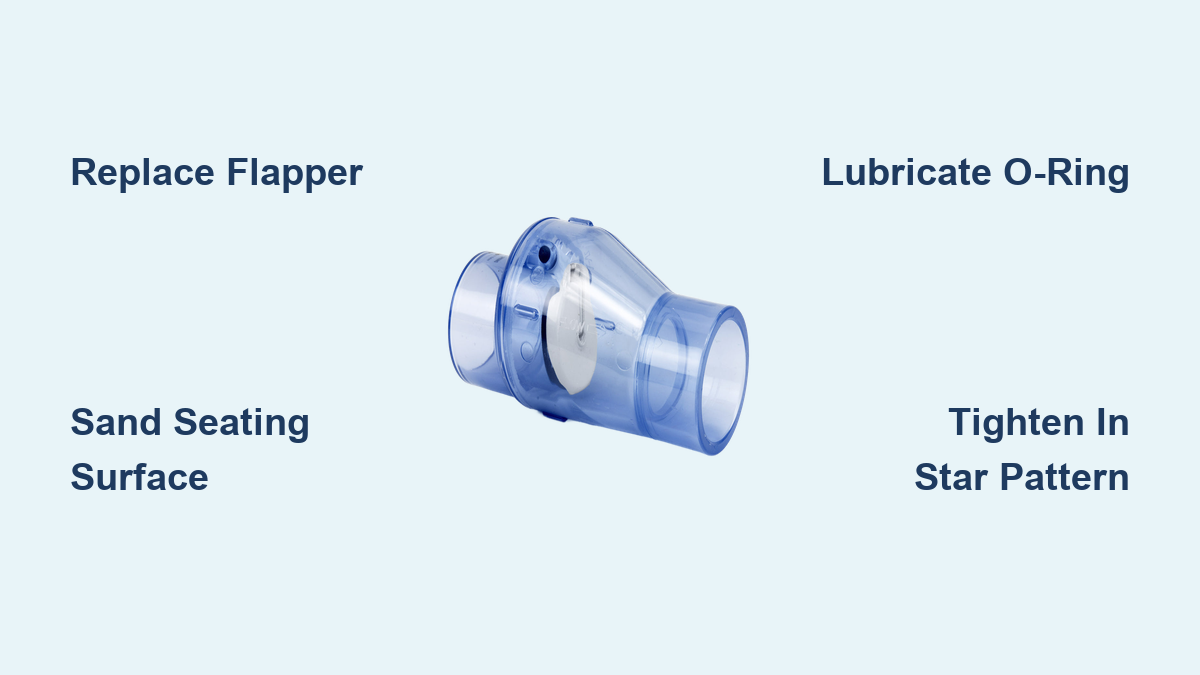
Your spa drains overnight, leaving the spillover bone dry and your water bill climbing. The most common cause is a failed spa check valve, the small one-way gate that holds water at the spillover lip when your pump shuts off. When this component fails, the entire spa volume equalizes with the pool, wasting hundreds of gallons weekly and exposing your heater, heat pump, and chlorinator to corrosive chemical backflow.
This guide covers every step of a complete spa check valve repair, from diagnosis through reassembly and long-term prevention. You will learn how to spot early warning signs, replace the flapper correctly, and fix the most overlooked cause of repair failure: hardened construction residue on the sealing surface. With basic tools and about 30 minutes, you can restore one-way flow and protect your equipment.
Spot the Warning Signs of a Failing Spa Check Valve

Water Drains After the Pump Cycles Off
The clearest symptom of a failed spa check valve is water level dropping to match the pool within minutes of pump shutdown. If your spa fills during operation but empties overnight, the flapper is not sealing against its seat. This wastes water, increases chemical consumption, and drives up heating costs.
Listen for Crunching Noises Inside the Valve
A stiff or chemically degraded flapper often makes a crunching or cracking sound when manually moved. Healthy rubber stays flexible and silent. If you hear resistance or cracking, the rubber has hardened from chlorine exposure and needs replacement, even if no visible splits are present yet.
Inspect Internal Components for Hidden Damage
Open the valve cover and examine these critical parts:
- Flapper: Look for cracks, warping, or stiffness
- O-ring: Check for dry rot, tears, or brittleness
- Spring: Ensure it is not corroded or misshapen
- Seating surface: Run a finger along the inner rim where the flapper seals
Any roughness, scale, or sticky residue on the seating surface means a new flapper will fail to seal properly.
Gather Tools and Replacement Parts
Basic Tools You Already Own
You only need a few simple items for spa check valve repair:
- Phillips screwdriver for cover screws
- Flathead screwdriver to gently pry stuck lids
- Needle-nose pliers to remove retaining pins
- 220-grit sandpaper to smooth the seating surface
- Low-torque drill (optional, for even screw tightening)
No special jigs or pressure-testing equipment required.
Required Replacement Components
Buy these before starting the spa check valve repair:
- New flapper assembly (match brand: Pentair CPVC, Jandy, or equivalent)
- Replacement O-ring (if damaged)
- Cover gasket (if not integrated into the O-ring)
Premium flappers made from high-resilience red rubber resist chlorine and saltwater degradation better than standard black rubber. Specialty suppliers offer bulk options starting around $7 per unit.
Lubricants That Extend Seal Life
Always use:
- O-ring lubricant such as Magic Lube or silicone-based grease
- Light silicone spray on the new flapper face
Proper lubrication prevents O-ring pinching and helps the flapper seat smoothly on its first cycle.
Power Down and Access the Valve
Shut Off Power and Release System Pressure
Turn off the pool pump at the breaker box. Then release trapped pressure using the air relief valve on the filter tank. Never open the check valve under pressure. Pressurized water can damage seals and spray debris.
Remove the Valve Cover Safely
Locate the check valve on the return line near the equipment pad. It usually appears as a white PVC or CPVC housing with a removable lid. Remove the screws securing the cover. If the lid is stuck:
- Gently insert a flathead screwdriver at the seam
- Twist slightly to break the seal
- Lift straight off
The black O-ring often sticks to the valve body during removal. Retrieve it carefully to avoid tearing.
Clean and Prepare the Valve Interior

Remove the Old Flapper Assembly
Discard the old flapper assembly. Use needle-nose pliers to pull out the retaining pin. The spring has minimal tension (about a quarter turn), so no special tool is needed. Replace the O-ring if cracked, shrunken, or brittle.
Wipe Away Gunk and Scale
Clean all internal surfaces of gunk, algae, or mineral buildup. Use a soft brush and mild cleaner. Rinse thoroughly before reassembly. This step alone often restores proper function before any parts are replaced.
Sand the Seating Surface Smooth
This is the most critical step many DIYers skip during spa check valve repair. Over time, construction adhesives or PVC glue harden on the flapper seat, preventing a tight seal even with a brand-new part.
- Use 220-grit sandpaper to smooth the sealing surface
- Sand in circular motions until the surface feels flat
- Wipe clean with a lint-free cloth
- Run your finger over it to confirm no ridges or sticky spots remain
Failure to remove this residue is the number one reason new flappers still leak after replacement.
Install the New Flapper Correctly
Orient the Flapper in the Right Direction
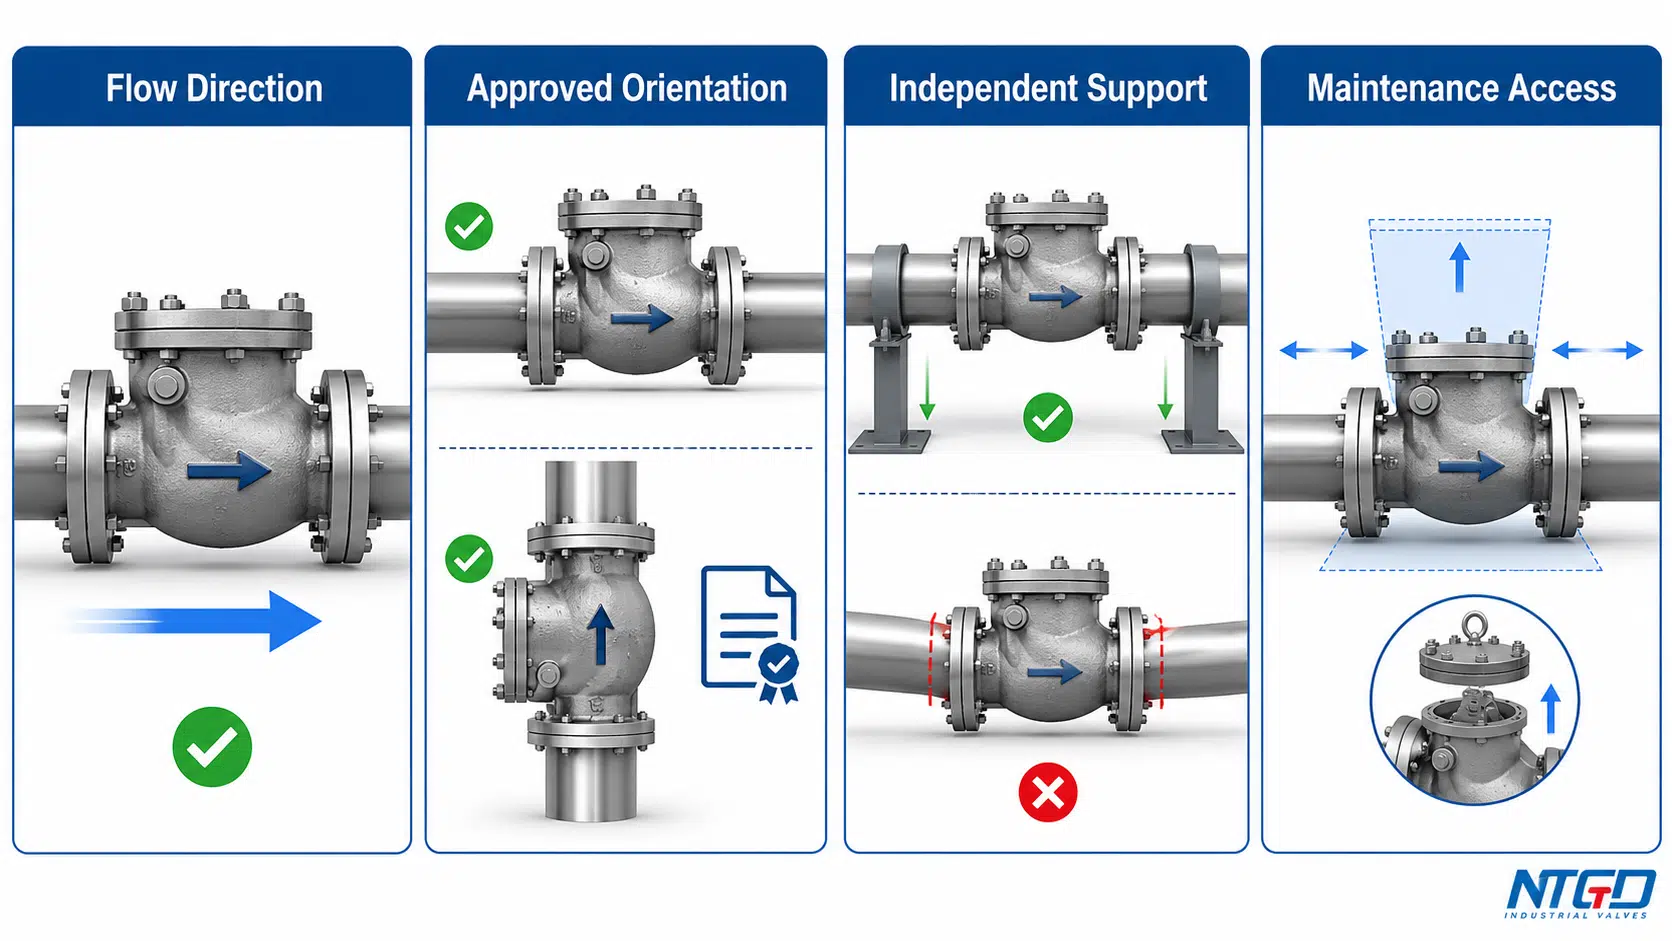
Direction matters. The flapper must allow water to flow into the spa while blocking reverse flow back toward the pool.
- Align the flapper so its face blocks the inlet port
- Match the flow arrow on the valve body (arrow points toward spa)
- Insert the pin through both sides of the assembly
If installed backward, water pressure will push the flapper open instead of closing it.
Secure the Retaining Pin
Slide the pin through using needle-nose pliers. Hold the spring in place with your thumb as you push to maintain tension. Once through, fully seat the pin on both sides. The spring should face outward toward the installer for proper alignment.
Lubricate Before Closing the Valve
Apply a generous coat of O-ring lubricant to the new O-ring. Place it into the lid groove, ensuring no kinks or twists. Then lightly coat the new flapper with silicone lubricant to aid initial sealing and flexibility.
Reassemble and Test the Repair
Tighten Screws in a Star Pattern
Place the lid back on and hand-tighten all screws. Then use a screwdriver or low-torque drill to tighten in a star pattern, moving between opposite corners. This prevents lid warping and ensures even pressure on the O-ring.
Avoid over-tightening, which can crack the housing or squeeze the O-ring out of place.
Power On and Prime the System
Restore power at the breaker. Let the pump restart and prime normally. Watch for leaks around the cover. Any dripping means the O-ring is not seated correctly.
Conduct a 2-Minute Leak Test
Once the spa reaches spillover level:
- Turn off the pump
- Wait 1 to 2 minutes
- Observe the water level
Success means water stays at spillover height. Failure means the level drops. If it drops, disassemble and recheck the seating surface or flapper orientation. While the valve should hold water immediately, the rubber may take up to 24 hours to fully conform and create a permanent chemical-resistant seal.
Prevent Future Check Valve Failures
Schedule Routine Valve Inspections
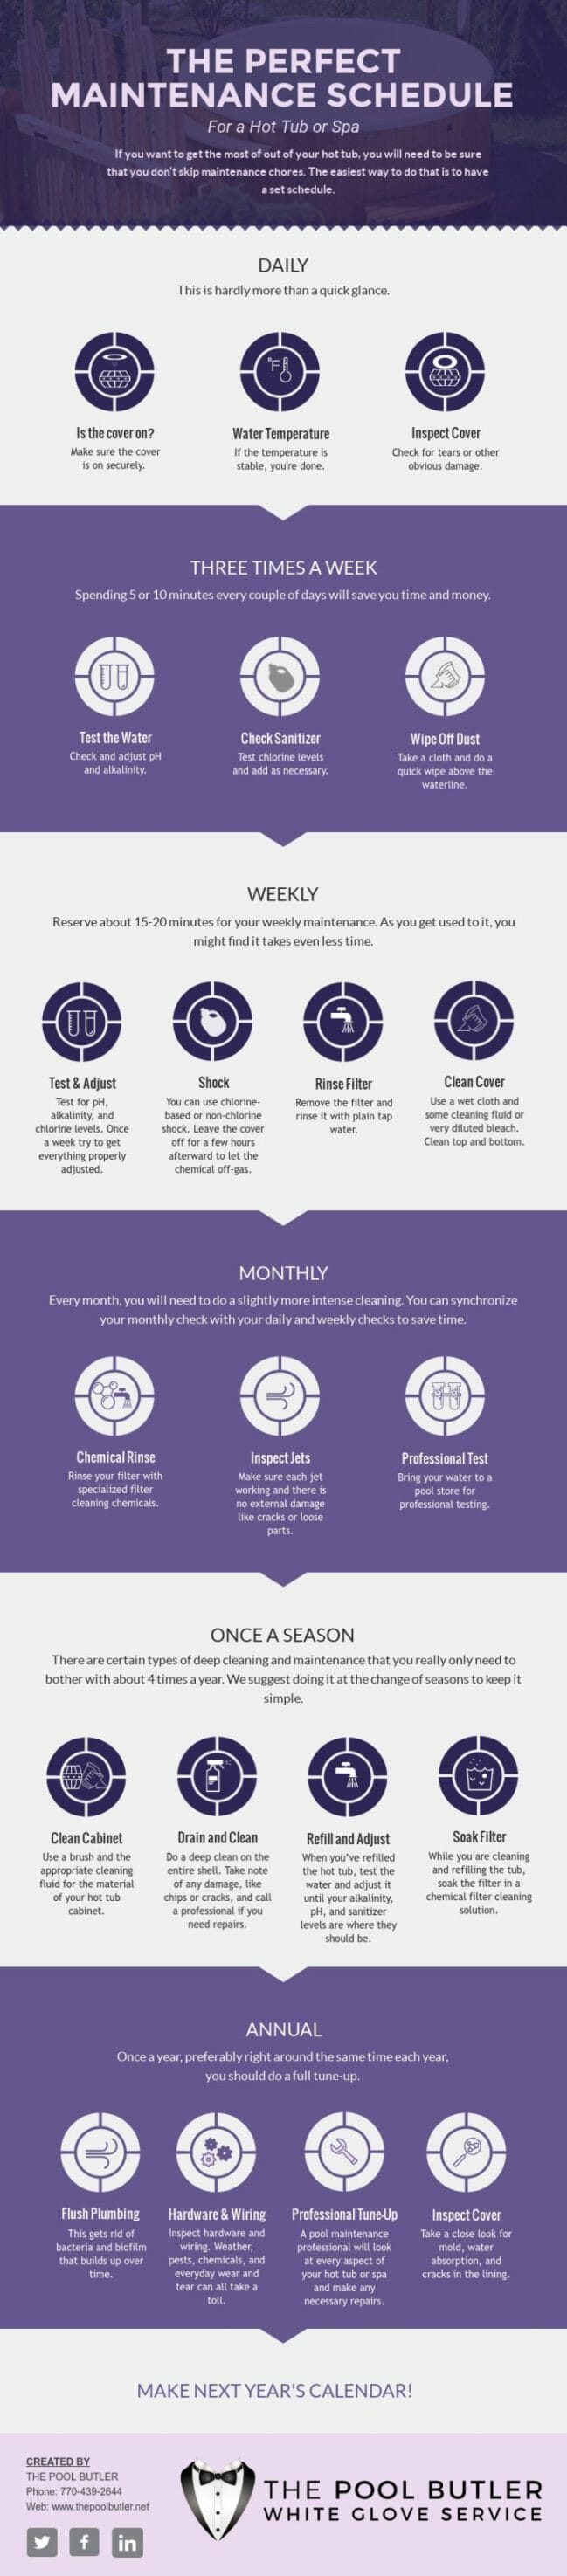
Inspect the check valve every 6 to 12 months, especially if spa usage is heavy, water chemistry fluctuates, or you use a saltwater chlorinator. Early detection prevents water loss and equipment damage.
Maintain Balanced Water Chemistry
High chlorine, pH imbalance, or excessive salt accelerates rubber degradation. Keep these levels within range:
- Free chlorine: 1 to 3 ppm
- pH: 7.2 to 7.6
- Salt (if applicable): follow manufacturer recommendations
Stable chemistry extends flapper life by years.
Re-Smooth the Seat During Every Service
Every time you open the valve, check the seating surface. Even minor scale or buildup can compromise the seal. A quick sanding with 220-grit paper takes seconds but prevents future leaks.
Troubleshoot Common Spa Check Valve Repair Problems
Spa Still Drains After Replacement
The cause is usually leftover glue or debris on the seat. Disassemble and re-sand the sealing surface with 220-grit paper.
Crunching Sound Persists in the Valve
A stiff, chemically degraded flapper causes this. Replace the flapper immediately rather than waiting for complete failure.
Leak Appears at the Cover Joint
A dry, cracked, or unlubricated O-ring is the culprit. Replace the O-ring, apply fresh lubricant, and retighten screws in a star pattern.
Flapper Will Not Seal at All
Incorrect orientation causes this. Remove and reinstall, ensuring the flapper faces the inlet port and aligns with the flow arrow.
Spring Is Bent or Corroded
Long-term moisture and chemical exposure causes this. Replace the entire flapper assembly, which includes a new spring.
Understand Valve Compatibility Before Ordering Parts

Pentair and Jandy Valves Are Nearly Identical
Pentair CPVC and Jandy series check valves share similar designs. In most cases, flapper assemblies are interchangeable between these two major brands. Always verify model numbers, but do not assume a Jandy valve requires a Jandy-only part.
Universal Flapper Design Across Brands
Most residential spa check valves use a standard flapper-and-spring mechanism. As long as the diameter and pin spacing match, universal replacements work across brands. When ordering, provide the valve brand and model, flapper dimensions from the old part, and a photo if uncertain.
High-resilience red rubber flappers offer superior durability in chlorinated and saltwater environments compared to standard black rubber.
Maximize the Lifespan of Your Repair
Why Quality Installation Matters Most
Even the best flapper fails prematurely if the seat is not smooth or the O-ring is dry. The biggest factor in repair lifespan is proper preparation and lubrication, not just part quality.
Avoid Over-Tightening Cover Screws
Use hand tools or a drill with the clutch set to low torque. Over-tightening warps the lid and creates a permanent leak path. Star-pattern tightening distributes pressure evenly and protects the housing.
Allow a Full 24-Hour Seal Cure
Though the valve should stop backflow immediately, the new rubber needs time to fully adapt to the seating surface. For complete chemical bonding and optimal durability, wait a full day before heavy use.
Frequently Asked Questions About Spa Check Valve Repair
How do I know if my spa check valve is bad?
The most obvious sign is the spa water level dropping to match the pool level within minutes of pump shutdown. You may also hear a crunching sound when manually moving the flapper, indicating stiff or degraded rubber.
Can I repair a check valve without replacing the flapper?
Sometimes cleaning the seating surface and lubricating the O-ring restores function. However, if the flapper shows cracks, stiffness, or chemical degradation, replacement is the only reliable fix.
What causes a new flapper to still leak after replacement?
Hardened construction adhesive or PVC glue on the seating surface is the most common cause. Sanding the seat smooth with 220-grit sandpaper before installing the new flapper solves this problem.
How long does a spa check valve repair take?
Most repairs take under 30 minutes, including disassembly, cleaning, part replacement, and testing. Allow an additional 24 hours for the new rubber to fully conform and cure.
Are Pentair and Jandy check valve parts interchangeable?
In most cases, yes. Pentair CPVC and Jandy series check valves share nearly identical designs, and flapper assemblies often swap between brands. Always verify model numbers before ordering.
How often should I inspect my spa check valve?
Inspect the check valve every 6 to 12 months, especially with heavy spa use, fluctuating water chemistry, or saltwater chlorination. Routine inspection prevents water loss and protects expensive equipment.
Key Takeaways for a Lasting Spa Check Valve Repair
A failed spa check valve causes more than water loss. It risks thousands of dollars in equipment damage by allowing corrosive chemicals to backflow into your heater and heat pump. The repair itself is straightforward: replace the flapper, smooth the seating surface, lubricate the O-ring, and tighten the cover in a star pattern.
The most overlooked step is sanding the seat to remove construction residue. This single action determines whether your repair lasts months or years. Combine that with balanced water chemistry and routine inspections, and your spa check valve repair will protect your system for the long haul.
Perform this repair at the first sign of drainage, and inspect annually to keep your spillover spa functioning perfectly.