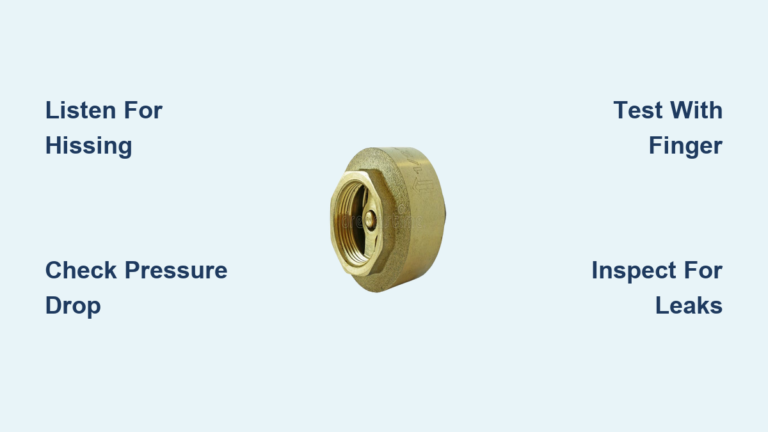
If your air compressor won’t restart when the tank is full, or you hear air hissing from the pressure switch after shutdown, the culprit is often a failed check valve. This small but critical component ensures compressed air flows only one way, from the pump into the tank, while blocking backflow when the motor stops. A faulty valve leads to motor strain, pressure loss, and even burnout.
The good news is that learning how to install air compressor check valve components is a straightforward DIY repair that takes under an hour and costs less than $15. In this guide, you’ll learn how to safely remove the old check valve, install a new one correctly, and verify it’s working, restoring reliable performance to your compressor.
Safety First: Power and Pressure Off
Before touching any part of your compressor, ensure it’s safe to work on. A pressurized tank or live electrical circuit can cause serious injury.
Disconnect All Power Sources
Unplug the compressor from the wall or flip the breaker off. Never rely on the power switch alone. Physically disconnect power to eliminate the risk of accidental startup during the repair.
Fully Drain the Tank
Open the drain valve at the tank’s base and release all air until the pressure gauge reads zero. Then, manually lift the safety relief valve lever to confirm no residual pressure remains. Working on a charged system risks explosive failure of fittings or hoses.
Wear Protective Gear
Put on work gloves and safety glasses. Metal edges can be sharp, and debris may fly during disassembly, especially when using heat to free corroded parts.
Locate and Identify the Check Valve
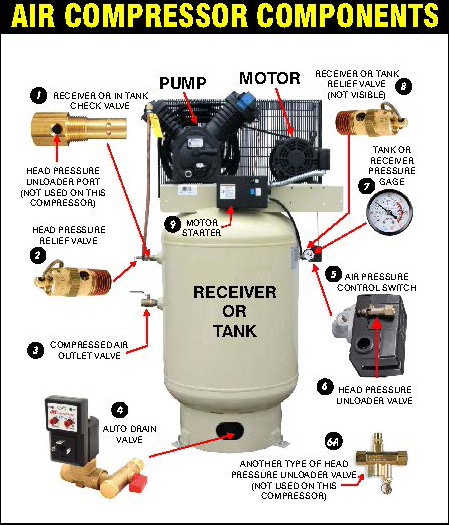
The check valve is typically found where the discharge line connects to the air tank. Knowing its exact location and orientation ensures correct replacement.
Find the Tank Inlet Port
Look for the copper tube or rubber hose running from the pump head to the top or side of the tank. The check valve screws directly into the tank’s inlet port, often hidden under a rubber boot or near the pressure switch.
Confirm Flow Direction
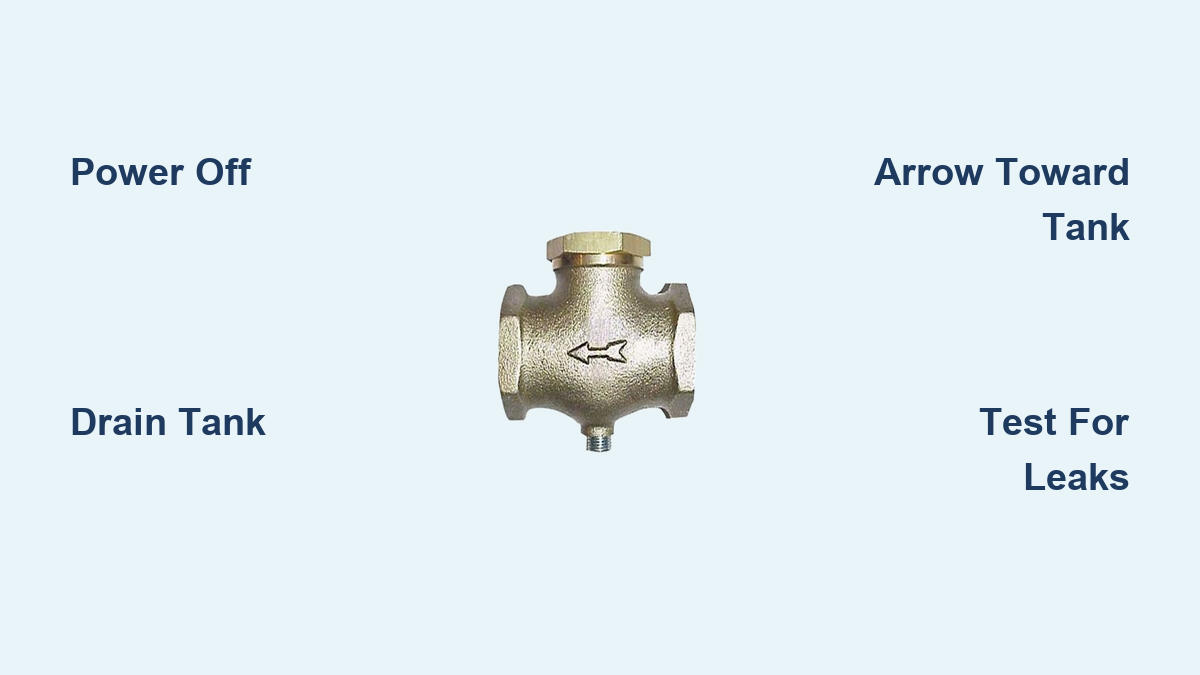
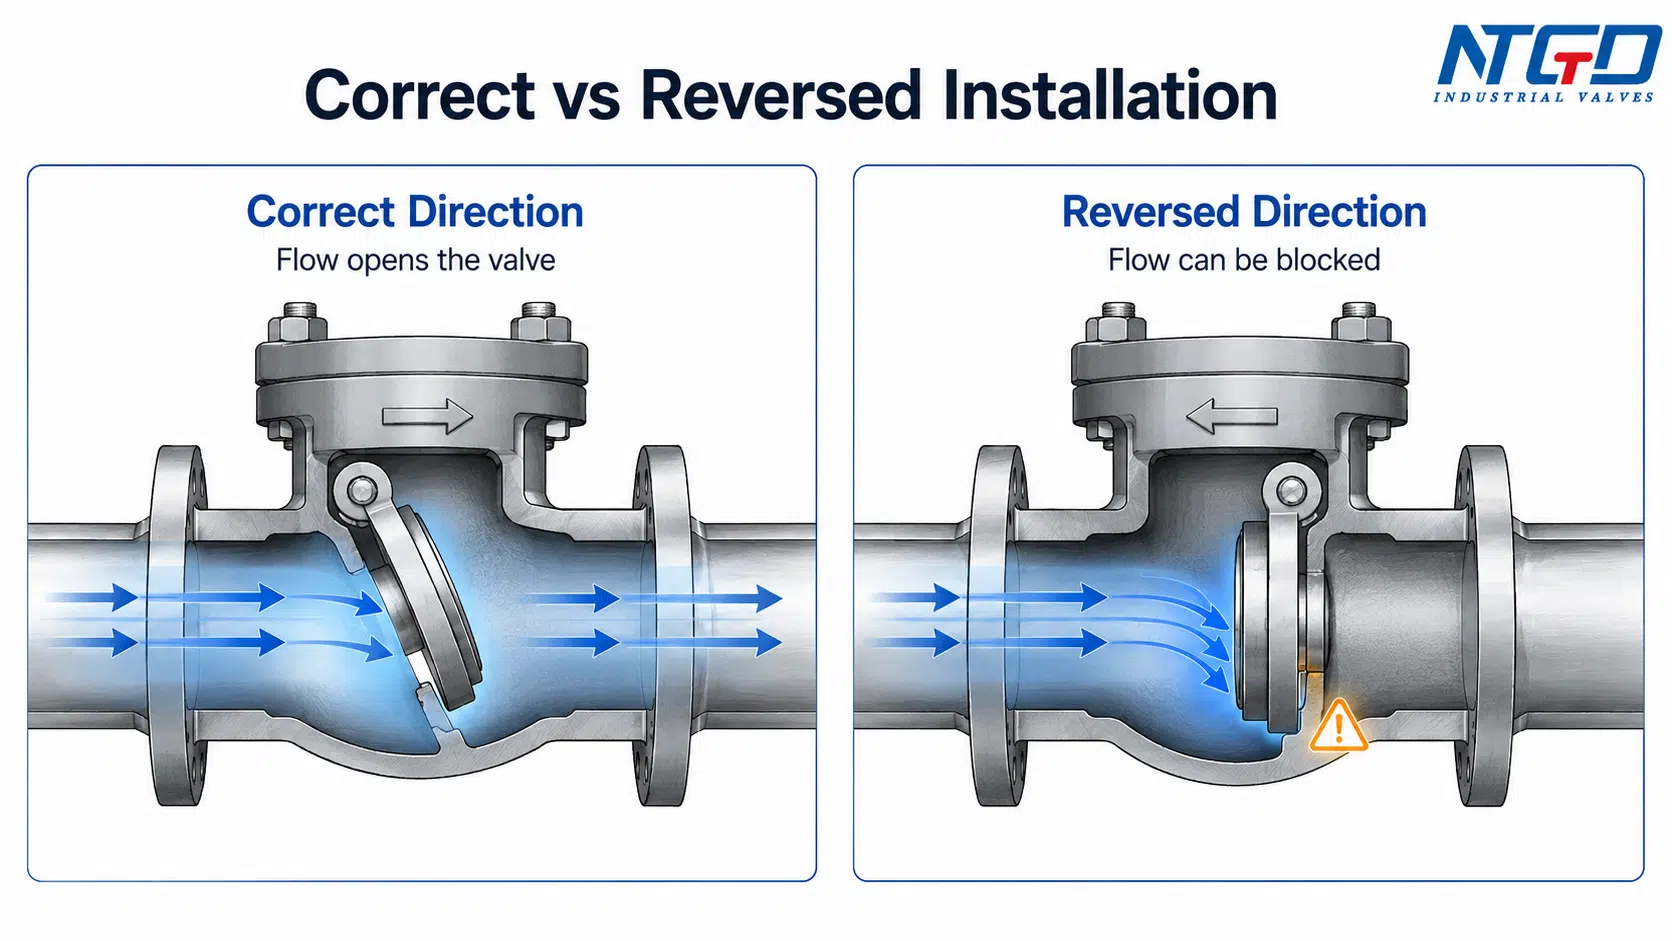
Inspect the valve body for a molded arrow indicating airflow direction. This arrow must point toward the tank. Installing it backward blocks airflow and prevents pressurization. If the old valve is missing or unmarked, note the inlet side (from pump) versus the outlet (to tank).
Recognize Common Designs
Most check valves are brass with 1/4-inch or 1/2-inch NPT threading and a nipple for hose attachment. Some models sit inside a manifold block, requiring cap removal before access.
Remove the Old Check Valve
A seized or leaking valve must be fully removed before installing a replacement. Take care not to damage the tank threads.
Disconnect All Attached Lines
Use pliers to loosen and remove the discharge hose or copper tube from the pump side, the unloader line (small tube to pressure switch), and any outlet fittings. Cut metal hose clamps with wire cutters if they’re rusted or won’t release. Always replace clamps with new ones during reassembly.
Unscrew the Valve
Use an adjustable wrench or socket (commonly 3/4″) to turn the valve counterclockwise. Apply steady pressure and do not jerk or force it.
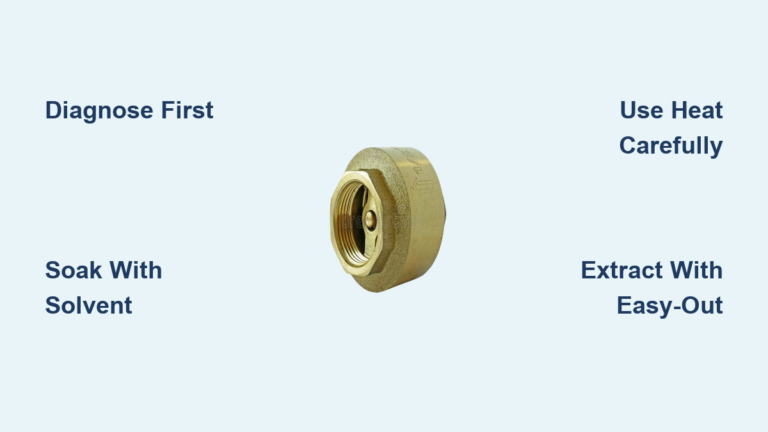
Handle Seized Valves Safely
If the valve won’t budge, follow these steps:
- Apply penetrating oil and let it soak for 10 to 15 minutes.
- Use a propane torch to gently heat the valve base (not the tank) to expand the metal and break corrosion bonds.
- Try loosening again with the wrench. Avoid excessive heat because overheating weakens the tank.
For manifold-mounted valves, remove the cap first with a ratchet, then extract the internal valve using needle-nose pliers.
Prepare and Install the New Valve
A proper installation prevents leaks, ensures correct airflow, and protects your compressor’s lifespan.
Verify Replacement Compatibility
Match the new valve to the original by thread size (1/4″ or 1/2″ NPT), pressure rating (must meet or exceed compressor max PSI), and physical length (especially if connecting copper tubing). Most standard replacements cost between $10 and $12 and are available at hardware stores or online.
Check for Pre-Applied Sealant
Many modern valves come with factory-applied thread sealant. Do not add extra tape or compound if present, because over-sealing can cause debris to enter the system.
Apply Sealant Only If Needed
If no sealant exists, wrap 2 to 3 layers of PTFE (Teflon) tape clockwise around the male threads. Alternatively, use liquid thread sealant rated for air systems.
Hand-Start Before Tightening
Screw the new valve into the tank port by hand to ensure straight threading. Cross-threading can ruin the tank’s port and require expensive replacement.
Orient the Flow Arrow Correctly
Double-check that the arrow on the valve body points toward the tank. This is the single most critical step. Reverse installation stops airflow and may damage the pump.
Final Tightening
Use a wrench to snug the valve securely. Do not over-tighten, as this can crack the brass body or strip the tank threads. A firm 1/4 to 1/2 turn past hand-tight is sufficient.
Reconnect Hoses and Fittings
Secure connections prevent dangerous air leaks and ensure system integrity.
Reattach Discharge Hose
Slide a new hose clamp onto the rubber hose, then push the hose firmly onto the valve’s nipple. Position the clamp just behind the barbed edge.
Secure with Proper Tools
Use end-nip pliers to compress the clamp tabs tightly. Standard pliers may not fully close tab-style clamps, leading to blowouts under pressure.
Reconnect Unloader and Outlet Lines
Reattach the small tube to the pressure switch and any downstream fittings. Ensure all connections are snug but not overtightened.
Test the Installation
Verify your work before declaring the repair complete.
Check for Leaks at Startup
Close the tank drain, restore power, and start the compressor. Watch all connections for hissing or vibration. Even small leaks can escalate under pressure.
Monitor Motor Start Behavior
The motor should start smoothly without humming or stalling. If it hums, shut off immediately. This indicates backflow, likely from a backward-installed or defective valve.
Confirm Pressure Build-Up
The tank should reach cut-off pressure (e.g., 150 PSI) within normal time, typically 5 to 10 minutes for small units. Slow filling may signal a clogged or restricted valve.
Validate Pressure Hold
Once the motor shuts off, listen for a brief 2 to 3 second hiss from the unloader valve (normal depressurization of the pump head) and watch the gauge. Pressure should remain stable for hours. If pressure drops continuously, recheck valve direction, seating, and seal integrity.
Troubleshoot Common Post-Install Issues
Even careful installations can have hiccups. Use this quick diagnosis guide.
Motor Humming After Installation
Cause: Valve installed backward or unloader valve stuck closed.
Fix: Shut off power, verify flow arrow direction, and test unloader function.
Air Leaking from Pressure Switch
Cause: Backflow due to improper seal or damaged valve.
Fix: Re-tighten or replace check valve and inspect unloader valve seal.
No Pressure Build-Up
Cause: Valve blocked, debris in line, or flow arrow reversed.
Fix: Remove and inspect valve, then blow out the discharge line.
Rapid Pressure Loss
Cause: Minor leak in seating surface or O-ring.
Fix: Remove and clean valve seat, then reapply sealant and reinstall.
Prevent Future Failures
Extend the life of your new check valve with simple maintenance habits.
Inspect Annually
Once a year, drain the tank and visually check the valve for corrosion, hissing sounds, and oil residue (in oil-lubricated models).
Drain Tank Regularly
Empty the tank weekly to remove moisture that causes internal rust. Moisture accelerates seal degradation and valve sticking.
Replace Every 1 to 2 Years
In heavy-use environments, proactively replace the check valve every 12 to 24 months. It’s cheaper than replacing a burned-out motor.
Upgrade System Protection
Install inline filters, moisture traps, or desiccant dryers to reduce oil and water entering the system, especially in modified or high-duty-cycle setups.
Frequently Asked Questions About Air Compressor Check Valves
What does a check valve do in an air compressor?
A check valve allows compressed air to flow only one way, from the pump into the storage tank. It prevents backflow when the motor stops, which protects the pump and helps the motor restart under no-load conditions.
How do I know if my air compressor check valve is bad?
Common signs include the motor humming but failing to start, continuous pressure bleed-down after shutdown, air hissing from the pressure switch, and frequent short cycling. A quick test involves removing the valve and blowing through both ends. Air should pass one way and be blocked the other.
Can I install a check valve backward?
Yes, but the compressor will not build pressure if you do. The flow arrow on the valve body must always point toward the tank. Installing it in reverse blocks airflow entirely and may damage the pump head.
How much does it cost to replace an air compressor check valve?
Standard 1/4-inch or 1/2-inch NPT replacement valves typically cost between $10 and $12. Specialized or brand-specific models may vary, but the repair remains one of the most affordable compressor fixes available.
How often should I replace my check valve?
Inspect the valve annually and consider replacement every 1 to 2 years in heavy-use environments. In dusty, humid, or high-heat cycling conditions, increase inspection frequency to prevent unexpected failures.
Do I need thread sealant on a new check valve?
Only if the valve does not come with factory-applied sealant. If sealant is pre-applied, do not add extra tape or compound. If none is present, wrap 2 to 3 layers of PTFE tape clockwise around the male threads before installation.
Key Takeaways for Installing Your Air Compressor Check Valve
Replacing a check valve is one of the highest return repairs in compressor maintenance, costing around $10 to $12 and taking less than an hour. The most critical steps are fully depressurizing the tank before work, orienting the flow arrow toward the tank, and testing for leaks after installation.
Always replace old hose clamps with new ones and use end-nip pliers for a secure fit. If the motor hums after installation, shut off power immediately and verify the valve direction. With proper installation and annual inspections, your compressor will hold pressure reliably and avoid costly motor damage for years to come.