If you’re dealing with a flooded basement, draining a hot tub, or setting up irrigation from a pond, a submersible water pump can be your most reliable tool. Designed to operate fully underwater, these pumps use centrifugal force to move water efficiently without needing manual priming. Knowing how to use a submersible water pump correctly ensures fast results, prevents motor damage, and keeps you safe from electrical hazards.
This guide walks you through every step from setup and operation to troubleshooting and maintenance. Whether you’re preparing for storm season or managing routine dewatering, understanding the right tools, safety practices, and operational steps makes all the difference.
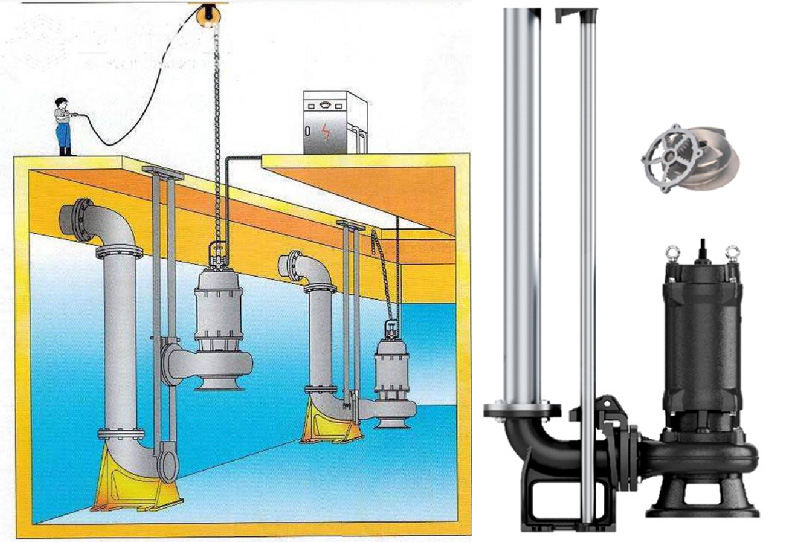
Choose the Right Pump Type for Your Task

Selecting the correct submersible pump depends entirely on what kind of water you’re moving. Using the wrong type leads to rapid wear, clogging, or complete pump failure.
Clean Water vs. Trash Pumps
Submersible pumps come in two main categories, each designed for specific water conditions.
Clean water pumps handle clear, particle-free liquids. These are ideal for draining swimming pools, hot tubs, flooded basements with minimal debris, or irrigation from clean sources. They feature standard impellers that can clog if exposed to mud or solids.
Trash pumps are built for dirty water containing leaves, sludge, sand, or small solids. They feature rugged impellers that prevent clogging during flood cleanup, construction dewatering, or stormwater removal. Using a clean water pump in muddy conditions causes rapid wear or complete blockage.
Match Horsepower to Task Requirements
Pump power directly affects flow rate and lift capacity. Choosing the right horsepower ensures efficient operation without overworking the motor.
Light-duty pumps ranging from 1/4 to 1/3 HP work well for emptying garden ponds, small basements, or hot tubs. Heavy-duty units from 3/4 to 1.5 HP handle deep sump pits, stormwater removal, and continuous dewatering jobs. Higher horsepower moves more gallons per hour and lifts water higher, with some models reaching up to 33 feet vertically.
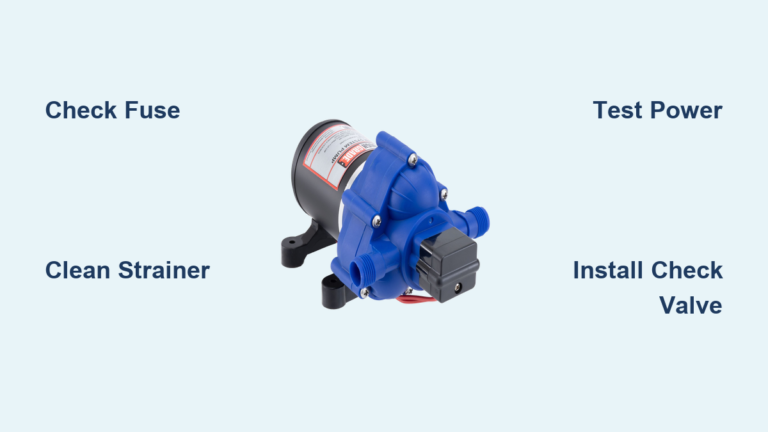
Gather Essential Tools and Equipment
Having the right equipment ready before starting prevents mid-job trips to the hardware store and ensures continuous operation.
Required Setup Components
To operate your submersible pump safely and effectively, assemble these items before starting.
A submersible pump matching your water type and power needs. A discharge hose with 5/8-inch or 1-inch diameter for optimal flow, avoiding narrow 1/2-inch hoses that restrict output by up to 40 percent. A hose adapter, preferably twist-on or screw-on fittings that seal better than clamps and reduce leaks. An outdoor-rated extension cord that must be grounded (3-prong) and GFCI-protected if used outdoors. A power source from a standard 120V outlet or portable generator during outages.
Optional but Helpful Accessories
Certain accessories make pumping easier and more efficient in challenging conditions.
A perforated bucket placed over the pump in muddy areas filters large debris while allowing water intake. Rope or strap assists with lowering the pump into deep pits or wells. A remote-controlled outdoor outlet turns the pump on and off wirelessly, minimizing exposure to wet zones. A paperclip or pin clears anti-airlock ports on some models before startup.
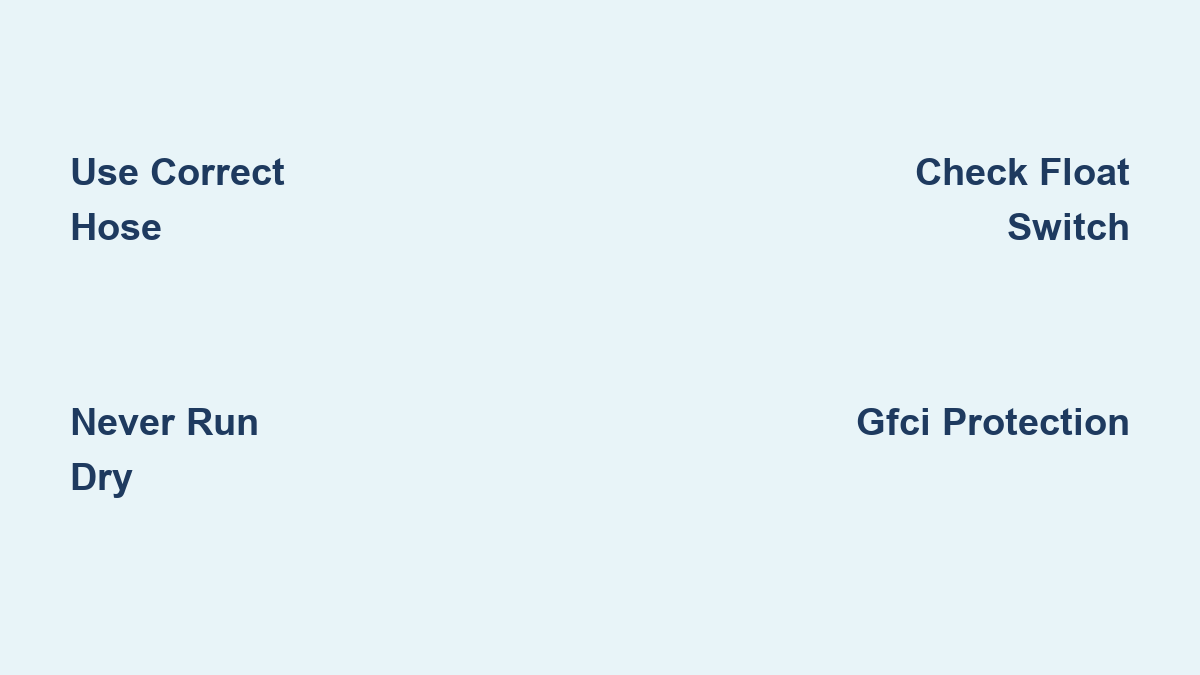
Follow Critical Safety Rules
Safety should never be compromised when operating electrical equipment around water. These rules protect both you and your pump.
Never Run Pump Dry
The motor relies on surrounding water for cooling. Running the pump without full submersion causes overheating, leading to burnout and voided warranties. Always ensure water covers the pump body before and during operation. This is the most common cause of pump failure and is explicitly excluded from most manufacturer warranties.
Prevent Electrical Hazards
Electrical safety around water demands strict attention to detail.
Plug into a GFCI-protected outlet to cut power instantly if moisture is detected in the electrical system. Keep all electrical connections elevated above ground level and away from standing water. Never touch cords or the pump while standing in water, and test GFCI protection before each use.
Avoid Clogging and Damage
Placing the pump directly on silt or mud causes rapid wear and clogging.
Elevate the pump slightly using a brick or platform to prevent sucking up sediment. Use a drilled 5-gallon bucket as a protective cage when pumping from debris-heavy sources like flooded yards or construction areas.
Set Up the Pump Correctly
Proper setup directly impacts performance and pump longevity. Taking time to position and connect everything correctly prevents most common problems.
Position Pump in Water Source
Lower the pump carefully into the water, ensuring it sits flat and stable to prevent tipping. In shallow floods, place it where water is deepest for maximum intake. For wall seepage, bury a perforated bucket at the leak point and insert the pump inside to draw groundwater efficiently.
Keep intake screens fully submerged and away from walls or debris that could block water flow. The pump should rest on a stable surface, not directly on muddy bottoms.
Connect Discharge Hose Properly
Attach the hose to the pump’s outlet using a twist-on or screw-on adapter for secure fit.
If priming is needed, leave the connection slightly loose at startup to allow trapped air to escape. Once water flows steadily, tighten the fitting completely to prevent leaks. Use flat hoses only if space-constrained, as round hoses offer better long-term durability and flow.
Route Hose to Safe Drainage Point
Direct water at least 6 to 10 feet from building foundations to prevent re-entry. Ensure the path slopes away from structures to avoid water flowing back toward the building. Avoid kinks or sharp bends that reduce flow, and connect multiple hoses with secure, leak-proof couplings if needed.
Activate and Prime the Pump
Starting the pump correctly prevents airlock and ensures immediate water flow. This step is where many users encounter problems that delay drainage.
Power On Safely
Plug the pump into the power source only after confirming full submersion and ensuring the float switch moves freely. Elevate the electrical connection off the ground using a dry platform or hook.
Do not rely solely on extension cords rated for indoor use. Outdoor conditions demand weather-resistant wiring with proper grounding and GFCI protection.
Release Airlocks During Startup
Many pumps experience airlock, where trapped air blocks water flow despite the pump running.
Listen for gurgling sounds or lack of discharge. Loosen the hose slightly until water begins spitting out, which vents the trapped air. Once flowing steadily, retighten the connection completely.
Some models feature a small side port designed specifically to release air. Clear this port with a paperclip or similar tool before startup if your pump includes this option.
Operate With Float Switch Control
Float switches provide automatic operation, turning the pump on when water rises and off when it recedes. Understanding their adjustment ensures proper cycling.
Adjust Float Switch Height
Pumps with automatic shutoff use a buoyant float switch that rises with water level.
Slide the clip or adjust the cord to set activation depth. Position the float away from the pump base to avoid interference with suction. Most pumps turn on at 4 to 6 inches of water and shut off around 1.75 inches remaining.
Ensure Free Movement
Check that the float isn’t caught on walls, hoses, or debris before operation.
A stuck float causes continuous running if stuck in the raised position or failure to start if stuck in the lowered position. Test movement manually by gently raising and lowering the float before powering on.
Monitor Performance Closely
Watching the pump during initial operation catches problems before they cause damage. Early detection saves time and extends pump life.
Watch for Steady Water Flow
Within seconds of starting, water should discharge consistently. Intermittent spurts indicate incomplete priming, partial clogs, or low water level.
Inspect the intake screen and clear any blockages immediately. Check that the water source remains deep enough to keep the pump fully submerged.
Listen for Warning Noises
Unusual sounds signal problems requiring immediate attention.
Gurgling or gravel-like noise indicates cavitation from trapped air. Grinding or scraping sounds mean debris has entered the impeller. Humming without flow suggests a possible electrical issue or seized motor.
Shut down immediately if abnormal noises persist, and troubleshoot before continuing operation.
Shut Down and Store Properly
Proper shutdown and storage extend pump life significantly. Rushing this step often leads to damage discovered only when the pump is needed again.
Turn Off at the Source
After drainage completes, switch off at the mains or unplug rather than relying only on the float switch. Remove the pump from water carefully, and drain remaining water from the hose before disconnecting.
Running the pump after water depletion risks severe motor damage from dry operation.
Clean and Dry Before Storage
Rinse the pump with clean water to remove sediment and debris. Wipe down the housing and dry all parts thoroughly to prevent mold and corrosion.
Inspect the cord for frays or cracks, and store in a cool, dry place away from sunlight. Proper care extends pump life to 3 to 5 years or more with regular use.
Troubleshoot Common Problems

Knowing how to diagnose and fix common issues prevents frustration during emergency situations. These solutions address the most frequent problems encountered.
No Water Flow After Startup
Several issues prevent water from flowing despite the pump running.
Airlock in the system blocks water movement. Loosen the hose to vent trapped air. A clogged intake screen restricts flow. Remove and clean the intake filter thoroughly. An undersized or kinked hose creates excessive backpressure. Replace with a 5/8-inch or larger hose and check for kinks.
Pump Runs But Doesn’t Shut Off
When the pump continues running after water is depleted, the float switch is usually the culprit.
The float switch may be stuck in the raised position or set too high. Reposition the float away from obstructions and adjust the shutoff level lower. Check for damaged float mechanism and replace if necessary.
Pump Starts Then Stops Quickly
Premature shutoff interrupts drainage before completion.
The float activates too early, or rapid water drop exposes the intake before pumping finishes. Lower the activation threshold and ensure the pump remains fully submerged until the job is complete.
Overheating During Use
Overheating shortens motor life and often indicates improper operation.
Running dry, blocked ventilation slots, or extended continuous operation cause overheating. Always keep the pump submerged, allow cooling breaks every 2 to 3 hours for long jobs, and follow manufacturer runtime limits.
Optimize Efficiency and Longevity
Small adjustments in setup and operation yield significant improvements in performance and equipment life. These tips maximize your pump’s effectiveness.
Use Correct Hose Size
A 5/8-inch or 1-inch hose delivers significantly higher flow than standard garden hoses. Narrow lines create backpressure, reducing pump performance by up to 40 percent.
Invest in proper discharge hoses rather than relying on whatever garden hose is available. The difference in drainage speed is substantial.
Elevate Pump in Muddy Conditions
Place the pump on a brick, plank, or stand to avoid sucking up silt. Even a few inches of elevation prevents intake blockage and extends impeller life significantly.
This simple step is especially important when pumping flood water or water from muddy construction sites.
Test Before Emergencies
Run your pump annually, even if unused, to verify function before storm season. A failed test discovered during an emergency could mean disaster when flooding hits.
Testing reveals cord damage, float issues, or impeller problems before they cause failures when you need the pump most.
Maintain for Reliable Operation
Regular maintenance prevents unexpected failures and extends service life. Establishing a routine ensures the pump works when needed.
After Every Use
Flush the pump with clean water to remove sediment and debris. Inspect for damage or wear, and dry all components completely before storage.
Clean the intake screen thoroughly, checking for debris buildup that could restrict future operation.
Annually
Test electrical continuity and check plug and cord insulation for damage. Lubricate moving parts if specified by the manufacturer manual.
Most consumer pumps last 3 to 5 years with proper care. Industrial units can exceed 10 years under routine maintenance.
Know Warranty Limitations
Understanding warranty terms prevents disappointment when making claims. Manufacturers explicitly exclude certain types of damage from coverage.
Common Warranty Exclusions
Manufacturers typically void warranties if the pump runs dry. This single condition accounts for most warranty claims being denied.
Always follow instructions precisely regarding submersion requirements. Never operate the pump out of water, and use correct voltage and grounding as specified.
Register the product after purchase for full coverage, and keep receipts as proof of purchase.
Quick Setup Checklist
Before starting any pumping job, verify these items are correct.
Confirm the pump is fully submerged before powering on. Use hose size of 5/8 inch or larger. Secure twist-on or screw-on fitting. Adjust float switch and ensure unobstructed movement. Route drainage at least 6 to 10 feet from foundation. Use GFCI-protected power source. Elevate electrical connections above water. Loosen hose slightly during startup to release air. Tighten once water flows steadily. Verify steady discharge with no cavitation sounds. Turn off at mains after use. Clean, dry, and store properly.
Frequently Asked Questions About Using Submersible Water Pumps
Can I use a submersible pump for dirty water?
Only if you have a trash pump designed for solids. Clean water pumps clog quickly when exposed to debris, mud, or leaves. Trash pumps feature heavy-duty impellers that handle particulate matter without damage.
How deep can a submersible pump lift water?
Most consumer models lift water up to 33 feet vertically. The exact capacity depends on horsepower and model specifications. Check the manufacturer’s ratings for your specific pump.
Why does my pump keep running after water is depleted?
The float switch is likely stuck in the raised position or set too high. Check for debris interfering with float movement, and adjust the activation level lower if needed.
Can I leave a submersible pump running overnight?
It depends on the pump specifications. Some models handle continuous operation, while others require cooling breaks. Check manufacturer guidelines, and monitor for overheating if running extended cycles.
What causes a submersible pump to overheat?
Running the pump without full submersion is the primary cause. Blocked ventilation slots and extended continuous operation also contribute. Always ensure proper water level and allow rest periods during long jobs.
Key Takeaways for Using Submersible Water Pumps Effectively
Using a submersible water pump correctly means faster dewatering, safer operation, and longer equipment life. Choosing the right pump type for your water conditions, whether clean or containing debris, prevents premature failure and ensures efficient operation.
Always prioritize safety by keeping electrical connections dry, using GFCI protection, and never running the pump dry. Proper setup including correct hose sizing, secure connections, and appropriate positioning directly impacts performance.
Regular maintenance after each use and annual testing keeps your pump ready for emergencies. With proper care, most consumer-grade submersible pumps last 3 to 5 years, providing reliable service whenever flooding or drainage needs arise.