Is your spa slowly draining after the pump shuts off? Does your RV water system leak from the fill hose or sputter with air? These symptoms point to a stuck check valve, a small but vital component that keeps fluid moving in one direction. When it fails, backflow occurs, efficiency drops, and costly damage can follow. The good news is that most stuck check valves can be freed with basic tools and straightforward cleaning steps.
In this guide, you will learn how to identify your valve type, safely remove and inspect internal parts, eliminate scaling and debris, replace worn components, and reinstall for reliable performance. You will also discover preventive upgrades that keep your system running smoothly for years to come.
Recognize the Warning Signs of a Stuck Check Valve

Before reaching for tools, confirm the problem is actually a stuck check valve. Misdiagnosis wastes time and effort.
Common System Symptoms
A faulty check valve often reveals itself through specific behaviors:
– Spa or elevated pool feature drains when the pump is off
– Gurgling sounds echo through pipes after shutdown
– Water leaks from the RV fill hose when disconnected
– Pump loses prime or struggles to restart
– Reduced water pressure during normal operation
These issues stem from the valve failing its core job: sealing tight when flow stops. A stuck-open valve allows backflow, while a partially blocked one restricts forward flow.
Listen and Observe After Shutdown
The most telling test happens the moment you turn off the pump. Shut down the system and stand near the spa or elevated feature. If you hear gurgling or see water draining back, the check valve is not closing properly. In RVs, disconnect the water source. Any dripping from the inlet hose means the internal check valve is not holding.
Identify Your Check Valve Type Before Repair
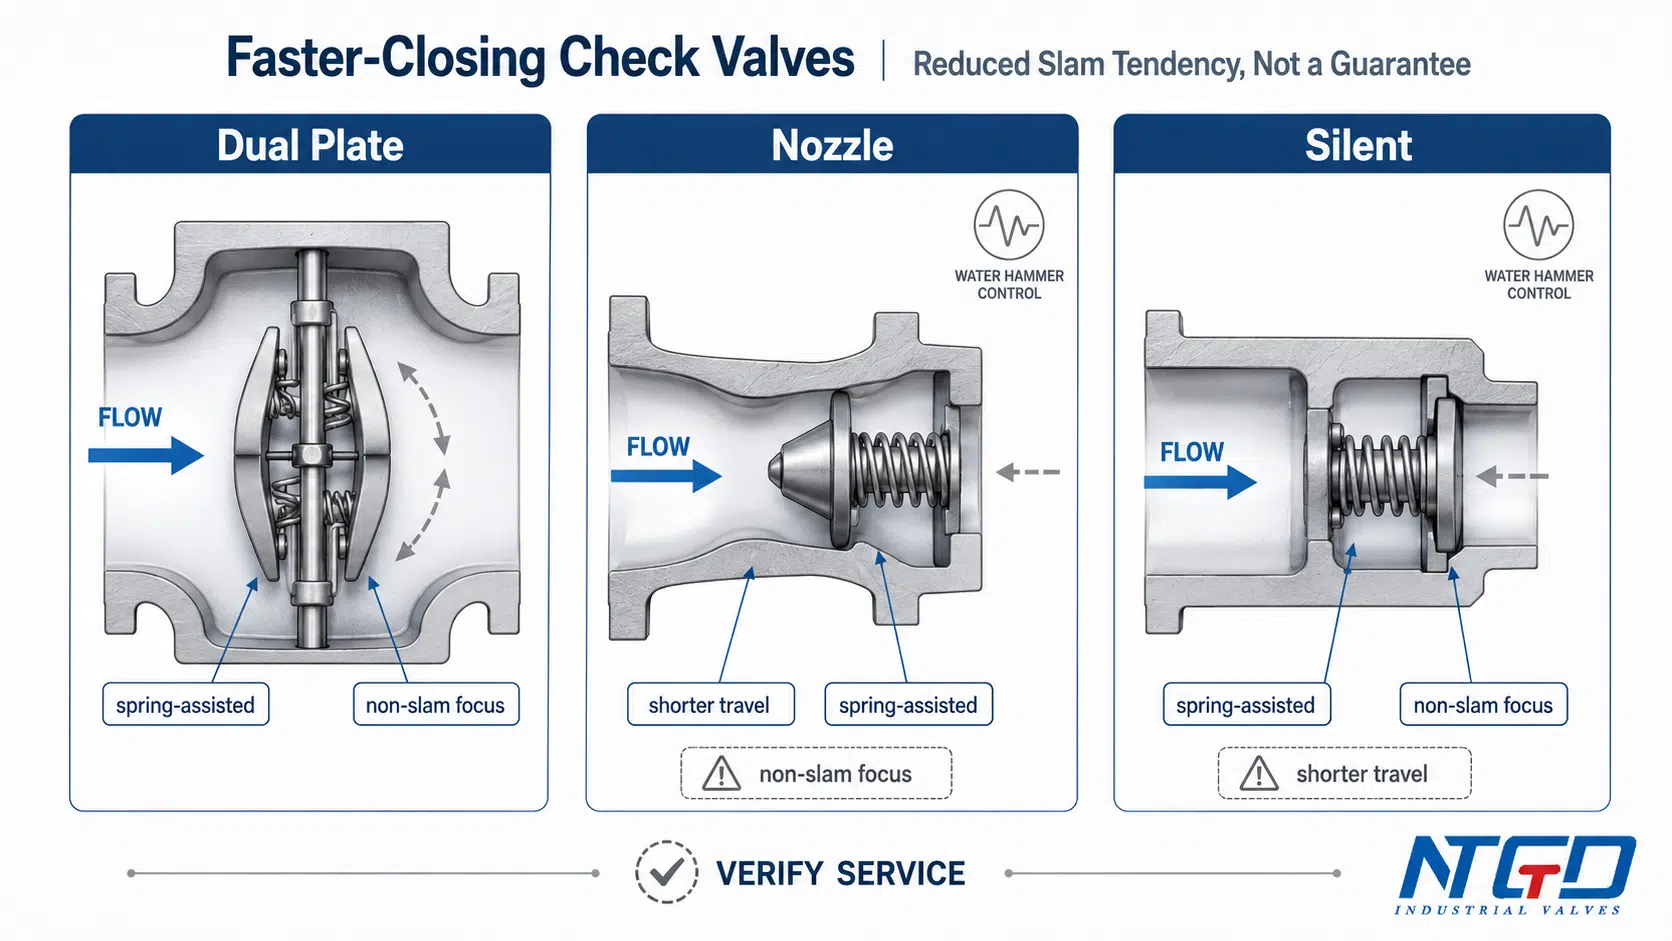
Not all check valves can be repaired. Knowing your model determines whether you can unstick it or must replace it entirely.
Disassemblable Valves That Can Be Repaired
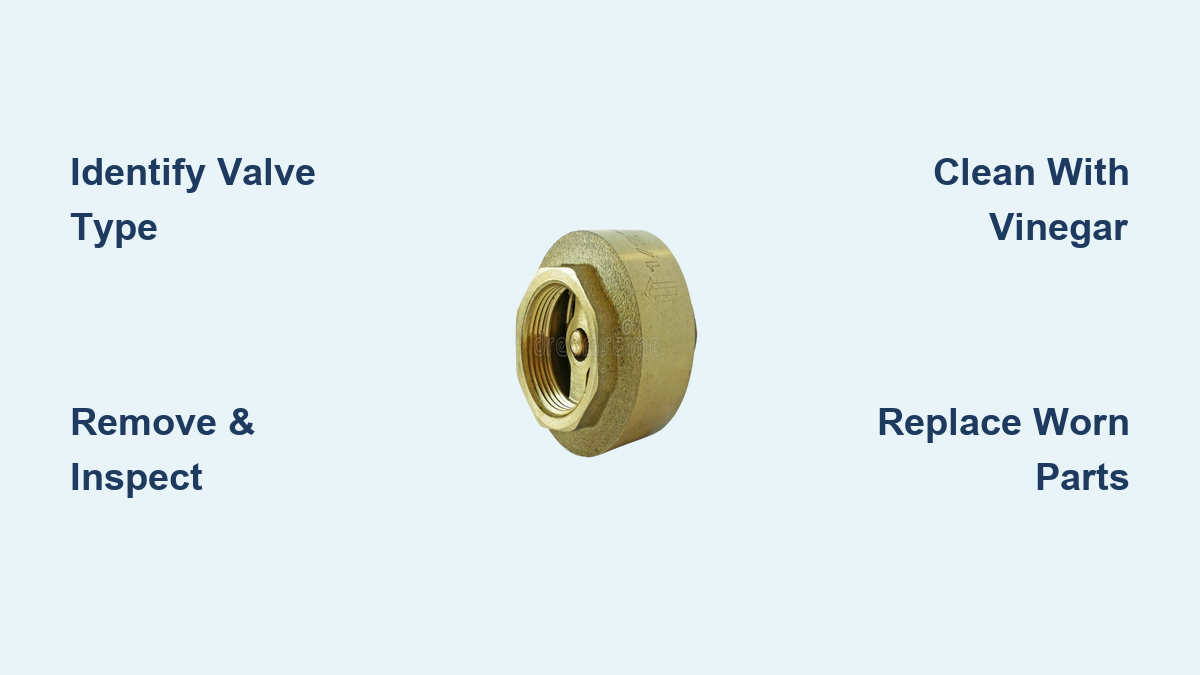
These feature a removable lid, faceplate, or threaded body that grants access to internal parts. Brands like Jandy, Waterway, and many RV-specific models fall into this category. Look for screws or bolts on the valve cap, a serviceable design meant for maintenance, and replaceable O-rings, springs, and flaps. These can be cleaned and rebuilt, making them your best bet for repair.
Union-Style Non-Disassemblable Valves
These connect via unions but are sealed internally. You can remove them easily, but you cannot open them. They are common in standard Jandy-style pool valves. If stuck, you must replace the entire unit since no internal access is possible.
Glued PVC Check Valves
Permanently bonded into PVC pipe with no unions, these are found in older or DIY installations. They cannot be removed without cutting pipe. You must cut out and replace them, ideally upgrading to a union-style model during the repair.
Shut Down the System and Remove the Valve Safely
Safety always comes first. Never work on a pressurized system.
Essential Safety Steps
Follow this sequence before touching any components:
1. Turn off the pump or water supply completely.
2. Relieve line pressure by opening downstream faucets or drains until water stops flowing.
3. Isolate the valve by closing upstream and downstream shutoffs if available.
Failure to depressurize risks injury or flooding.
Remove Based on Installation Type
For valves with unions, unscrew the union nuts on both ends and gently twist and pull the valve free. Inspect O-rings on the unions and replace any that are cracked or flattened. For glued PVC valves, cut the pipe two to three inches on each side using a PVC pipe cutter. Clean and square the cut ends with sandpaper, then plan to install a new section with unions for future service access.
Disassemble and Inspect Internal Parts
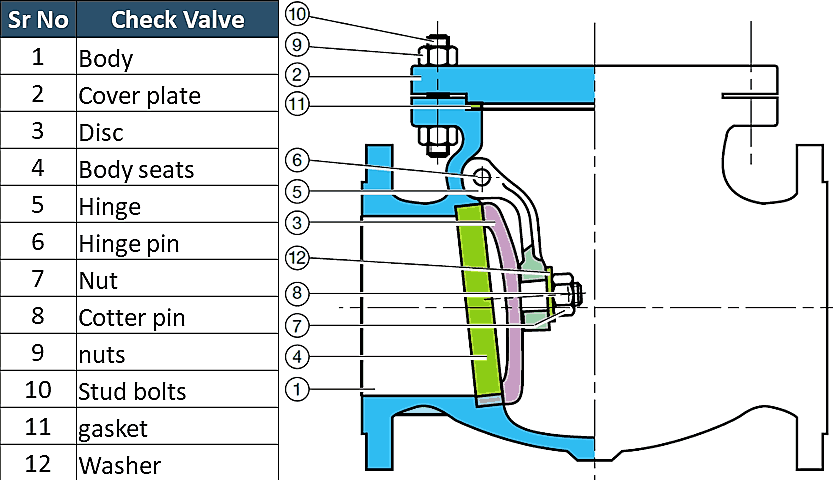
This step applies only to disassemblable models. If yours is not serviceable, skip ahead to replacement.
Open the Valve Housing
Remove screws or bolts securing the faceplate or lid. Carefully lift the cover to expose the internal mechanism and set aside the hardware to avoid losing it.
Extract and Examine Components
Lay out all parts in order for reassembly. Check the flap (disc or piston) to ensure it moves freely with no warping or cracking. Examine the spring for corrosion, stretching, or breaks. Look at O-rings and gaskets for cracks, flattening, or brittleness. Inspect the valve seat for scratches, pitting, or mineral buildup.
Visual cues of failure include:
– White crusty deposits indicating mineral scaling
– Dark grit or sand showing debris accumulation
– Rust spots signaling corrosion
– Misshapen rubber pointing to degraded seals
Even minor imperfections can prevent a proper seal.
Clean and Descale the Stuck Check Valve
Now comes the actual fix: removing whatever is causing the stick.
Remove Loose Debris First
Rinse the valve body and parts under running water. Use a soft-bristle brush, such as a toothbrush, to scrub away dirt, rust particles, or organic matter. Pay special attention to hinge points and the sealing edge where the flap meets the seat. Avoid metal tools since they can scratch sealing surfaces.
Soak to Dissolve Mineral Buildup
Hard water leaves calcium and lime deposits that glue parts together.
Vinegar Soak Method (Safe and Effective):
1. Submerge the flap, spring, and housing in white vinegar.
2. Let soak for one to four hours, depending on scale severity.
3. For heavy buildup, extend soak time up to eight hours.
4. Scrub gently with a brush to remove loosened deposits.
Commercial Descaler Option:
Use a food-safe descaling product like CLR Calcium, Lime and Rust Remover, following label instructions. Rinse thoroughly afterward.
Never use muriatic acid. It can damage rubber seals and etch plastic components.
Final Rinse Matters
Flush all parts with clean water to remove any vinegar or chemical residue, especially in potable water systems.
Lubricate, Replace Worn Parts, and Reassemble

Reassembly is where many repairs fail. Skip lubrication or use wrong parts, and the valve sticks again quickly.
Lubricate Moving Parts Properly
Apply a plumber’s-grade silicone lubricant to the hinges or pivot points of the flap, spring coils, and O-ring grooves. Use only NSF/ANSI 61-certified lubricants for drinking water systems. Never use petroleum-based grease since it degrades rubber. Proper lubrication ensures smooth movement and seals out contaminants.
Replace Worn Components
Do not reuse damaged parts. Common replacements include O-rings (replace with exact size and material, usually EPDM or Buna-N), gaskets (swap if cracked or compressed), and springs (install new ones if corroded or weak). Keep a spare kit on hand since most repair kits cost less than ten dollars.
Reassemble Correctly
Insert the flap and spring in proper orientation, referring to markings or photos taken earlier. Place a new O-ring on the housing, align the cover, and tighten screws evenly in a crisscross pattern. Ensure the flap moves freely with no binding. If it sticks, disassemble and check alignment.
Reinstall and Test Performance
A successful repair ends with thorough verification.
Reconnect the Valve
For union models, hand-tighten nuts then give a quarter-turn with a wrench. Avoid over-tightening. For PVC, prime and cement new sections with proper unions and allow 24 hours cure time before pressurizing.
Pressurize and Leak Check
Slowly restore water supply or restart the pump. Watch all connections for leaks and tighten slightly if needed, but do not force it.
Conduct Functional Tests
Flow Test: Turn on the system and confirm steady, unrestricted water flow with no sputtering or pressure drops.
Backflow Test: Run the pump for a few minutes, then shut it off. Immediately listen for gurgling or observe for reverse flow. In pools and spas, the water level should remain stable.
RV-Specific Test: Disconnect the external water source and check for leakage at the fill port. Turn on an indoor faucet and confirm it flows without air pockets.
If any test fails, recheck sealing surfaces, O-rings, or spring tension.
Prevent Future Sticking Issues
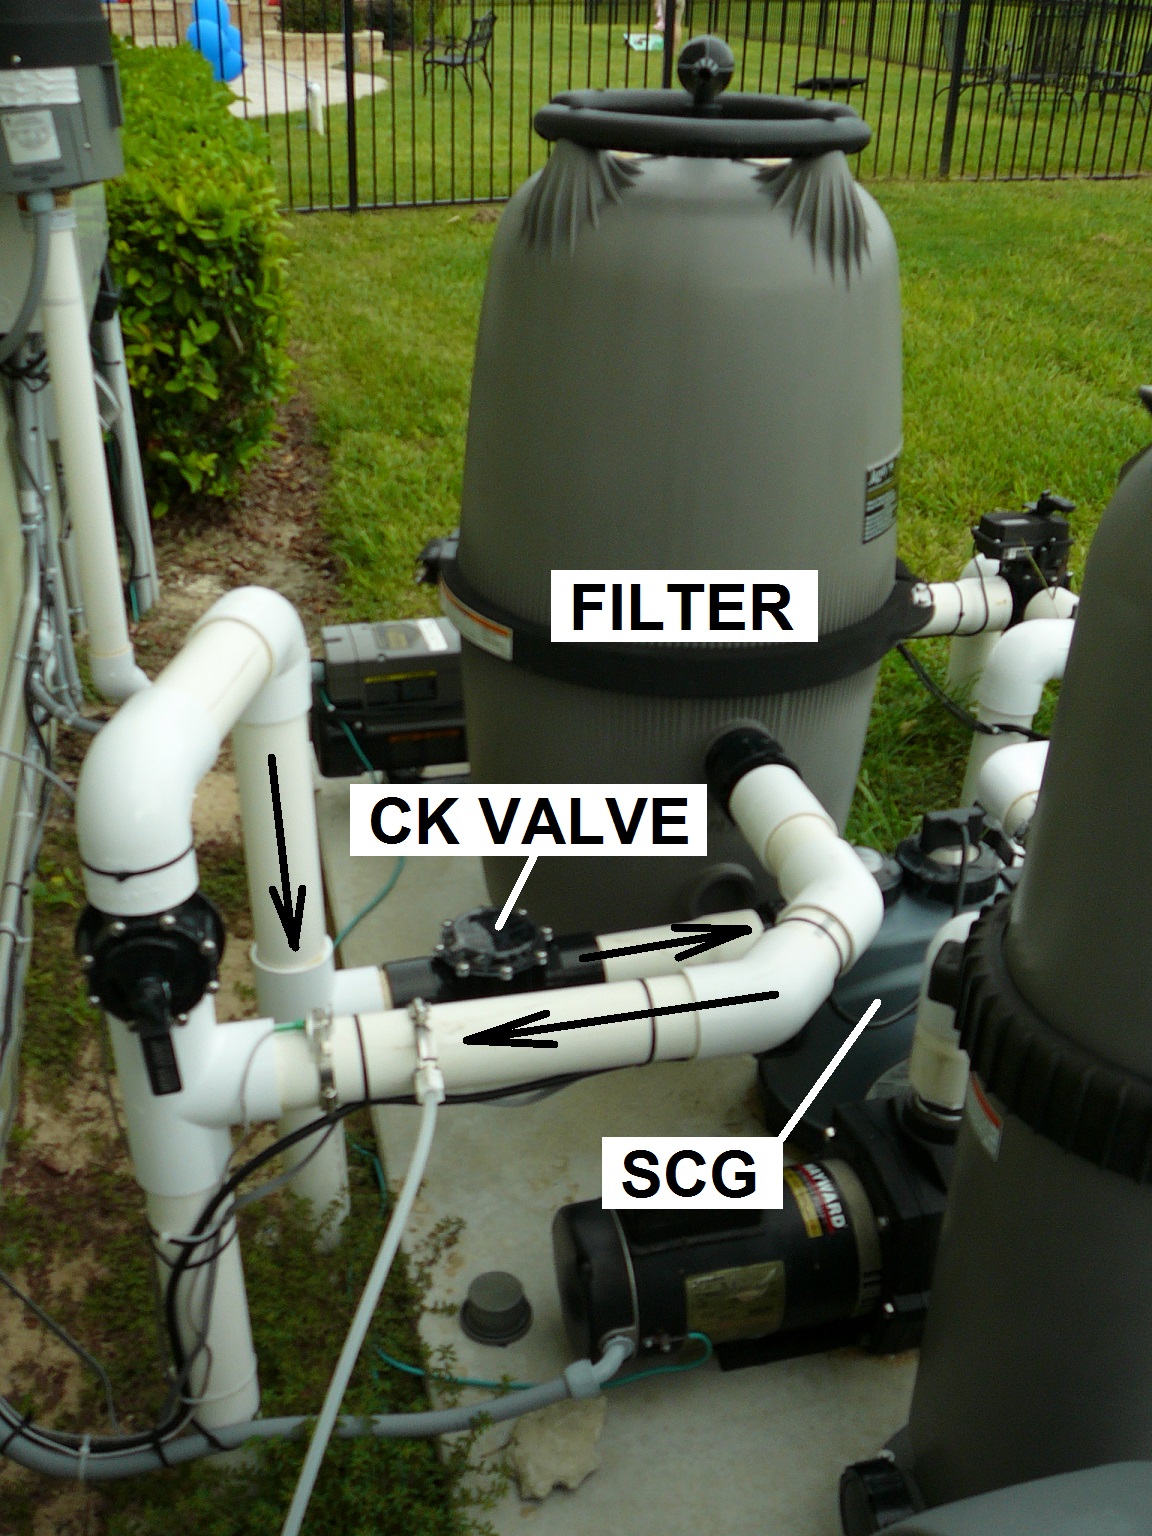
Fixing a stuck valve once is easy. Avoiding repeat problems takes planning.
Install Upstream Filters
Place a sediment filter or inline strainer before the check valve. This blocks sand, rust, and debris, reduces cleaning frequency by over 70 percent, and costs under twenty dollars. Replace filter cartridges every three to six months.
Upgrade to Serviceable Models
Replace glued or non-repairable valves with union-style, disassemblable units. Benefits include full internal access for cleaning, easy part replacement, and no pipe cutting for future repairs. This is ideal for pools, spas, and RVs where reliability matters.
Add Redundancy in RV Systems
Install a second check valve in series. If one fails, the other maintains protection and doubles system uptime. Label both valves clearly for easy identification.
Schedule Preventive Maintenance
Set calendar reminders for these tasks:
– Every six months: inspect O-rings and housing
– Annually: disassemble, clean, and lubricate
– After winterization: test function before reuse
A ten-minute check prevents costly refills and pump damage.
When to Replace Instead of Repair
Sometimes repair is not worth the effort. Replace the valve if the housing is cracked or warped, the valve seat is deeply pitted or corroded, it is a glued model with frequent issues, or you have repaired it more than twice. Modern check valves cost between 25 and 60 dollars and offer lower cracking pressure, improved rubber seals, freeze-resistant designs for RVs, and longer lifespan.
Frequently Asked Questions About Unsticking a Check Valve
What causes a check valve to stick in the first place?
The most common causes are debris and sediment accumulation, mineral buildup from hard water, mechanical wear on springs and seals, corrosion, freezing damage, and improper installation. In pool systems, debris trapped under the flap is a primary culprit for slow seepage.
Can all check valves be unstuck and repaired?
No. Only disassemblable valves with removable lids, faceplates, or threaded bodies can be opened and repaired. Union-style non-disassemblable valves and glued PVC valves must be replaced entirely when they fail.
Is vinegar safe to use for cleaning a stuck check valve?
Yes, white vinegar is safe and effective for dissolving calcium and lime deposits. Submerge the internal parts for one to four hours, or up to eight hours for heavy buildup. Commercial descalers like CLR also work well, but never use muriatic acid since it damages rubber seals and plastic.
How long does it take to unstick a check valve?
Most repairs take under an hour, including removal, cleaning, reassembly, and testing. Soaking time for mineral deposits may extend the process by several hours, but active work is minimal.
How do I know if my check valve needs replacement instead of repair?
Replace the valve if the housing is cracked or warped, the seat is deeply pitted, internal parts are severely corroded, or the valve has been repaired more than twice. Older valves with frequent issues benefit from upgrade to modern designs.
What maintenance prevents a check valve from sticking again?
Install upstream filters, upgrade to serviceable union-style valves, schedule biannual inspections, and perform annual cleaning and lubrication. For RVs, add a redundant check valve in series and test the system monthly by disconnecting the water source.
Final Thoughts on Restoring Your Stuck Check Valve
A stuck check valve disrupts flow, wastes water, and risks system damage, yet it is usually fixable with basic tools and patience. By identifying your valve type, safely removing it, cleaning mineral deposits, replacing worn seals, and reassembling with proper lubrication, you can restore full function in under an hour.
For long-term reliability, upgrade to a serviceable model, add filtration upstream, and follow a simple maintenance routine. With the right approach, your check valve can last a decade or more, keeping water flowing in the right direction and protecting your system from costly damage.