Water pump failure can lead to engine overheating, system breakdowns, or costly secondary damage. Whether you’re dealing with a car cooling system or a residential water supply, knowing how to repair water pump issues accurately and safely is essential. This guide covers diagnosis, repair strategies, tools, procedures, and expert-backed tips to help you make the right call.
Diagnose Water Pump Failure Before Repairs
Before attempting any repair, confirm the water pump is truly the culprit. Misdiagnosis wastes time and money on parts you do not need.
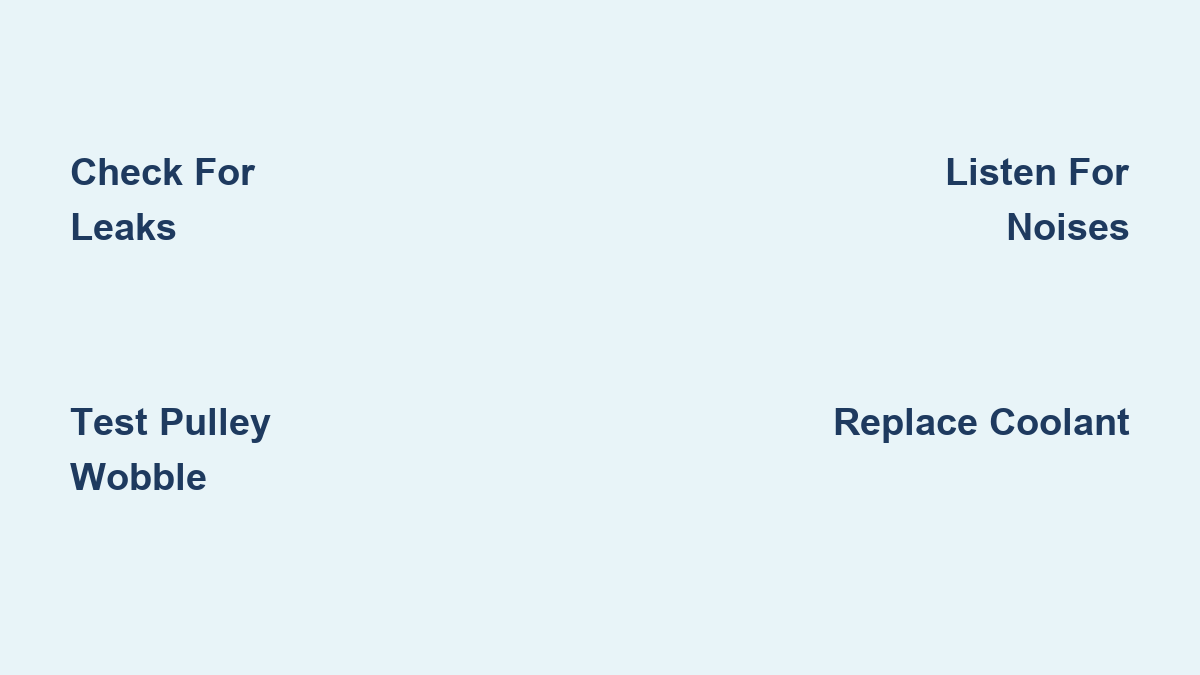
Check for Coolant Leaks
Look for wetness or dried residue near the pump housing, timing cover, or weep hole. A steady drip or puddle under the car often signals a failed seal. In home systems, inspect base seals and pipe connections.
Pro Tip: Use a flashlight to spot early seepage. Rust-colored crust around the weep hole is a telltale sign of past or ongoing leakage.
Test Pulley for Wobble
Remove the drive belt and gently rock the pulley side to side. Any lateral movement over 0.5 mm means the internal bearing is worn. A wobbly pulley leads to noise, misalignment, and impeller damage.
Listen for Unusual Engine Noises
Start the engine and listen near the front of the engine.
• Grinding or rumbling sounds indicate worn bearings.
• High-pitched whining suggests cavitation or imbalance.
• Squealing often stems from belt-related issues but can also originate from pulley misalignment due to pump wear.
Inspect Coolant Condition
Drain a small sample or check the reservoir. Cloudy, sludgy, or oily coolant indicates contamination. Discoloration or particles suggest internal corrosion or a degraded impeller.
Warning: Never mix coolant types. Doing so can form gel that clogs the entire cooling system.
Repair vs Replace: Know Your Options
Not all water pumps can be repaired. Your approach depends on the pump type, design, and failure mode. Understanding these options helps you choose the most cost-effective solution.
Option 1: Full Water Pump Replacement
Modern car water pumps are non-serviceable sealed units designed to be replaced rather than rebuilt. This is the standard fix for leaks, noise, or wobble in automotive applications.
When to Replace the Pump
Replace the pump when you notice a visible leak from the weep hole or housing, bearing play or noise, or during timing belt service if the pump is belt-driven. Vehicles over 80,000 miles that have not had the pump changed are also candidates.
Expert Insight: Mechanics often replace the pump when changing the timing belt since they already have labor access. Doing both saves you from redoing the job later.
Tools You Will Need for DIY Replacement
You will need a socket set with common sizes like 8 mm and 10 mm, a torque wrench, a plastic gasket scraper, a drain pan with 1-gallon capacity or larger, brake cleaner, a no-spill funnel, OEM-specified coolant, a new pump with gasket, and threadlocker like Loctite 242.
Option 2: Rebuild With a Repair Kit
Most OEM automotive pumps cannot be rebuilt, but heavy-duty industrial, marine, or agricultural pumps may allow seal and bearing replacement using a kit.
What a Repair Kit Contains
A typical kit includes mechanical seals, ball bearings, O-rings and gaskets, shaft hardware, and seal driver tools. This approach requires specialized tools including a hydraulic press and is not recommended for DIYers without prior experience.
Option 3: Use Chemical Sealant for Temporary Fix
Products like K-Seal or Bar’s Leaks can seal small leaks without disassembly. This works best for minor housing cracks, porosity leaks, or budget-limited situations.
When Chemical Sealants Work
These products work on hairline cracks in pump housing and porous aluminum casting when there is no bearing play or shaft wobble. They will not work on failed shaft seals, worn bearings, soft hose leaks, or major structural damage.
User Feedback: Some users report success with K-Seal on casing leaks but warn it does not fix mechanical wear issues.
Step-by-Step Water Pump Replacement

Follow these procedures carefully to ensure a proper installation that lasts.
Drain the Cooling System
Let the engine cool completely before starting. Place a drain pan under the radiator or lower hose, then open the drain valve or disconnect the hose to drain all coolant, typically around 1 gallon. Reconnect the hose or close the valve when done.
Safety Note: Never pour coolant down the drain. It is toxic to pets and humans. Take it to a recycling center instead.
Remove the Drive Belt
For a serpentine belt, use a wrench to rotate the tensioner and release the belt. For a timing belt, remove covers and components blocking access and mark the belt position before removal.
Critical: If replacing a timing belt-driven pump, replace the belt, tensioner, and idlers at the same time.
Uninstall the Old Pump
Mark the pump orientation with paint or tape. Loosen and remove the mounting bolts, typically 6 to 8 bolts of 8 mm size. Gently pry the pump off with a plastic pry bar and remove the old gasket or RTV seal completely.
Clean the Mounting Surface
Scrape off all residue with a plastic scraper without gouging the aluminum. Wipe with brake cleaner and dry thoroughly. Finish with a scouring pad for a flat, clean surface.
Visual Cue: The surface must be smooth and free of debris. Any imperfection causes leaks after reinstallation.
Install the New Pump
Position the new gasket on the engine block. Align the new pump using your orientation mark. Insert bolts and hand-tighten in a criss-cross star pattern, then torque to spec, typically 8 to 25 Nm depending on your vehicle.
Warning: Overtightening cracks aluminum housings. Undertightening causes leaks. Check your manual for exact specifications.
Reattach Pulley and Belt
Mount the pulley and torque the bolts with threadlocker applied. Reinstall the belt following the routing diagram for serpentine systems. For timing belts, align marks precisely, rotate the engine two full turns, and recheck timing.
Refill and Bleed the System
Fill with correct coolant using a no-spill funnel. Start the engine with the heater on high. Rev to 2,000 RPM for one minute to purge air pockets. Turn off, let it cool, and top off the coolant.
Some vehicles have bleed screws. Open them during warm-up to release trapped air.
Final Verification Steps
Reconnect the battery, positive first then negative. Inspect for leaks at all connections. Test drive while monitoring the temperature gauge. Recheck the coolant level after 24 hours of operation.
Cost Comparison: What Is the Smart Choice
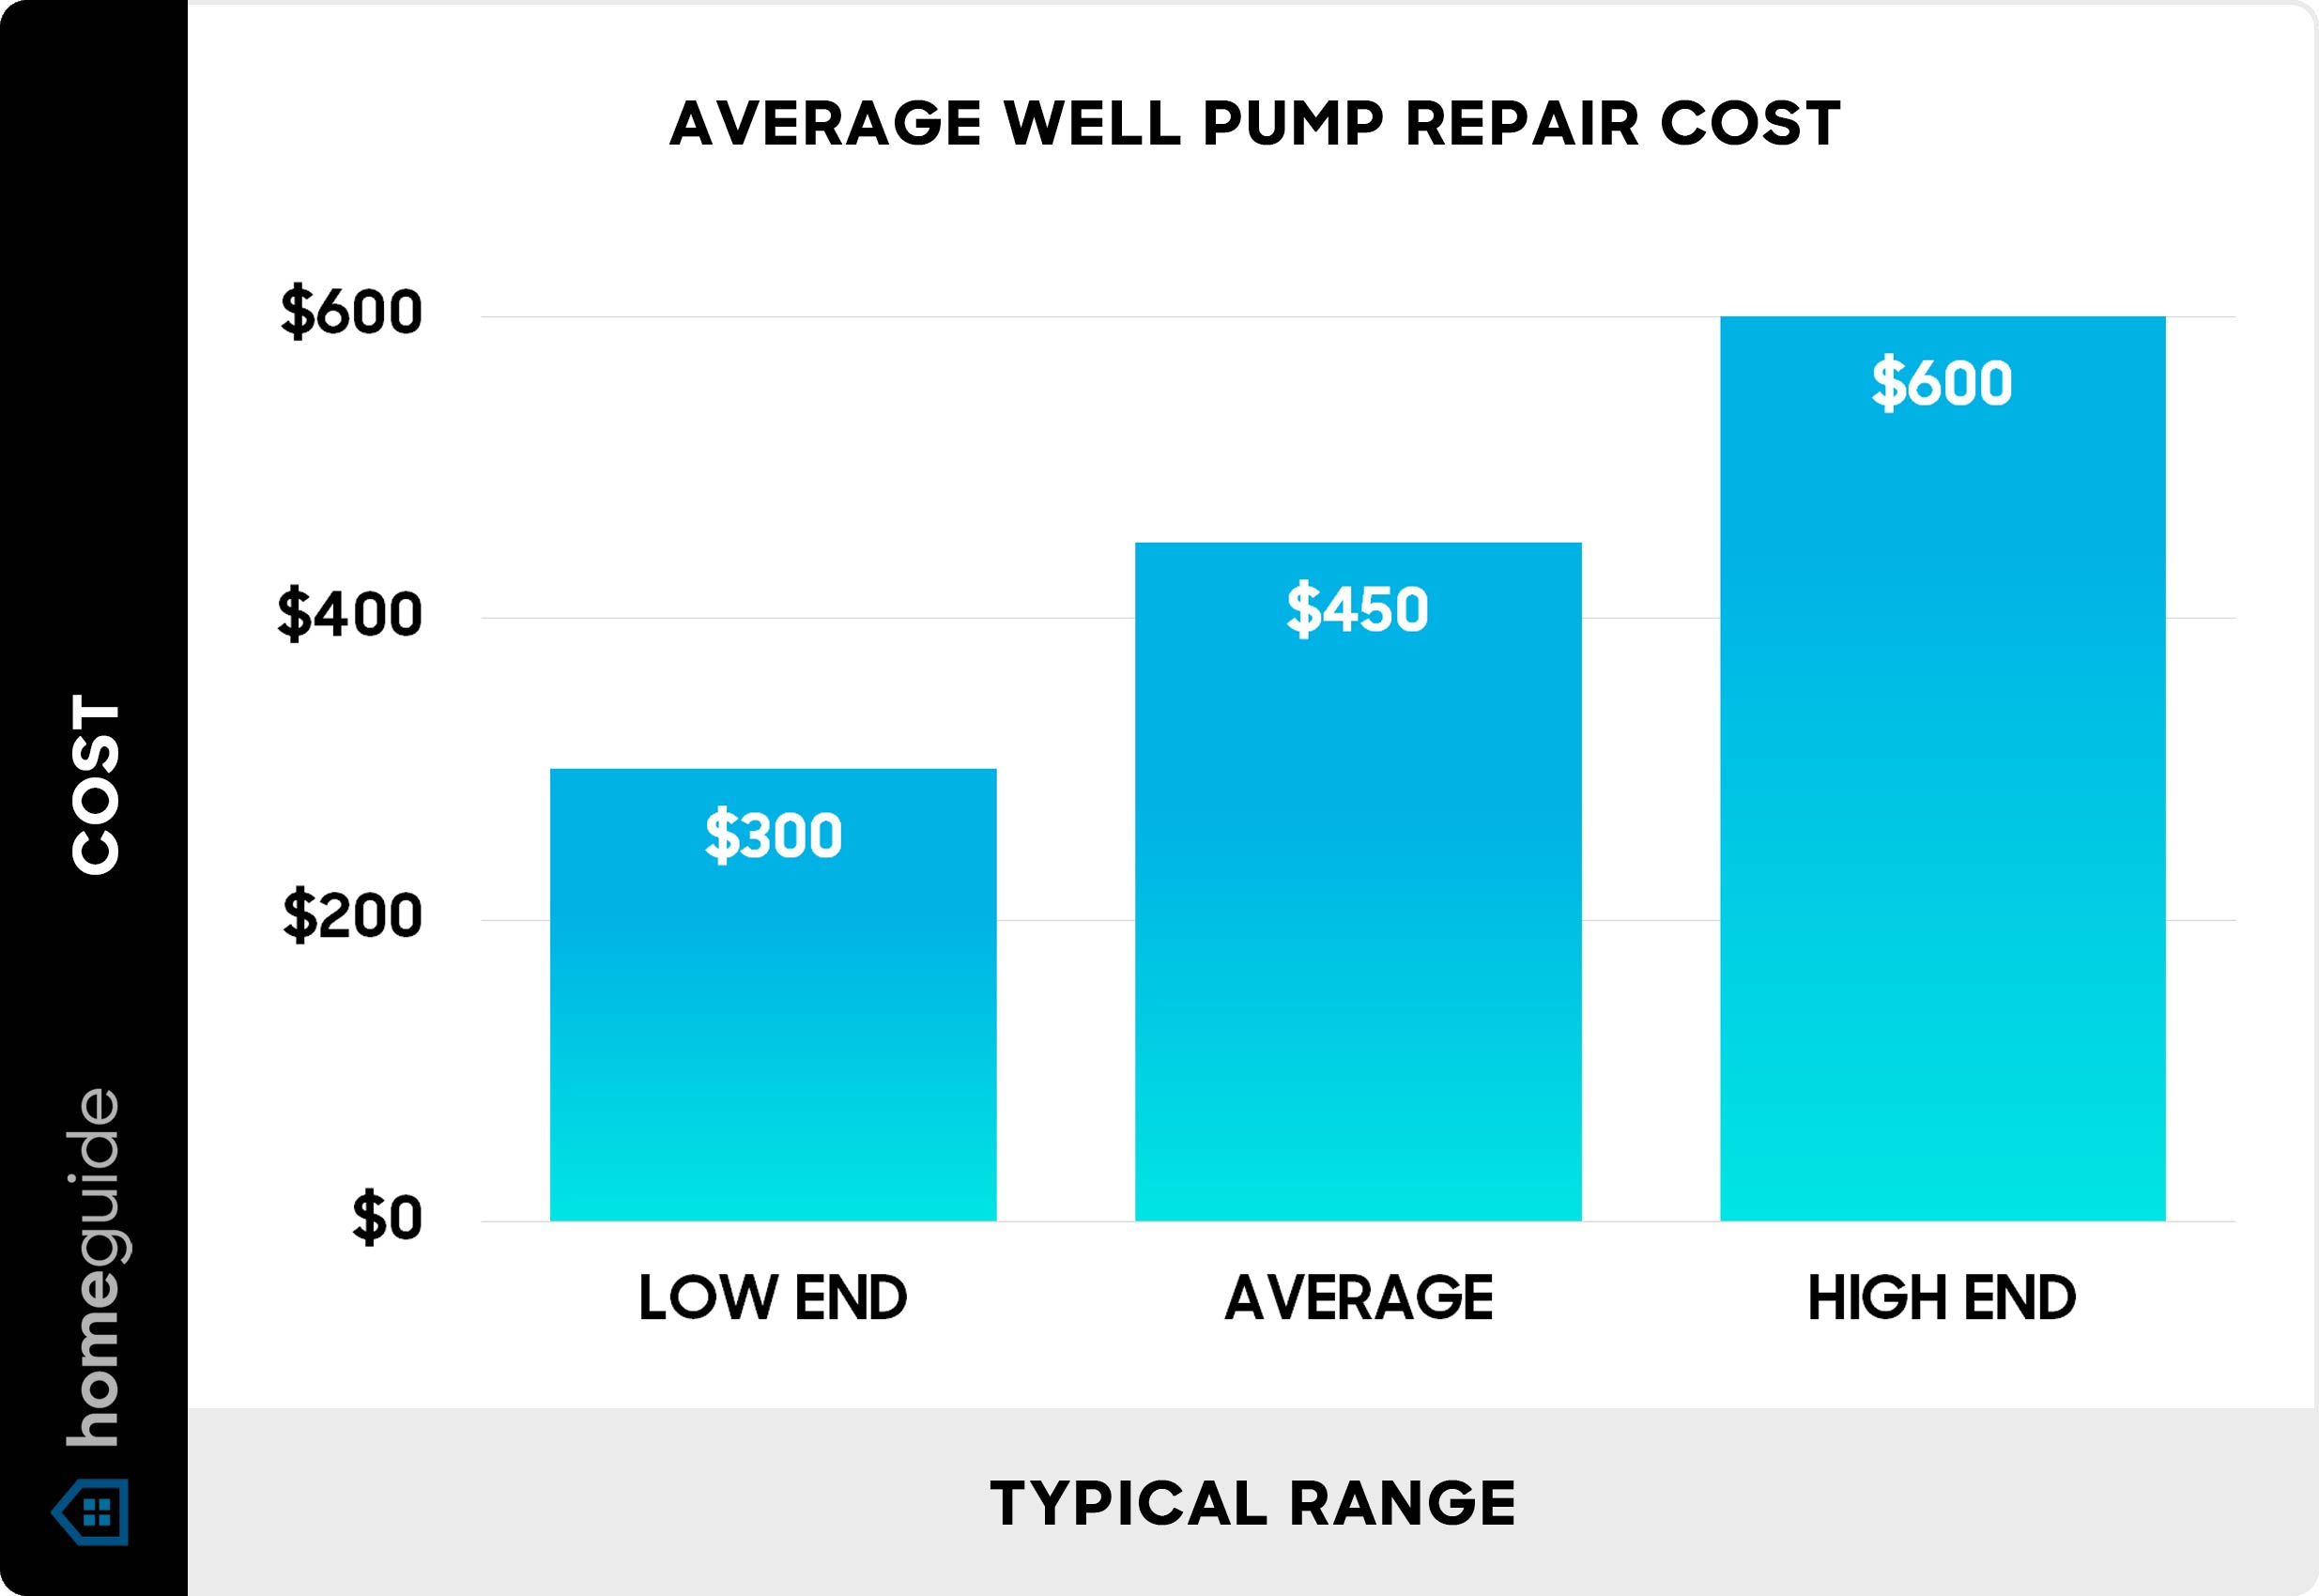
Repair strategy affects both upfront cost and long-term reliability. Consider these options before deciding.
| Option | Cost (USD) | Labor | Longevity | Best For |
|---|---|---|---|---|
| Garage Replacement | $160–$843 | High | 5–10 years | Full mechanical failure |
| DIY Replacement | $40–$150 | Medium | 5–10 years | Skilled users, cost savings |
| Chemical Sealant | $20–$30 | None | 6 months–5 years | Minor leaks, temporary fix |
| Rebuild Kit | $50–$100 | High | Varies | Industrial/serviceable pumps |
Key Insight: Labor accounts for 70 to 80 percent of professional repair costs, especially with timing belt access.
Extend Pump Life With Proper Maintenance
Prevention beats repair. A few habits can double your pump’s lifespan.
Replace Coolant on Schedule
Replace coolant every 30,000 to 100,000 miles depending on type. Use OEM-specified fluid only and never mix coolant types.
Flush the System Regularly
Flush the cooling system every 50,000 miles to remove sludge and rust. This prevents impeller erosion and blockages that strain the pump.
Inspect During Oil Changes
Look for leaks, corrosion, or belt wear every time you change oil. Catching issues early prevents cascading damage.
Replace Pump With Timing Belt Service
If your pump is belt-driven, replace it during timing belt service. This saves labor costs and prevents future breakdowns from accessing the same area twice.
Install a New Thermostat
Thermostats fail around the same time as pumps. Replace the thermostat when doing the pump since it is an inexpensive part that shares the same labor access.
Safety First: Critical Precautions
Working with coolant and moving parts demands caution and proper preparation.
Essential Safety Steps
Work on a cold engine to avoid burns from hot pressurized coolant. Wear gloves and safety glasses. Disconnect the negative battery terminal before starting. Use jack stands if working under the vehicle. Never spill coolant since it is toxic to pets and children.
Proper Coolant Disposal
Collect used coolant in a sealed labeled container. Take it to an auto parts store or hazardous waste facility. Ethylene glycol is deadly if ingested, so store it securely away from children and pets.
When to Call a Professional
DIY is great, but some jobs demand expertise and specialized tools.
Call a Mechanic If
Call a professional if the pump is timing belt-driven and you lack the necessary tools. Call if you are unsure about belt routing or timing marks. Call if the engine overheats after replacement. Call if you cannot bleed the cooling system properly. Call if you lack experience with precision torque or alignment.
Warning: One tooth off on a timing belt can cause valve-to-piston contact, resulting in catastrophic engine damage.
Final Decision Guide: What Should You Do
Use this reference to match your symptoms with the recommended action.
| Symptom | Recommended Action |
|---|---|
| Wet weep hole, visible leak | Replace pump. Do not rely on sealant. |
| Whining or grinding noise | Replace pump. Bearing failure is the cause. |
| Overheating, no visible leak | Pressure test. Check thermostat or blockage. |
| Timing belt service due | Replace pump and thermostat together. |
| Minor casing seepage, low budget | Try K-Seal as a temporary fix. |
| Industrial pump with worn seals | Rebuild with CTP or OEM kit. |
Frequently Asked Questions About Water Pump Repair
Can I repair a water pump myself, or do I need a mechanic?
You can repair a water pump yourself if you have the necessary tools and skills. However, for complex problems like timing belt-driven pumps or if you lack experience with precision torque and alignment, it is recommended to call a professional to avoid causing further damage.
How long does a water pump replacement take?
A DIY replacement typically takes 2 to 4 hours depending on your vehicle and experience level. Professional installation usually takes 1 to 2 hours of labor plus parts.
What is the average cost to replace a water pump?
Professional garage replacement costs between $160 and $843 including parts and labor. DIY replacement costs between $40 and $150 for parts only, saving significantly on labor.
Can a water pump be repaired instead of replaced?
Modern automotive water pumps are sealed units designed for replacement rather than repair. Rebuild kits only work on industrial or agricultural pumps with serviceable designs. Chemical sealants can temporarily fix minor housing cracks but do not address mechanical failures.
How do I know if my water pump is failing?
Common signs include visible coolant leaks, engine overheating, unusual noises like grinding or whining, pulley wobble, rust or crust on the pump body, and low coolant levels without obvious external leaks.
Is it worth replacing the water pump preventively?
Yes. Replacing the water pump during timing belt service is smart preventive maintenance. It saves labor costs since the mechanic already has access, and it prevents unexpected breakdowns on high-mileage vehicles.
Key Takeaways for Repairing Your Water Pump
Modern automotive water pumps are not repairable and are built for replacement rather than rebuilding. Rebuild kits work only for industrial or serviceable pumps. Chemical sealants are temporary fixes for minor housing leaks and do not address mechanical failures. Proper installation requires clean surfaces, correct torque specifications, and thorough bleeding of the cooling system to prevent repeat issues. Preventive replacement during timing belt service is smart, cost-effective maintenance that saves labor. Always use OEM-specified coolant and follow manufacturer guidelines for optimal performance and longevity.