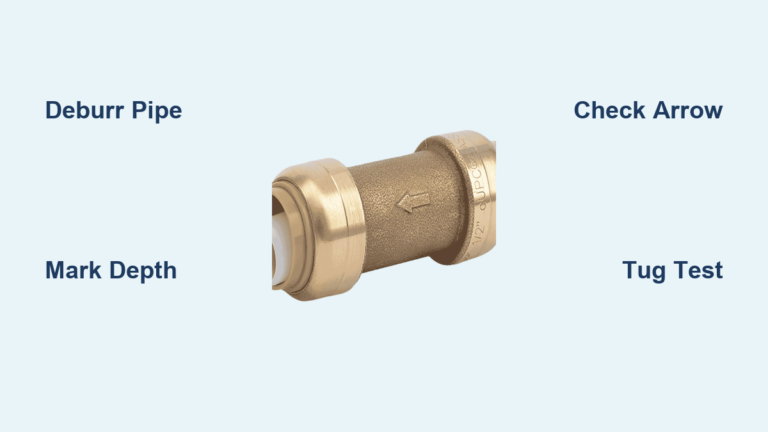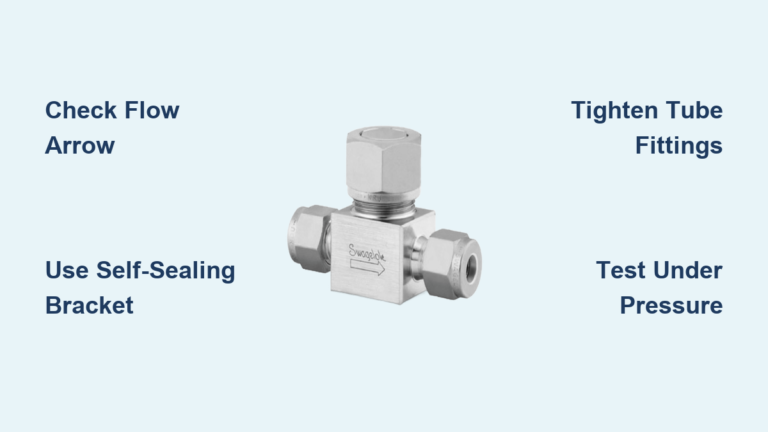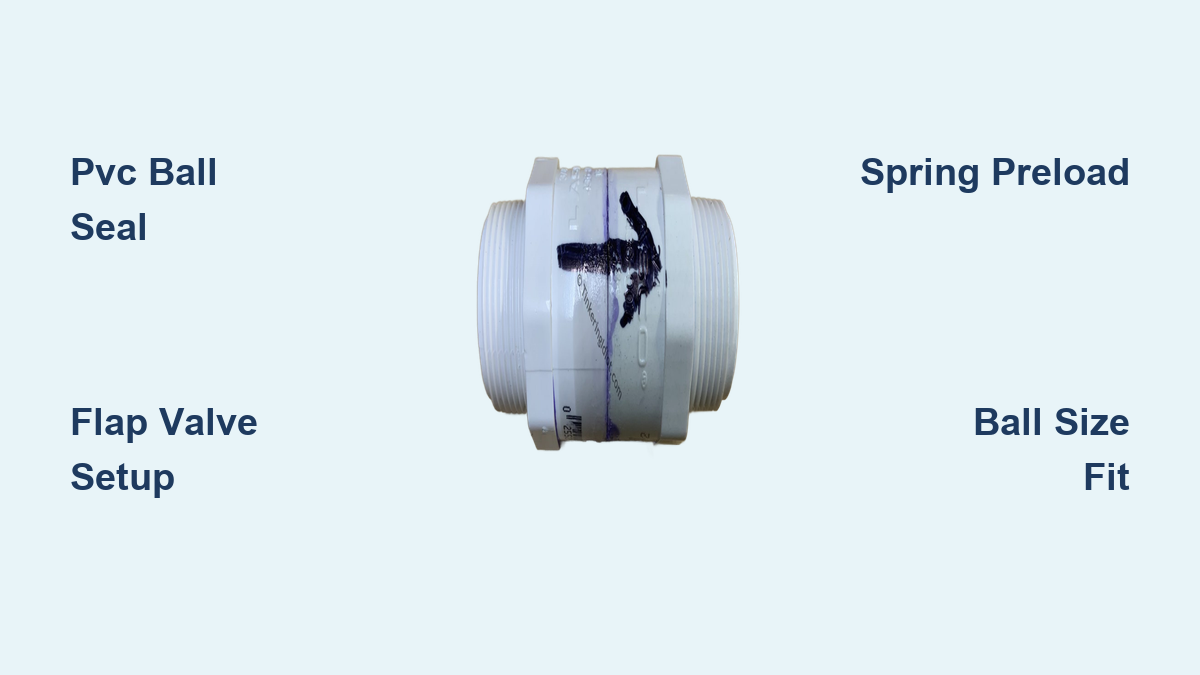
Backflow can ruin a pump, drain a fuel line, or contaminate an entire irrigation system in minutes. A check valve solves this by letting fluid flow in only one direction, but commercial units often cost $25 or more for niche applications. The good news is that you can make a check valve at home for under $3 using basic tools and common hardware store parts.
This guide covers five tested DIY check valve designs, ranging from a 35-cent PVC ball valve to a precision-machined brass fuel unit rated for real-world pressure. You will learn exactly how to size each component, assemble the valve, and test for leaks before installation. Each method includes material lists, step-by-step instructions, and troubleshooting tips to help you build a reliable homemade check valve that matches your skill level and application.
PVC Ball Check Valve (Under $0.35)

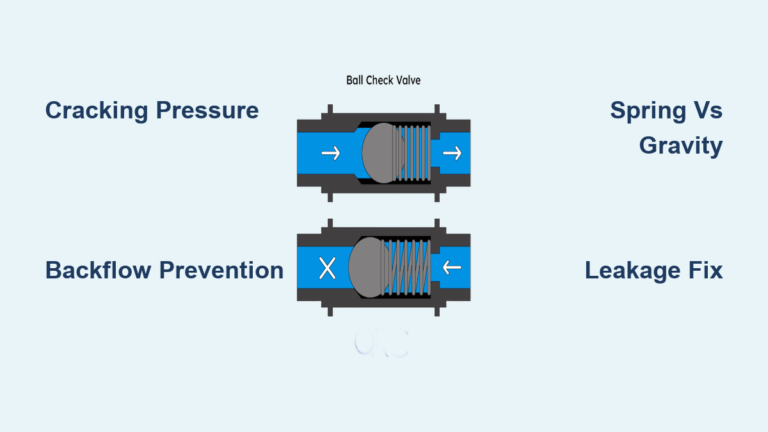
This is the most affordable and pressure-resistant design in the entire guide. It uses standard PVC plumbing fittings and seals reliably up to 50 PSI, making it ideal for water pumps, vacuum systems, and pneumatic projects.
Cut and Install the Retention Bar
The retention bar holds the sealing ball in place while allowing full flow through the tube. Follow these steps to build it:
- Take a 3/4″ PVC tube and measure exactly 5/8″ from the bottom edge.
- Drill a 1/16″ hole straight through the tube at that mark.
- Insert a strong metal rod, such as a brad nail or thick paperclip.
- Trim both ends flush with the tube wall using pliers or a file.
This creates a hidden barrier that stops the ball from escaping without reducing the internal diameter of the flow path.
Seat the Ball and O-Ring
Next, prepare the valve body and sealing interface:
- Apply PVC primer and cement inside a 3/4″ male slip adaptor.
- Press a matching O-ring into the internal groove to form the sealing seat.
- Insert a 3/4″ plastic ball or rubber bouncy ball for low-pressure use.
The ball must be large enough to fully block the throat when pressed against the O-ring, yet small enough to move freely without scraping the sidewalls.
Assemble and Seal the Valve
Now bond the components together:
- Coat the end of the retention tube with PVC cement.
- Insert it into the adaptor, positioning the drilled hole just below the rim.
- Hold in place until the cement sets to seal the retention bar and complete the chamber.
Once cured, the assembly becomes airtight. Test by pressurizing the valve and submerging it in water. Zero bubbles means a perfect seal.
Pro Tip: Mark flow direction with electrical tape. To release trapped pressure, gently push the ball upward with a thin rod.
PVC Flap Check Valve for Water Pumps

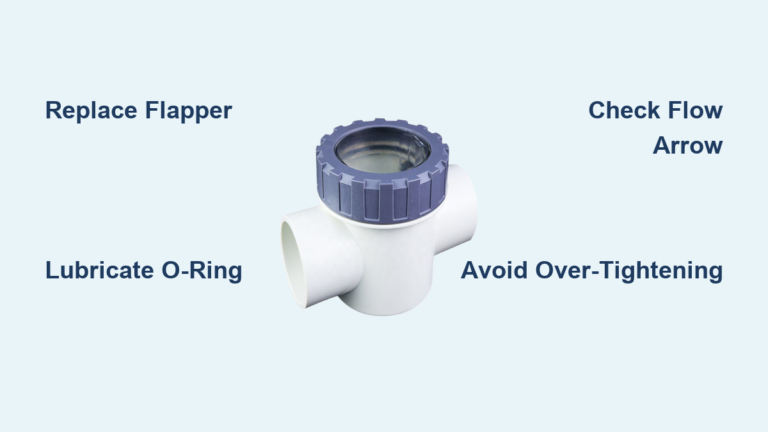
This design uses a flexible rubber flap to control flow without any moving metal parts. It runs silently, lasts for years, and works perfectly for outdoor solar pumps and irrigation systems that need zero maintenance.
Build an Upward-Opening Outflow Valve
Use this configuration for discharge lines that push water uphill:
- Attach a 1″ to 3/4″ bushing to the bottom of a 1″ PVC T-fitting.
- Sand the top of the bushing lightly to improve epoxy adhesion.
- Cut a 2 to 3 inch circle from an old inner tube rubber.
- Apply waterproof epoxy to half of the bushing’s rim.
- Press the rubber flap onto the epoxy, leaving half unglued to act as a hinge.
When water flows out, pressure lifts the flap like a trapdoor. When the pump stops, backpressure and gravity slam it shut.
✅ No leaks? Apply a second epoxy layer over the bonded edge for extra reinforcement.
Create a Side-Opening Inflow Valve
Use this configuration for intake lines that draw water from a pond or well:
- Use a 1″ washer with a 1/4″ center hole.
- Glue a rubber patch over the hole, securing only one side to form a one-way flapper.
- Insert the washer into the side arm of the T-fitting.
- Apply epoxy around the inside edge, holding the flap so it opens outward.
When the pump runs, suction pulls the flap open. When it stops, atmospheric pressure closes the flap and prevents siphoning.
⚠️ Avoid clogging: Place a mesh screen upstream. Inner tube rubber resists water for years but degrades quickly when exposed to oil or fuel.
Spring-Loaded CNC Coolant Check Valve
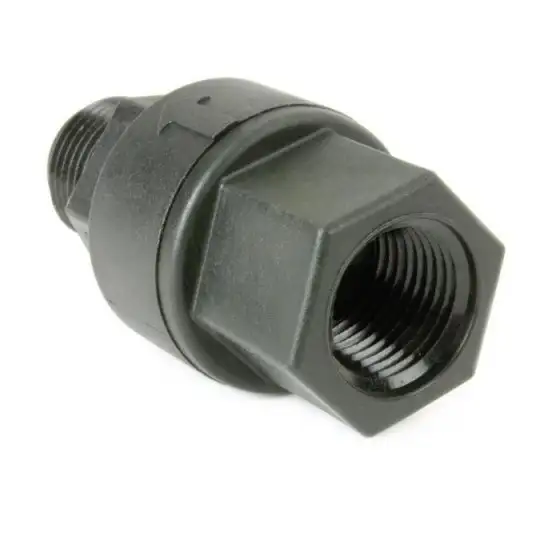
Commercial check valves often fail in CNC coolant systems because sludge builds up inside the sealed housing. This rebuildable Delrin design solves that problem with full serviceability and instant closure under vibration.
Machine the Valve Seat and Keeper
You will need a lathe for precision work on this design:
- Turn a 1¼” PVC plug down to fit snugly inside a 1½” reducer.
- Mount the reducer in the lathe and machine its internal bore smooth.
- Cut a 35-degree internal taper because testing showed this angle seals better than the standard 45°.
- Press in an O-ring (1-1/16″ ID, 1-3/16″ OD) to act as the seal surface.
🔍 Why 35°? Testing revealed this angle creates a tighter, more consistent seal under vibration than a 45° seat.
Assemble the Delrin Valve and Guide
Build the moving parts next:
- Machine a Delrin rod to match the 35° seat diameter.
- Press a 7mm aluminum arrow shaft into the back for low inertia and fast response.
- Use a short ½” PVC pipe as a guide tube, drilled to fit the rod.
Fit the guide tube into a 1½” male adapter, turning its exterior for a slip-fit inside the housing.
Add Spring Preload for Instant Closure
Early tests showed the Delrin valve was too light to close quickly when flow stopped.
- Install a lightweight spring behind the guide rod.
- Adjust tension with plastic shims until the valve snaps shut the moment flow reverses.
The finished valve maintains prime in high-vibration CNC environments and can be disassembled, cleaned, and reused whenever coolant sludge builds up.
✅ Fully serviceable: Unlike sealed commercial units, this homemade check valve will not die from coolant contamination.
Brass Fuel Check Valve for Small Engines
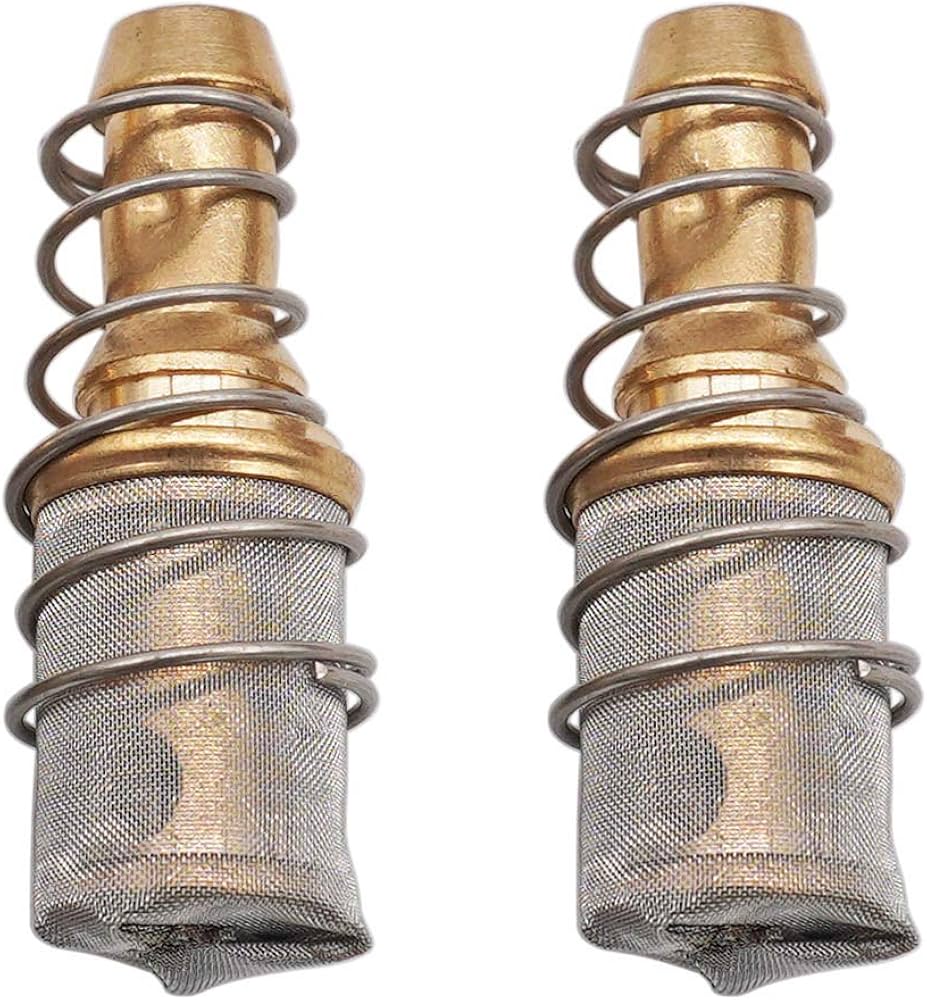
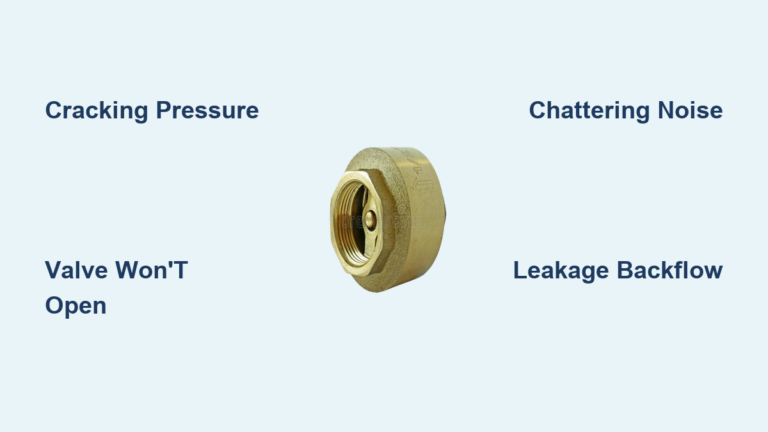
Replace a $25 OEM fuel tank valve with a custom brass unit under $3. This design works perfectly for fire engines, model rigs, and vintage machinery that need reliable fuel shutoff.
Machine and Thread the Brass Body
Gather your materials first: 3/4″ hex brass bar, 1/8″ NPT fittings, ¼” copper tubing, and a 1/8″ ball bearing.
- Cut a ½” section of brass bar from the stock.
- Turn it down to 5/8″ diameter and cut 5/8″-18 threads on one end.
- Tap the other end to accept a 1/8″ NPT fitting that connects to the fuel line.
Create the Ball Retention Tabs
Now build the internal flow path:
- Drill a ¼” hole through the center of the brass body.
- Insert a ¼” to 3/8″ piece of copper tubing using press-fit or solder.
- Use a tube cutter to make two 1/8″ slits at the bottom, opposite each other.
- Bend the tabs inward slightly to form a seat.
These tabs hold the 1/8″ ball bearing in place while allowing it to lift freely when fuel is drawn.
Install a Cleanable Mesh Screen
Filtration is critical for long-term reliability in fuel systems:
- Cut a ¼” disc from brass or stainless mesh.
- Use a drill bit slightly smaller than the tube’s inner diameter to press the mesh in from the bottom.
No soldering is required because friction holds the screen securely. You can pop it out later for cleaning whenever debris accumulates.
Solder and Test the Assembly
Join all the parts together:
- Solder the copper tube and top fittings to the brass body.
- Heat from below because brass conducts heat fast, so even heating prevents weak joints.
Trim the copper intake tube to 2.5 inches. The design accommodates a thick gasket up to 1/8″ for mounting flexibility.
🔊 Test it: Suck on the inlet and you will hear the ball lift. Zero backflow means the seal works perfectly.
Simple Threaded Ball Check Valve (No Lathe)
No advanced tools? No problem. This basic ball valve works for low-pressure air or water lines using only a threaded fitting and a rubber ball.
Modify the Fitting with a Side Port
Follow these steps to prepare the body:
- Pick a ½” male threaded adapter with a smooth internal bore.
- Sand the inside to remove burrs and create a clean sealing surface.
- Drill a 1/8″ to 1/4″ hole on the side, just below the threads.
Position the hole so the ball, when seated, fully blocks the opening.
Insert and Seal the Ball
Complete the assembly with these steps:
- Push a rubber ball or stopper through the side hole.
- Ensure it moves freely but seals tightly when pressed against the port.
- (Optional) Add a small spring behind the ball to speed up closure.
- Seal the hole with epoxy, but keep epoxy out of the internal flow path.
⚠️ Critical: Keep the flow path clear of sealant. Test forward flow and reverse sealing before final installation.
How to Choose the Right DIY Check Valve
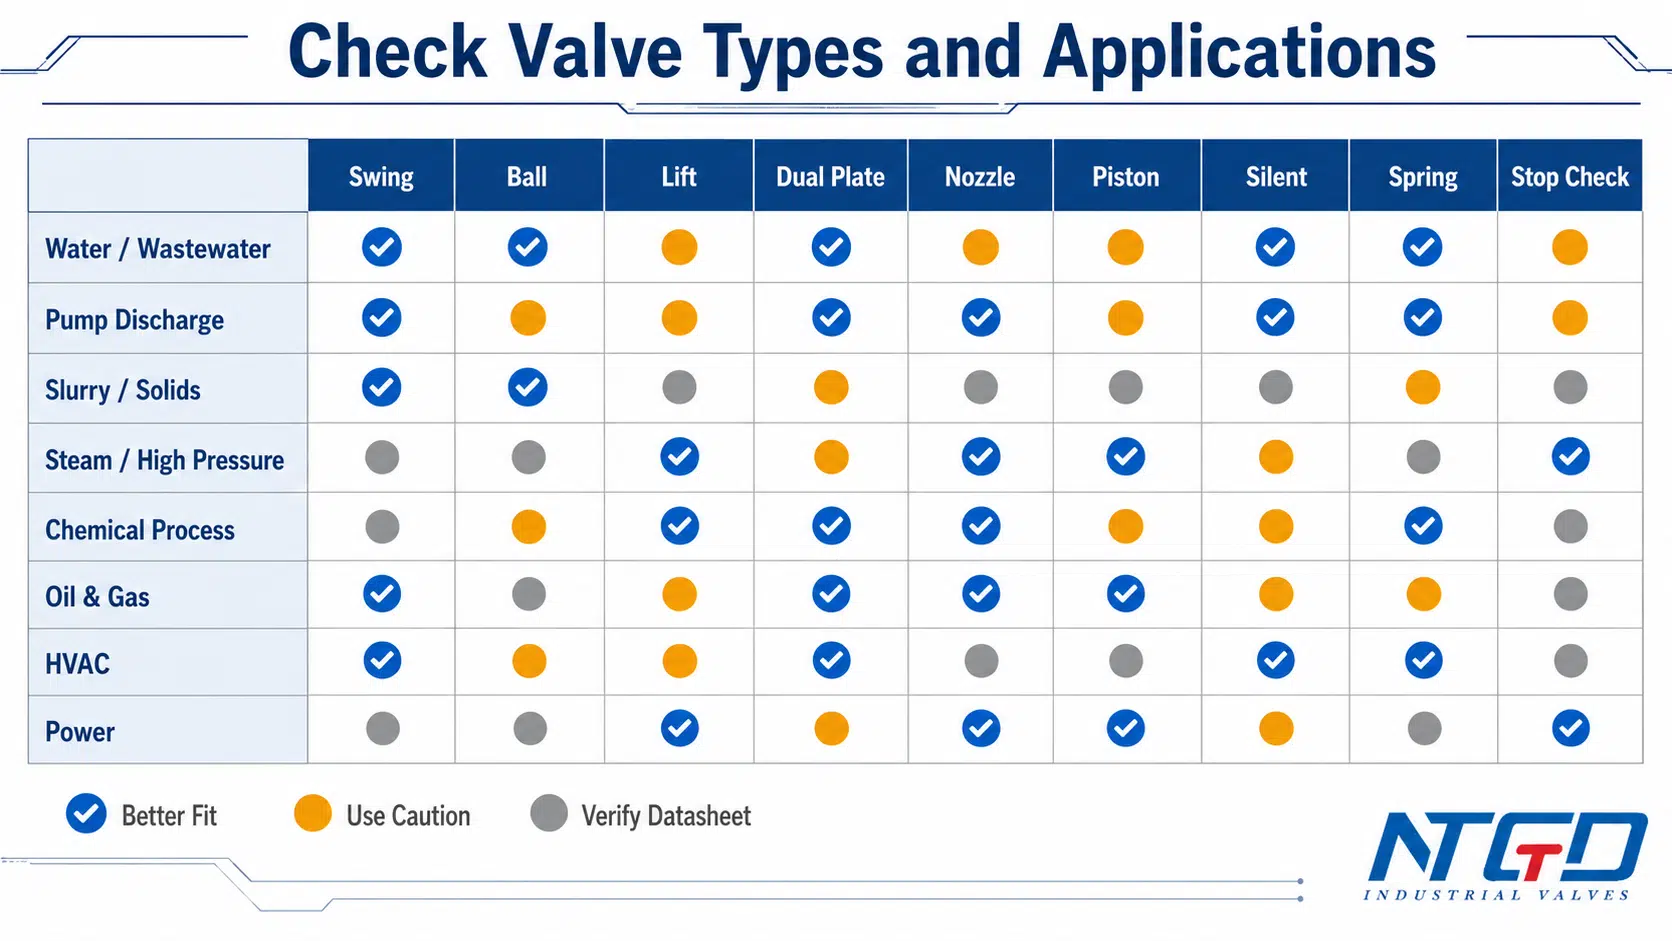
Not every design works for every job. Use this quick guide to match your application with the best homemade check valve option.
Match Application to Design
| Use Case | Best Design | Why |
|---|---|---|
| Water pump, irrigation | PVC Flap Valve | No clogging, zero maintenance |
| High-pressure air/water | PVC Ball Valve | 50 PSI tested, cheap, strong |
| CNC coolant system | Spring-Loaded Delrin | Rebuildable, fast-closing |
| Small engine fuel tank | Brass Machined Valve | Fuel-safe, cleanable, precise |
| Low-budget air line | Threaded Ball Valve | No machining, quick build |
Avoid These Common Mistakes
- Ball too big: Jams in the bore. Measure before gluing.
- Retention bar protruding: Causes flow restriction. File flush with the wall.
- Wrong sealing angle: Use 35°, not 45°, for machined seats.
- No filtration: Debris kills valves. Always add a screen upstream.
- Slow closure: Add a light spring if backflow occurs after pump shutdown.
Troubleshoot Like a Pro
- Leaks? Check O-ring seating or epoxy bonds. Replace or reseat components.
- No flow? The ball might be stuck. Ensure smooth bore and correct sizing.
- Backflow? Add spring preload or verify flap orientation.
- Clogged? Use a press-fit screen so you can clean it later without destroying the valve.
Frequently Asked Questions About DIY Check Valves
What is the cheapest way to make a check valve?
The cheapest method is the PVC ball check valve, which costs under $0.35 in materials. It uses a 3/4″ PVC slip adaptor, a piece of PVC tubing, a plastic ball, an O-ring, and a small metal rod for retention. This design has been tested up to 50 PSI and works for water pumps, vacuum systems, and pneumatic projects.
Can a DIY check valve work for fuel systems?
Yes, the brass fuel check valve design works well for small engine fuel tanks. It uses machined brass, copper tubing, and a ball bearing to create a fuel-safe seal. The integrated mesh screen catches debris, and the press-fit design allows you to remove and clean the screen without destroying the assembly. Always test for leaks before installing any homemade check valve in a fuel system.
How much pressure can a homemade check valve hold?
The PVC ball check valve has been tested up to 50 PSI with zero leakage. At 20 PSI, the valve closes completely with no air escaping. At 50 PSI, the O-ring compresses visibly but the seal remains intact. Other designs like the Delrin CNC valve handle medium to high pressure in industrial coolant systems.
Do I need a lathe to make a check valve?
Not necessarily. Four of the five designs in this guide require only basic tools like a drill, saw, sandpaper, and epoxy. Only the CNC coolant valve and the brass fuel valve require a lathe for precision machining. The PVC ball valve, PVC flap valve, and threaded ball valve can all be built with hand tools and hardware store parts.
How do I stop my check valve from leaking?
Check the O-ring seating first if you see leaks during water testing. For ball valves, ensure the ball is the correct size because a ball that is too small will not seal and one that is too large will jam. For flap valves, apply a second layer of epoxy over the bonded edge after the first layer cures. Always verify the retention bar sits flush with the tube wall to prevent flow restriction.
What materials work best for water vs. fuel check valves?
For water applications, PVC and inner tube rubber work well and resist degradation for years. For fuel systems, use brass and copper because they resist corrosion from gasoline and diesel. Delrin works best for CNC coolant because it resists chemical breakdown and has low friction. Never use PVC or standard rubber in fuel lines because they degrade quickly when exposed to hydrocarbons.
Key Takeaways for Building a Reliable DIY Check Valve
You do not need to spend $25 on a commercial check valve when you can make a check valve at home for a fraction of the cost. The five designs in this guide cover nearly every common application, from 35-cent PVC water units to precision brass fuel valves and rebuildable Delrin CNC assemblies.
The most important factors are matching the material to the fluid, choosing the right sealing method, and selecting a design complexity that fits your tools. Use PVC and rubber for water systems, brass and mesh for fuel lines, and Delrin with springs for fast, rebuildable performance in industrial environments.
Pick the design that matches your application, gather the materials, and build a homemade check valve today. Test it under pressure before installation, and you will have a reliable one-way flow control solution that performs just as well as expensive commercial units.