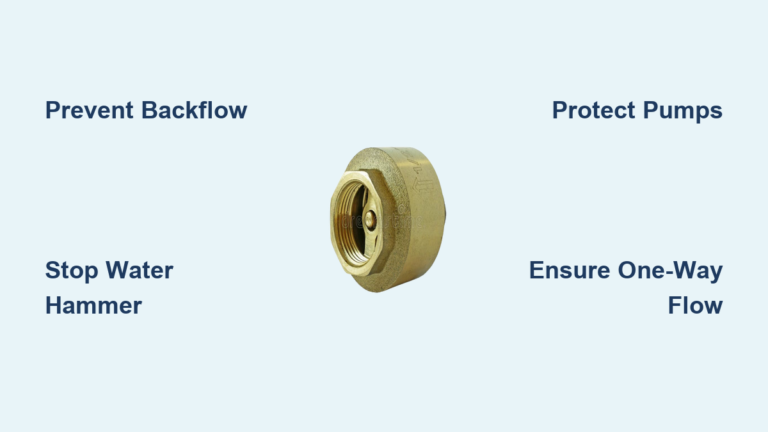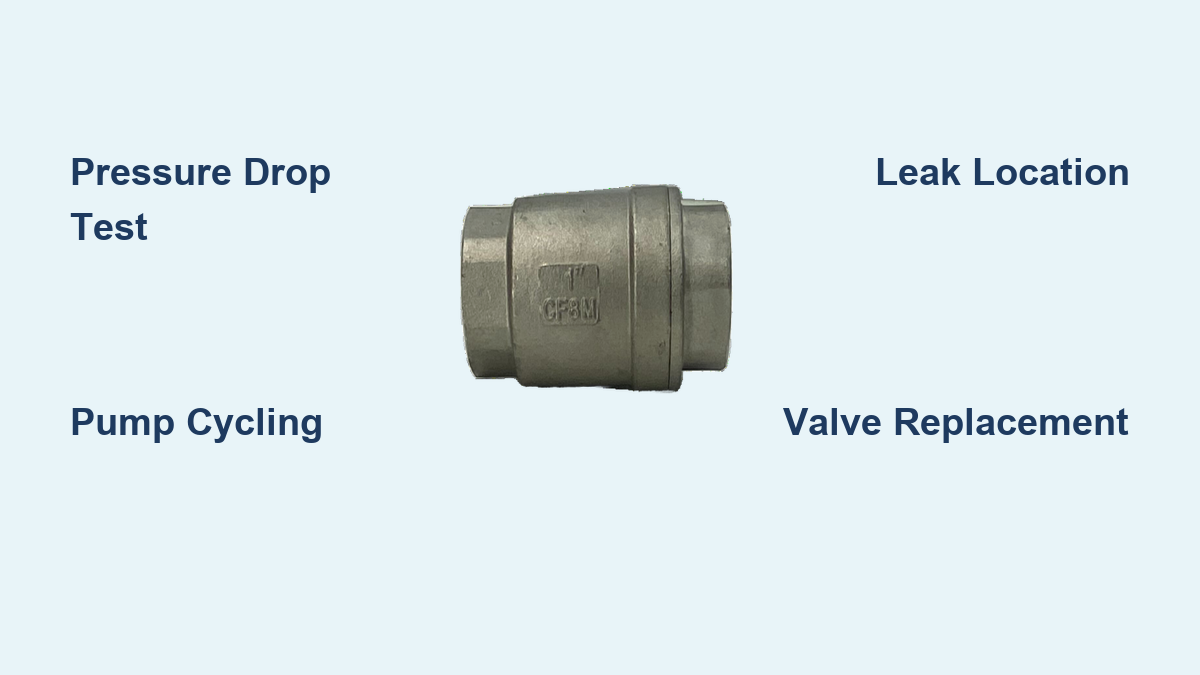
If your well pump keeps cycling on and off every 35 to 45 minutes with no water running inside the house, you are likely dealing with a leaking well pump check valve. This small component acts as a one-way gate that keeps water from flowing back down into the well after the pump shuts off. When it fails, the pressure tank loses its charge, forcing the pump to restart constantly just to rebuild pressure.
A bad check valve can quietly drain your wallet through higher electricity bills, wear out your pump motor, and create dangerous water hammer surges in your plumbing. Symptoms like gurgling sounds, sudden pressure drops, or wet spots near the wellhead can point to other problems too, such as a cracked drop pipe or a failing pitless adapter. This guide shows you how to confirm a check valve leak, understand why it happens, and take the right steps to restore reliable water pressure.
Confirm a Leaking Check Valve with the Pressure Drop Test

Before you start taking anything apart, rule out leaks inside your home. A running toilet, a dripping faucet, or a hidden pipe joint can create the same symptoms as a failed check valve. A systematic isolation test tells you exactly where the problem lives.
Run the Pressure Drop Test
This is the most reliable method for separating house plumbing issues from well system failures.
- Let the pump run until it reaches cut-out pressure (typically 50 or 60 PSI) and shuts off naturally.
- Close the main shut-off valve located between the pressure tank and the house plumbing to isolate internal fixtures.
- Turn off power to the pump at the breaker to prevent automatic restart.
- Watch the pressure gauge for at least one hour, though overnight gives the clearest answer.
- If pressure holds steady, the well system is intact and the leak is inside the house.
- If pressure drops significantly, the leak sits between the isolation valve and the bottom of the well.
Rule Out Common Household Leaks
Even a small internal leak can waste gallons per day. Check these spots first:
- Toilets: Add food coloring to the tank. If color appears in the bowl within 15 minutes without flushing, the flapper is leaking.
- Irrigation systems: Look for seepage at valves and backflow preventers.
- Water softeners or RO systems: These can leak during regeneration cycles.
- Hidden pipe joints: Inspect under sinks, near water heaters, and in basements for dampness.
If all household sources stay dry and pressure still drops after isolation, the problem lies downhole or in the wellhead assembly.
Recognize Key Failure Symptoms of a Leaking Check Valve
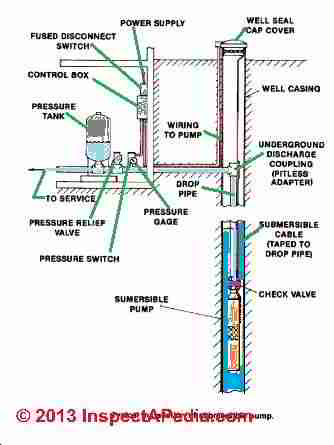
A failing check valve creates a recognizable pattern of recurring issues. Catching these early can prevent pump burnout and expensive repairs.
Pump Cycles Every 35 to 45 Minutes
This is the classic sign of a leaking well pump check valve. If the pump kicks on repeatedly with no water usage, it is fighting to replace water draining back into the well. Each cycle shortens the pump’s lifespan and drives up energy costs.
Water Hammer and Banging Pipes
When water rushes back down the drop pipe, it creates a sudden surge when the pump restarts. This water hammer produces loud banging in the plumbing. Over time, these shockwaves can crack fittings and joints throughout your home.
Delayed or Incomplete Pressure Build-Up
In deep wells over 400 feet, a weak or leaking valve allows so much backflow that the pump struggles to rebuild pressure. If the system never reaches cut-out pressure and triggers dry-run protection, suspect a failed valve or insufficient pump capacity.
Gurgling Noises at Startup
Air entering the system through a compromised seal, like a dry-rotted pitless adapter gasket, can cause gurgling. This mimics check valve failure but requires a different repair approach.
Diagnose Downhole vs. Surface Issues
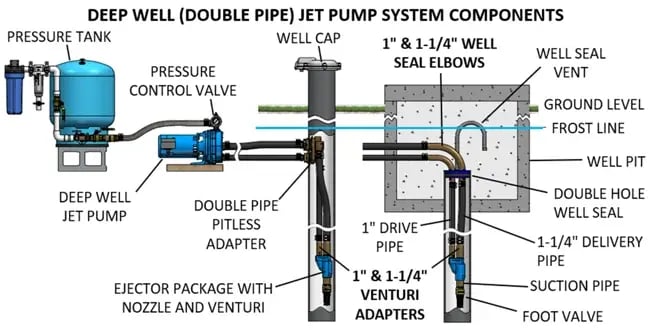
Once you confirm a well-side leak, the next step is pinpointing its location. The check valve, the pipe, or another component could be the culprit.
Test for Pitless Adapter Leaks
The pitless adapter connects the underground discharge pipe to the well casing. Its rubber gasket can dry out and crack, letting air in or water out.
- Listen at the wellhead for hissing when the system is off.
- Inspect the adapter during pump servicing for a brittle, cracked, or missing gasket.
- Note that a bad gasket often causes air in the lines, leading to sputtering faucets and false low-pressure readings.
Check for Drop Pipe Damage
Galvanized or PVC drop pipes can fracture due to corrosion, freezing, or physical stress.
- Hissing at the casing top may indicate a split pipe just above the pump.
- Wet ground along the pipe route from well to house suggests a buried line leak.
- Low yield wells with fluctuating water tables are more prone to pipe stress and fatigue.
Differentiate Valve Leak from Pump Failure
Not all cycling is caused by a bad valve. Use this comparison to guide your diagnosis:
| Symptom | Likely Cause |
|---|---|
| Pump runs normally but cycles frequently | Leaking check valve or downhole leak |
| Pump hums but no water | Electrical issue or seized motor |
| Pump runs continuously but low flow | Worn impellers or low water level |
| Screeching or grinding noise | Bearing failure or internal damage |
If the pump delivers water but cannot hold pressure, the issue is almost certainly backflow pointing to the check valve.
Understand Check Valve Materials and Types

Using the wrong valve or material leads to premature failure. Match the valve to your well’s depth, water chemistry, and pump type.
Choose the Right Material
| Material | Best For | Avoid If |
|---|---|---|
| 304/316 Stainless Steel | Deep wells, saline or acidic water | Budget-only projects (higher upfront cost) |
| Brass | Freshwater, above-ground use | Connecting to stainless (risk of galvanic corrosion) |
| PVC | Low-pressure, shallow jet systems | Deep or high-pressure applications |
| Ductile Iron | Industrial systems with protective coating | Uncoated exposure to moisture |
Pro Tip: Use 100% stainless steel components for the pump, valve, and fittings to eliminate galvanic corrosion risk.
Select the Correct Valve Type
- Spring-assisted check valves: Fast closing, ideal for submersible and jet systems. Can be installed vertically or horizontally with proper flow direction.
- Swing check valves: Too slow for well systems. They cause water hammer and allow backflow.
- Foot valves: Used with jet pumps. Include a screen to block debris and must be submerged below the drawdown level.
Install or Replace the Check Valve Correctly
Proper placement and installation prevent vacuum breaks, water hammer, and early failure.
Place the Valve at the Right Depth
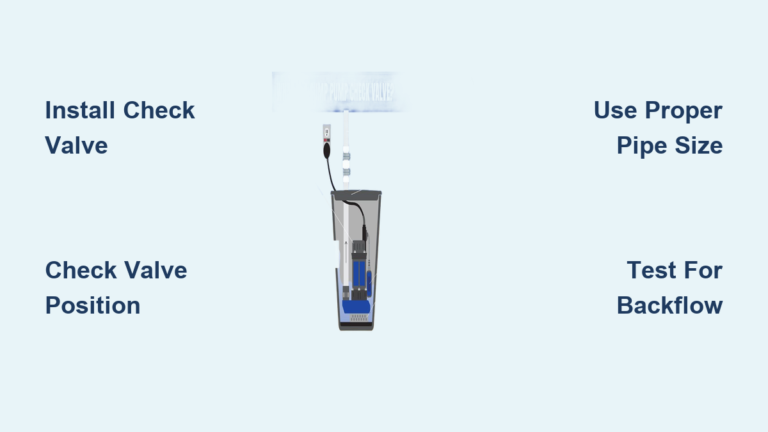
- Within 25 to 30 feet of the pump: Ensures the valve stays submerged and avoids vacuum formation.
- Below drawdown level: Never install above the lowest water level during pumping.
- Avoid the 33-foot vacuum limit: Atmospheric pressure cannot support a water column higher than 33 feet. Exceeding this causes cavitation and loss of prime.
Stage Valves in Deep Wells
For wells over 200 feet, install multiple check valves every 200 feet up the drop pipe. This distributes the weight of the water column, reduces stress on individual valves, and provides backup if one valve fails.
Follow Proper Installation Techniques
- Use 3 full wraps of PTFE tape: Wrap threads counterclockwise to prevent unraveling. Avoid excess tape that could flake off and clog the valve.
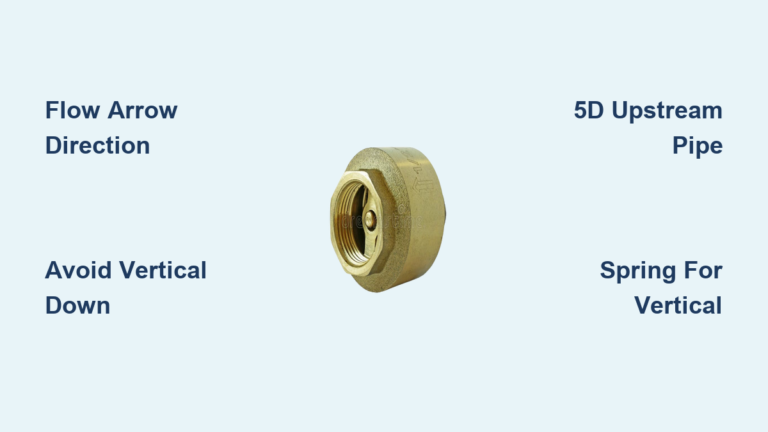
- Align flow direction: The arrow on the valve body must point toward the house. Backward installation blocks flow entirely.
- Support the valve: Secure with clamps or brackets to prevent pipe stress on the connections.
Prevent Future Check Valve Failures
A new valve will not last if the root causes are not addressed. Take proactive steps to extend system life.
Filter Out Sediment and Debris
Sand, rust, and silt prevent the valve from sealing completely.
- Install a 5-micron sediment filter before the pressure tank.
- Clean or replace filters every 3 to 6 months depending on water quality.
- Use a pre-filter at the wellhead for high-silt wells.
Monitor for Early Warning Signs
Catch problems before they escalate:
- Frequent cycling: Investigate immediately.
- Water hammer: Install a water hammer arrestor if not already present.
- Reduced water pressure: Could indicate partial blockage or valve wear.
Schedule Annual System Inspections
A professional can test the pressure tank air charge (should be 2 PSI below cut-in pressure), inspect pitless adapter gaskets, check for voltage drops or switch issues, and verify pump performance and amperage.
Decide Between DIY and Professional Service
Some repairs you can handle yourself. Others require specialized tools and expertise.
DIY: Replace an Above-Ground Check Valve
If the valve sits near the pressure tank or on a jet pump:
- Turn off power and relieve system pressure.
- Shut valves before and after the check valve.
- Cut or unscrew the old valve out.
- Install the new one with proper thread sealing.
- Re-pressurize and test.
Tools needed include a pipe cutter, wrenches, Teflon tape, and a pressure gauge.
Professional: Pull a Submersible Pump
Downhole valves require pulling the entire pump assembly, often from 100+ feet deep.
- Requires: Winch, tripod, pipe wrenches, safety gear.
- Risks: Damaging drop pipe, dropping components, electrical hazards.
- Cost: $1,500 to $2,500, but prevents repeated failures.
If the check valve is downhole, hire a licensed well technician.
Upgrade for Deep or Low-Yield Wells
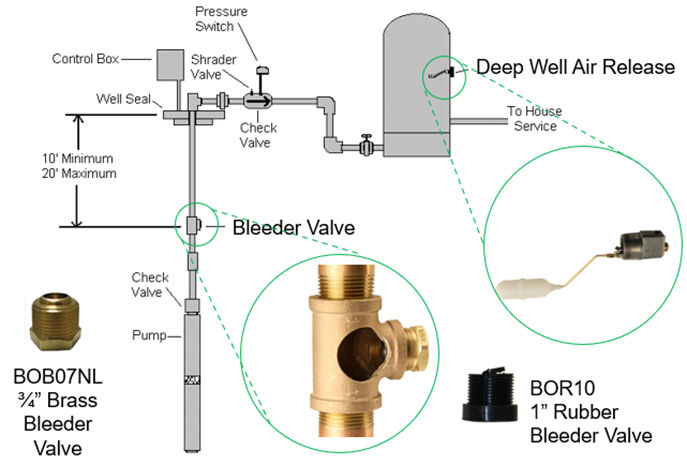
Standard setups may not suffice for challenging conditions. Optimize for reliability.
Upgrade Pump Capacity
A 3/4 HP pump may struggle in a 460-foot well. Consider upgrading to a 1 HP submersible pump for higher lift capacity or a high-efficiency 1/2 HP 10 GPM model for better performance at lower power.
Install Float Switch Control
Instead of relying solely on pressure switches, use a float switch in the pressure tank to control filling and add a low-water float switch in the well for dry-run protection. This reduces cycling and extends pump and valve life.
Add Redundant Protection
- Install a surface check valve below the well seal for extra backflow protection.
- Use stainless steel pitless adapters with OEM gaskets for long-term sealing.
Frequently Asked Questions About Well Pump Check Valve Leaks
How do I know if my well pump check valve is leaking?
The most common sign is the pump cycling every 35 to 45 minutes with no water usage. You can confirm with a pressure drop test: close the main shut-off valve, turn off pump power, and watch the gauge. If pressure drops over an hour, the well system has a leak.
Can I replace a check valve without pulling the pump?
Yes, if the valve is above ground near the pressure tank or on a jet pump. Surface valves are accessible for DIY replacement. Downhole valves on submersible pumps require pulling the entire assembly, which is a professional job.
What causes a well pump check valve to fail?
Common causes include sediment and debris preventing a tight seal, worn O-rings from age, mineral deposits in hard water, water hammer damage, corrosion from aggressive water chemistry, and cycling fatigue from repeated use.
How much does it cost to fix a leaking well pump check valve?
The valve itself costs $10 to $40. Professional replacement with a full submersible pump pull typically runs $1,500 to $2,500 depending on well depth and location.
How often should a well pump check valve be replaced?
There is no fixed schedule, but valves on systems that cycle frequently or sit in hard water may fail sooner. Annual inspections help catch wear before it causes a leak.
Can a leaking check valve damage my pump?
Yes. Constant cycling from a leaking check valve wears out the motor and impellers, and water hammer from backflow can crack pipes and fittings throughout your plumbing system.
Key Takeaways for Fixing a Leaking Well Pump Check Valve
A leaking well pump check valve is a silent system killer that wastes energy, damages equipment, and can lead to a complete water outage. Start with the pressure drop test to confirm the leak location, then use the symptom comparison table to rule out pump failure. Choose stainless steel components matched to your water chemistry, and place the valve within 25 to 30 feet of the pump to avoid vacuum breaks.
For surface valves, DIY repair is feasible with basic plumbing tools. For submersible systems, professional service is essential to avoid damaging the drop pipe or pump assembly. Schedule annual inspections and install sediment filtration to extend valve life and keep your well running efficiently for years without the constant click of a cycling pump.