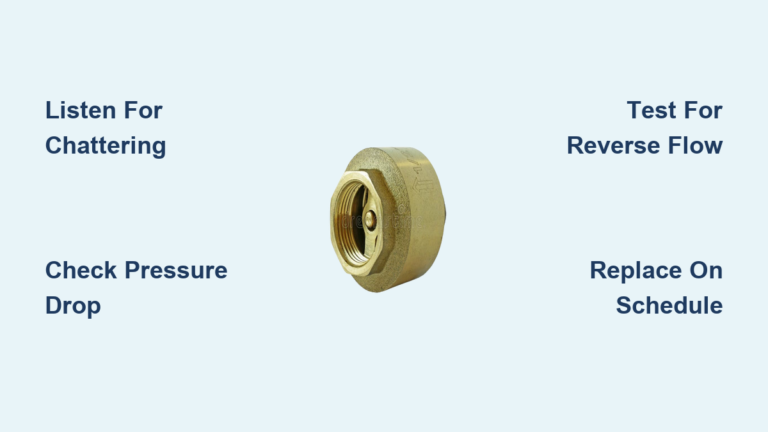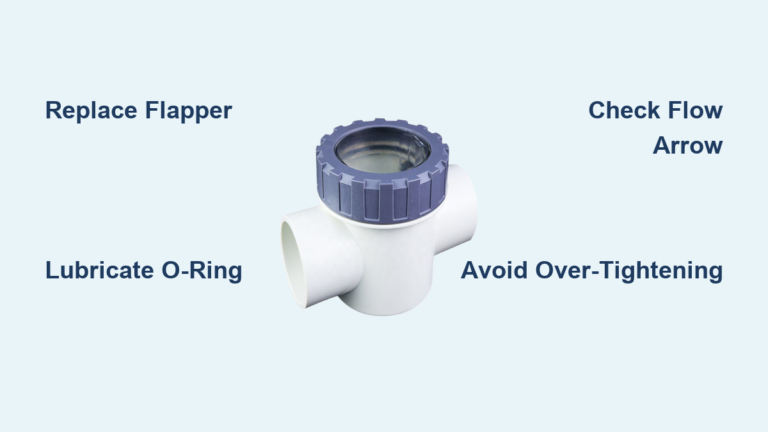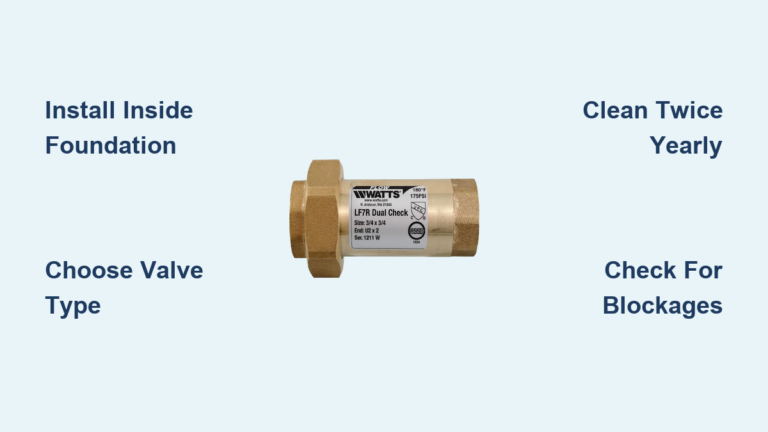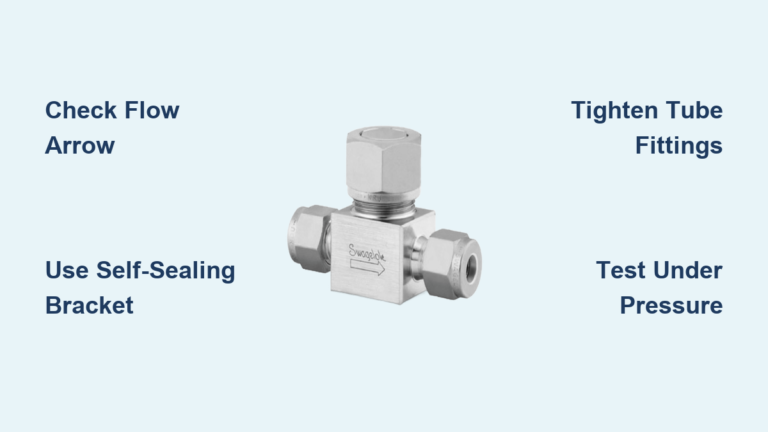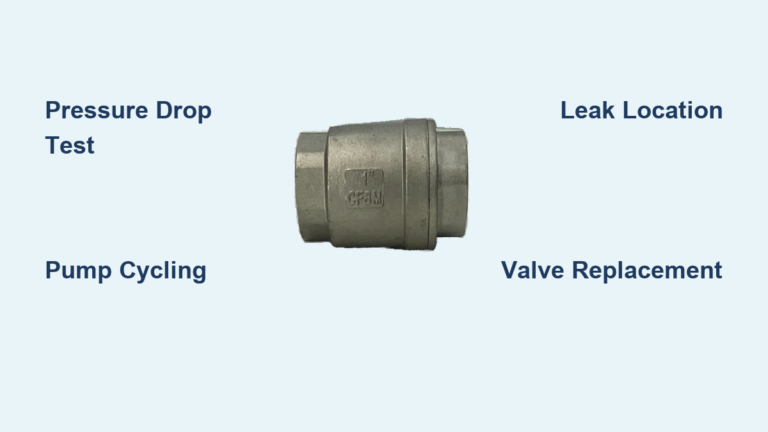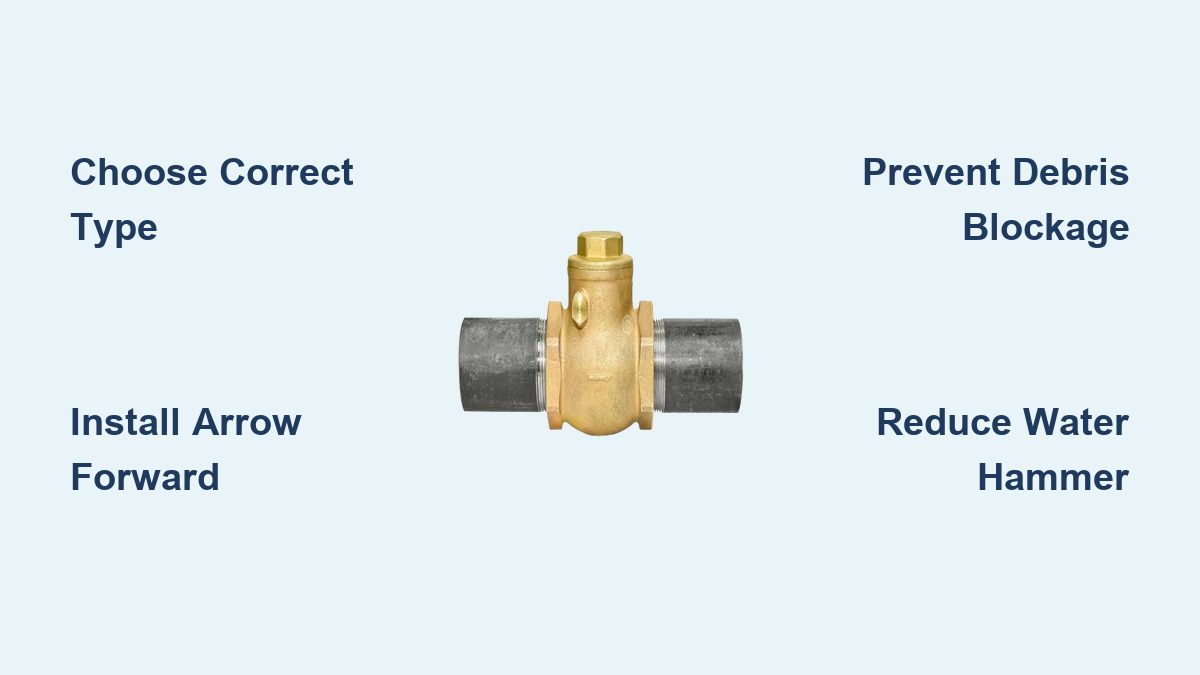
Picture this: you shut off your sump pump at night, only to wake up to a flooded basement. Or your aquarium drains across the floor after a power outage. These disasters share one common cause, and one small device could have prevented both. A check valve (also called a non-return or one-way valve) automatically permits fluid or gas to flow in a single direction while blocking any reverse flow. You never operate it manually; it responds silently to pressure changes inside your system. Learning how to use a check valve correctly protects your equipment, prevents contamination, and extends the life of your plumbing or pumping setup.
This guide covers everything you need, from selecting the right type and setting proper cracking pressure to installing in the correct direction and troubleshooting common issues. By the end, you’ll know exactly how to integrate a check valve into any system with confidence.
Choose the Right Check Valve Type for Your System
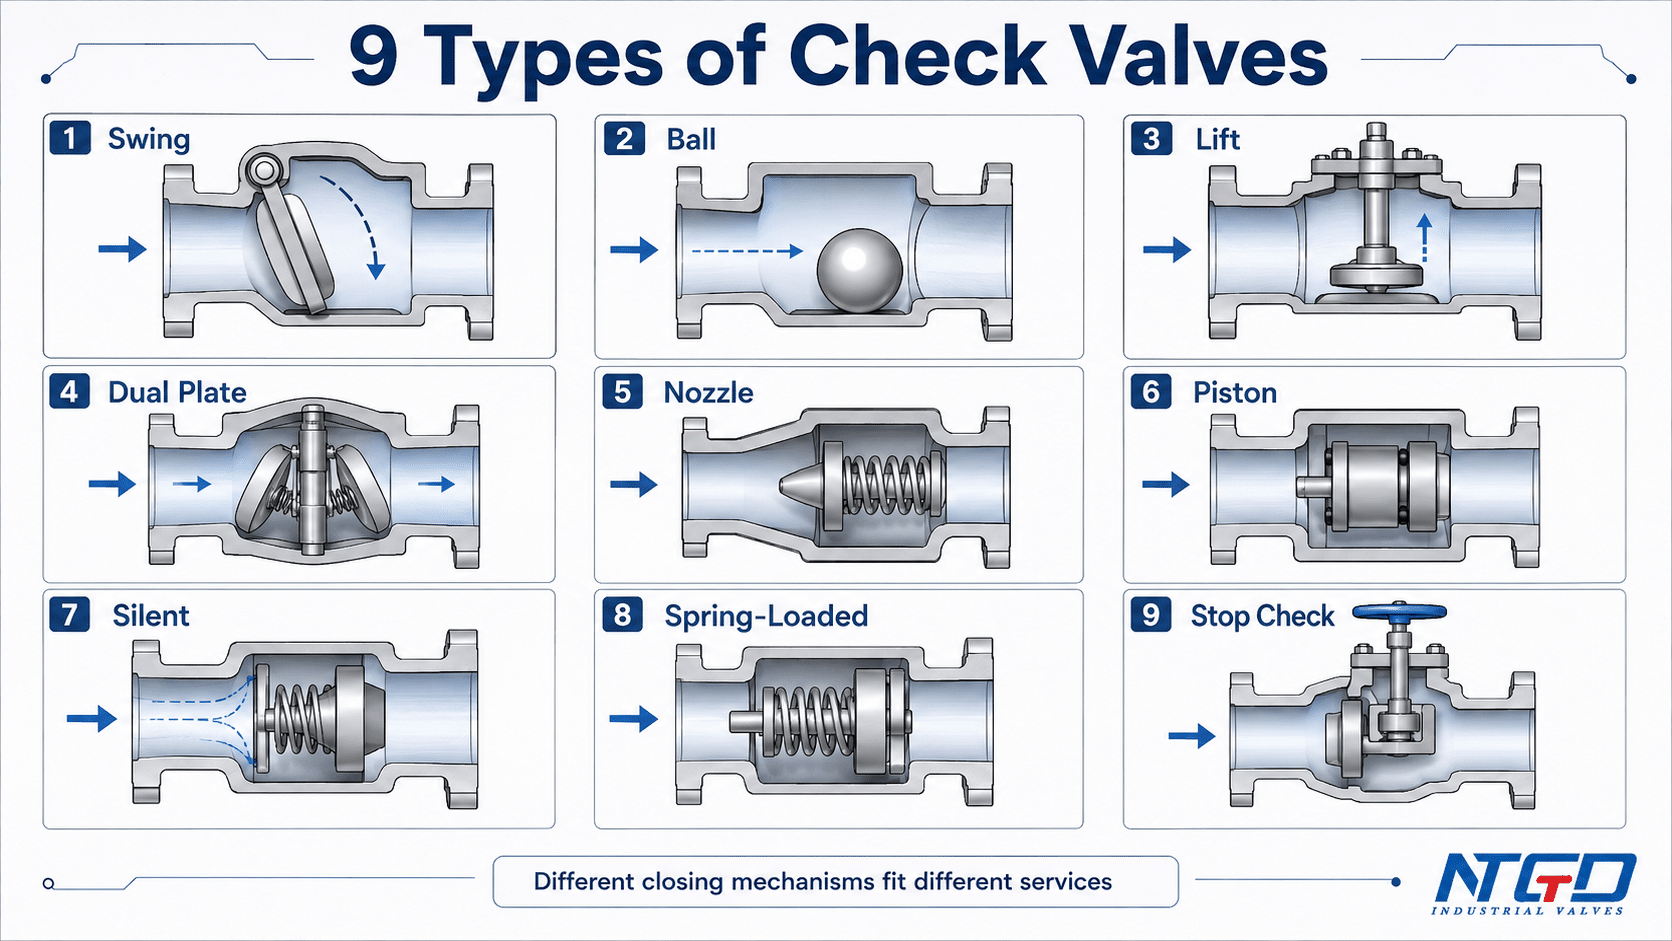
Selecting the correct valve ensures long-term reliability, smooth flow, and full compatibility with your system’s pressure, orientation, and fluid type.
Ball Check Valves
Ball check valves seal the flow path using a spherical ball. Forward pressure lifts the ball off its seat to allow flow, and the ball drops back into place when pressure drops. Two main variants exist:
- Spring-loaded: Works in any orientation, including vertical. The spring guarantees a tight seal regardless of mounting position.
- Gravity-operated: Common in condensate pumps. Requires horizontal mounting or vertical with upward flow so gravity can return the ball to its seat.
✅ Best for: Small systems like aquarium air lines, boiler feed pumps, and condensate removal.
Poppet Check Valves
Poppet valves use a small disc (poppet) instead of a ball, often guided by a central stem. These provide precise sealing with minimal leakage, which matters in high-integrity systems.
- Flow passes around the poppet or through passages inside it.
- Some designs allow a 90-degree outlet configuration.
✅ Best for: Hydraulic systems, fuel lines, and applications where low leakage is critical.
Swing Check Valves
Swing check valves feature a hinged disc that opens with forward flow and swings shut when flow stops or reverses.
- Full-port design minimizes pressure drop.
- Relies on gravity for closure, so horizontal mounting is required (or specific vertical orientations approved by the manufacturer).
❌ Avoid in: Vertical downward flow or systems with frequent flow fluctuations.
✅ Best for: Large-diameter water lines and industrial piping.
Diaphragm and Duckbill Valves
These flexible designs open under forward pressure and collapse to seal when flow reverses.
- No moving metal parts, which makes them resistant to clogging.
- Handle slurries, wastewater, and corrosive fluids well.
✅ Best for: Sewage systems, irrigation lines, and low-pressure venting.
Dual-Plate and Butterfly Check Valves
Dual-plate valves use two hinged plates that open like double doors. They close quickly to prevent water hammer and are common in high-flow hydraulic systems.
- Faster closure reduces shock waves in the piping.
- Many models meet strict fugitive emissions standards.
✅ Best for: High-pressure, high-flow systems such as oil and gas pipelines.
Calculate the Correct Cracking Pressure
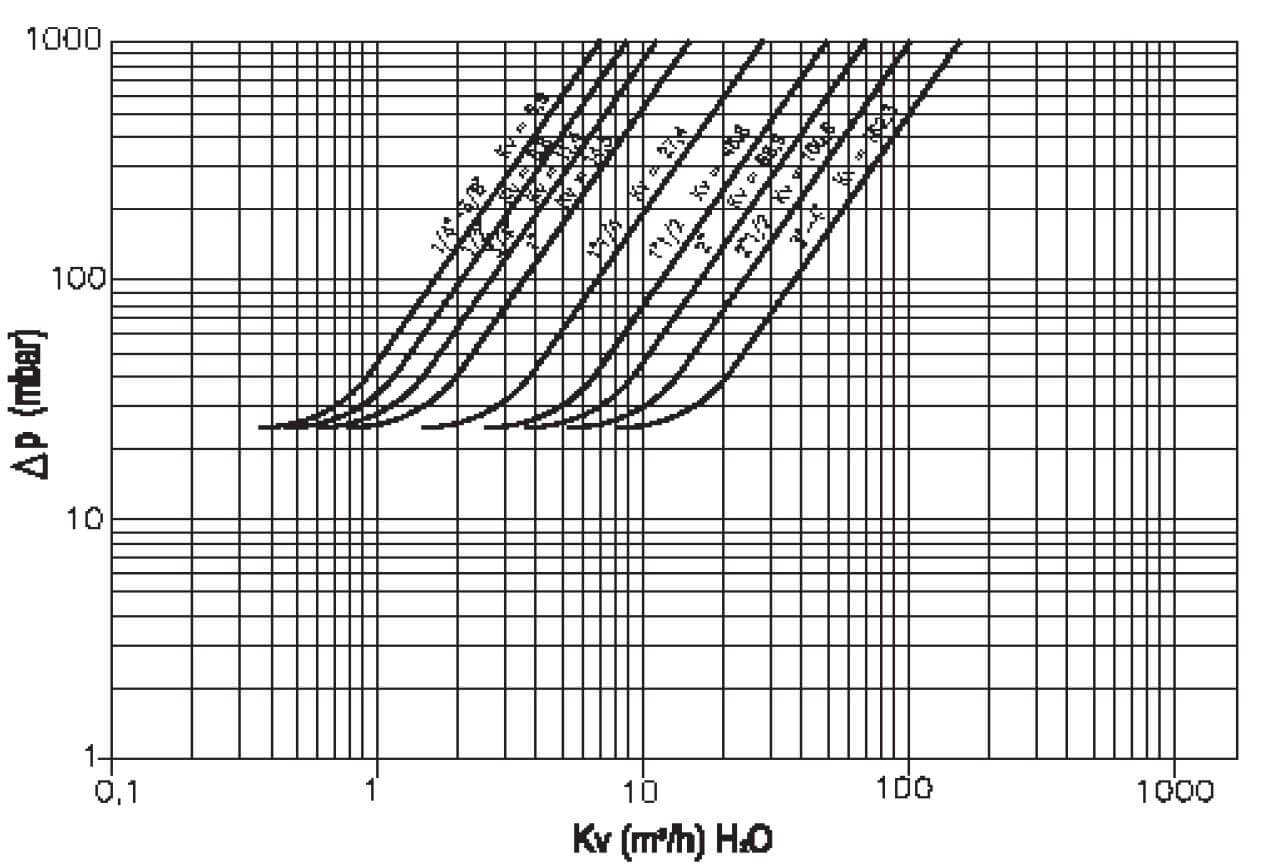
Cracking pressure is the minimum inlet pressure needed to push the valve open. Getting this right keeps your system running efficiently.
How Cracking Pressure Works
- Most spring-loaded valves have a standard cracking pressure of about 10 PSI.
- If your system has 200 PSI of back pressure, the inlet must reach 210 PSI to overcome both the back pressure and the spring force.
Adjust for Vertical Orientation
- Vertical upward flow: Gravity adds to the required pressure. Choose a lower spring rate.
- Vertical downward flow: Gravity assists opening. Without control, the valve may open prematurely.
🔧 Pro Tip: For low-pressure systems like aquarium air pumps, choose valves with ultra-low cracking pressure (1 to 3 PSI) to avoid restricting airflow.
Install the Valve in the Correct Flow Direction
Installing a check valve backward is the most common mistake, and it stops all flow completely.
Verify the Arrow Indicator
Every check valve has an arrow cast or stamped on the body. This arrow must point toward the destination, from the source (pump) to the discharge point (tank, pipe, or outlet).
- ❌ Backward installation keeps the valve permanently closed.
- ✅ Correct installation allows free forward flow and blocks reverse flow.
🚨 Warning: In sump pumps, reverse installation causes continuous cycling. In air pumps, it can lead to water siphoning and equipment damage.
Follow Mounting Guidelines
Gravity-Dependent Valves (Swing, Large Ball)
- Install horizontally or in manufacturer-approved vertical positions.
- Ensure the disc or ball can swing or drop freely onto the seat.
Spring-Loaded Valves
- Mount in any orientation, including vertical up-flow.
- Always confirm with manufacturer specs, since some models have restrictions.
📏 Space Tip: Swing check valves need clearance for the disc to open fully (often 90 degrees or more). Plan your pipe layout accordingly.
Prevent Debris-Related Valve Failure
Most check valve failures trace back to debris interfering with the seal. A few simple steps prevent this.
Flush the Line Before Installation
- Remove weld slag, rust, and dirt by flushing the pipeline thoroughly.
- Never install a check valve in a dirty system.
Install an Upstream Filter or Strainer
- Place a strainer or inline filter before the valve.
- It traps particles that could lodge between the seat and seal.
✅ Best Practice: In irrigation or sump systems, clean the filter every 3 to 6 months.
Apply Check Valves in Critical Applications
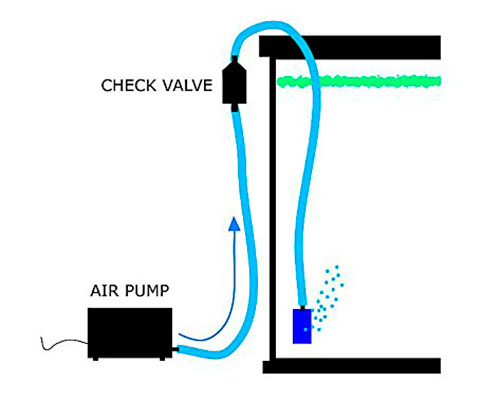
Check valves serve vital roles in specific systems. Here’s how to use them correctly in each scenario.
Protect Aquarium Air Pumps
When the air pump sits below the water level, a power outage can siphon water back through the airline and flood the floor.
How to Install
- Place the check valve inline between the pump and tank.
- The arrow must point toward the aquarium.
⚠️ Trade-off: Check valves reduce airflow by about 20%.
Test data: 41 seconds (no valve) vs. 51 seconds (with valve) to fill 1 quart.
Flow drops from roughly 22 GPH to 17.5 GPH.💡 Better Solution: Mount the pump above the tank. Gravity prevents siphoning naturally, and you avoid the airflow penalty entirely.
Stop Sump Pump Short-Cycling
Without a check valve, water drains back into the sump pit after each pump cycle, forcing the pump to restart repeatedly.
How It Helps
- A flapper-style valve closes when the pump stops.
- It keeps the discharge pipe full and prevents unnecessary restarts.
🔧 Install Location: On the discharge line, close to the pump outlet.
Maintain Prime in Condensate Pumps
Condensate pumps use ball-style check valves with a loose plastic ball inside the housing.
- Pump pressure lifts the ball to open the flow path.
- Gravity drops the ball back onto the seat when the pump shuts off.
✅ Result: Condensate stays in the discharge line and does not return to the reservoir.
Prevent Backflow in Plumbing
Check valves on washing machines, dishwashers, and irrigation systems stop contaminated water from entering clean supply lines.
Key Uses
- Lawn sprinklers: Block fertilizers or mud from being sucked into drinking water.
- Toilets: Stop waste water from back-siphoning during pressure drops.
🌍 Compliance: Required by plumbing codes in many regions.
Reduce Water Hammer and Noise
Rapid valve closure creates destructive pressure surges called water hammer. These shockwaves can rupture pipes and damage fittings.
Choose Non-Slam Check Valves
Non-slam designs close gradually, dampening the shock wave before it builds.
- Ideal for vertical discharge lines.
- Pair with end dampers for extra protection.
Fix Chattering and Vibration
A chattering sound means the valve is opening and closing rapidly.
Common Causes
- Oversized valve: Does not open fully at low flow rates.
- Broken spring: Fails to hold the seal properly.
- Low flow rate: Insufficient pressure to stabilize the disc.
🔧 Fix: Downsize the valve, replace the spring, or install a flow stabilizer.
Maintain and Troubleshoot Your Check Valve
Even maintenance-free valves fail over time. Regular checks prevent costly system damage.
Common Problems and Fixes
| Symptom | Cause | Solution |
|---|---|---|
| No flow | Backward installation, debris, failed spring | Check arrow, clean valve, replace |
| Backflow or leakage | Debris on seat, worn seal | Flush line, clean seat, replace valve |
| Loud banging | Rapid closure (slamming) | Install non-slam valve, add damper |
| Chattering | Valve oversized, low flow | Resize, verify flow rate |
Inspect and Clean Regularly
- Listen for unusual noises during operation.
- Look for leaks around the valve body.
- Disassemble if the design allows it, and clean the seat and moving parts.
🛠️ Lubrication: Only if specified by the manufacturer. Most modern valves are self-lubricating.
Replace Based on Material Lifespan
- Metal valves: Last 5 to 7 years. Prone to rust and corrosion in wet environments.
- Rubber valves: Last 35 to 50 years. Resistant to corrosion, ideal for harsh conditions.
✅ Upgrade Tip: Replace aging metal check valves with rubber or elastomer-sealed models for longer service life.
Optimize Placement and System Design
.jpg)
Where you install the valve affects both performance and protection.
Position Close to the Source
- Install within 1 to 2 feet of the pump outlet.
- This minimizes backflow volume and protects the pump.
Use in Multi-Pump Systems
In setups with multiple pumps, install a check valve on each pump’s discharge line.
- Prevents an active pump from pushing fluid backward through inactive ones.
- Stops reverse rotation (backspin) that can burn out motors.
Pair with Accumulators
In hydraulic systems, check valves isolate accumulators.
- Keep stored pressure in the accumulator when the pump is off.
- Prevent fluid from returning to the pump.
Frequently Asked Questions About Check Valves
What is the main purpose of a check valve?
A check valve allows fluid or gas to flow in only one direction. It prevents backflow, protects pumps from reverse rotation, maintains prime, and stops contamination of clean water supplies.
Can a check valve be installed vertically?
Spring-loaded check valves can be installed vertically, including in upward flow applications. Swing check valves and gravity-operated ball checks generally require horizontal mounting or specific vertical orientations approved by the manufacturer.
How do I know which direction to install a check valve?
Every check valve has an arrow cast or stamped on the body. The arrow must point from the source (pump) toward the destination (tank, pipe, or outlet). Installing it backward blocks all flow.
Do check valves reduce water pressure?
Yes, every check valve introduces some pressure drop. Swing check valves with full-port designs minimize this loss. In aquarium air pumps, expect about a 20% reduction in airflow when a check valve is added.
How long does a check valve last?
Metal check valves typically last 5 to 7 years, while rubber or elastomer-sealed valves can last 35 to 50 years. Lifespan depends on the fluid, pressure, temperature, and whether debris is filtered out upstream.
What causes a check valve to chatter or make noise?
Chattering usually means the valve is oversized for the flow rate, the spring is broken, or the flow is too low to stabilize the disc. Switching to a properly sized valve or replacing the spring typically solves the problem.
Key Takeaways for Using a Check Valve Effectively
A check valve is a silent guardian, small in size but critical in function. Whether you’re protecting a basement from flooding, keeping an aquarium safe during a power outage, or maintaining pressure in a hydraulic system, the right valve makes all the difference.
Three rules cover nearly every situation:
- Choose the right type based on your fluid, pressure, and mounting orientation.
- Install it in the correct direction by following the arrow on the valve body.
- Protect it from debris by flushing the line first and adding an upstream filter.
Follow these steps, and your system will run safer, longer, and more efficiently. For your next project, start by identifying the specific threat (backflow, water hammer, loss of prime, or contamination), then match the valve type and cracking pressure to your system’s needs.