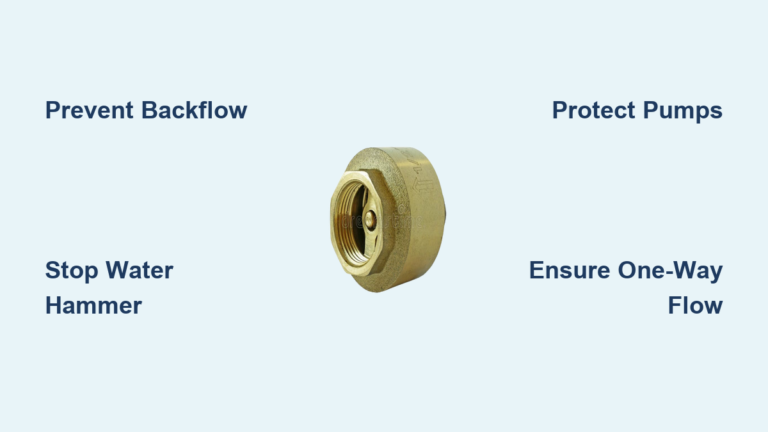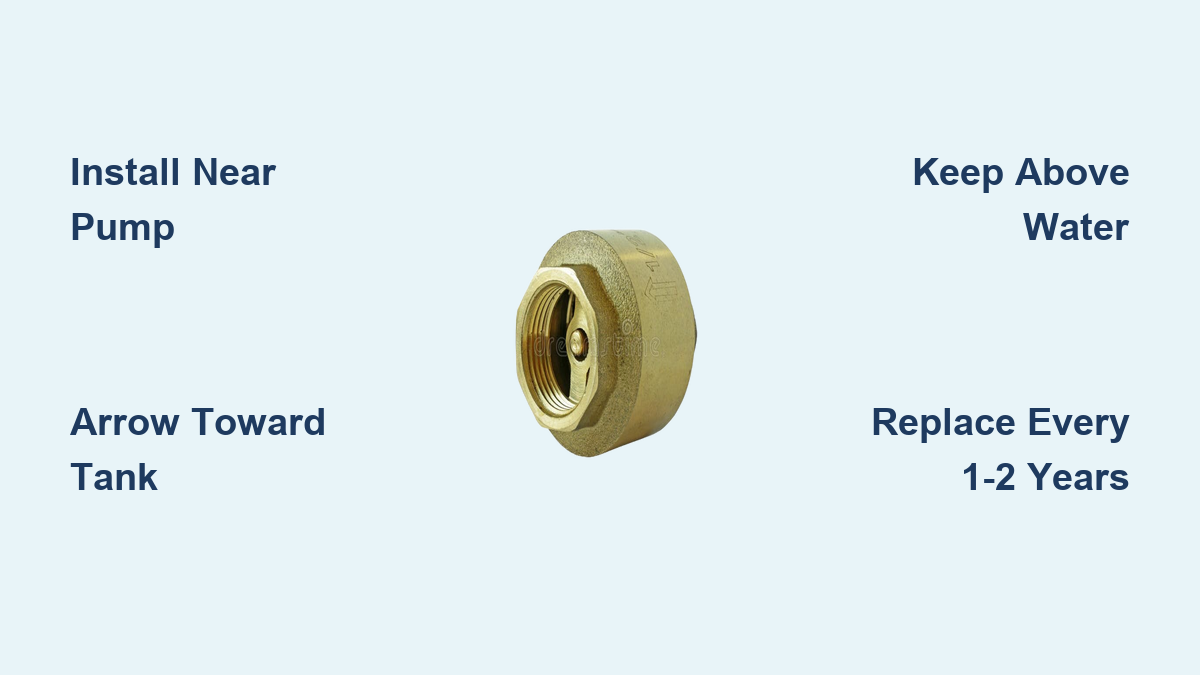
Picture this: a storm knocks out power, your air pump goes silent, and water begins creeping backward through the airline tubing toward an electrical outlet. Without protection, this scenario can flood your floor, destroy your pump, or spark a dangerous electrical fire. Learning how to use a check valve in an aquarium eliminates this risk entirely. This small, one-way device blocks reverse water flow during pump failures, keeping your equipment and home safe. In this guide, you will learn proper placement, correct orientation, airflow optimization, bleed valve setups, troubleshooting tips, and maintenance practices that extend valve life.
Install the Check Valve Right After the Air Pump
Position the Valve Within 4 to 6 Inches of the Pump
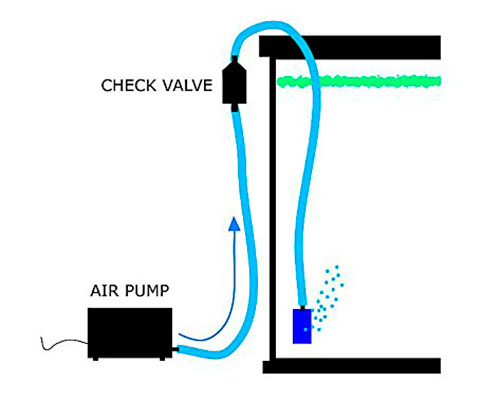
The safest location for a check valve is within 4 to 6 inches of the air pump outlet, before any other components. This close placement ensures that if a siphon forms during a power outage, only a minimal amount of water enters the line before the valve seals shut. Placing the valve farther down the tubing allows more water to reach the pump before protection kicks in.
Always install the check valve before control or bleed valves. If you place a control valve first, water can enter and pool inside it during backflow, leading to corrosion, clogs, or mold growth. The correct sequence is:
- Air Pump
- Short Tubing (4 to 6 inches)
- Check Valve (arrow facing tank)
- Control Valve (if used)
- Tubing to Airstone or Filter
This order keeps sensitive components dry and ensures immediate protection.
Prevent Water from Reaching the Pump
During a power failure, air pressure drops instantly and gravity pulls water back through the airline. Without a check valve, this siphon effect can travel all the way to the pump. With the valve installed correctly, the internal rubber flap snaps shut the moment reverse flow begins, blocking water entry. This not only saves your pump but also prevents potential electrical shorts caused by water contacting power strips or outlets.
Even if your system includes a control valve, it cannot stop siphoning on its own. Only a properly positioned check valve can provide this critical protection.
Orient the Valve Correctly for Proper Airflow
Follow the Arrow Direction on the Valve Body
Every check valve has a molded arrow on its body indicating the direction of airflow. This arrow must point away from the air pump and toward the aquarium. Installing it backward blocks airflow completely because the rubber flap will be pushed against the inlet by the pump’s pressure, preventing any air from passing through.
Before final installation, test the valve by blowing through it. Air should pass easily in the direction of the arrow and be completely blocked when blown from the opposite end. If air flows both ways or is blocked in both directions, the valve is defective and should be replaced.
Identify the Flapper Side Before Installation
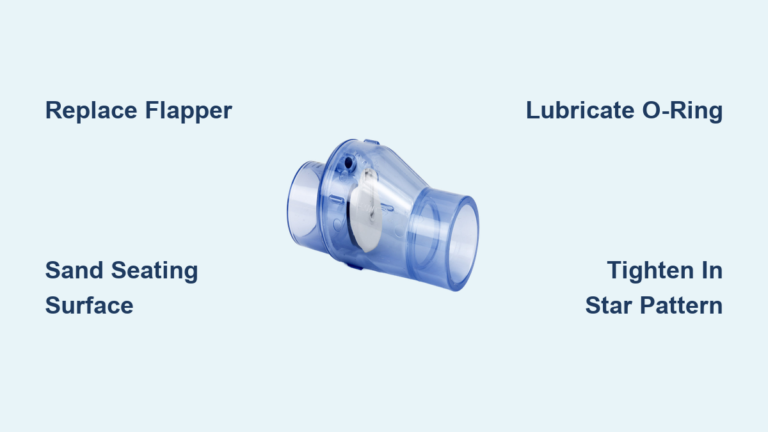
Inside the valve, you will often see a colored bar or horizontal line. This is the rubber flapper, and the side with the flapper must face the air pump. When airflow stops, the flapper seals against the seat on the tank side, creating a watertight barrier. If installed backward, the flapper will not seat properly, leading to leaks or failure during backflow.
Never assume orientation. Always verify both the arrow and internal flapper position before connecting tubing.
Never Submerge the Check Valve
Keep the Valve Above the Water Line at All Times
A check valve must never be submerged. It is not waterproof and will fail if flooded. Even brief exposure to water can degrade the internal seal or cause mineral buildup that prevents proper closure. Always mount the valve above the tank’s water level, ideally near the rim, on a wall, or attached to the back of the aquarium using a suction cup holder.
If space is tight, such as in compact tanks like the Fluval Edge, ensure the valve is still positioned high enough to stay dry during water changes or overflows. Submerging it defeats its purpose and creates a serious safety hazard.
Protect Against Accidental Flooding and Splashing
Place the valve where it will not be splashed during routine maintenance. Avoid routing tubing so the valve hangs low or rests on the floor. In multi-tank setups, label each valve to prevent accidental disconnection during cleaning. Use zip ties or clips to secure tubing and maintain proper elevation throughout the system.
Maximize Airflow Efficiency Despite the 20% Loss
Understand and Offset the Flow Reduction
All check valves create backpressure that reduces airflow by approximately 20%. For example, a pump delivering 22 gallons per hour without a valve may only deliver 17.5 GPH with one installed. This loss can impact oxygen levels in heavily stocked or warm-water tanks where aeration is critical.
To offset this reduction:
– Choose a slightly more powerful pump to compensate
– Minimize bends and long tubing runs
– Use rigid airline tubing where possible to reduce resistance
Elevate the Pump to Eliminate the Valve Entirely
The most effective way to maintain 100% airflow efficiency is to position the air pump above the water level of the aquarium. When the pump outlet is higher than the tank rim, gravity prevents siphoning and no check valve is needed.
In this configuration:
– Water cannot flow uphill into the pump
– Full air output is preserved
– Risk of backflow is eliminated completely
This setup is ideal for wall-mounted pumps, shelves above the tank, or integrated aquarium cabinets. If elevation is not possible, a check valve remains mandatory.
Use Bleed Valves to Reduce Pump Strain
Install a T-Fitting After the Check Valve
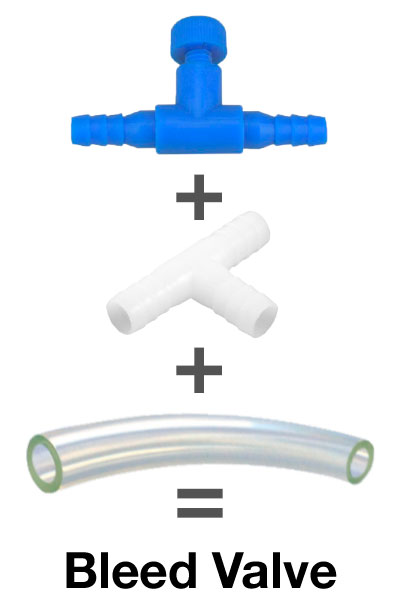
When airflow is restricted, such as with deep tanks or fine-pore airstones, the pump diaphragm works harder, increasing noise and wear. A bleed valve setup reduces this strain by venting excess air to the atmosphere.
To install:
1. Place a T-fitting in the airline after the check valve
2. Connect one branch to the airstone via a control valve
3. Connect the second branch to another control valve (the bleed valve) and leave it open to air
When the bleed valve is slightly opened, air takes the path of least resistance, reducing backpressure on the pump. This extends pump life and lowers operational noise.
Never Add a Second Check Valve to the Bleed Line
Do not install a second check valve on the bleed line. The single valve near the pump protects the entire system. The bleed line’s control valve acts as a closure when shut and poses no backflow risk since it vents to the air. Adding an extra valve increases resistance and offers no safety benefit.
Troubleshoot Common Setup Errors
Fix Backward Installation Quickly
If your airstone is not bubbling, the first thing to check is the check valve orientation. A backward valve blocks all airflow. Verify that the arrow points toward the tank and the flapper side faces the pump. Remove and reverse the valve if needed, then test by blowing through it before reinstallation.
Prevent Control Valve Damage from Water Ingress
Placing the control valve before the check valve is a common mistake. During a power outage, water can enter the control valve, causing internal corrosion, stiff or stuck knobs, and mold growth inside the chamber. Always install the control valve after the check valve to keep it dry and functional.
Address Loose Tubing Connections Before They Fail
Over time, airline tubing hardens and shrinks, leading to loose fits on valve nozzles. During a siphon event, this can cause leaking even with a working check valve. Prevent this by:
– Replacing brittle or cracked tubing annually
– Cutting clean, straight ends with sharp scissors
– Pushing tubing firmly onto both ends of the valve
– Securing with zip ties if necessary
Inspect connections every few months, especially in warm or UV-exposed environments.
Maintain Valve and Tubing Longevity
Inspect for Material Degradation Regularly
Rubber flappers can degrade over time, losing flexibility and failing to seal. Similarly, plastic valve bodies may crack due to stress or temperature changes. Signs of failure include air leaking backward, water entering the line after power returns, and visible cracks or cloudiness in the valve. Replace the check valve every 1 to 2 years, or sooner if performance declines.
Replace Hardened Tubing to Maintain a Tight Seal
Airline tubing exposed to heat, light, or age becomes stiff and brittle. Hardened tubing will not form a tight seal on valve connectors, increasing the risk of disconnection or leakage during emergencies. Replace tubing when it cracks when bent, no longer grips the valve nozzle tightly, or shows discoloration or surface cracks. Use high-quality, flexible airline rated for aquarium use to extend lifespan.
Know When You Do Not Need a Check Valve
Use Gravity for Natural Backflow Protection
If your air pump or CO2 tank is mounted above the aquarium rim, gravity prevents siphoning. In this case, a check valve is not required. This applies to pumps on shelves or wall mounts above the tank, CO2 systems with regulators positioned higher than the tank, and battery backup systems mounted at elevation. Removing the valve eliminates airflow resistance and simplifies the system.
Confirm Pump Elevation Before Skipping the Valve
Measure the height of your pump outlet relative to the water surface. If the outlet is even slightly higher, the siphon cannot form. Ensure the tubing does not create a low point where water could collect. In elevated setups, you gain both safety and full pump performance with no compromises.
Frequently Asked Questions About Using a Check Valve in an Aquarium
Do I really need a check valve for my aquarium air pump?
You need a check valve if your air pump sits below the water level of your aquarium. Without one, a power outage can cause water to siphon back through the airline, potentially flooding your floor, damaging the pump, or creating an electrical hazard. If your pump is mounted above the tank rim, gravity prevents backflow and the valve becomes optional.
Where exactly should I install the check valve in my airline tubing?
Install the check valve within 4 to 6 inches of the air pump outlet, before any control valves. This placement minimizes the volume of water that can enter the line during a failure and keeps sensitive components dry. The correct sequence is pump, short tubing, check valve, control valve, then tubing to the tank.
How do I know which direction the check valve should face?
Every check valve has a molded arrow indicating airflow direction. The arrow must point away from the pump and toward the aquarium. Additionally, the side with the internal rubber flapper should face the pump. You can verify orientation by blowing through the valve; air should pass easily in one direction and be blocked in the other.
Will a check valve reduce the airflow to my aquarium?
Yes, a standard check valve reduces airflow by approximately 20%. Testing shows a pump outputting 22 gallons per hour without a valve may only deliver 17.5 GPH with one installed. To offset this loss, choose a slightly more powerful pump or elevate the pump above the water line to eliminate the need for a valve entirely.
Can I put a check valve underwater or inside my filter?
No, a check valve must never be submerged. It is not waterproof and will fail if flooded. Even brief water exposure can degrade the internal rubber seal or cause mineral buildup. Always mount the valve above the water line, ideally near the tank rim or on a wall near the pump.
How often should I replace my aquarium check valve and airline tubing?
Replace the check valve every 1 to 2 years, or sooner if you notice air leaking backward, water entering the line during outages, or visible cracks in the valve body. Replace airline tubing when it becomes stiff, brittle, or discolored, since hardened tubing cannot form a tight seal and may leak during emergencies.
Key Takeaways for Setting Up a Check Valve in Your Aquarium
A check valve is a small component with a massive impact on aquarium safety. When your pump sits below the water line, this device is non-negotiable for protecting your equipment, your home, and your fish. Install it within inches of the pump outlet, point the arrow toward the tank, keep it dry, and never submerge it. For maximum airflow efficiency, elevate the pump above the tank rim instead. Avoid common errors like backward installation or incorrect valve order, and inspect tubing regularly for signs of wear. With proper setup and routine maintenance, your check valve will silently protect your tank, pump, and home for years to come. Start by checking your current pump position today and determine whether elevation or a check valve is the right solution for your setup.