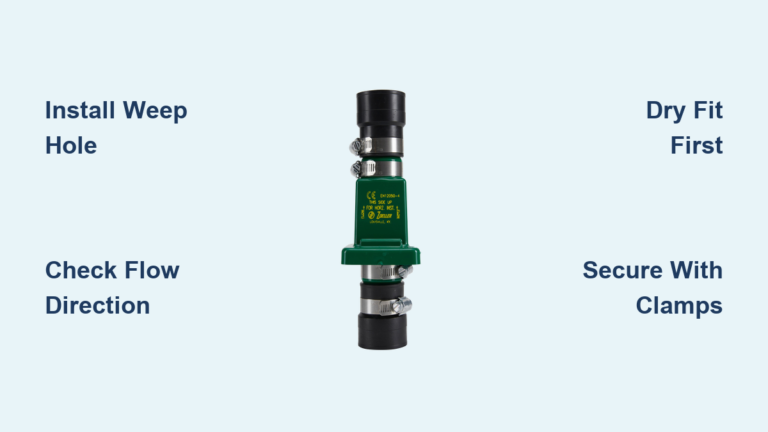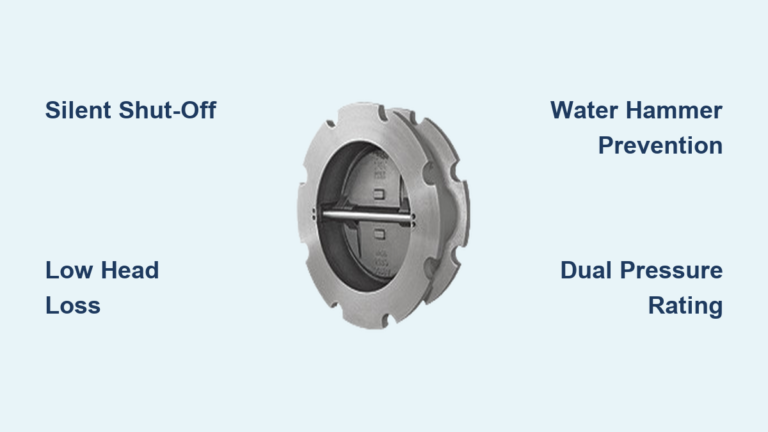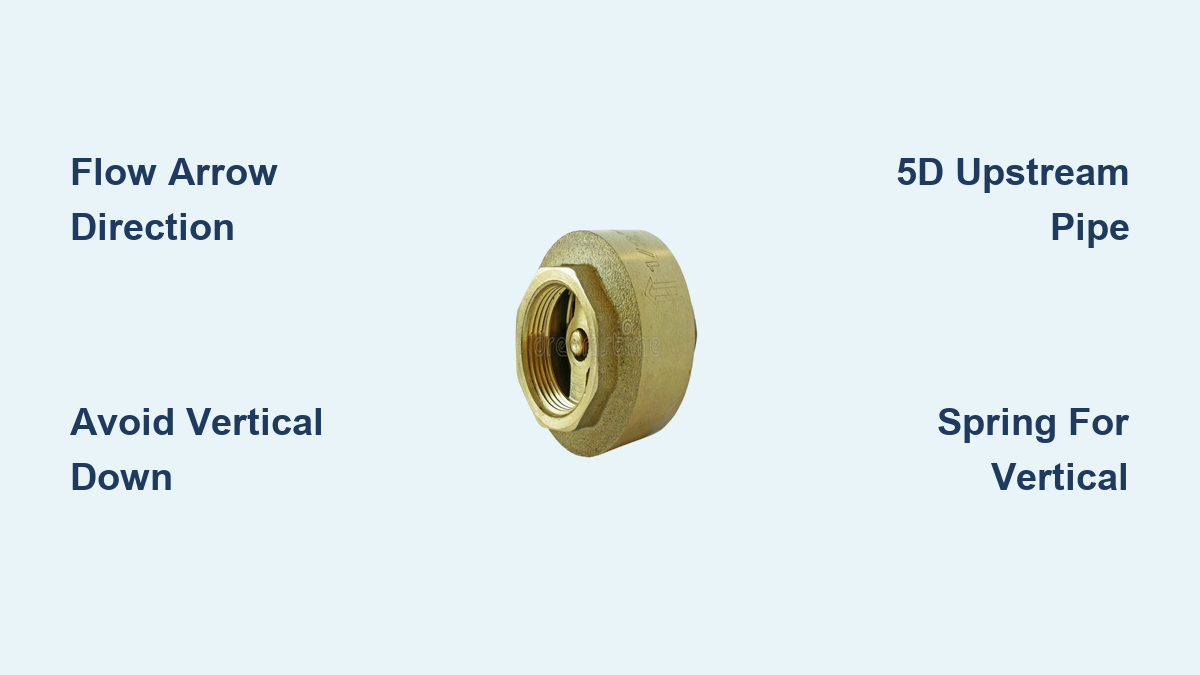
Check valve orientation is the deciding factor between reliable backflow prevention and costly system failure. A misaligned valve can trigger leaks, water hammer, premature wear, or complete loss of function. The core rule is simple: the flow direction arrow on the valve body must always point in the direction of media flow.
Beyond that arrow, the real challenge lies in matching the valve type to its installation orientation, especially when dealing with vertical piping. This guide breaks down exactly how to orient every major type of check valve, what happens when you get it wrong, and how to avoid common but expensive installation mistakes.
Match Valve Type to Flow Direction
Not all check valves can be installed in any orientation. The internal mechanism determines where and how a valve can function. Choosing the wrong type for your pipeline layout leads to immediate failure.
Swing Check Valves: Gravity-Dependent Design
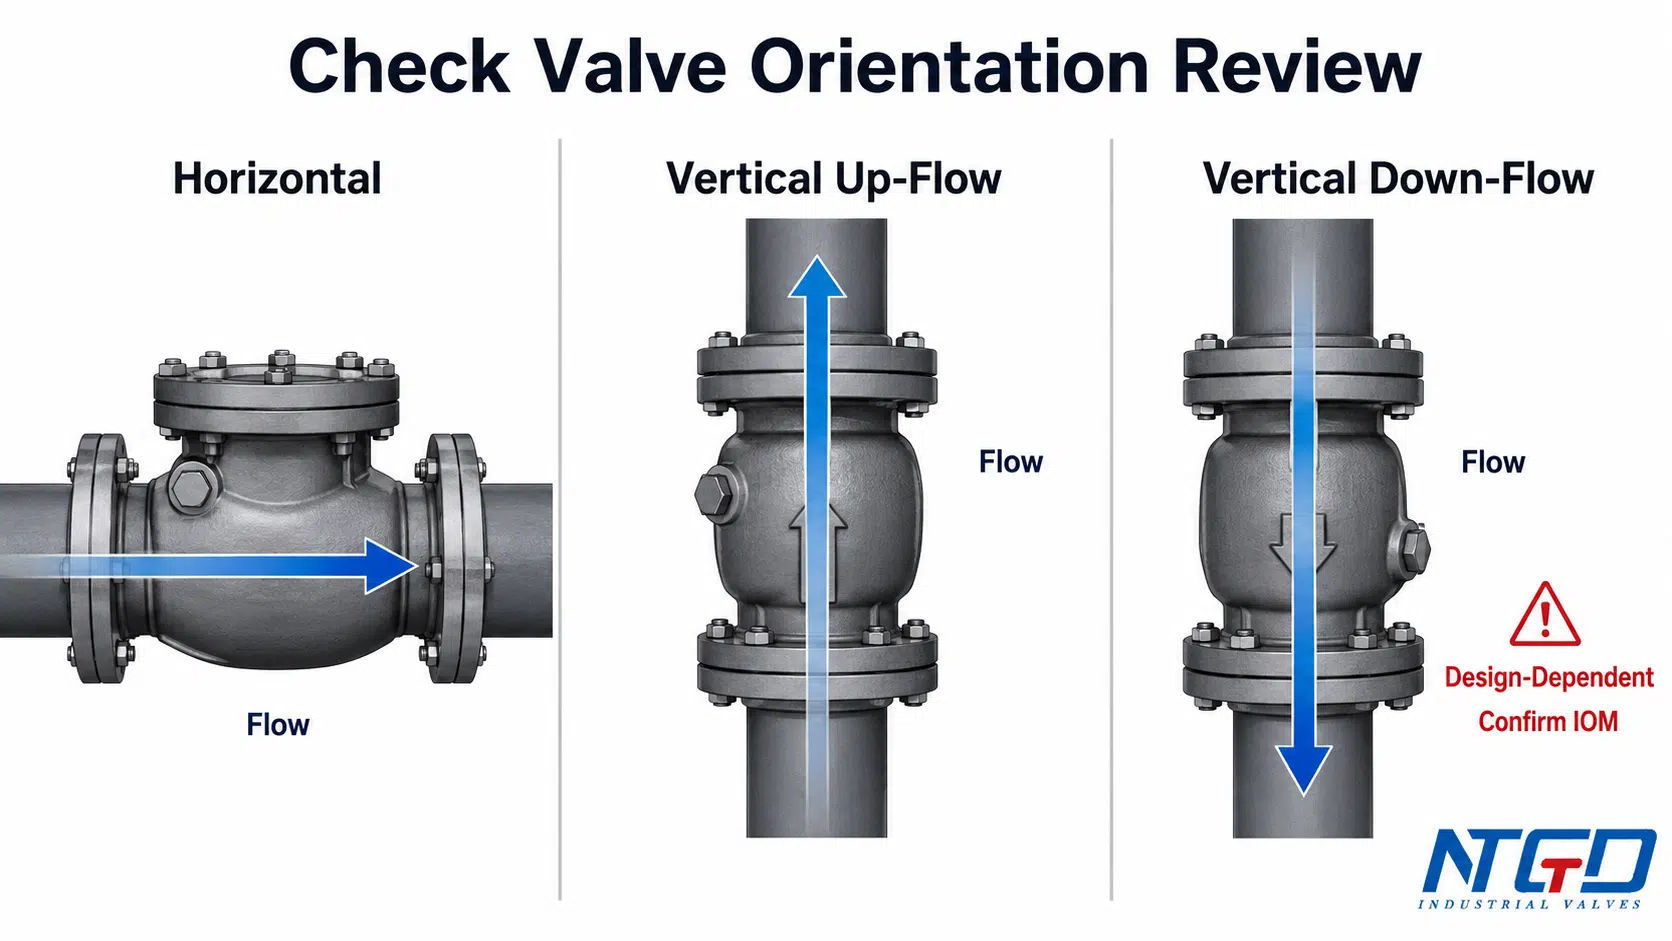
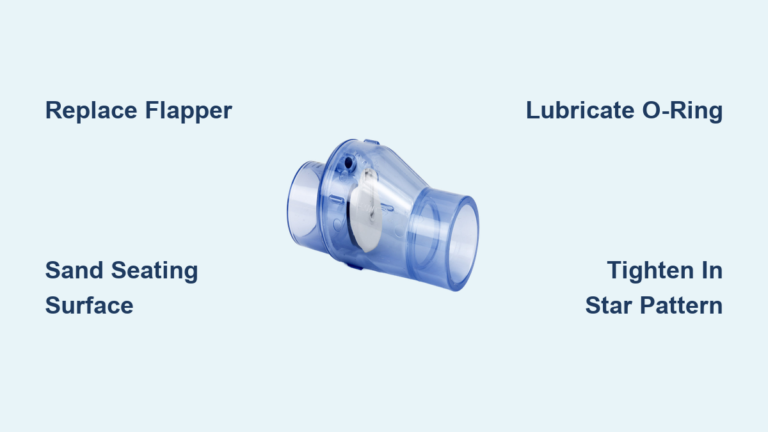
Swing check valves use a hinged disc that opens with forward flow and closes via gravity and reverse pressure. Their operation is heavily influenced by orientation and gravity.
Horizontal Pipe: Ideal for Swing Checks
In horizontal pipelines, the valve body is mounted vertically, allowing the disc to swing freely between open and closed positions. This is the most stable configuration, providing low pressure drop and reliable sealing. Always confirm the flow arrow aligns with the pipe direction.
Vertical Upward Flow: Works with Caution
When installed in a vertical pipe with flow moving from bottom to top, the disc hangs downward when closed. Forward flow lifts it open, and gravity helps it close when flow stops. This setup works, but only if flow velocity is sufficient to fully lift the disc. Low-flow conditions can leave the disc partially open, causing vibration and wear.
Pro Tip: In wastewater or slurry lines, sediment can settle on the closed disc in vertical upward installations, preventing it from opening or sealing properly. Regular inspection is essential.
Vertical Downward Flow: Never Use Swing Checks
Swing check valves must never be installed in vertical downward flow. Gravity pulls the disc away from the seat, so when forward flow stops, the disc remains open. There is no mechanism to close it, resulting in unrestricted backflow.
Even small amounts of reverse flow can cause damage downstream. If you see a swing check in a downward vertical line, it is a critical error that must be corrected immediately.
Spring Check Valves: Orientation-Independent Solution
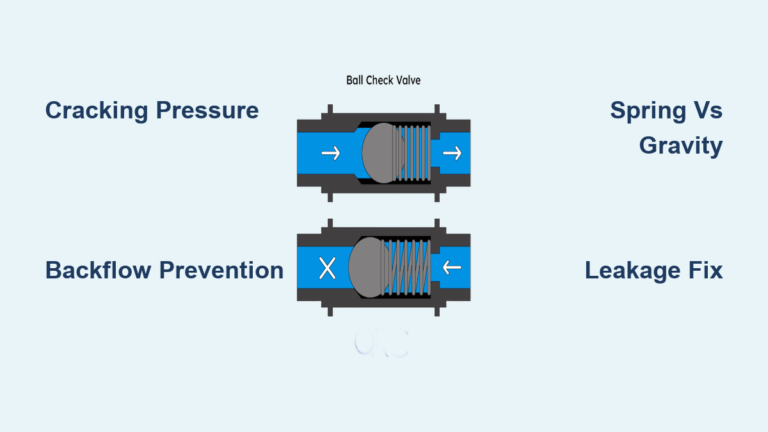
Spring check valves use a spring-loaded disc or poppet that opens under inlet pressure and closes when pressure drops.
Works in All Orientations
Unlike swing checks, spring checks do not rely on gravity. The spring provides the closing force, making them suitable for any check valve orientation, including:
– Horizontal pipes
– Vertical upward flow
– Vertical downward flow
This makes them the go-to choice for complex skids, tight spaces, or any vertical drop where backflow could cause damage.
Ideal for Vertical Downward Flow
In vertical downward applications, the spring ensures the valve closes the moment forward pressure drops, preventing backflow regardless of gravity. These are often called non-slam or silent check valves because they close before reverse flow begins.
Key Spec: Select the correct crack pressure, the minimum upstream pressure needed to open the valve. For vertical down lines, the spring must overcome the static head pressure. Work with your supplier to choose the right spring rate.
Axial and Center-Guided Check Valves: High-Performance Options
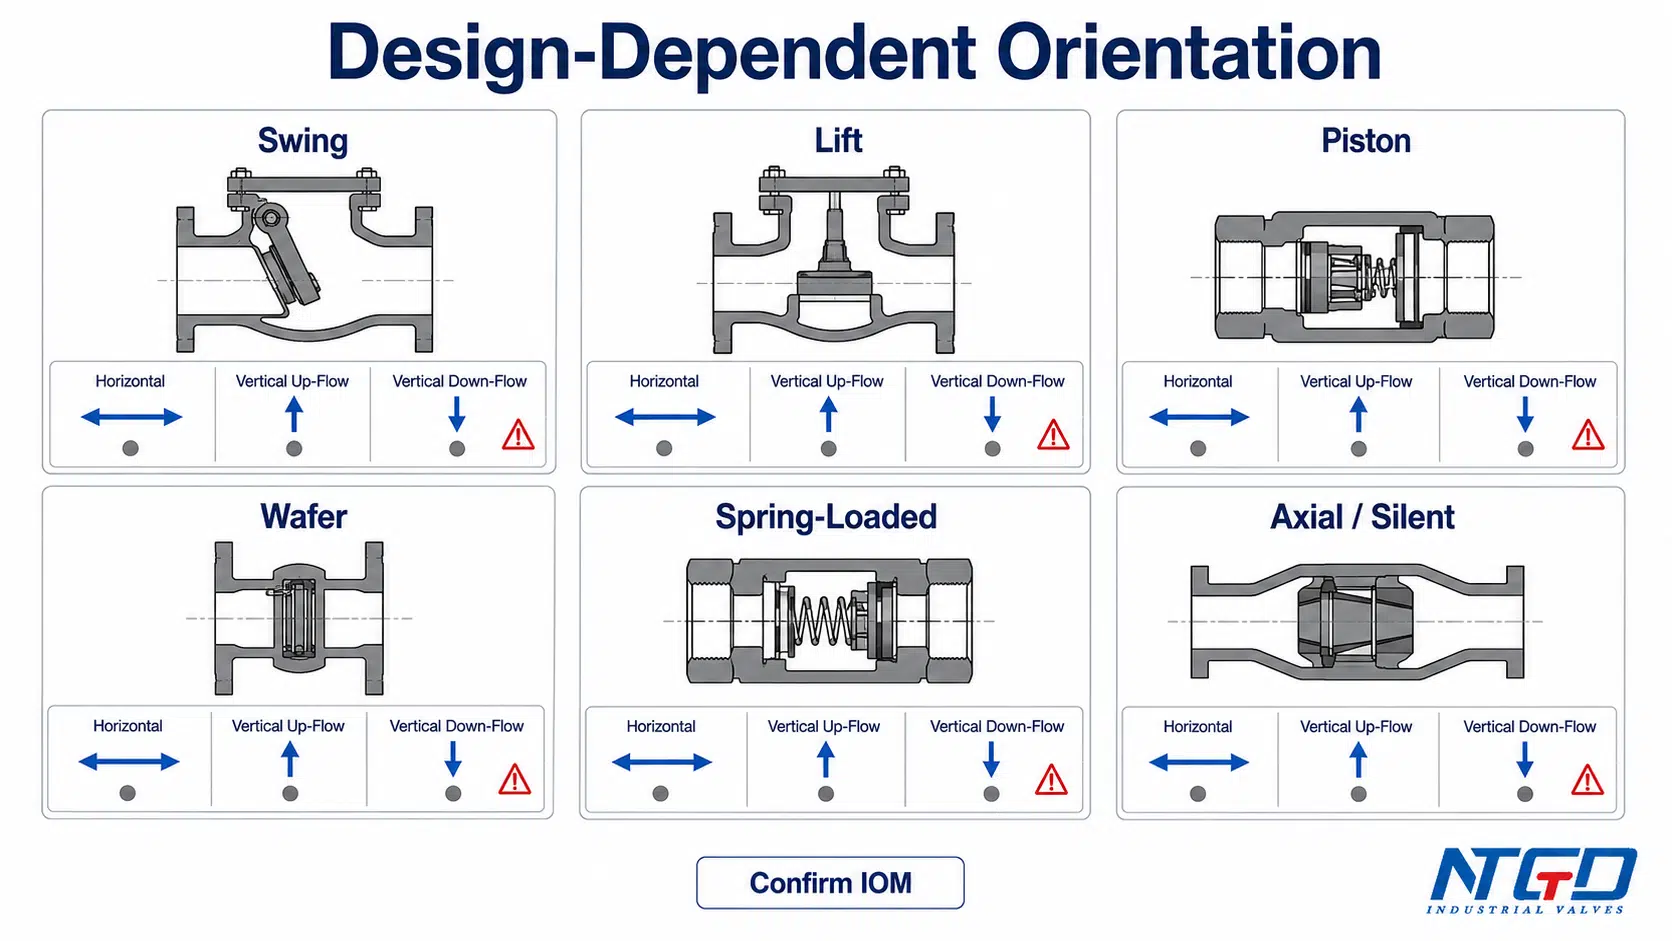
Axial flow and center-guided check valves are engineered for demanding applications like boiler feedwater, mine dewatering, and high-pressure systems.
Engineered for Vertical Applications
These valves feature a linear-motion disc guided along a central stem, minimizing turbulence and wear. They can be spring-assisted or use dynamic flow forces to close quickly.
- Vertical Upward: Excellent performance and resists debris buildup better than swing checks
- Vertical Downward: Only if equipped with a return spring, and confirm the model is rated for downward orientation
Advantage: Their streamlined design reduces head loss and eliminates water hammer, even in high-velocity systems.
Dual Door and Silent Check Valves: Limited Orientation Flexibility
Dual door check valves have two hinged discs that open toward the center. Silent check valves often include dampening mechanisms.
Best in Horizontal Installations
While some models claim multi-directional capability, most dual door valves still rely on gravity for full closure. They are not recommended for vertical downward flow unless explicitly labeled as spring-assisted.
Use them in clean water systems where low head loss and quiet operation are priorities, but avoid abrasive or dirty media.
Install with Proper Piping Geometry

Even a perfectly oriented valve will fail if installed in turbulent flow. Piping layout directly impacts valve life and performance.
Provide Adequate Straight Pipe Runs
Turbulent flow from elbows, tees, or pumps causes disc flutter, vibration, and premature wear.
Minimum Distances:
- Upstream (inlet): 5 pipe diameters (5D) of straight pipe
- Downstream (outlet): 10 to 15 pipe diameters (10D to 15D)
MSS SP-92 Standard: Requires at least 10D downstream from pumps, tees, or increasers, and 5D from elbows.
Example: For a 4-inch pipe, leave at least 20 inches before and 40 to 60 inches after the valve.
Compact Installations: Proceed with Caution
In tight spaces, some installations use 5D from pumps and 3D from elbows. This increases risk, so only do so after consulting the manufacturer. Consider adding a flow straightener to reduce swirl.
Avoid the Pump Jet Effect
Installing a check valve too close to a pump discharge creates a high-velocity jet that strikes the disc unevenly.
Consequences:
- Disc wobbles or vibrates
- Hinge pin wears out prematurely
- Seat erosion leads to leakage
- In extreme cases, the disc breaks free
Solution: Always place the check valve downstream of a diffuser or increaser, with at least 10D of straight pipe after the pump.
Limit Pipe Size Increases
If using an increaser between the pump and valve, limit the jump to no more than two pipe sizes (for example, 12 inches to 14 or 16 inches).
Larger jumps create eddies and low-pressure zones, causing the disc to operate in a partially open state, even at full flow. This leads to:
– High-velocity flow at the top of the disc
– Swirling water at the bottom
– Uneven wear on the disc center hole and hinge pin
Result: Loose disc, poor sealing, and early failure.
Prevent Water Hammer and Surge Damage
Orientation and valve type directly influence water hammer, which involves destructive pressure spikes caused by sudden flow changes.
How Water Hammer Occurs
- Pump shuts off
- Flow reverses briefly
- Check valve slams shut
- Pressure shockwave travels through the system
This can rupture pipes, damage fittings, and destroy valves.
Swing Checks: High Risk of Slamming
Swing check valves close only after reverse flow starts. In high-velocity systems, this delay causes the disc to slam shut, generating severe water hammer.
The risk is highest in vertical upward lines where the disc swings freely and gains momentum before hitting the seat.
Fix: Replace with a spring-assisted or non-slam check valve.
Spring and Axial Valves: Prevent Slam
Spring check valves begin closing as soon as forward pressure drops, before reverse flow occurs. This soft closure eliminates water hammer.
Axial flow valves often include damping mechanisms or pilot controls that further slow closure.
Best for:
– High-pressure systems
– Long pipelines
– Vertical drops
– Systems with frequent cycling
Turbulence Causes Premature Wear
CFD studies show that poor piping geometry creates eddies that push the disc off-center.
In Vertical Upward Lines:
- Uneven forces cause disc wobble
- Vibration grinds the hinge pin and seat
- Wear accelerates if the valve is oversized
Visual Cue: Look for uneven wear patterns on the disc or pin, which are signs of turbulence-induced failure.
Size for Flow, Not Pipe Diameter

One of the most common mistakes is selecting a check valve based on pipe size instead of flow rate.
Oversized Valves Cause Partial Opening
If the valve is too large, flow velocity will not be enough to fully lift the disc. It may open only 15 to 20 degrees.
Consequences:
- High-velocity flow around the edges
- Turbulence and vibration
- Rapid wear at the hinge point
- Disc becomes loose and fails to seal
AWWA C508 Warning: Valves operating partially open suffer excessive wear and shortened life.
Undersized Valves Increase Pressure Drop
Too small a valve creates unnecessary resistance, reducing system efficiency and increasing energy costs.
Sizing Best Practice
- Calculate required flow velocity and Cv (flow coefficient)
- Choose a valve that ensures full disc lift at normal operating flow
- Sometimes, a valve one size smaller than the pipe is correct
Example: A 6-inch pipe with low flow may need a 4-inch check valve to maintain velocity.
Troubleshoot Common Orientation Failures
Even correctly installed valves can fail if maintenance is ignored. Use this guide to diagnose issues by symptom.
Valve Leaks When Closed
Causes:
– Debris trapped in the seat
– Damaged disc or seat
– Worn gasket
– Cracked body
Fix:
– Shut off supply
– Disassemble and clean
– Replace damaged parts
– If body is cracked, replace entire valve
Orientation Note: In vertical upward swing checks, sand or sludge can settle on the disc, preventing full contact with the seat.
Valve Will Not Open
Causes:
– Obstruction inside
– Insufficient pressure to overcome crack pressure
– Disc jammed by debris
Fix:
– Disassemble and clean
– Verify system pressure exceeds valve crack pressure
– For spring checks, test spring tension
Excessive Noise or Hammering
Causes:
– Slamming disc (common with swing checks)
– Water hammer
– Loose components
Fix:
– Install spring or axial flow valve
– Add surge tank or pressure relief
– Verify straight pipe runs
– Bleed air from system
Premature Wear or Vibration
Causes:
– Turbulent flow from poor piping
– Oversized valve
– Installation too close to pump or elbow
Fix:
– Re-pipe to meet 5D/10D rule
– Resize valve to match flow
– Install flow straightener
Vertical Downward Flow Failure
If a non-spring valve is installed here: Replace immediately with a spring-assisted model.
If a spring valve fails:
– Check for spring fatigue or corrosion
– Inspect for debris blocking the disc
– Verify crack pressure matches system head
Select by Media, Pressure, and Material
Use the STAMP method to ensure full compatibility:
- S: Size based on flow, not pipe
- T: Type matched to orientation (swing, spring, axial)
- A: Application (clean water, slurry, corrosive)
- M: Material matched to media
- P: Pressure rating exceeding system max
Material Selection Guide
| Media | Recommended Material |
|---|---|
| Potable Water | Brass, Bronze, 304/316 Stainless Steel |
| Wastewater | Cast Iron, Rubber Flapper |
| Slurry | Swing Check with Abrasion-Resistant Lining |
| Corrosive Chemicals | PVC, CPVC, Hastelloy, Titanium |
| High-Pressure Steam | Stainless Steel, Carbon Steel |
Connection Types Matter
- Threaded (NPT): Use sealant on male threads and avoid over-tightening
- Flanged: Align gasket and tighten bolts in crisscross pattern
- Solvent Weld (PVC): Cut pipe square, use proper cement, and allow cure time
- Push-in: Ensure pipe end is clean and square, and engage lock ring in vertical runs
Follow These 6 Best Practices for Check Valve Orientation
- Always align the flow arrow with media direction and never install backward
- Never use swing checks in vertical downward flow; replace with spring-assisted models
- Maintain 5D upstream and 10D downstream straight pipe whenever possible
- Size for flow velocity, not pipe size, and ensure full disc lift
- Choose spring or axial valves for vertical drops, high-pressure, or surge-prone systems
- Inspect annually by cleaning debris, checking for wear, and verifying operation
Frequently Asked Questions About Check Valve Orientation
Can a check valve be installed vertically?
Yes, but only certain types. Spring check valves and axial flow valves work in any orientation, including vertical upward and vertical downward flow. Swing check valves work in horizontal and vertical upward flow but must never be used in vertical downward flow because gravity prevents the disc from closing.
What happens if a check valve is installed backward?
Installing a check valve backward causes immediate operational failure. The flow arrow must always point in the direction of media flow. A backward swing check will not open because flow pushes the disc against the seat instead of lifting it away, causing pressure buildup, pump damage, or system blockage.
How do I know which way to install a check valve?
Look for the flow direction arrow cast or stamped on the valve body. This arrow must align with the direction the fluid moves through the pipe. When in doubt, consult the manufacturer documentation or data sheet for the specific model.
Why does my check valve slam or hammer?
Slamming and water hammer occur most often with swing check valves in high-velocity or vertical upward systems. The disc waits for reverse flow before closing, then slams shut and creates a pressure shockwave. Replacing the swing check with a spring-assisted or silent check valve eliminates this problem.
How much straight pipe do I need before and after a check valve?
Industry standards recommend at least 5 pipe diameters of straight pipe upstream and 10 to 15 pipe diameters downstream. The MSS SP-92 standard specifies 10D downstream from pumps, tees, or increasers, and 5D from elbows. Tight spaces may allow 3D from elbows, but only with manufacturer approval.
How often should check valves be inspected?
Annual inspection is recommended for most installations. Systems with dirty media, slurry, or frequent cycling may require quarterly checks. Inspect for debris, leaks, wear patterns, and proper disc movement to catch problems before they cause system failure.
Key Takeaways for Correct Check Valve Orientation
Correct check valve orientation is foundational to system integrity. A properly selected and installed valve protects thousands of dollars in downstream equipment, while a misaligned one causes leaks, water hammer, and premature failure.
The three most important rules are simple. First, always match the valve type to the installation orientation, and never use swing checks in vertical downward flow. Second, respect piping geometry by maintaining 5D upstream and 10D downstream straight pipe runs. Third, size the valve for actual flow velocity rather than pipe diameter to ensure full disc lift.
When in doubt, choose a spring-assisted model. It is the safest and most versatile option for any check valve orientation, and it eliminates water hammer while extending service life across horizontal and vertical installations alike. Start by reviewing your current system layout today and identify any valves that may be mismatched to their orientation.