You turn on your irrigation system, hear the pump kick in, but nothing comes out of the sprinklers. No spray, no flow, just a humming motor and dry zones. If your sprinkler pump running but no water is coming through, you’re dealing with a common yet urgent issue that can destroy your pump in minutes if ignored.
This problem typically means the pump is spinning but failing to move water, often due to loss of prime, air leaks, blockages, or low water levels. While the motor appears functional, the absence of water flow suggests a breakdown in the hydraulic system. Left unchecked, dry running overheats seals and bearings, leading to costly repairs or replacement.
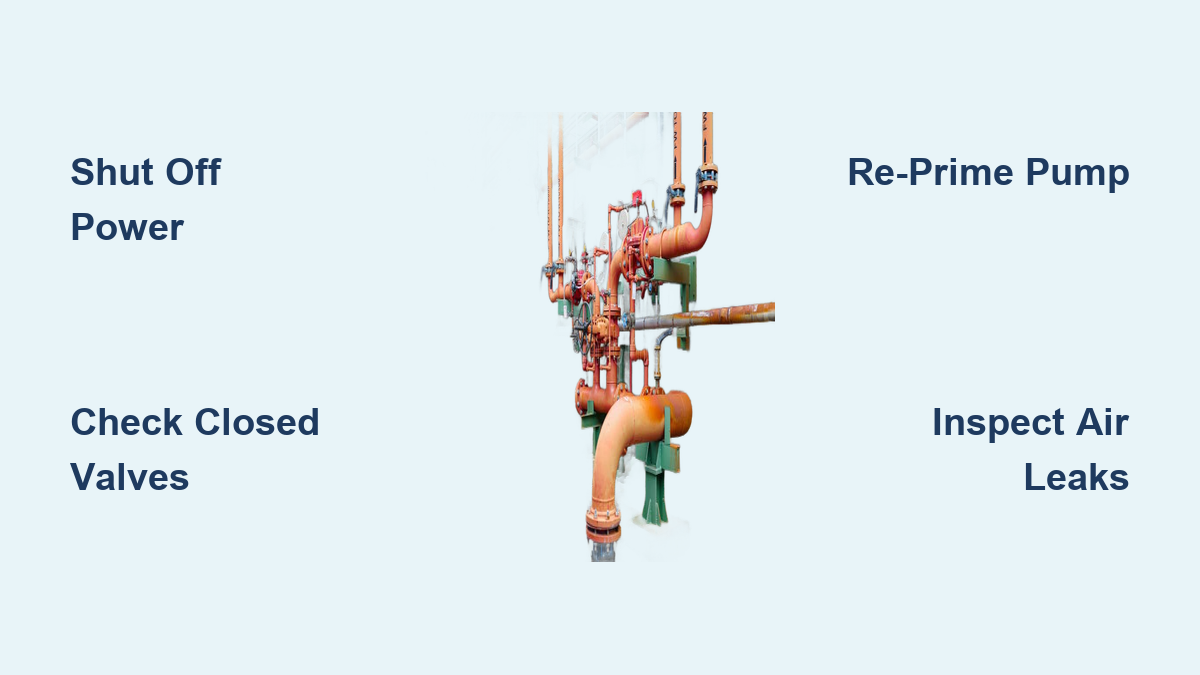
Shut Off Power Immediately to Prevent Permanent Damage
As soon as you notice the pump running with no water, turn off power at the breaker. Even 2 to 5 minutes of dry operation can permanently damage the pump. Submersible pumps rely on water for cooling. Without it, motor windings overheat rapidly. Jet and surface pumps depend on water-lubricated seals. Dry spinning melts seals and damages impellers.
A $150 repair today can become a $5,000 replacement tomorrow if you ignore this critical step. Cutting power prevents further damage while you begin diagnosis.
Check for Closed Valves First
Before diving into complex repairs, verify the simplest cause: a closed valve. A single forgotten valve can block all flow, even if the pump is working perfectly.
Open All Isolation Valves
Walk the entire system and ensure every valve handle turns freely. Check the main shutoff valve near the pump, zone isolation valves in the irrigation system, and any service or test cocks left closed after maintenance. Open valves fully. Do not leave them partially closed. Tag valves for future identification.
Technicians report that 1 in 5 emergency calls are resolved by simply reopening a valve.
Test for Frozen Pipes in Cold Weather
If temperatures recently dipped below freezing, frozen pipes may be blocking flow. Look for frost or condensation on exposed pipes. Check if the pump runs but the pressure gauge shows zero after recent sub-32°F weather.
Safe Thawing Steps
Use electric heat tape, a hair dryer, or a space heater in the pump house. Never use open flame or boiling water, as this risks pipe burst or fire. To prevent future freeze-ups, insulate all exposed lines with foam or fiberglass. Install heat tape with thermostat on vulnerable sections. Seal pump enclosures to prevent cold drafts.
Even a small ice plug can stop all water flow. Check elbows and low points carefully.
Attempt Manual Re-Priming

Centrifugal pumps need a full volute of water to create suction. If prime is lost, the pump spins but cannot pull water.
Fill Through Priming Plug
Turn off power and locate the brass priming plug on top or side of the pump. Unscrew it and fill the casing completely with water until it overflows. Replace and tighten the plug. Restore power and test a zone. This method works well for jet and surface pumps.
Back-Feed Through Hose Bibb
Connect a garden hose to a discharge-side faucet. Turn on the hose, allowing water to flow backward into the pump. Let it run for 1 to 2 minutes to purge air. Shut off the hose, then turn on the pump. This method has been successfully used by homeowners with deep suction lines.
Prime at Check Valve
Cut the pipe above the foot valve and install a 6 to 12 inch vertical pipe. Fill with water and wait 5 minutes. If water stays, prime is possible. If it drains, the check valve is failing.
Check for Air Leaks in Suction Line
Air leaks on the suction side break the vacuum needed for priming. These leaks often occur at threaded male adapters, PVC joints with hairline cracks, compression fittings, the pump shaft seal, loose priming plugs, and gauge ports or valve stems.
Plastic Wrap Test for Detecting Leaks
Wrap each joint tightly with plastic wrap. Turn on the pump. If the wrap is pulled inward, there is no leak. If the wrap bulges or flutters, air is being sucked in at that point.
Repair Air Leaks Properly
Replace old male threaded adapters, as they often crack. Seal threads with Teflon tape plus pipe dope. Re-glue PVC joints and allow 5 to 10 minute cure time. Upgrade to stainless steel clamps. Replace the shaft seal with an OEM part. Never reuse old fittings, as they are a top cause of recurring leaks.
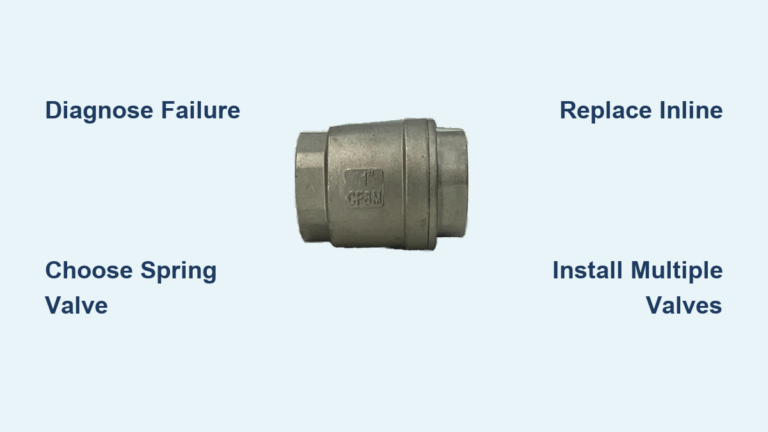
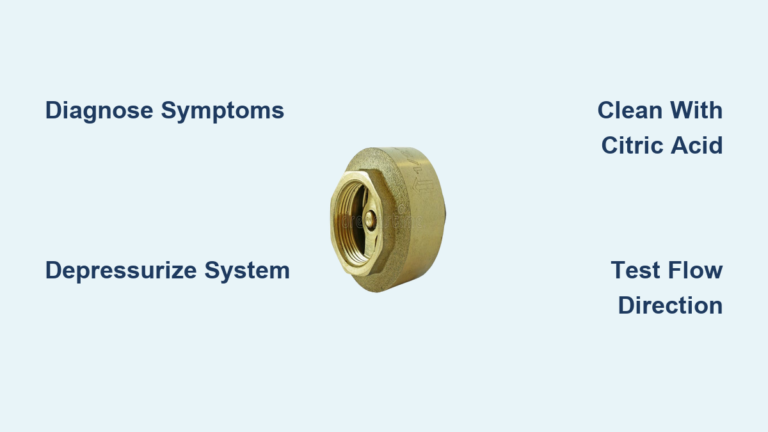
Inspect the Foot Valve
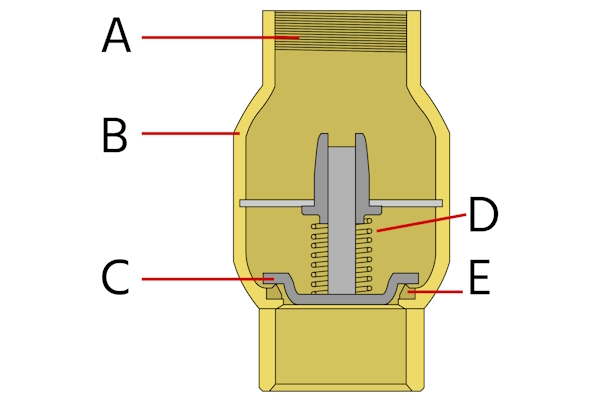
The foot valve at the bottom of the well or suction line stops water from flowing back into the source. If it fails, the system loses prime every time the pump stops.
Test Check Valve Function
Cut above the valve and install a short vertical pipe. Fill with water and wait 5 minutes. If water drains, replace the valve. Use one high-quality brass or heavy-duty PVC valve and install it below the water table. Glue or thread securely. Avoid stacking multiple cheap valves.
A failed foot valve is responsible for over 30% of recurring priming issues.
Clear Blockages in Intake and Filters
Even small clogs can stop all flow. Common blockage sites include the intake screen, inline strainer, sediment filter, submersible pump screen, and suction pipe interior.
Cleaning Procedure
Shut off power and isolate the line. Disassemble the foot valve and strainer. Flush all parts and inspect the poppet for free movement. Reassemble and re-prime. Install a pre-filter on pond or cistern systems. Use self-cleaning intake screens. Perform annual vinegar flush to dissolve biofilm.
Evaluate Piping Layout for Air Locks
An inverted P-trap or downward-sloping pipe can trap air, preventing priming. Pipes that dip below pump level, multiple sharp elbows on the suction side, no upward slope from source to pump, or excessive vertical lift over 25 feet are all red flags.
Ideal Suction Piping
Maintain a continuous upward slope to the pump. Use minimal fittings and long-radius elbows. Use larger diameter pipe to reduce friction. Ensure all joints are sealed and free of micro-leaks.
Poor plumbing design is often the root cause in chronic priming problems.
Diagnose Low Water Level
If your well’s recovery rate is slower than pump demand, the water level drops below the intake. Watch for sputtering or spitting air before failure, pump noise changing pitch, or water returning after 4 to 8 hours.
Example Calculation
A well yielding 3 GPM with a pump demanding 10 GPM will deplete in under 20 minutes. Turn off the pump and wait 30 to 60 minutes for partial recovery. Test briefly for 30 seconds or less. If water returns, reduce run times.
Long-term solutions include installing a low-water cutoff switch, cycle stop switch, flow sensor with controller, or scheduling a professional well yield test.
Investigate Submersible Pump Failures
For deep-well systems, the problem may be below ground. Watch for pump running and drawing normal amps but no water at the pressure tank, excessive run time without pressure build, or a splashing sound in the well.
Diagnosis Steps
Perform an amp draw test. Normal amps with no water suggests broken drop pipe or worn impellers. Low or no amps indicates electrical failure. Final confirmation requires pulling the pump. This is not a DIY repair. It requires a well service rig and costs $2,500 to $6,000.
Verify Electrical and Control Signals
Even if the motor hums, electrical issues can prevent pumping. Check for a relay click when the timer activates. Test voltage at terminals, which should be around 230V on 240V systems. Inspect the capacitor for swelling or leaking and replace every 5 to 7 years.
Motor Symptoms Explained
A humming motor that won’t start likely indicates a failed start capacitor. No hum, sparks, or burning smell suggests an internal short or motor burnout, requiring pump replacement. Always test voltage before assuming mechanical failure.
Inspect for Internal Pump Damage
Even with power and prime, internal damage stops water flow. Worn impellers show normal amps but no output. A failed shaft seal causes leaking at the base during operation. A cracked pump housing shows external leaks and pressure loss. A broken motor shaft coupling means the motor runs but produces zero flow. A seized bearing prevents the motor from turning.
Case Study: Leak at Pump Base
After successful priming, water leaking from the bottom indicates a failed shaft seal or cracked housing. This is not normal. Water intrusion into the motor causes total burnout. Replace or professionally repair the pump immediately.
Follow the Diagnostic Decision Tree
Use this flow to rule out causes quickly and avoid unnecessary disassembly. Start with power off. Check if valves are open. Look for frozen pipes. Attempt re-priming. If water returns but leaks from the base, replace the pump. For jet pumps with no water after priming, check air leaks, foot valve, and blockages. For submersible pumps, check amp draw. Normal amps suggest broken drop pipe or worn impellers. Low or no amps suggest electrical failure. Call a professional for deep-well or complex issues.
Prevent Future Failures
Inspect for leaks monthly. Clean filters and strainers quarterly. Test the check valve annually. Replace the capacitor every 5 to 7 years. Verify priming before irrigation season.
Consider upgrading to a self-priming pump that handles air better. Use stainless steel fittings that are more durable than plastic. Label all components to speed up future repairs.
Prevention costs far less than emergency repairs.
When to Call a Professional
Call immediately if you notice a burning smell or electrical odor, grinding or screeching noises, no water after 8 or more hours, or if your household depends on water for medical needs or infants. Schedule service if the problem returns weekly, the pump is 10 or more years old, you suspect a submersible or deep-well issue, or you need a well yield test or water level check.
When calling, provide details about when the problem started, what you tried, the pump age and type, well depth if known, and any sounds or smells. The more details you provide, the faster they can fix it, often same-day.
Repair Cost Overview
Re-priming a pump costs $0 as a DIY fix. Replacing a foot valve costs $150 to $400. Replacing a pressure tank costs $400 to $1,200. Replacing a shaft seal or impeller costs $500 to $1,500. Replacing a submersible pump costs $2,500 to $6,000. A well yield test costs $200 to $500. Emergency after-hours calls add $100 to $300.
Reputable companies offer upfront pricing. Ask before work begins.
Key Takeaways for Fixing Sprinkler Pump No Water Issues
Always shut off power immediately when no water flows, as dry running destroys pumps in minutes. Re-priming manually fixes many issues instantly. Replace rather than reuse suction-side fittings and valves. Design piping for self-venting with upward slopes and minimal elbows. Fix leaks fast, as even tiny ones prevent priming. Upgrade to a self-priming or protected pump for reliability.
Ignoring this issue leads to total pump failure. But with prompt action, most cases are fixable without replacement. A little knowledge saves thousands. Act fast. Your pump depends on it.
Frequently Asked Questions About Sprinkler Pump Running But No Water
Why does my sprinkler pump run but produce no water?
This usually indicates loss of prime, air leaks in the suction line, a failed check valve, blockages in the intake or filters, or low water level in the well. The pump motor runs, but the hydraulic system cannot move water due to these issues.
How long can I run my sprinkler pump before it gets damaged?
Dry running can cause permanent damage in as little as 2 to 5 minutes. Submersible pumps overheat without water cooling. Jet and surface pumps suffer seal and bearing damage. Always shut off power immediately when you notice no water flow.
Can I fix a sprinkler pump losing prime myself?
Yes, you can manually re-prime the pump by filling the casing through the priming plug or back-feeding through a hose bibb. You can also check for air leaks using the plastic wrap test, inspect the foot valve, and clear blockages. However, submersible pump repairs require professional service.
How do I know if my well has a low water level problem?
Signs include sputtering or spitting air before failure, pump noise changing pitch, and water returning after waiting 4 to 8 hours. If water returns after waiting, it is a yield issue, not a pump failure. Consider a low-water cutoff switch to prevent dry running.
What is the most common cause of this problem?
Loss of prime is the most common cause. Air enters the suction line, breaking the vacuum needed for water movement. This happens due to air leaks, failed check valves, or improper priming procedure. Address these issues first when troubleshooting.
When should I call a professional for this issue?
Call a professional if you notice burning smells, grinding noises, no water after 8 hours, or if the problem returns frequently. Also call if the pump is over 10 years old, you suspect a submersible pump failure, or you need a well yield test. Provide details about when it started, what you tried, and any sounds or smells to speed up diagnosis.