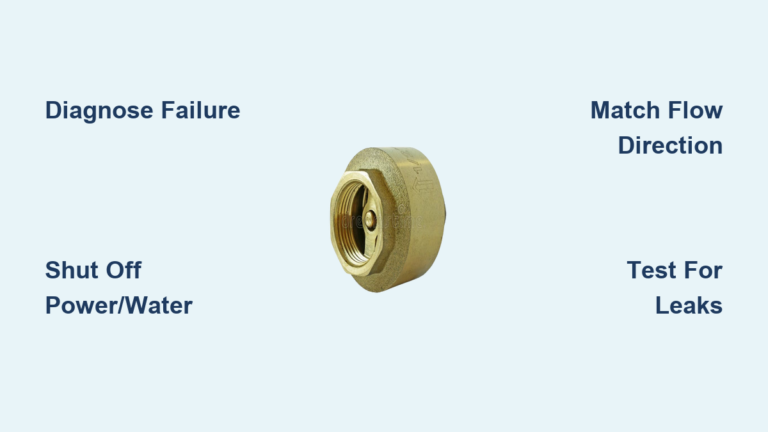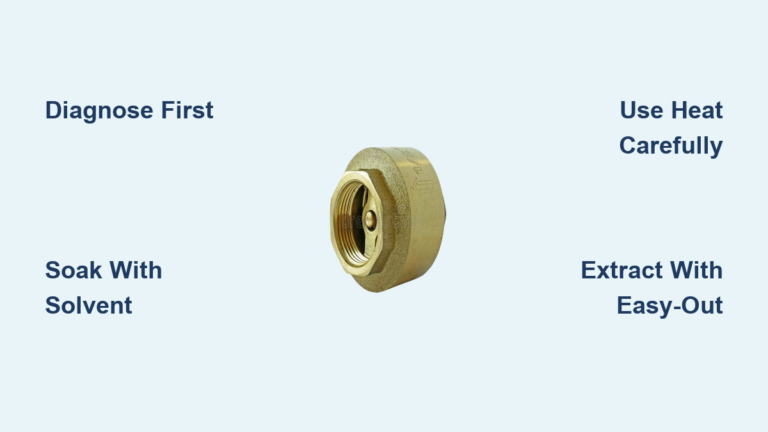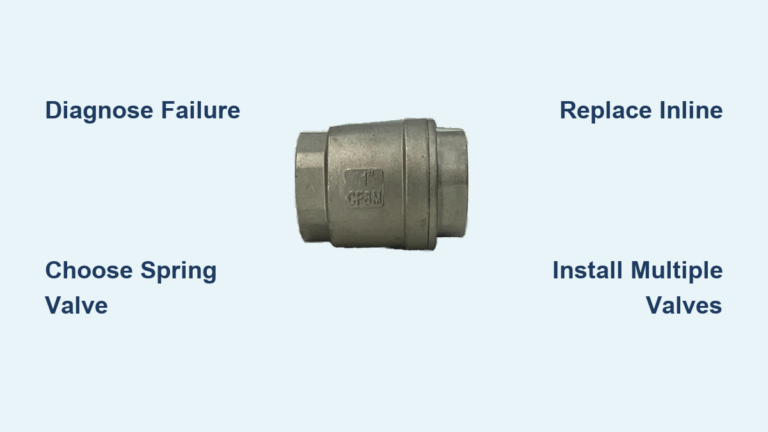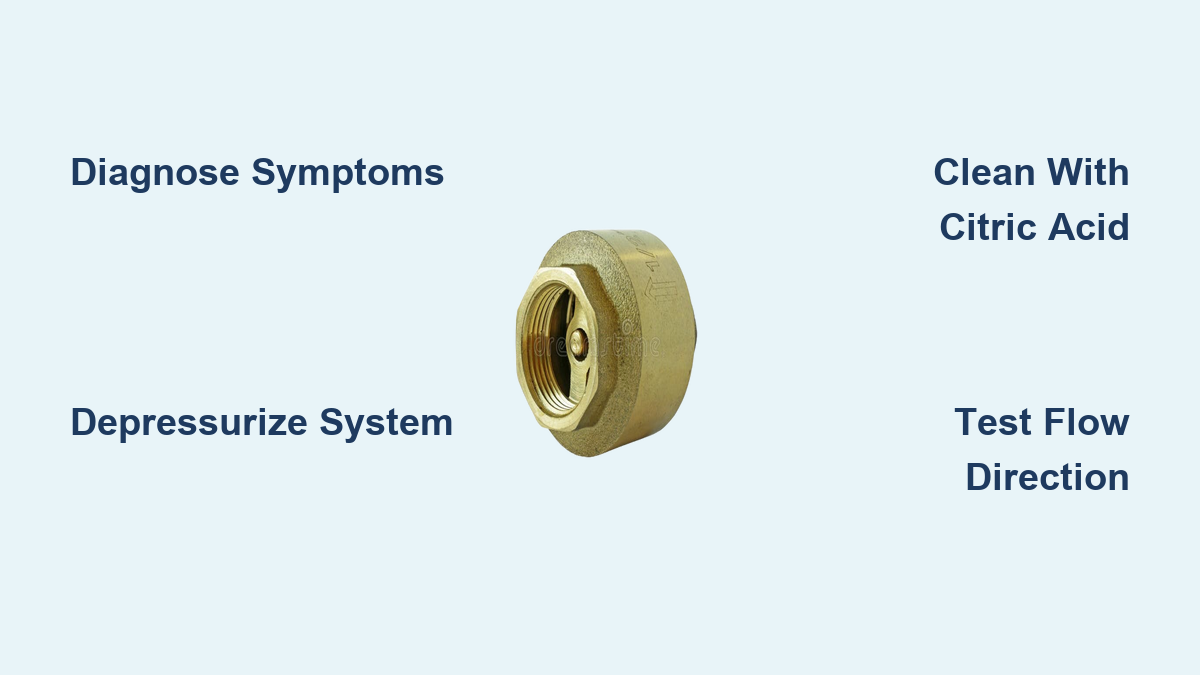
A failing check valve can quietly sabotage systems ranging from kitchen faucets to industrial compressors. When this one-way valve stops sealing properly, you may notice backflow, pressure loss, weak water flow, or strange vibrations. The good news is that cleaning a check valve often restores full function without the need for replacement. Whether you are troubleshooting a leaking air compressor or a clogged pull-down faucet, this skill saves time and money.
This guide walks you through every step of how to clean a check valve across multiple applications. You will learn how to diagnose symptoms, safely remove the valve, select the right cleaning method, inspect for damage, and verify proper operation. By the end, you will know exactly how to restore reliable one-way flow and keep your systems running smoothly.
Identify Symptoms Before You Clean a Check Valve

Before diving into disassembly, confirm the check valve is actually the source of your problem. Symptoms vary by system but usually involve flow restrictions or unwanted backflow.
Faucets Show Weak Water Flow
Pull-down and pull-out spray heads frequently suffer from reduced flow due to calcium buildup in internal check valves. Most designs include two valves: one inside the spray head (upper) and one in the supply hose (lower). To isolate the issue, unscrew the spray head and turn on the faucet. Strong flow from the hose means the lower valve works fine and only the upper valve needs attention. Weak flow from the hose suggests both valves may be clogged.
Compressors Leak Air After Shutdown
A common sign of a faulty compressor check valve is air leaking from the automatic drain after the machine powers off. This indicates reverse flow, meaning the valve is not sealing. Listen for hissing near the valve or watch for continuous pressure loss when the system sits idle.
Pressure Washers Vibrate or Lose Power
Excessive vibration or an inability to maintain pressure often points to a stuck or worn poppet inside the check valve. Remove the valve and perform a suction test. If you can pull air through it, the valve is not seating properly and needs cleaning or replacement.
UPLC Systems Register Abnormal Back Pressure
In laboratory UPLC pumps, sudden back pressure changes often signal a clogged check valve. Clean the primary valve first. If issues persist, the accumulator valve may also need service.
Shut Down and Depressurize the System
Safety always comes first. De-energize and depressurize the system before touching any check valve.
Turn Off Power and Water Sources
For plumbing fixtures, shut off the water supply if possible. For compressors, power down the machine and bleed all pressure from the tank. In aquarium return lines, switch off the pump and close any upstream ball valves.
Catch Residual Fluid
Place a towel or small bucket under the valve to catch leftover water or fluid. If the check valve sits above a sump, removing the bottom union allows most water to drain back down. For faucet hoses, expect a small drip when you disconnect the line.
Isolate the Valve When Possible
A ball valve positioned above the check valve lets you remove the component without draining the entire system. In-line valves may require loosening compression or threaded fittings with a wrench.
Remove the Check Valve Safely
Techniques vary by valve type and system. Always note the flow direction arrow on the valve body for correct reassembly later.
Compressor Valves
Disconnect the valve from both the tank and the connecting line. These typically use threaded or compression fittings. Use a wrench carefully to avoid stripping threads. Label inlet and outlet sides if markings are unclear.
In-Line Valves
Secure the valve body in a vise with the flow arrow pointing up. Use a 7/8-inch wrench to loosen the body. Steady pressure helps because internal compression can make removal difficult. Once loose, twist off by hand.
Swing Check Valves
Loosen the main cover bolt and the side hinge bolt. Remove the screw securing the flapper to the hinge pin. Tap the pin out with a punch and hammer, then lift out the flapper assembly for inspection.
Faucet Valves
For the upper valve, unscrew the spray head and access the valve inside. For the lower valve, push the quick-connect tab under the sink to release the hose. The valve sits embedded in the hose near the connector.
UPLC and Lab Valves
Remove the primary check valve directly from the pump head. Handle these precision components with care and wear gloves to avoid contamination.
Disassemble and Inspect Internal Components
Once removed, take the valve apart to access internal parts. Keep track of the order and orientation of every piece.
Compressor Valve Internals
Remove the top bolt and lift off the cap with a flathead screwdriver. Inside you will find:
– Spring
– Washers (note the order: first in, first out)
– Nipple (sits on top of the spring)
– O-ring or O-rings
Confirm all parts are present and undamaged before proceeding.
In-Line Valve Stack
Extract the internal stack containing the spring, poppet, and O-ring. Observe how the poppet rests on the spring and how the O-ring seals against the housing.
Swing Valve Flapper
Inspect the flapper, hinge pin, and seat. Look for warping, cracks, or wear on the sealing surface. The seat should feel smooth and free of debris.
Pressure Washer Cages
These contain a poppet inside a metal cage. Push the poppet open with a pen to inspect the seat. Check O-rings under the assembly in the pump head for nicks or swelling.
Faucet Valve Access
Use a toothpick or small pick to probe the valve inside the spray head or hose. Shake the hose gently to dislodge loose particles.
Choose the Right Cleaning Method

Match your cleaning approach to the type of contamination and the valve materials.
Flush Out Loose Debris
For loose particles, blow through the valve in the forward direction using compressed air or a bulb syringe. For faucet hoses, run water through them or shake vigorously to dislodge buildup.
Soak in Citric Acid for Limescale
Hard water leaves calcium deposits that restrict flow. Soak affected parts in a citric acid solution for 15 to 30 minutes. This dissolves mineral buildup without damaging rubber or plastic. Rinse thoroughly with clean water afterward.
Use Solvents for Oil or Residue
For compressor or hydraulic valves with oil buildup, use a mild solvent compatible with rubber O-rings. Avoid harsh chemicals like acetone unless specifically approved. Wipe parts with a lint-free cloth.
Sonicate Lab-Grade Valves
For UPLC check valves, follow a three-step sonication process:
1. Soak in methanol and sonicate for 5 minutes
2. Rinse in water and sonicate again
3. Final soak in methanol, then dry with nitrogen gas
Never use tap water or compressed air for drying because contaminants can damage sensitive lab systems.
Lap Damaged Seats Smooth
If the valve seat shows scratches or pitting, lapping (fine grinding) may restore the seal. Apply valve-lapping compound and polish the surface with a small tool. Wipe clean afterward.
Inspect Components for Wear and Damage
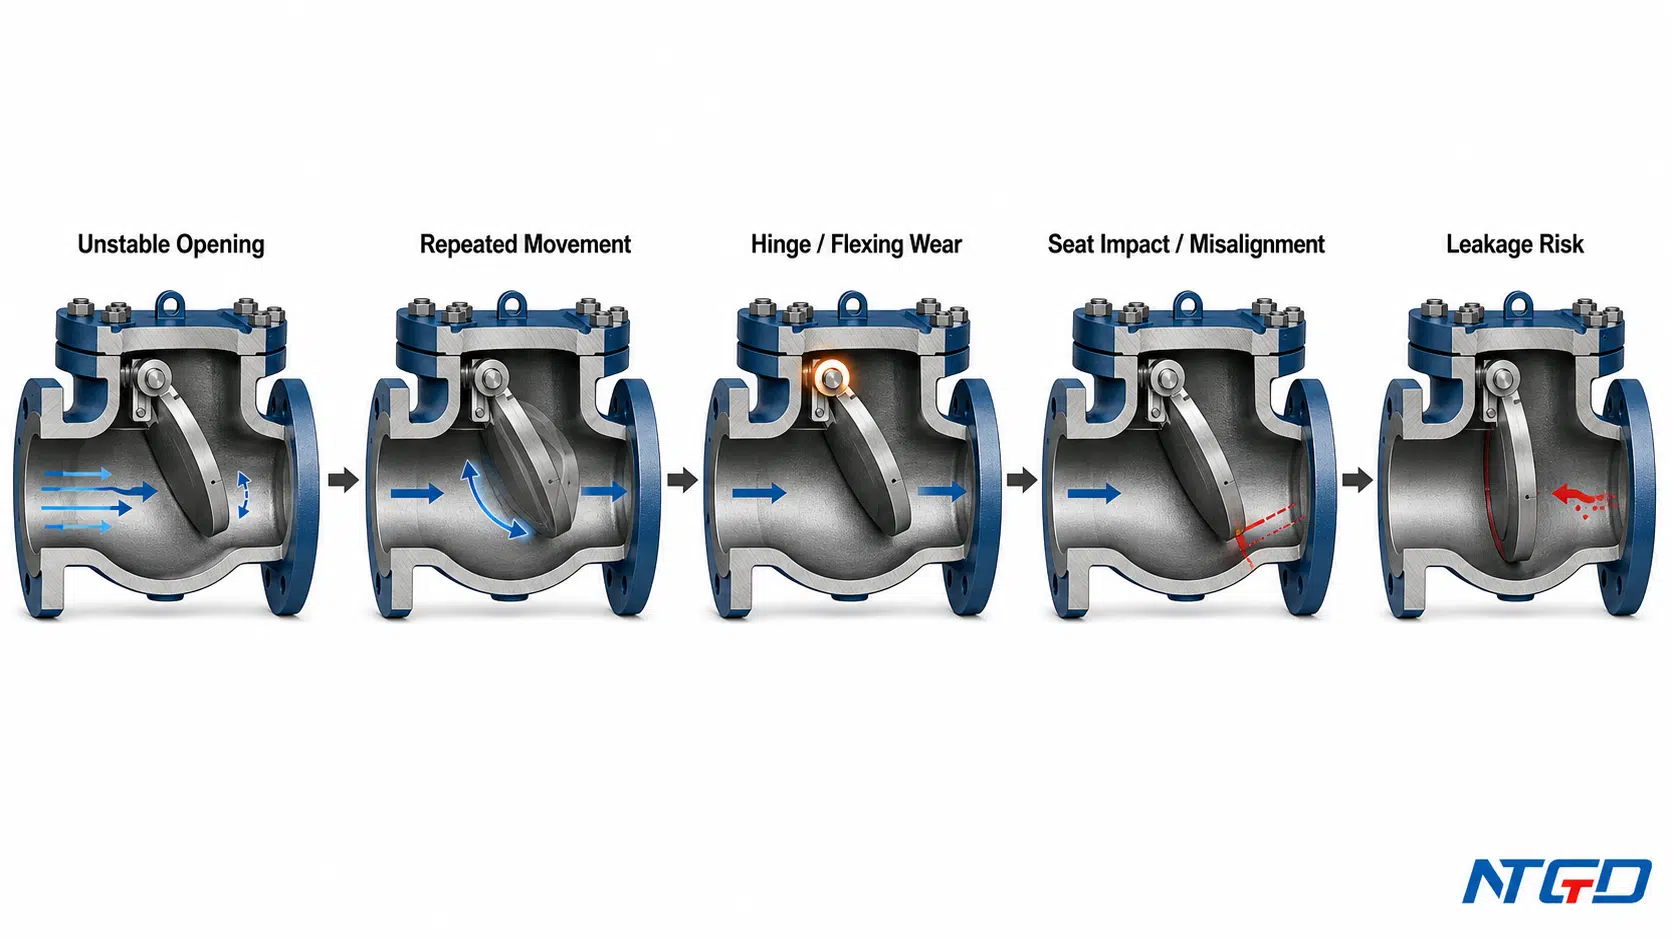
Cleaning is the perfect time to check for signs of impending failure.
Examine O-Rings Carefully
Look for cuts, cracks, nicks, or compression set (permanent flattening). Cross-cut tears may indicate a cracked pump head beneath. Oozing or melting suggests cavitation from a clogged filter. Replace any damaged O-rings and keep spares on hand.
Check Poppets and Flappers
Wear on the edges, especially sideways wear in pressure washer inlet valves, means reduced sealing ability. If the surface is pitted or eroded, replacement is better than cleaning.
Inspect Valve Seats
The sealing surface must be smooth. Debris, corrosion, or scoring prevents a tight seal. Clean with a soft brush or replace the seat if damage is severe.
Look Beneath the O-Ring
In pump systems, remove the O-ring and inspect the housing underneath. Cracks or erosion here mean the entire pump head may need replacement.
Reassemble the Valve in Correct Order
Reassembly mistakes cause immediate failure. Follow the exact reverse of your disassembly steps.
Compressor Valve Assembly
- Insert the spring into the body
- Add washers in the correct sequence
- Place the nipple on top of the spring
- Install the O-ring with the wider side facing the spring
- Replace the cap and secure with the bolt
Pro tip: If the O-ring shows slight wear, flip it over before reinstalling. This can extend its useful life.
In-Line Valve Reinstallation
- Insert the spring
- Place the poppet on top
- Seat the O-ring in the poppet groove
- Screw the body back on, hand-tighten first, then finish with a wrench
- Ensure the O-ring does not twist during tightening
Swing Valve Reassembly
- Insert the hinge pin
- Slide the flapper onto the pin
- Reattach the securing screw
- Replace the side bolt and main cover bolt
- Torque to manufacturer specifications without over-tightening
Faucet Valve Reset
Reinsert the hose into the quick-connect fitting. For spray heads, screw back on securely. Test flow before finalizing.
Seal Connections the Right Way
How you reconnect the valve affects long-term performance.
Skip Teflon Tape on Compression Fittings
Compression fittings seal through metal-to-metal contact. Teflon tape can prevent proper seating and cause leaks. Use tape only on threaded connections.
Apply Tape on Threaded Ends
On threaded ports, wrap 2 to 3 layers of Teflon tape clockwise around the male threads. This prevents leaks without overfilling the joint.
Avoid Over-Tightening
Hand-tighten first, then add a quarter to half turn with a wrench. Over-tightening distorts O-rings, cracks plastic housings, or damages poppets.
Test Valve Function After Reinstallation
Verification ensures your cleaning was successful.
Perform a Flow Direction Test
- Connect fluid or air to the inlet (arrow direction)
- Forward flow should pass freely
- Attempt reverse flow. No fluid should pass through
If reverse flow occurs, the valve is not sealing. Disassemble and recheck the O-ring and poppet.
Check for Leaks
Turn on the system and watch all connections:
– Compressors: Listen for hissing sounds
– Faucets: Look for drips under the sink
– Pressure washers: Run and check for vibration or suction leaks
Retest Suction in Pressure Washers
Try sucking through the valve again. If air passes, the poppet is not seating. Clean again or replace the valve.
Prevent Future Check Valve Problems
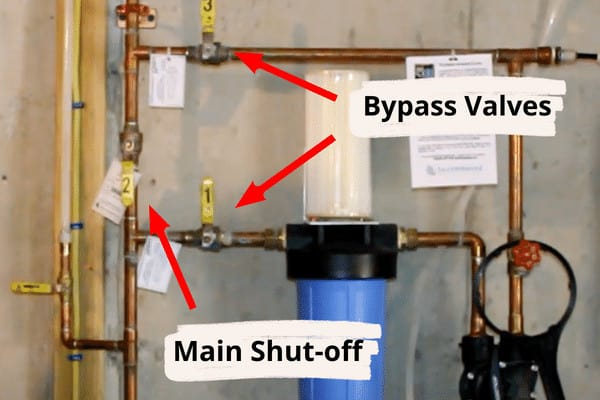
Regular maintenance prevents recurring issues and extends valve life.
Clean Every 3 to 6 Months
For hard water areas or high-use systems, clean check valves every few months. Faucets and compressors benefit from routine inspection.
Install Inline Filters
Debris is a leading cause of failure. Add inline filters to catch particles before they reach the valve. Upgrade to a 50-mesh filter if cavitation or oozing O-rings are common.
Keep Spare Parts On Hand
Store spare O-rings and full valves. In aquariums or critical systems, swap out dirty valves for clean ones while you service the originals offline.
Upgrade Hard-to-Reach Installations
If the valve sits behind a wall or tank, install a ball valve above it. This lets you isolate and remove the check valve without draining the entire system.
Lubricate Moving Parts
For swing valves, apply a small amount of system-compatible lubricant to the hinge and pin. This reduces wear and ensures smooth operation.
Frequently Asked Questions About Cleaning Check Valves
Can you clean a check valve instead of replacing it?
Yes, in many cases cleaning a check valve restores full function. Mineral buildup, debris, and oil residue can usually be removed with appropriate solvents or soaking. Replacement becomes necessary only when seats are pitted, O-rings are damaged, or components show severe wear.
What is the best solvent for cleaning a check valve?
The best solvent depends on the contamination type. Citric acid works well for calcium and limescale. Mild solvents compatible with rubber work for oil buildup. For UPLC valves, methanol followed by water and a final methanol rinse is the standard sonication protocol.
How often should check valves be cleaned?
Clean check valves every 3 to 6 months in hard water areas or high-use systems. Compressors, pressure washers, and faucets benefit from routine inspection. Critical systems may require more frequent service.
Why does my check valve still leak after cleaning?
Persistent leaking usually points to a damaged O-ring, a pitted seat, or an eroded poppet. Inspect every component carefully during cleaning. If the seat shows scoring or the O-ring has cuts, replacement is the only reliable fix.
Can I use vinegar instead of citric acid?
Vinegar works as a mild descaler for residential faucet valves. However, citric acid is more effective for heavy calcium buildup and is the recommended choice for stubborn mineral deposits.
How do I know if my check valve is bad?
Common signs include backflow, reduced pressure, weak water flow, air leaks after shutdown, and excessive vibration in pressure washers. A suction test on removable valves confirms failure: if air passes in the reverse direction, the valve is not sealing properly.
Key Takeaways for Cleaning a Check Valve Successfully
Knowing how to clean a check valve empowers you to maintain system efficiency, prevent backflow, and avoid costly replacements. The process follows the same core principles across applications: diagnose first, depressurize and isolate the valve, disassemble carefully, clean with the right solvent, inspect every component, reassemble in correct order, and verify with a flow test.
Respect component orientation, use Teflon tape only on threaded connections, and avoid over-tightening during reassembly. Make check valve maintenance part of your regular schedule, and your systems will run stronger, longer, and safer. Start by inspecting your most-used valves today and gather the right spare O-rings and solvents so you are ready the moment symptoms appear.