A rusted bottom or cracked seam can turn your reliable water storage into a costly liability overnight. Effective metal water tank repair stops these failures before they lead to total collapse or contamination.
This guide reveals proven methods to fix leaks, reinforce weak walls, and restore foundations without expensive replacements. You will learn specific techniques for galvanized, bolted, and welded tanks using accessible materials.
Diagnose the Specific Failure Mode
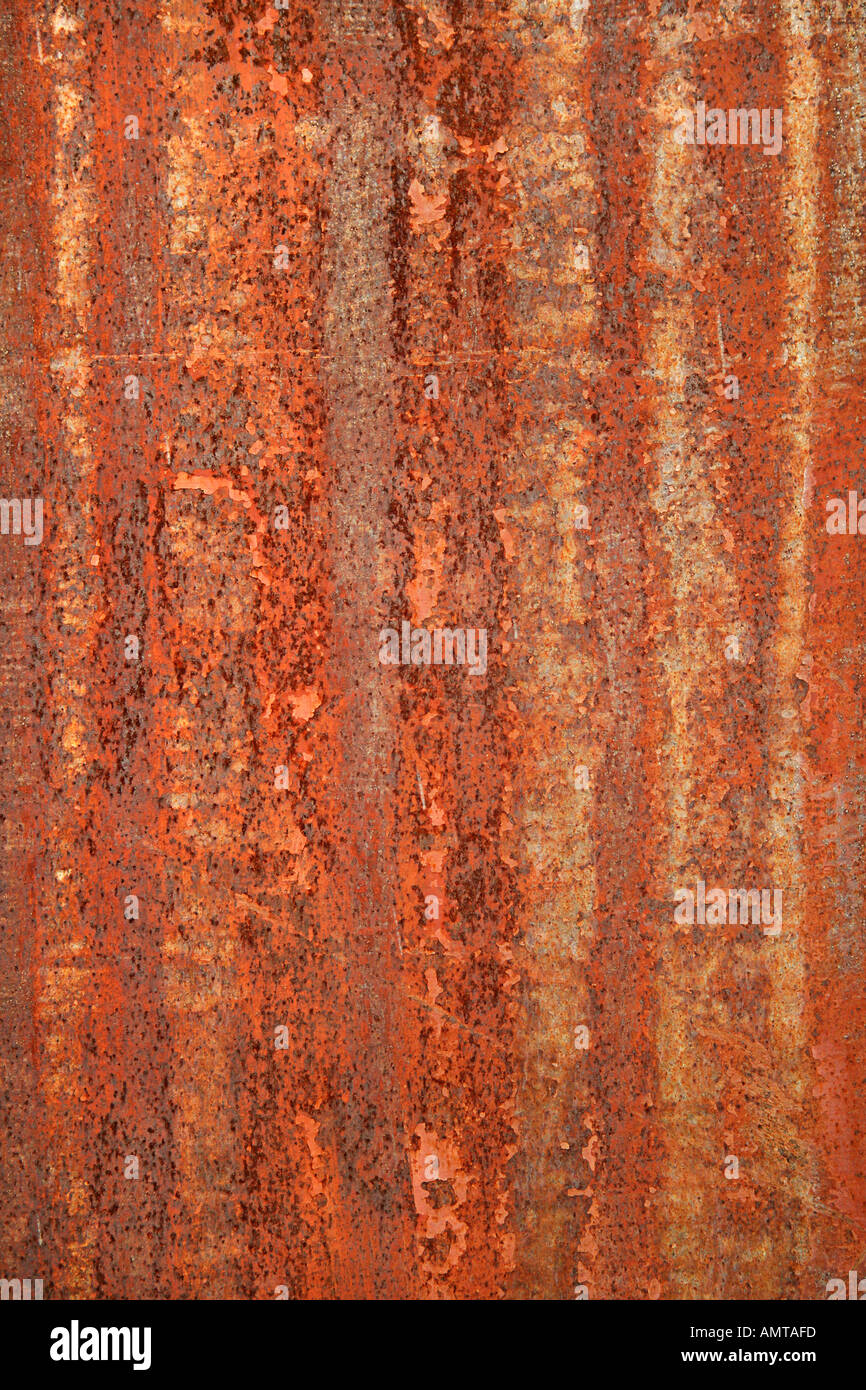
Accurate diagnosis determines whether your tank needs a simple patch or major structural work. Ignoring the root cause often leads to repeated failures within months.
Identify Corrosion Patterns
Galvanized tanks typically fail at the base after 5 to 10 years due to constant water exposure. Look for reddish-brown rust spots that feel soft or sponge-like to the touch. Clusters of pinholes indicate advanced oxidation requiring immediate attention.
Detect Structural Stress Cracks
Square and rectangular tanks often develop cracks at corners where water pressure creates uneven stress. Vertical cracks usually appear near joints while horizontal fractures signal seam failure. Use a flashlight to inspect hard-to-reach areas for hairline splits.
Assess Foundation Stability
A shifting foundation causes leaks even in sound tanks by breaking the wall-floor seal. Check for tilting walls or gaps between the tank bottom and the concrete base. Tap the foundation with a hammer to detect crumbling concrete beneath the structure.
Reveal Hidden Porosity
Some tanks leak without visible cracks due to porous mortar or poor curing during construction. Look for damp spots on exterior walls that appear only when the tank is full. This issue often stems from incorrect mix ratios or insufficient curing time.
Fix Small Leaks Without Draining Water
Emptying a large tank is often impractical so underwater repair methods offer quick solutions for minor damage. These techniques work best for holes smaller than one quarter inch.
Apply Underwater Epoxy Putty
Marine-grade epoxy putty bonds effectively to wet metal surfaces to stop active leaks.
* Wipe the area clean of loose debris and slime.
* Knead the putty until the color is uniform.
* Press firmly over the leak and shape into a smooth dome.
* Allow 24 to 48 hours for full curing before increasing pressure.
Note: Always verify food-grade certification if the tank stores drinking water.
Install Floating Internal Patches
Specialized floating patches use water-activated adhesive to seal bottom leaks from the inside. Lower the patch on a rope and guide it over the hole using a stick. The adhesive cures on contact with water but only works on flat clean surfaces.
Seal Multiple Pinholes Externally
Spray-on or brush-on polyurethane coatings create a flexible membrane over areas with many small leaks. This method works well for early-stage corrosion where metal thickness remains intact. Apply in dry weather and follow manufacturer cure times strictly.
Restore Corroded Galvanized Tank Bottoms

Cement reinforcement extends the life of galvanized tanks far beyond their typical 5 to 10 year lifespan. This low-cost method creates a new interior shell using wire mesh and mortar.
Prepare Interior Surfaces
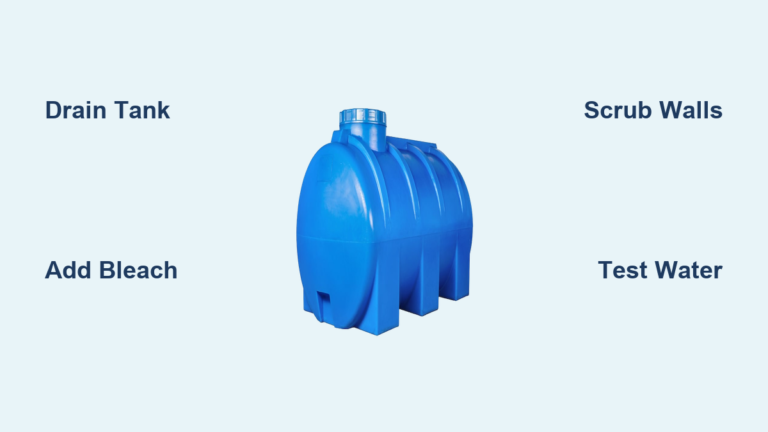
Drain and clean the tank thoroughly before starting any work. Punch small holes 15 cm apart around the lower walls using a nail and hammer. Cut binding wire into 20 cm lengths and bend them into U-shapes for anchoring.
Secure Chicken Mesh Reinforcement
Insert U-wires through adjacent holes to hold chicken mesh tightly against the tank walls. Extend this mesh across the entire floor to create a continuous reinforcement layer. This grid prevents the new mortar from cracking under pressure.
Apply Two-Coat Mortar System
Mix one part cement to three parts clean sand for your base plaster. Throw the first 1 cm coat onto the mesh without smoothing to ensure good adhesion. Apply a second coat the next day to cover all wire completely.
Seal with Cement Slurry
While the second coat is still moist press pure cement slurry onto the surface with a steel trowel. This step blocks micro-pores and creates a waterproof barrier. Paint the exterior with weatherproof cement-lime mix for UV protection.
Reinforce Cracked Tank Walls Externally
Repairing cracked walls from the outside avoids the need to drain the tank completely. This method restores structural integrity by adding a reinforced concrete layer.
Wrap with Weld Mesh
Clean the exterior wall and chisel away loose concrete or rust. Wrap weld mesh tightly around the cracked section ensuring overlaps of at least 20 cm. Tie mesh intersections every 10 cm with binding wire for stability.
Spiral Barbed Wire for Strength
Wrap gauge 12.5 barbed wire spirally over the weld mesh to add tensile strength. Space the wire 5 cm apart on the lower half where water pressure is highest. Use 10 cm spacing for the upper half where stress is lower.
Plaster and Cure Properly
Apply a 3 cm layer of 1:3 mortar over the reinforced area and smooth evenly. Keep the repair moist and shaded for three full weeks to prevent shrinkage cracks. Proper curing ensures the new layer reaches maximum strength.
Repair Foundation Leaks and Gaps
Leaks at the tank base often result from failed joints between the wall and foundation. Repairing this interface prevents water loss and structural instability.
Chisel Grooves for Bonding
Drain the tank and chisel a 3 cm by 3 cm groove around the wall-floor joint. Roughen a 15 cm wide band of the foundation on both sides of the joint. Clean thoroughly with water to remove dust and debris.
Anchor with Barbed Wire
Wrap five rounds of barbed wire tightly within the external groove. This reinforcement anchors the new mortar to the existing foundation. Ensure the wire sits deep within the groove for maximum effect.
Build Mortar Aprons
Compact 1:3 mortar into the grooves using a timber tamper for density. Build a 15 cm wide and 10 cm high apron over the joint on both interior and exterior sides. Cure for three weeks with daily misting to ensure durability.
Replace Damaged Bolted Steel Panels
Industrial bolted tanks allow modular repair by replacing only the corroded sections. This approach saves time and money compared to full tank replacement.
Remove Corroded Shell Panels
Drain the tank and unbolt damaged panels starting from the top row. Use jacks to safely lower the roof to the ground if multiple rings need replacement. Inspect remaining panels for hidden corrosion before reassembly.
Install New Shell Rings
Attach a new shell ring to the roof angle and jack the assembly upward. Install subsequent rings below the lifted section until the full shell is replaced. This method avoids complete deconstruction of the tank structure.
Refinish with Protective Coatings
Clean all surfaces with wire brushing or sandblasting before applying new coatings. Use epoxy resin for chemical resistance and polyurethane for UV protection. Reinstall ladders domes and vents after coatings cure completely.
Seal Porous Walls Without Visible Cracks
Porosity causes slow seepage in tanks that appear structurally sound from the outside. Repairing this issue requires removing the weak outer layer and re-plastering.
Remove Porous Material
Chisel away porous sections of the interior wall to a depth of 1 or 2 cm. Wet the exposed area thoroughly before applying any new material. Throw dry cement onto the damp surface to seal micro-pores immediately.
Re-plaster and Waterproof
Apply a thin layer of 1:3 mortar over the prepared surface while still wet. The next day apply a final coat and press cement slurry onto the moist plaster. Cure for three weeks before refilling the tank.
Apply Backup Waterproofing Paint
If seepage persists after plastering apply non-toxic bitumen or swimming pool paint. Use two or three coats allowing proper drying time between layers. Ensure all paints are certified safe for potable water storage.
Rebuild Cracked Foundations Completely
Severe foundation cracks require rebuilding the base with reinforced concrete to support the tank load. This process prevents future settlement and leakage issues.
Prepare the Base Surface
Drain and clean the tank floor thoroughly before beginning foundation work. Fill all existing cracks with bitumen paste to prevent water ingress from below. This step ensures the new foundation bonds properly to the old structure.
Lay Reinforced Concrete Layers
Cut weld mesh to fit with 20 cm overlaps tied every 10 cm. Mix concrete with a 1:3:3 ratio of cement sand and crushed stone. Compact a 7 cm layer place the mesh then add a second 7 cm layer on top.
Finish and Cure New Foundation
Apply a 1 cm mortar topcoat and smooth with a trowel for a finished surface. Press cement slurry onto the wet plaster and build a rounded apron at the wall joint. Keep the new foundation moist and shaded for three weeks.
Select Correct Repair Materials
Choosing the right materials ensures your repair lasts and keeps stored water safe. Using incorrect products can lead to premature failure or contamination.
Evaluate Epoxy and Sealant Options
Quick Steel works well for plugging holes in wet or dry metal conditions. Marine epoxy putty suits external underwater leaks but verify food-grade status. Non-toxic bitumen provides effective interior waterproofing for drinking water tanks.
Mix Cement Ratios Accurately
Use a 1:3 cement to sand ratio for general plastering and wall repairs. Mix foundation concrete with a 1:3:3 ratio including crushed stone for strength. Create weatherproof paint with a 1:10 cement to lime mixture for exterior protection.
Choose Proper Reinforcement
Chicken mesh reinforces interior walls and floors in galvanized tank repairs. Weld mesh provides structural support for foundations and external wall wraps. Barbed wire adds tensile strength when spiraled around cracked tanks.
Follow Curing and Refilling Protocols
Skipping proper curing ruins even the best repair job by causing shrinkage cracks. Patience during this phase ensures long-term durability of your work.
Cure Cement Repairs Fully
Keep all cement-based repairs moist and shaded for three full weeks. Mist daily with water and cover with burlap to maintain humidity. This process prevents shrinkage cracks and ensures full strength development.
Refill Tank Gradually
Refill the tank slowly over three days to avoid pressure spikes on new repairs. Fill to one third on day one two thirds on day two and completely on day three. Monitor all repaired areas closely for any signs of leaking.
Ensure Safety and Water Potability
Protecting human health is paramount when repairing tanks used for drinking water. Never compromise on material safety or ventilation during repairs.
Verify Food-Grade Certification
Use only NSF-certified epoxy coatings and non-toxic bitumen for potable water tanks. Avoid industrial epoxies unless explicitly labeled safe for drinking water contact. Check product labels carefully before application.
Maintain Proper Ventilation
Epoxy fumes can be toxic so work in well-ventilated areas whenever possible. Wear respirators when applying chemical sealants in enclosed spaces. Keep vents clear during draining and filling to prevent vacuum implosion.
Prevent Future Tank Failures
Proactive maintenance and smart design choices extend tank life significantly. Regular inspections catch small problems before they become major disasters.
Choose Circular Tank Designs
Circular tanks distribute water pressure evenly eliminating weak corner stress points. This shape resists cracking better than square or rectangular models. Consider upgrading to circular designs when replacing old tanks.
Schedule Regular Inspections
Inspect your tank every six months for rust coating wear and foundation gaps. Check specifically after storms or earthquakes for displacement or impact damage. Early detection saves money on major repairs later.
Extend Tank Life Indefinitely
Proper cement reinforcement and maintenance can make galvanized tanks last forever. Bolted steel tanks exceed 30 years with regular panel and coating upkeep. Consistent care is the key to long-term reliability.
Decide Between Repair and Replacement
Not every tank can or should be saved depending on the extent of damage. Understanding when to replace saves money and prevents safety hazards.
Repair When Damage Is Localized
Small leaks minor corrosion and stable foundations are good candidates for repair. Use proper techniques and materials for successful long-term results. Cost-effective cement reinforcement often beats replacement for old galvanized tanks.
Replace When Damage Is Extensive
Extensively rusted paper-thin metal requires full tank replacement for safety. Tanks suffering vacuum implosion or severe foundation displacement cannot be reliably repaired. Multiple large leaks indicate systemic failure needing new construction.
Frequently Asked Questions About Metal Water Tank Repair
Can I repair a metal water tank without draining it?
Yes for small leaks under one quarter inch using underwater epoxy putty or floating patches. These methods work externally or internally but offer temporary solutions only. Large leaks require draining for proper structural repair.
How long do cement repairs take to cure fully?
Cement-based repairs need three full weeks of moist shaded curing to reach full strength. Rushing this process causes shrinkage cracks and premature failure. Keep repairs misted daily throughout the curing period.
What materials are safe for drinking water tanks?
Use only food-grade certified products like NSF epoxy non-toxic bitumen and swimming pool paint. Verify all sealants and coatings explicitly state potable water safety. Industrial grade products may contaminate your water supply.
Why does my galvanized tank keep leaking after patching?
Patching fails if you do not address underlying corrosion or foundation issues. Galvanized tanks typically need full bottom reinforcement with mesh and mortar after 5 to 10 years. Isolated patches cannot stop widespread oxidation.
How often should I inspect my metal water tank?
Inspect your tank every six months for rust cracks and foundation problems. Check immediately after severe weather events like storms or earthquakes. Regular maintenance prevents minor issues from becoming catastrophic failures.
What causes cracks in square metal water tanks?
Square tanks develop cracks due to uneven water pressure distribution at corners. Circular tanks handle pressure better with no weak stress points. Reinforcing corners with external mesh helps but circular designs last longer.
Key Takeaways for Successful Metal Water Tank Repair
Proper diagnosis and material selection determine the success of your metal water tank repair project. Address root causes like foundation issues or widespread corrosion rather than just patching visible leaks.
Follow curing protocols strictly and use food-grade materials for drinking water safety. Regular maintenance extends tank life indefinitely while preventing costly emergency replacements. Start with a thorough inspection today to protect your water storage investment.