You turn on your pool pump, expecting to see water flowing smoothly through the system, but the pump basket won’t stay full. The water level drops the moment the motor starts. Bubbles swirl inside. The jets barely trickle. No matter how many times you prime it, the pump just cannot hold water. If this sounds familiar, you’re dealing with a pool pump not filling with water, a common but frustrating issue that stops circulation and puts your entire pool system at risk.
This problem is rarely a sign of a dead pump. More often, it’s caused by air leaks, flow restrictions, or mechanical issues on the suction side, the part of the plumbing between the pool and the pump. When air sneaks in or water flow gets blocked, the pump loses prime and cannot maintain suction. The good news? Most causes are fixable with basic tools and a systematic approach. In this guide, you’ll learn exactly how to diagnose and resolve each potential cause, from clogged filters to hidden air leaks, using fixes verified by experts and pool owners alike.
Check Water Level First
Before diving into complex repairs, confirm the most basic requirement: the pool has enough water. If the water level is below the skimmer intake, the system draws air instead of water. This breaks the siphon and prevents priming. Even if the pump is below pool level, low water means no continuous flow source.
Low Water Causes Air Intake
The minimum safe level requires water to cover at least half the skimmer opening. The ideal range sits midway to the upper third of the skimmer. A user reported a pool noodle floating into the skimmer and propping the weir door open, a situation only possible when water is too low. Top off the pool and retest before moving to other steps.
Clean Skimmer and Pump Baskets
Debris buildup is one of the simplest and most overlooked reasons for poor priming. Even if baskets look clean, organic gunk like algae or oils can restrict flow and force the pump to work harder, mimicking air leak symptoms.
Remove and Inspect Baskets
Take out the skimmer basket and pump basket, then rinse thoroughly with a garden hose or pressure washer. Look for hair, leaves, or small debris packed deep in the mesh. Also check for cracks or warping that prevent a tight lid seal. Clean baskets weekly during heavy use seasons to prevent recurring issues.
Test the Skimmer Weir Door
The weir door, the hinged flap inside the skimmer, acts as a one-way gate keeping water sealed in the line. If the weir is jammed open by debris, warped, or broken, air flows back into the system when the pump runs.
Door Stuck Open Means Air Enters
Manually push the door up and down. It should move freely and close fully. Inspect hinges and clean mineral deposits or remove lodged debris like a twig or toy. Replace the weir if cracked or stiff. Expert advice suggests adding an extra inch of water to improve the seal if vortexing, the whirlpool effect, pulls air down.
Verify Valve Positions
A closed or broken valve can stop water flow even if everything else looks fine. Common culprits include the skimmer valve, main drain valve, and multiport valve on sand or DE filters.
Hidden Valve Failures
Sometimes the handle turns, but the internal diverter doesn’t. The valve appears open, but the flow path is blocked. Test by manually checking internal movement or disassembling if needed. Replace the faulty valve assembly if no movement is detected. One expert noted that even if the handle shows open, the internal mechanism might not be moving.
Inspect Pump Lid O-Ring

The pump lid o-ring is the number one source of air leaks and the easiest to fix. Signs of failure include cracks, splits, or brittleness. Also watch for a flattened shape indicating loss of roundness, or swelling and black residue from chemical damage.
Step-by-Step Check
Turn off the pump and release pressure. Remove the pump lid and pull out the o-ring, turning it inside out. Inspect the entire length under bright light. Replace if any defect is found. Use Teflon-based or silicone lubricant and apply a thin, even coat that looks shiny but not dripping. Re-seat the o-ring fully in the groove before closing the lid.
Hunt for Suction-Side Air Leaks
Air entering the system breaks prime. Most leaks happen above ground at accessible fittings like the pump front union, drain plug on pump housing, multiport valve O-rings, pipe joints near the pump, and skimmer throat connections.
Leak Detection Methods
The soap bubble test involves spraying soapy water on joints while the pump runs, watching for bubbles where air escapes. The water trickling test requires pouring water over a suspect joint; if the pump suddenly primes, that’s your leak. The plastic bag test involves wrapping a sealed bag around a fitting; if priming improves, air was entering there. The nightlight method requires shining a flashlight into the pump basket in a dark room where air bubbles glow and become easy to spot. Focus on above-ground connections since underground pipes rarely leak.
Bypass the Filter Cartridge
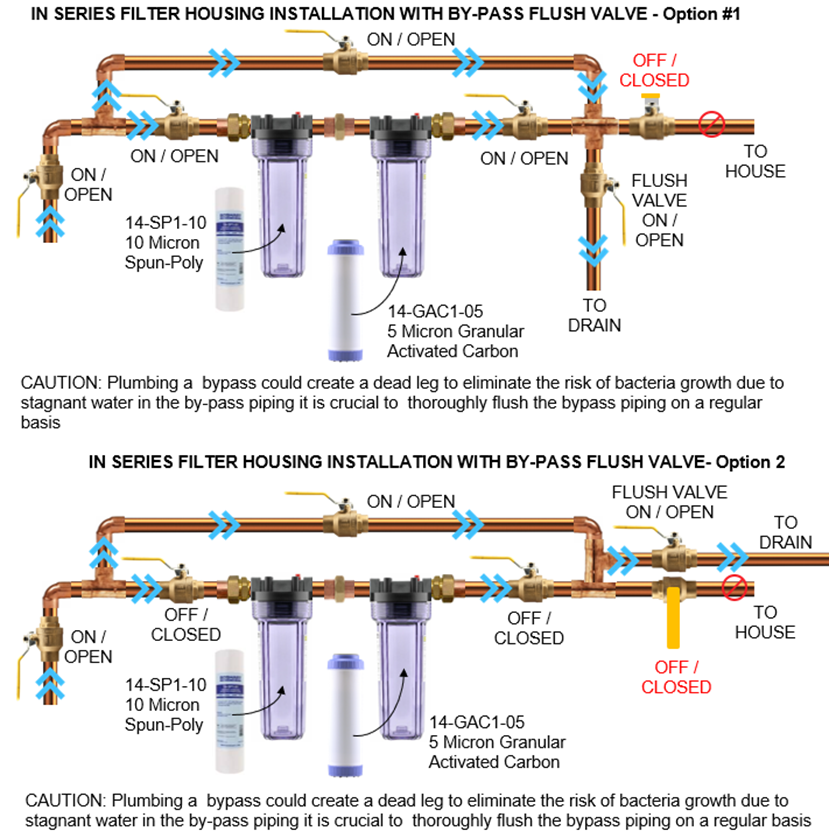
A dirty or clogged filter is a top cause of flow restriction even if it looks clean. Surface rinsing doesn’t remove oils, calcium, or biofilm. New cartridges can be defective or improperly seated, and organic buildup clogs microscopic pores.
The Bypass Test
For cartridge systems, remove the filter element. For sand or DE systems, set the multiport valve to Recirculate. Run the pump. If the pump fills and holds prime, the filter is clogged. If there’s no change, the problem is upstream, meaning the line, valve, or skimmer is the issue. One user confirmed this fix by posting that removing the filter and cleaning it really well resolved everything.
Test for Suction Line Clogs
If the filter isn’t the issue, a blockage in the skimmer line could be stopping flow. Common blockages occur in the skimmer throat, the first 90-degree elbow after the skimmer, or from vacuum bags, toys, or plastic wrap sucked in.
Garden Hose Test
Insert a garden hose into the skimmer hole and wrap a cloth like a T-shirt around it to seal the gap. Turn on the water and have someone start the pump. If water fills the pump basket and returns to the pool, the line is clear. If there’s no flow, a clog exists in the suction line.
Clear a Blocked Suction Line
If the hose test fails, force the clog out using a plumbing bladder. Attach a drain cleaning bladder to a garden hose and insert it into the skimmer pipe. Turn on water; the bladder expands, seals the pipe, and pushes water backward to dislodge the clog. This reverse pressure clears obstructions without damaging pipes.
Alternative Tools
An electrician’s fish tape is more flexible than a plumber’s snake and navigates tight bends better. A shop vac in blow mode works but use caution since high pressure can crack fittings. Compressed air is effective but risky; never exceed 50 PSI. Avoid drain snakes with sharp augers since they can scratch or puncture PVC.
Inspect the Impeller
The impeller creates suction. If it’s clogged or damaged, the pump can’t pull water. Turn off power and shut valves, then open the pump housing and look at the impeller, the fan-like piece inside. Spin it by hand; it should rotate freely.
Remove Debris
Use a bent wire hanger to hook out hair or gunk and flush with water from behind. Disassemble fully if needed, which may require gasket replacement. One technician confirmed the impeller worked fine, so check earlier causes first.
Evaluate Plumbing Layout
Poor suction-side plumbing design causes chronic air issues. Bad installations include multiple 90-degree elbows close together, restrictive ball valves near the pump, and no straight pipe run before the inlet of less than eight inches. These create turbulence, reduce flow, and trap air.
Fix the Flow
Replace sharp 90s with sweep elbows, which are long-radius bends. Add straight pipe sections before the pump and relocate valves farther from the inlet. Smooth, gradual flow prevents cavitation and improves priming. One user noted that the way it’s plumbed is rough on the pump.
Rule Out Internal Pump Failure
Mechanical failure is rare but possible if all else fails. Possible issues include a worn shaft seal letting air in internally, a cracked pump housing or diffuser, or motor bearing failure affecting impeller alignment. Suspect it when the pump makes grinding or rattling noises, the housing feels hot, or all external checks pass but there’s no prime.
When to Suspect Pump Failure
If the pump is below water level and no wet spots are visible, internal failure is unlikely. Focus on clogged lines or faulty valves first. Replace or rebuild the pump only after eliminating every other cause.
Follow the Diagnostic Sequence
Use this order to save time and avoid guesswork. First, top off pool water to mid-skimmer level. Second, clean skimmer and pump baskets. Third, check weir door movement. Fourth, confirm all valves are open and functional. Fifth, inspect and lubricate pump lid o-ring. Sixth, test for air leaks using soap, water, or bag tests. Seventh, bypass the filter to test for restriction. Eighth, run the garden hose test for line blockage. Ninth, clear the clog with a bladder or fish tape. Tenth, inspect the impeller and clean if needed. This sequence follows expert consensus and real-world success rates.
Prevent Future Problems
Avoid recurring priming issues with simple maintenance. Weekly, empty skimmer and pump baskets, check water level, and inspect weir door. Monthly, lubricate o-rings, backwash or clean the filter, and examine unions and connections. Annually, replace the pump lid o-ring preventively, inspect the impeller, and evaluate plumbing for wear. After cleaning, always open the air relief valve until water sprays out to ensure full prime.
Use the Right Tools
Have these on hand for diagnosis and repair. A garden hose serves for line testing and flushing. Silicone or Teflon lube helps with o-ring sealing. An electrician’s fish tape clears tight bends. A plumbing bladder reverse-flushes clogs. A flashlight spots air bubbles in dark conditions. A soap spray bottle finds air leaks. Replacement o-rings enable preventive swaps. A strap wrench tightens unions without damage.
Summary: What Really Causes It
Low water level causes this issue and requires topping off the pool. Clogged baskets need removal and inspection, then cleaning or replacement. A stuck weir door requires a manual movement test, then cleaning or replacement. A closed valve requires checking the internal diverter, then repair or replacement. A bad o-ring requires inspection and lubrication, then replacement plus lube. An air leak requires testing with soap or water, then sealing or replacing the fitting. A dirty filter requires a bypass test, then deep cleaning or replacement. A clogged line requires the garden hose test, then flushing or snaking. An impeller blockage requires visual and spin testing, then cleaning the vanes. Bad plumbing requires visual inspection, then reconfiguring with sweep elbows.
Key Takeaways for Fixing Your Pool Pump
When your pool pump won’t fill with water, don’t assume the pump is broken. In most cases, the issue is on the suction side, either air getting in or water being blocked. If the pump is below water level and no wet spots are visible, the culprit is likely a clogged suction line or internal valve failure, not an air leak. Fix it faster by following the proven diagnostic order. Start simple, test systematically, and use the right tools. Most problems take under an hour to resolve once you know where to look. For complex plumbing or persistent issues, call a licensed pool technician, but with this guide, you’ll already know more than most and can avoid unnecessary repairs.
Frequently Asked Questions About Pool Pump Not Filling with Water
Why does my pump lose prime immediately after starting?
This typically indicates an air leak on the suction side or a flow restriction preventing the pump from drawing water. Start by checking the pump lid o-ring, then test for air leaks using the soap bubble method. If no leaks are found, bypass the filter to see if it’s clogged.
Can a dirty filter cause the pump to lose prime?
Yes. A clogged filter restricts flow even if it looks clean. Surface rinsing doesn’t remove oils, calcium, or biofilm that clog microscopic pores. Remove the filter or set the multiport to recirculate; if the pump primes, the filter is the problem.
How do I find an air leak in my pool plumbing?
Use the soap bubble test. Spray soapy water on all joints, unions, and fittings while the pump runs. Bubbles indicate where air is escaping. You can also try the water trickling test or wrap plastic bags around suspected fittings to isolate the leak.
What if the pump is below water level but still won’t prime?
If the pump sits below water level and no wet spots are visible around connections, the problem is likely a clogged suction line or faulty valve internal mechanism rather than an air leak. Run the garden hose test to check for line blockages.
How do I clear a clogged skimmer line?
Use a plumbing bladder attached to a garden hose. Insert it into the skimmer pipe and turn on water. The bladder expands and forces water backward to push the clog out. An electrician’s fish tape works for navigating tight bends.
When should I replace the pump instead of repairing it?
Replace the pump only after eliminating all other causes. If the pump makes grinding or rattling noises, the housing feels hot, or all external checks pass with no prime, internal failure is possible. Otherwise, focus on suction-side issues first.