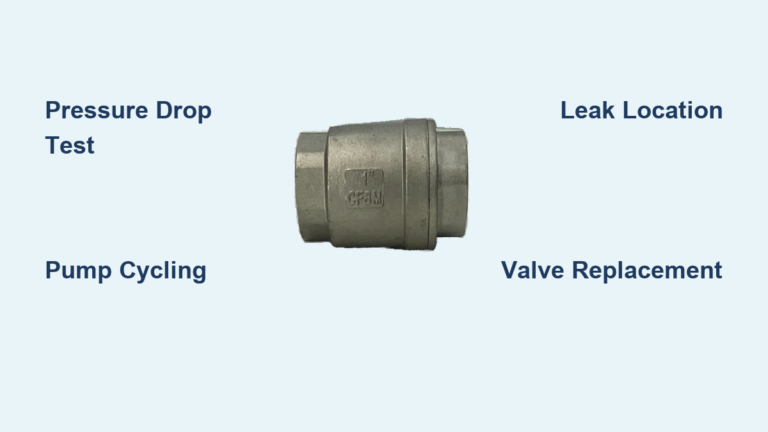
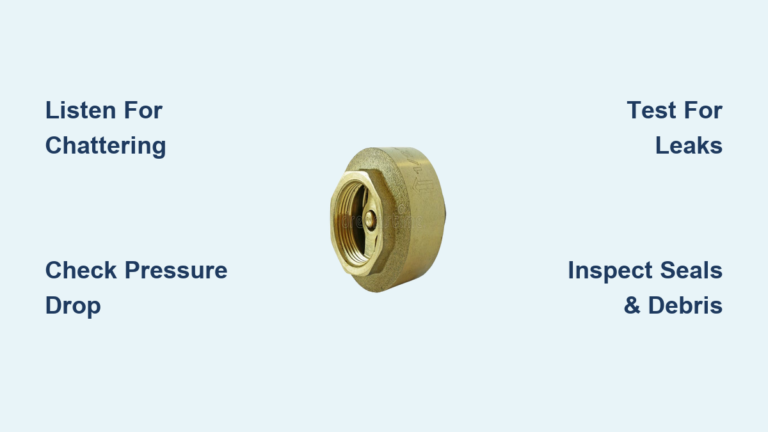
If your spa drains every night or water flows backward into your pool after the pump shuts off, a failing Jandy check valve is likely the cause. These valves keep water levels stable in elevated spas and water features by blocking reverse flow when the system is off. Over time, the rubber flapper breaks down, springs lose tension, or hidden debris prevents a proper seal. Replacing the flapper alone often fails when the valve seat itself is compromised.
This guide covers diagnosing common failure signs, removing obstructions, replacing worn parts, and reassembling your Jandy check valve correctly. You will learn why upgrading to a red rubber flapper extends service life, how to avoid O-ring mishaps during reassembly, and why a 24-hour seal-setting period matters. Whether you are troubleshooting a slow leak or performing preventative maintenance, this Jandy check valve repair process ensures your spa holds water and your system runs efficiently.
Diagnose the Leak Before Disassembly
Before taking the valve apart, confirm the issue actually comes from the check valve and not another plumbing component.
Spa Drains Overnight
If your spa loses water every time the pump cycles off, the check valve is not sealing. This is the most common symptom. The internal flapper should close tightly to hold water at the spillover level. When it fails, gravity pulls water back into the main pool.
Backflow Into the Pool
Watch the return lines after shutdown. If water reverses direction and flows from the spa into the pool, the valve is not stopping reverse circulation. This confirms a seal failure.
Visual Inspection with Clear Lids
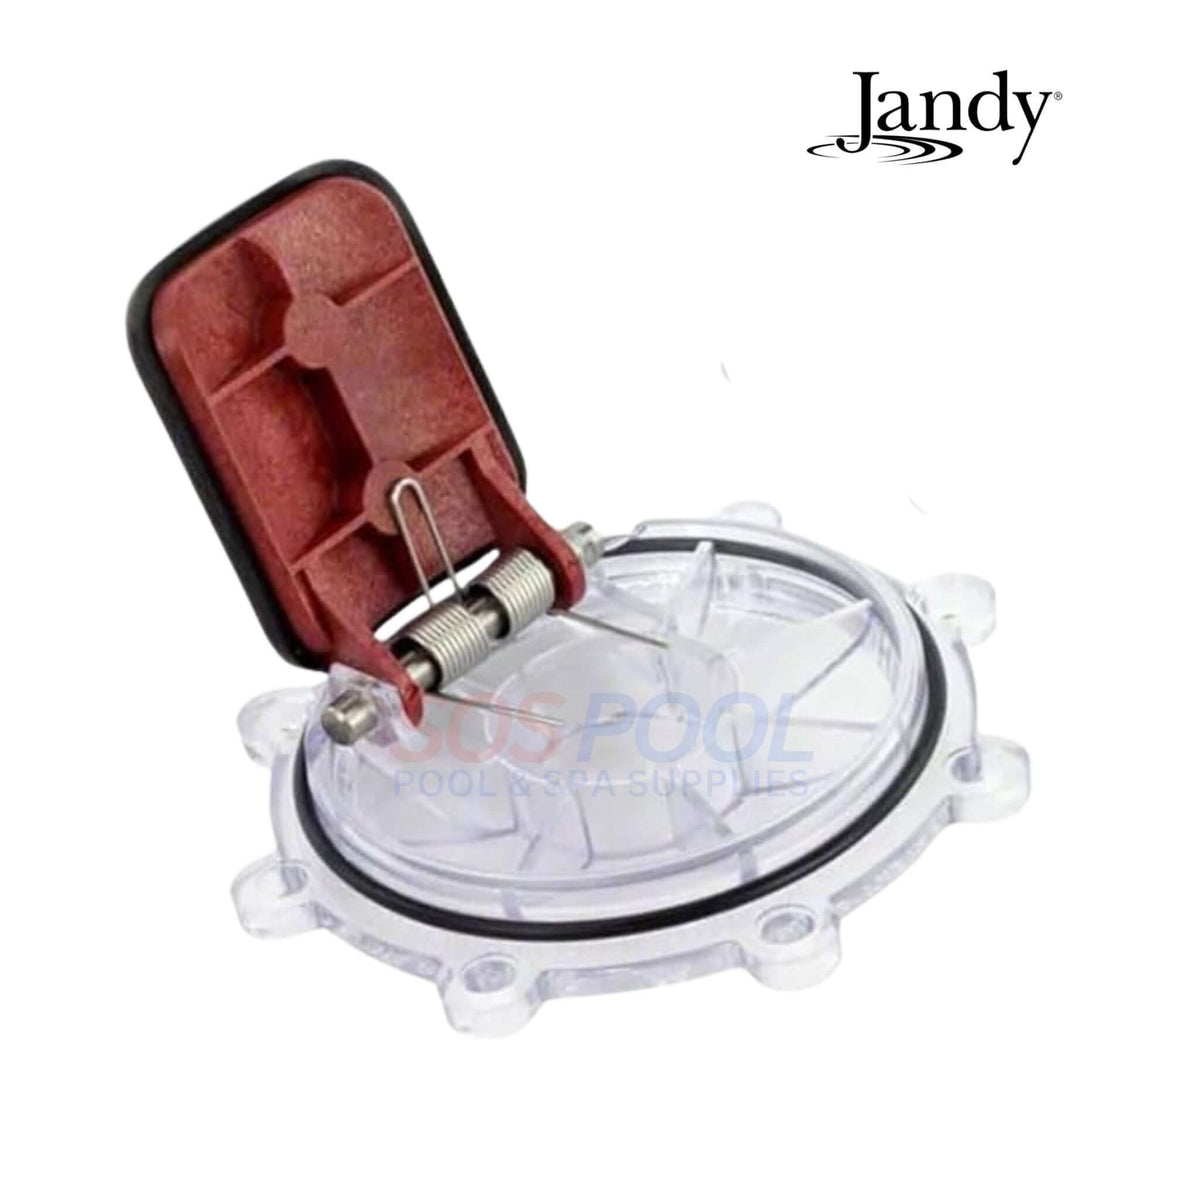
Models equipped with clear lids allow instant diagnosis without disassembly. Look inside for:
- Cracked or missing flapper
- Debris blocking closure
- Misaligned spring or retaining pin
No visible issues? The problem may be hidden, such as hardened glue on the valve seat, which requires full disassembly to find.
Disassemble the Valve Safely
Proper disassembly protects the screws, housing, and small internal components from damage.
Remove the Lid with Care
Use a Phillips screwdriver or a power drill set to a low-torque clutch setting. Avoid high speed, since excessive force can strip screw heads or warp the CPVC lid and cause leaks later.
Once the screws are out, gently lift the lid. The body separates easily, exposing the flapper, spring, and retaining pin.
Handle the O-Ring Properly
Locate the small black O-ring seated in the lid groove. It is prone to slipping or being launched by spring recoil during disassembly.
Keep these precautions in mind:
- Keep the O-ring in sight at all times
- Lay it on a clean surface
- Check for kinks, splits, or twists
A damaged or misaligned O-ring causes external leaks even when the internal seal works perfectly.
Remove Internal Components
With the lid off, you can access the core mechanism that controls one-way flow.
Extract the Retaining Pin
Use needle-nose pliers to push the metal retaining pin out of the flapper hinge. It slides through both sides of the valve body.
Do not force it. If stuck, clean around the pin first. Corrosion or scale buildup can bind it over time.
Take Out the Spring and Flapper
After removing the pin, the spring and flapper come free. The spring has low tension, and only a quarter turn usually releases it. Note its orientation for reassembly.
Inspect the old flapper for these signs of failure:
- Cracks in the rubber
- Disintegrating material
- Stiff or brittle texture
Black rubber flappers degrade quickly due to chlorine exposure. Upgrading to a red rubber version offers better chemical resistance.
Inspect and Clean the Valve Seat
This is the most overlooked yet critical step for a lasting Jandy check valve repair.
Look for Hidden Obstructions
Even with a brand-new flapper, leaks persist if the valve seat is compromised. Common culprits include:
- Hardened construction glue
- Mineral scale buildup
- Grit or debris
Glue residue left during original plumbing work creates an uneven surface. No flapper can seal against it.
Sand Glue Residue Smooth
If you spot a hardened blob in the seat, follow these steps:
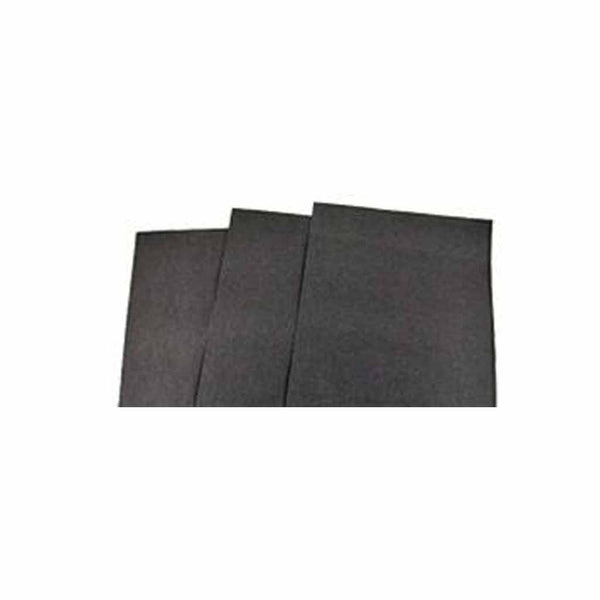
- Use 220-grit sandpaper
- Gently sand until the surface is flat and smooth
- Wipe clean with a damp cloth
Warning: Do not scratch the seat base. Scratches create new leak paths. Only remove protruding material.
Rinse the housing thoroughly to flush out sanding dust and debris.
Install Upgraded Replacement Parts
Installing fresh, high-quality components ensures long-term performance.
Choose a Red Rubber Flapper
Replace the original black rubber flapper with a red rubber upgrade. Benefits include:
- Superior resistance to chemical breakdown
- Significantly longer service life
- Maintained flexibility under UV and chlorine exposure
These flappers fit standard Jandy models ranging from 1.5 inches to 3 inches and are widely available online.
Lubricate Before Installation
Apply a light coat of silicone lubricant to the new flapper sealing edge. This step helps the flapper:
- Seat properly on first use
- Prevent sticking or warping
- Extend overall rubber life
Avoid petroleum-based lubricants, since they degrade rubber seals.
Wait 24 hours after installation for the seal to fully set. Immediate testing may show false leaks.
Reinstall the Spring and Pin
Orient the new spring so the body faces outward toward you during assembly. This ensures correct alignment.
Slide the flapper onto the hinge pins, then insert the retaining pin through both sides. Push it fully through and squeeze the ends inward to lock it in place. No tools are needed thanks to the friction-fit design.
Reassemble and Prevent New Leaks
Correct reassembly prevents issues like lid leaks or component failure.
Verify O-Ring Position
Before closing the lid, confirm the black O-ring is fully seated in its groove, untwisted, and unbroken. Replace it if aged or deformed.
An improperly seated O-ring is a common cause of post-repair leaks.
Tighten Screws in a Star Pattern
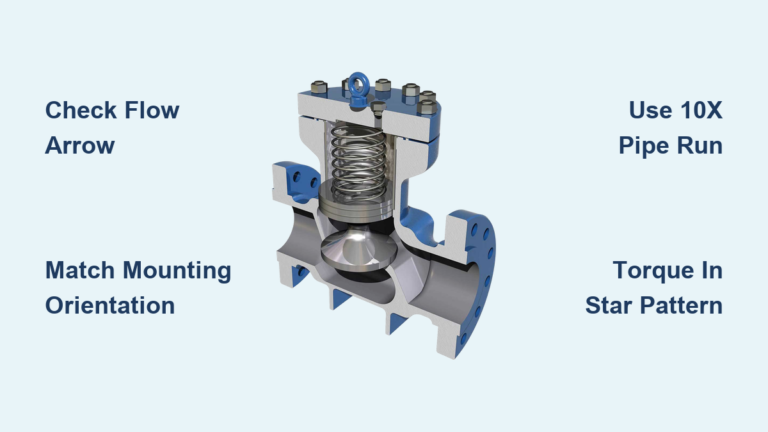
Place the lid back on and reinstall the screws. Tighten them in a star pattern, alternating diagonally. This distributes pressure evenly and prevents warping the CPVC housing.
Do not over-tighten. Snug is sufficient. Stripped screws make future repairs much harder.
Test System Performance
Final validation confirms your repair worked and the seal is complete.
Run and Shut Off the Pump
Turn the system on and let it run for several minutes. Observe whether water flows freely through the valve and the flapper opens with flow.
Then shut off the pump. Listen for the flapper closing with a soft click.
Monitor for 24 Hours
Wait a full day before judging success. The new rubber flapper needs time to conform to the seat. Early checks might show minor seepage that stops after full seating.
If water still drains after 24 hours:
- Recheck the valve seat for missed glue
- Inspect the O-ring again
- Consider replacing the internal spring
Upgrade for Long-Term Reliability

Prevent future failures with smart upgrades and maintenance habits.
Switch to Clear-Lid Models
If your valve has a solid lid, consider replacing it with a clear-lid version. Benefits include:
- Instant visual check for clogs
- Quick diagnosis without disassembly
- Easier debris clearing
You will catch issues before they cause water loss.
Replace the Spring Proactively
If your valve is over five years old, the internal spring may have lost tension. Watch for these symptoms:
- Flapper closes slowly
- Incomplete seal formation
- Water trickles back into the pool
Install a new heavy-duty spring mechanism to restore positive closure.
Know When to Replace the Entire Valve
Sometimes repair is not worth the effort, especially if the housing is damaged.
Signs for Full Replacement
Replace the whole unit if you notice any of the following:
- Cracked or warped CPVC body
- Stripped screw holes
- Corroded pin channels
- Persistent leaks after multiple repairs
Cost Comparison: Repair vs. Replace
| Part | Cost |
|---|---|
| Red Flapper Only | $7.00 |
| Internal Spring (SKU 7056) | $74.99 |
| Complete Valve (1.5″-2″) | $25.99+ |
In some cases, a full valve costs less than just the spring. For older or damaged units, replacement beats repeated repairs.
Buy From Trusted Sources
Purchase genuine-spec parts from reliable suppliers.
Recommended Vendors
- SpaValveCalm.com specializes in red flapper upgrades
- Leslie’s Pool Supplies offers in-store and online service parts
- Amazon features verified buyer reviews and fast shipping
- Pool Guy Supply, Inc. provides industrial-grade components
Check return policies before purchasing. Most vendors offer a 30-day return window with a 20% restocking fee for non-defective items. Items must be unused and in original packaging.
Prevent Future Failures
Extend valve life with simple best practices.
Inspect During Routine Maintenance
Use clear lids to check flapper condition monthly. Look for early cracking, debris buildup, and improper seating. Catching problems early prevents water loss.
Avoid Glue Contamination
During plumbing work, protect valve openings from construction glue drips. If glue enters the seat, remove it immediately with 220-grit sandpaper before assembly.
Allow Seal Settling Time
Always wait 24 hours after installing a new flapper. Rushing the test leads to false failure diagnoses. Silicone lubrication helps, but full sealing takes time.
Frequently Asked Questions About Jandy Check Valve Repair
Why Does My Spa Drain Overnight Even After Replacing the Flapper?
A new flapper alone will not fix the problem if the valve seat is compromised. Hardened construction glue, mineral scale, or debris on the seat prevents any flapper from forming a watertight seal. Always inspect and clean the seat before installing replacement parts.
How Long Should I Wait After Installing a New Flapper Before Testing?
Wait a full 24 hours before judging the repair successful. The new rubber flapper needs time to conform to the valve seat and form a complete watertight seal. Testing too early may show minor seepage that stops after full seating.
Are Red Rubber Flappers Better Than Original Black Rubber?
Yes. Red rubber flappers resist chemical breakdown from chlorine and bromine far better than original black rubber. They also maintain flexibility under UV exposure and typically last significantly longer, making them a worthwhile upgrade during any Jandy check valve repair.
What Tools Do I Need for This Repair?
You need a Phillips screwdriver or a low-torque drill, needle-nose pliers, 220-grit sandpaper, and silicone lubricant. A damp cloth helps with cleanup. No specialized tools are required for the retaining pin thanks to its friction-fit design.
When Should I Replace the Entire Valve Instead of Repairing It?
Replace the entire valve if the CPVC body is cracked or warped, screw holes are stripped, pin channels are corroded, or leaks persist after multiple repairs. Sometimes a complete replacement costs less than buying individual internal components like the spring.
Key Takeaways for a Successful Jandy Check Valve Repair
A properly repaired Jandy check valve stops spa water loss, prevents backflow, and supports efficient pump operation. Focus on inspecting the valve seat condition, upgrading to red rubber flappers, and following the 24-hour seal-in period for lasting results. With the right tools and attention to detail, this repair takes under an hour and saves hundreds in water loss and energy costs. Start by confirming the symptoms, gathering your tools, and giving yourself a full day to test the seal before declaring the job complete.