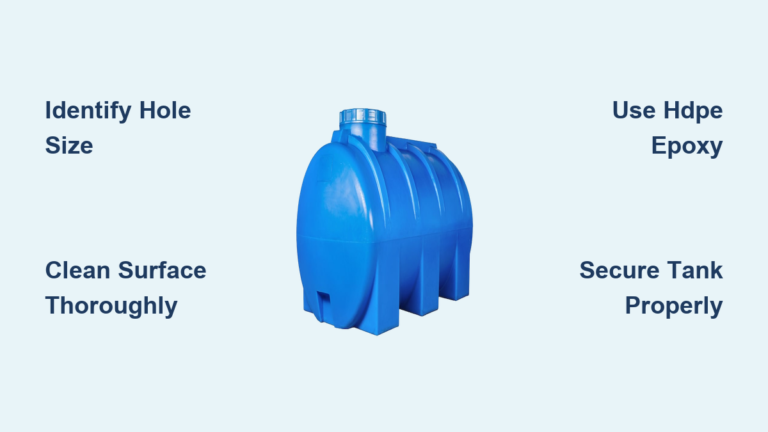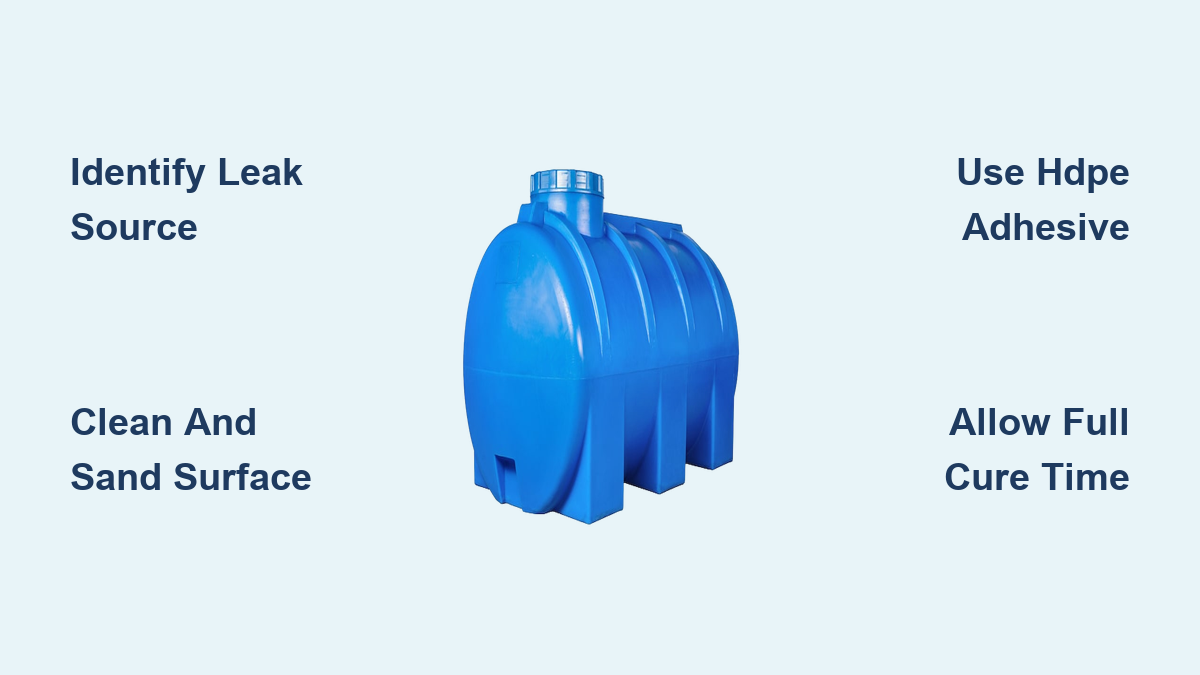
A leaking plastic water tank wastes hundreds of liters of water and can cause structural damage to your property if ignored. Whether you see a slow drip from a seam or a crack near the base, you need to know how to stop leakage of plastic water tank effectively before the problem worsens.
This guide explains how to identify hidden cracks, choose the right HDPE adhesive, and apply a durable fix that lasts. You will learn specific steps to prepare the surface, avoid common repair mistakes, and decide when a full replacement is safer than a patch.
Identify the Exact Leak Source
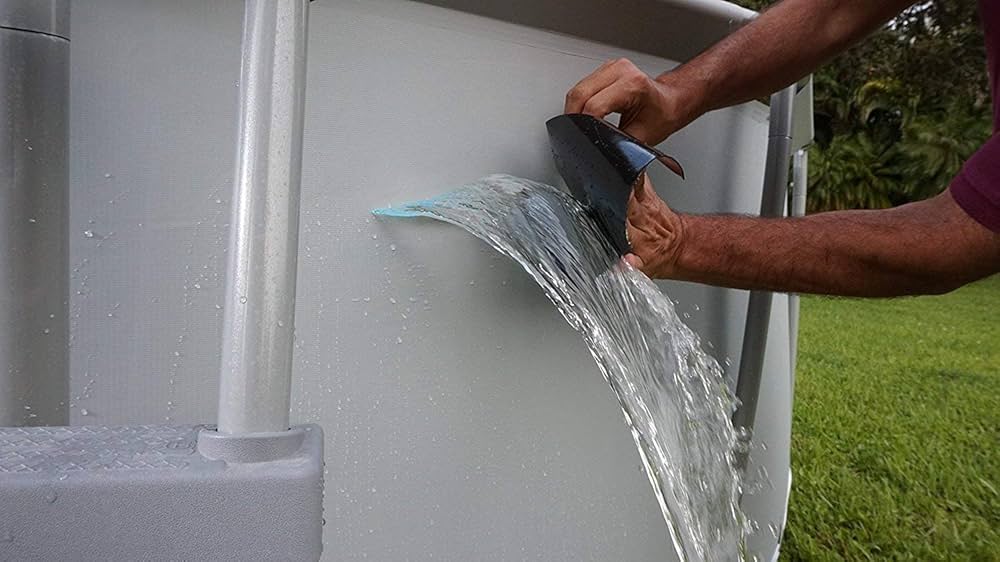
Locating the precise origin of the leak is the most critical first step in any repair process. You must distinguish between a simple fitting issue and a structural crack in the tank body.
Inspect High-Risk Failure Zones
Focus your visual examination on joints, seams, and the bottom of the tank. Brands like Sintex and Sheetal often develop cracks at the base due to stress accumulation over time. Look closely for discoloration, warping, or hairline fractures, especially on sides exposed to direct sunlight.
Perform a Water Pressure Test
If the leak is invisible when the tank is dry, fill it completely to increase hydrostatic pressure. This added weight often forces water out of weak spots that appear sealed otherwise. Watch carefully for droplets forming along seams or near fittings and mark the spot immediately with a non-permanent marker.
Analyze Seepage Patterns
Observe whether water drips slowly or gushes out under pressure. Slow seepage usually indicates a hairline crack or a degraded joint seal. Sudden gushing suggests a major fracture or complete fitting failure, which helps you determine if a simple patch will work.
Prepare the Repair Area Thoroughly

Proper surface preparation is the difference between a permanent fix and a recurring leak. Skipping cleaning or drying steps will cause even the best adhesives to fail.
Drain the Tank Completely
Empty the tank using the outlet valve or a sump pump before attempting any repairs. Moisture prevents adhesives from bonding to the plastic, so never try to fix a leak with water inside. Ensure all residual water is removed from corners and the base area.
Clean the Damaged Zone
Scrub the area around the leak with a soft cloth and mild detergent to remove all contaminants. You must eliminate algae, dirt, and mineral deposits that create a barrier between the plastic and the repair material. Rinse the area thoroughly and let it dry completely until no moisture remains.
Sand the Surface for Adhesion
Use 200 to 400 grit sandpaper to roughen a 2-inch radius around the crack or hole. This creates a textured surface that allows the epoxy to grip the smooth plastic effectively. Wipe away all dust with a dry, lint-free cloth and avoid touching the sanded area with bare hands.
Choose the Right Repair Material

Selecting the correct chemical bond is essential because standard glues do not work on polyethylene tanks. You must use materials specifically engineered for the plastic type of your tank.
Use HDPE-Specific Adhesives
Standard waterproof glues fail on polyethylene tanks, so you must choose repair kits designed for HDPE or PE plastic. Products like Polyfix 50 or two-part epoxy systems formulated for plastic create pressure-resistant bonds that withstand hydrostatic stress.
Avoid Ineffective Fixes
Do not rely on Teflon tape, silicone sealant, or tightening fittings alone to fix body cracks. These methods might work for minor thread leaks but are useless for structural damage in the tank wall. Inserting plastic shims into threads is a temporary fix that often fails quickly.
Include Reinforcement for Large Cracks
For cracks longer than 1 inch or actual holes, use a repair kit that includes a plastic patch or fiberglass mesh. The patch adds necessary structural strength and prevents the crack from spreading wider under water pressure.
Apply the Repair Correctly
Following the correct application sequence ensures the chemical bond reaches its full potential strength. Rushing this stage is a common cause of repair failure.
Mix and Apply Epoxy
For two-part epoxies, mix the resin and hardener in the exact ratio specified by the manufacturer. Apply a thick layer over the sanded area, extending your application at least 1 inch beyond the crack edges. Press firmly to ensure full contact between the adhesive and the plastic.
Install a Reinforcement Patch
Place the included plastic patch directly over the wet epoxy if you are fixing a large breach. Smooth it out with a squeegee or an old credit card to remove any air bubbles that could weaken the seal. For added strength, apply a second layer of epoxy over the top of the patch.
Allow Full Cure Time
Wait 24 to 48 hours before refilling the tank with water. Curing time depends on your local temperature and humidity levels, so do not rush this step. Premature filling causes bond failure, so keep the tank undisturbed and dry during the entire curing period.
Fix Fitting and Thread Leaks

Leaks at connection points require a different approach than body cracks. You must diagnose whether the issue is the seal, the threads, or the tank housing itself.
Diagnose Fitting vs. Body Leaks
If water leaks where the pipe connects to the tank, the issue may be damaged threads or a cracked fitting housing. Tightening or adding Teflon tape often fails if the plastic around the joint is already degraded.
Repair Cracked Fittings
For minor cracks, clean and sand the area, then apply HDPE epoxy around the fitting base. For severe damage, consider plastic welding, a professional technique that melts compatible filler rod into the crack for a seamless bond.
Replace Damaged Outlets
If the outlet valve is cracked or stripped, you should replace it entirely. Use a new HDPE-compatible valve and seal it with thread sealant designed specifically for plastic. Ensure proper torque during installation because over-tightening can cause new cracks.
Evaluate Repair vs. Replacement
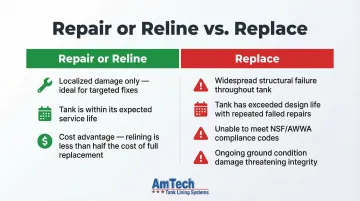
Not every tank can or should be saved. You need to assess the age and condition of your unit to make a cost-effective decision.
When to Repair the Tank
You should attempt a repair if the tank is less than 5 years old and has only one localized crack. This applies if the damage is on a flat surface away from seams and it is the first repair needed.
When to Replace the Tank
Replace the tank if it is over 7 years old or shows multiple cracks and widespread brittleness. You should also replace the unit if previous repairs have failed or if the structure near joints is compromised. A new high-quality HDPE tank is more cost-effective than repeated fixes on an aging unit.
Prevent Future Leaks
Protecting your tank from environmental factors extends its life and prevents future leakage issues. Proactive maintenance saves money and water in the long run.
Shield from UV Exposure
Install the tank in a shaded area or cover it with a UV-protective tarp to block harmful rays. Apply UV-resistant paint to the exterior to slow plastic degradation, as unprotected tanks lose structural integrity in 5 to 7 years.
Allow for Thermal Expansion
Never fill the tank to 100% capacity. Leave 10 to 15% empty space to accommodate water expansion during hot weather. Overfilling increases internal pressure, which stresses seams and joints unnecessarily.
Handle with Care
Avoid dragging or dropping the tank during installation or maintenance. Support the tank fully when moving it, as mechanical impacts create micro-cracks that worsen over time.
Schedule Routine Inspections
Regular checks help you catch small issues before they become major disasters. A consistent inspection routine ensures early detection of potential failures.
Inspect Every 6 to 12 Months
Check your tank regularly for early warning signs like surface discoloration or yellowing. Look for hairline cracks near seams, loose fittings, or water stains on the tank base. Early detection allows small repairs before leaks escalate into major problems.
Monitor After Repairs
After any fix, observe the tank for 24 to 48 hours post-refill. Check for new seepage points, especially near the repaired zone. If leaks reappear, re-evaluate your surface prep or material choice immediately.
Troubleshoot Failed Repairs
Sometimes a leak returns despite your best efforts. Understanding why a repair failed helps you correct the issue effectively.
Leak Returns After Fixing
Common causes include incomplete drying, using the wrong adhesive type, or insufficient cure time. Drain the tank, re-sand with 200 to 400 grit paper, clean thoroughly, and reapply with HDPE-specific epoxy.
New Cracks Nearby
New cracks indicate material fatigue or UV damage to the surrounding plastic. Apply a UV-protective coating and inspect for additional stress points. Consider replacement if the plastic feels brittle to the touch.
Fitting Still Leaking
If tightening and sealants fail, the housing may be cracked beyond simple repair. Use plastic welding techniques or replace the entire outlet assembly to stop the leak permanently.
Frequently Asked Questions About Stopping Plastic Water Tank Leaks
Can I use silicone sealant to fix a plastic water tank crack?
No, standard silicone sealant does not bond well with polyethylene or HDPE plastics used in water tanks. You must use a specialized plastic repair kit or epoxy designed specifically for these materials to ensure a waterproof seal.
How long should I wait to fill the tank after repair?
You should wait at least 24 to 48 hours after applying the repair material. This allows the epoxy or adhesive to cure fully and reach maximum strength before facing water pressure.
Why does my tank keep leaking after I used Teflon tape?
Teflon tape only seals threads and cannot fix structural cracks or degraded plastic housing. If the tank body or fitting housing is cracked, you need an epoxy repair or plastic welding instead.
Is it better to repair or replace an old plastic tank?
If the tank is over 7 years old or has multiple cracks, replacement is usually better. Older plastic becomes brittle, and repairs often fail repeatedly, making a new tank more cost-effective.
What causes plastic water tanks to crack?
Primary causes include prolonged UV exposure, extreme temperature changes, physical impact, and overfilling. These factors cause the plastic to degrade, become brittle, and eventually crack under pressure.
Key Takeaways for Stopping Plastic Water Tank Leaks
Stopping a plastic water tank leak requires accurate diagnosis, proper surface preparation, and the right HDPE-compatible materials. Always clean and sand the area thoroughly, use specialized epoxies instead of generic glues, and allow full cure time before refilling.
While minor leaks can be fixed with DIY kits, older tanks with multiple cracks or structural damage should be replaced. Regular inspections and UV protection will extend your tank’s life and prevent future water loss.