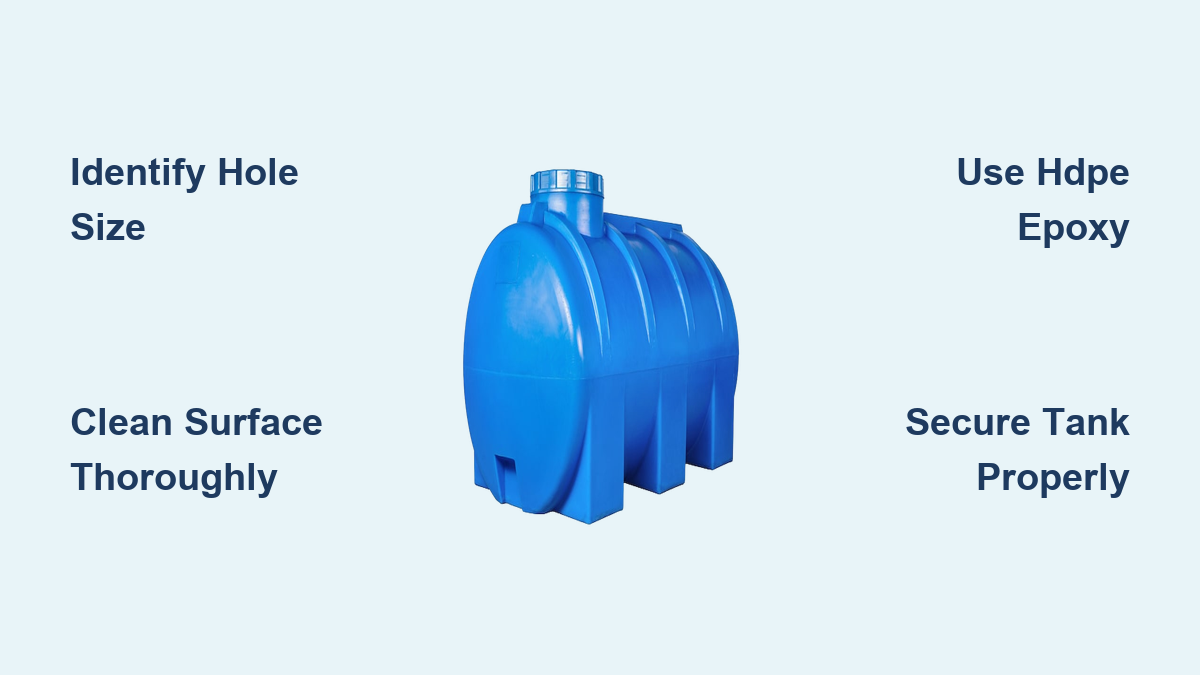
Discovering water pooling under your RV or livestock trough signals a critical breach that demands immediate attention. Whether caused by accidental drilling or friction from an unsecured tank, fixing a hole in a water tank requires specific techniques because standard adhesives often fail on polyethylene materials.
This guide details proven repair methods ranging from permanent plastic welding to reliable epoxy patches and mechanical workarounds. You will learn how to assess damage accurately, select the correct materials for high-density polyethylene, and execute a repair that withstands water pressure without leaking again.
Identify the Cause and Location of Tank Damage
Holes in water tanks rarely appear randomly and usually stem from mechanical trauma or design flaws in the mounting system. In recreational vehicles, unsecured tanks often slide during travel, causing corners to rub against screws or fiberglass until a pinhole forms. Livestock troughs frequently suffer accidental punctures from tools or bale spears near the bottom where water pressure is highest.
Determine the Source of the Leak
Inspect the area surrounding the hole to identify rubbing marks or stress fractures that indicate movement. If your tank shifts even slightly, this friction can wear through the plastic over time, creating persistent leaks. Addressing the root cause, such as securing the tank with foam or straps, is essential to prevent the issue from recurring after repair.
Measure the Hole and Assess Accessibility
Clean the area with soap and water and dry it thoroughly to reveal the full extent of the damage. Measure the diameter of the hole to determine if it is a small pinprick or a larger puncture requiring substantial filler material. Note whether the hole is on a flat surface or a curved corner, as this dictates your ability to apply heat or pressure during the fix.
Confirm Your Tank Material Composition
Most modern water tanks for RVs and outdoor use are constructed from high-density polyethylene (HDPE). This durable material resists corrosion but has low surface energy, making it notoriously difficult to bond with standard glues. You must verify your tank is HDPE before proceeding, as this dictates whether you need thermal fusion or specialized chemical primers.
Select the Best Repair Method for Your Situation
Choosing the right strategy depends on your available tools, the size of the hole, and whether you need a permanent or temporary solution. Plastic welding offers the most durable result for HDPE, while epoxy provides a strong chemical bond for those without heating equipment. Mechanical patches serve as practical alternatives when heat or curing time is not an option.
Execute Plastic Welding for Permanent Results
Plastic welding creates a molecular bond by melting new plastic into the existing tank structure, making it the gold standard for HDPE repairs. You will need a high-temperature plastic welder or heavy-duty soldering iron, polyethylene welding rods, and a heat gun to ensure the surface is perfectly dry.
- Drain the tank completely and remove it if possible to avoid working upside down.
- Use a heat gun to eliminate all moisture from the repair zone.
- Melt the welding rod and the damaged area simultaneously to fuse them together.
- Build up layers of molten plastic until the hole is filled and smooth.
- Allow the material to cool naturally before trimming excess with a hacksaw.
Pro Tip: For small holes, try the spin-weld technique by chucking a polyethylene rod into a drill and using friction heat to fuse the materials quickly.
Apply Specialized Epoxy for Strong Adhesion
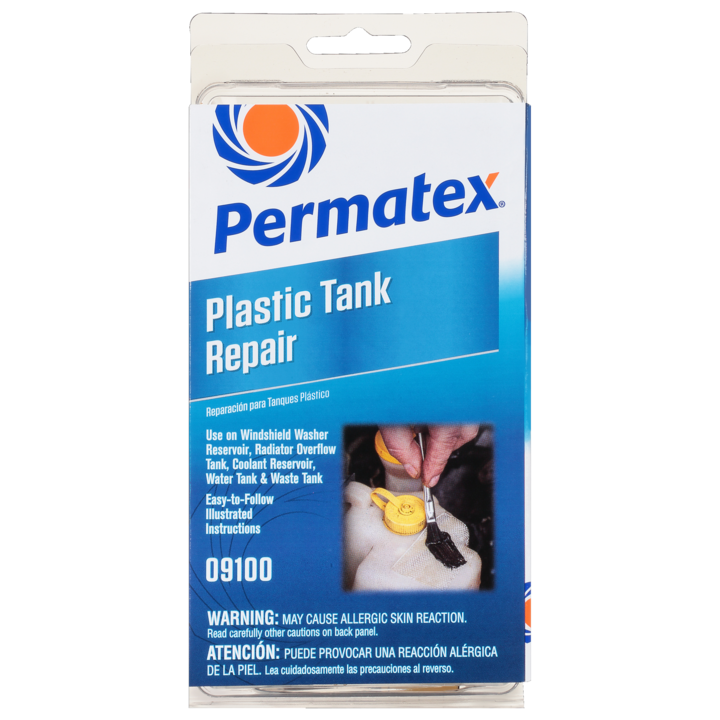
If you lack welding tools, a two-part epoxy designed specifically for polyethylene offers a reliable alternative. Do not use standard epoxy, as it will peel away from the low-surface-energy plastic, so ensure the product label explicitly states compatibility with HDPE.
- Clean the area with rubbing alcohol to remove grease and biological film.
- Sand the surface aggressively with 80 to 120 grit paper to create texture.
- Mix the epoxy and filler according to instructions and press firmly into the hole.
- Spread a thick layer over the sanded area and let it cure for the full recommended time.
Install Mechanical Patches for Quick Fixes
Mechanical solutions involve covering the breach with a secondary material secured by adhesives or physical fasteners. You can heat-fuse a scrap piece of HDPE over the hole, use a plumbing repair sleeve with a rubber gasket, or bond a heavy-duty rubber patch with marine-grade adhesive.
- Cut a scrap polyethylene patch slightly larger than the hole and heat both surfaces until pliable.
- Press the patch into place and hold it with a weight until it cools completely.
- Alternatively, install a PVC repair sleeve with silicone sealant for small, round holes.
Convert Bottom Leaks into Functional Drains

If the hole is located at the very bottom of the tank and proves difficult to seal, consider turning the defect into a feature. This workaround eliminates the leak permanently by installing a controlled drain valve, which is particularly useful for livestock troughs or seasonal RV tanks.
Drill and Fit a Drain Valve
Enlarge the existing hole to a standard size such as half-inch or three-quarter inch to accommodate a fitting. Install a garden hose connector or ball valve using a rubber washer and nut, sealing the edges with potable-water-safe silicone. This approach solves the leak while adding the convenience of easy draining and cleaning.
Prepare the Repair Site Thoroughly
Success depends entirely on preparation, as moisture and dirt are the primary enemies of any repair. Skipping these steps often leads to weeping leaks or complete bond failure shortly after refilling the tank.
Drain and Clean the Tank Completely
Empty all water from the tank and rinse out any sediment or debris with a hose. Scrub the repair zone with a brush and mild detergent, then wipe it down with rubbing alcohol to ensure no oils remain.
Dry the Area Absolutely
Use a heat gun or hair dryer on a low setting to remove every trace of moisture from the plastic surface. Even slight dampness can prevent proper fusion during welding or stop epoxy from adhering correctly.
Roughen Surface for Epoxy Applications
If you are using an adhesive method, sand the area around the hole in a crosshatch pattern to increase surface area. Wipe away the dust with alcohol again before applying any chemical agents.
Avoid Common Repair Mistakes
Many repair attempts fail because users overlook critical details about material compatibility and application orientation. Understanding these pitfalls can save you time and prevent the frustration of recurring leaks.
Using Incompatible Adhesives
Products like Flexseal or standard silicone are labeled for temporary use only and will not withstand constant water pressure on polyethylene. Always verify that your chosen adhesive is rated for HDPE and intended for permanent submerged use.
Welding in the Wrong Orientation
Attempting to weld a hole on the bottom of an installed tank often fails because gravity pulls molten plastic away from the joint. Remove the tank or jack it up significantly to ensure you are working on a horizontal or upward-facing surface.
Ignoring Root Causes of Damage
Failing to secure a mobile tank after repair invites the same friction damage to occur again nearby. Use foam insulation, nylon straps, or brackets to stop the tank from shifting and rubbing against its enclosure.
Test and Maintain Your Repaired Tank

Verification is the final step to ensure your repair holds under actual operating conditions. A careful testing protocol helps identify minor weeping before it becomes a major problem.
Inspect for Weeping and Leaks
Fill the tank slowly with water and watch the repair site closely for any tiny drips or seepage. If you notice minor weeping, you may need to apply a secondary seal or re-weld the area for a tighter bond.
Perform a Pressure Test
Let the tank sit full for 24 to 48 hours to confirm the repair is stable under sustained pressure. Check periodically during this time, and if no leaks appear, trim any excess material for a smooth finish.
Secure and Prevent Future Damage
Regularly inspect your tank every few months for new scratches or loose mounting hardware. Keep mobile tanks strapped down and store seasonal tanks indoors to protect them from UV degradation and physical impact.
Frequently Asked Questions About Water Tank Repair
Can I use regular epoxy to fix a polyethylene water tank?
No, standard epoxy will not bond to polyethylene due to its low surface energy. You must use a two-part epoxy specifically formulated for HDPE or polyethylene to achieve a lasting repair.
Is plastic welding better than using a patch kit?
Plastic welding is generally superior because it creates a molecular fusion between the repair material and the tank, acting as a permanent fix. Patch kits can work well but are often considered semi-permanent solutions depending on the adhesive used.
What should I do if the hole is on the bottom of the tank?
If the hole is on the bottom, try to remove the tank to weld it horizontally, or convert the hole into a functional drain valve. Welding upside down usually fails because gravity pulls the molten plastic away from the leak.
How do I know if my water tank is made of HDPE?
Most modern RV and livestock tanks are HDPE, which feels slightly waxy and is difficult to glue. Check the manufacturer label or recycling symbol, often a “2” inside the triangle, to confirm the material before choosing a repair method.
Will Flexseal provide a permanent fix for a water tank leak?
No, Flexseal and similar products are designed as temporary repairs and are not recommended for long-term water containment. For a permanent solution, use plastic welding or polyethylene-specific epoxy.
Key Takeaways for Fixing Your Water Tank
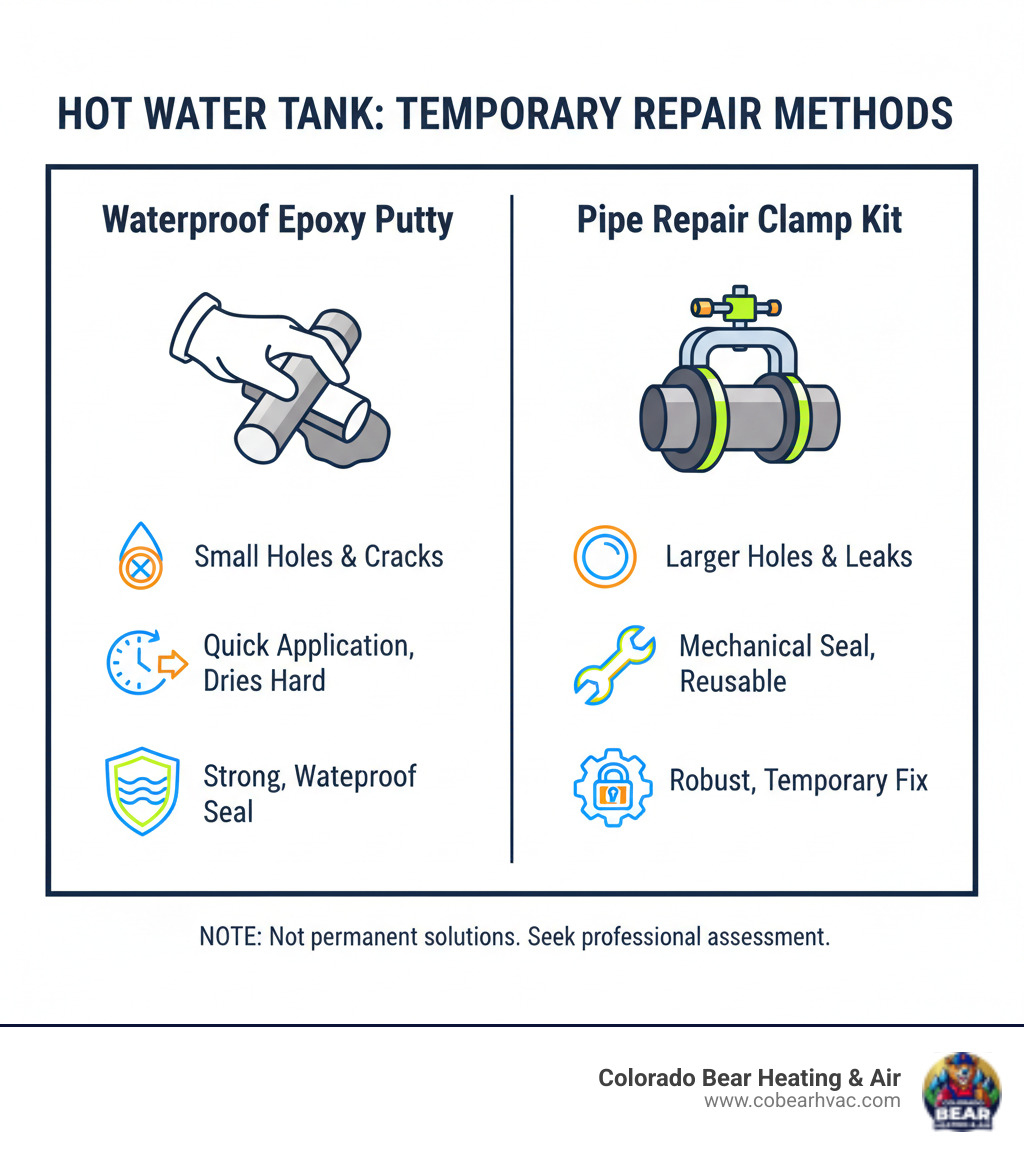
Successfully fixing a hole in a water tank requires matching the repair method to the specific material, usually HDPE, and preparing the surface meticulously. Plastic welding offers the most durable permanent solution, while specialized epoxies provide a strong alternative for those without heating tools.
Always address the root cause of the damage, such as unsecured mounting, to prevent future leaks. By following proper preparation steps and avoiding common mistakes like using incompatible adhesives, you can restore your tank to full functionality without the cost of replacement.