A foul smell or cloudy water often signals that your storage system needs immediate attention. Learning how to clean a water tank properly removes dangerous sludge, algae, and bacteria before they compromise your supply.
This guide details the exact steps to drain, scrub, disinfect, and test your reservoir for total safety. You will discover specific methods for plastic, concrete, and metal tanks while avoiding common chemical mistakes.
Identify Your Tank Material for Safe Cleaning
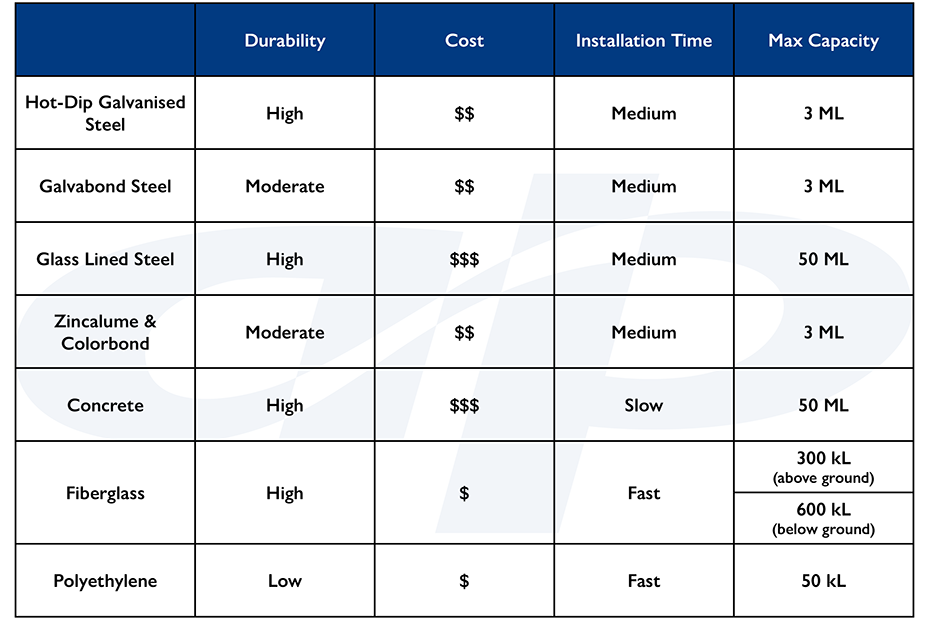
Your cleaning strategy depends entirely on the construction material of your reservoir. Using harsh chemicals or high-pressure jets on the wrong surface can cause cracks, corrosion, or toxic leaching.
Plastic Tank Precautions
Plastic tanks require gentle handling to avoid surface damage. Use only low-pressure washing settings because high-pressure jets can crack or etch the plastic walls. Clean these units with food-grade hydrogen peroxide or diluted bleach solutions. Avoid abrasive scrubbers that create micro-scratches where bacteria hide.
Concrete Tank Challenges
Concrete surfaces are porous and prone to deep biofilm penetration. Inspect the interior for cracks before applying any liquids. Use enzymatic cleaners specifically designed to break down organic matter without degrading the cement. Avoid acidic cleaners as they can weaken the structural integrity over time.
Metal Tank Corrosion Risks
Check steel or iron tanks for rust spots before starting any cleaning process. Address existing corrosion before applying high-pressure water to prevent spreading flakes. Use non-corrosive disinfectants to avoid accelerating decay. Consider applying a protective lining if rust issues recur frequently.
Fiberglass Tank Care
Fiberglass offers durability but remains sensitive to abrasive tools. Use soft-bristle brushes and non-abrasive cleaners to preserve the gel coat. Never use steel wool or harsh scouring pads that can scratch and weaken the surface layer.
Inspect for Contamination Signs
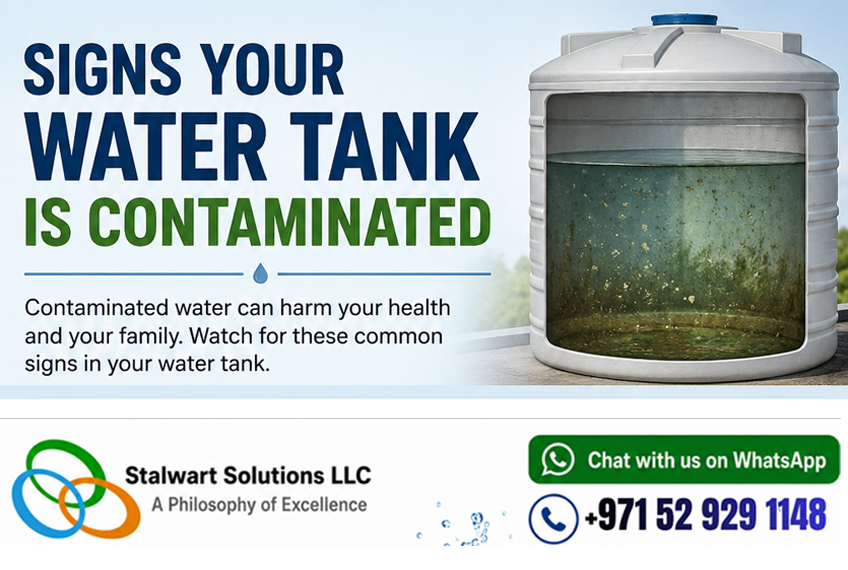
Visual inspection determines the severity of your problem and guides your chemical choices. Identifying the specific contaminant helps you target the root cause effectively.
Visible Debris and Insects
Leaves, twigs, or dead insects indicate compromised inlet covers. Clean these items immediately to prevent decomposition. Install fine mesh screens on all openings to stop future entry.
Algae Growth Clues
A green tint or slimy wall texture means sunlight is penetrating the tank. Confirm that your tank lid is opaque and fully sealed. Algae thrives on light, so blocking exposure is critical to prevent regrowth.
Sludge and Biofilm Buildup
Black or brown sediment at the bottom suggests stagnation or poor filtration. Focus your scrubbing efforts on corners and joints where biofilm hides. This layer protects bacteria from standard disinfectants.
Rust Stains and Metal Flakes
Reddish stains or floating flakes are common in steel tanks. Test your water for iron content if you see these signs. Inspect the structure for deep corrosion damage. Replace or reline severely corroded tanks to ensure safety.
Drain the Tank Completely
Standard residential cleaning requires full drainage for maximum effectiveness. Leaving standing water dilutes your cleaning agents and reduces scrubbing power.
Shut Off Water Supply
Close the inlet valve immediately to stop refilling during the process. If your system lacks a dedicated valve, shut off the main supply or pump. This prevents accidental flooding while you work.
Empty All Standing Water
Open the drain valve located at the bottom of the tank. Use a submersible pump if no valve exists to extract every drop. Verify the tank is completely empty since residual water hinders cleaning.
Remove Sediment Manually
Use a scoop or wet vacuum to extract thick sludge before scrubbing begins. Dispose of this waste properly according to local regulations. Do not pour untreated sludge into storm drains or gardens.
Scrub Interior Surfaces Thoroughly
Physical removal of biofilm is essential because chemicals alone cannot penetrate thick layers of grime. vigorous scrubbing ensures the disinfectant reaches the tank surface.
Use Long-Handled Brushes
Reach all walls and corners with non-abrasive brushes designed for your tank type. Focus heavily on joints, seams, and the floor where sludge traps form. These areas harbor the most dangerous pathogens.
Pressure Wash with Caution
Set pressure washers to low pressure for plastic or fiberglass units. Use moderate pressure only on concrete or metal if no corrosion is present. Incorrect pressure settings can cause permanent structural damage.
Avoid Cross-Contamination
Never reuse cleaning tools on different tank types without disinfecting them first. Keep sponges, brushes, and cloths dedicated solely to tank maintenance. This prevents introducing new bacteria to a clean system.
Apply Safe Disinfectants

Disinfection kills remaining bacteria, viruses, and pathogens after physical cleaning. Choosing the right agent ensures safety for drinking water systems.
Use Diluted Bleach
Mix one part household bleach with ten parts water for empty tanks. Pour the solution inside and swirl it to coat every surface evenly. This method is safe for potable systems when rinsed thoroughly.
Try Food-Grade Hydrogen Peroxide
Mix 3% to 5% hydrogen peroxide for a non-toxic alternative. This solution effectively breaks down biofilm without harsh residues. Let it sit for at least 30 minutes before rinsing.
Consider Enzymatic Cleaners
These products are ideal for breaking down organic buildup naturally. They work without harsh chemicals and are safe for most materials. Follow manufacturer instructions for exact dosage and contact time.
Let Disinfectant Sit and Work
Contact time is critical for eliminating pathogens effectively. Rushing this step leaves harmful microbes alive in your system.
Wait 30 Minutes for Empty Tanks
After applying disinfectant, let it sit on dry surfaces for at least 30 minutes. Do not rinse prematurely or the process will fail. This dwell time ensures complete microbial elimination.
Circulate for 12–24 Hours in Full Tanks
If you cannot empty the tank, circulate the disinfectant using a pump. Maintain flow for 12 to 24 hours to reach all zones effectively. This extended time compensates for dilution.
Never Mix Chemicals
Mixing bleach and ammonia creates toxic fumes that are dangerous to inhale. Use only one disinfectant type at a time for safety. Rinse thoroughly between different products if switching methods.
Rinse Until Water Runs Clear
Residual chemicals can be harmful to health and taste. Rinsing is a non-negotiable step in the cleaning process.
Flush Multiple Times
Refill the tank with clean water and drain it completely. Repeat this cycle two or three times until no odor remains. This ensures all chemical traces are removed.
Check for Chlorine Smell
Continue rinsing if you still detect a bleach scent in the air. Use a chlorine test strip to confirm levels are below 0.2 ppm before use. Visual clarity does not guarantee chemical safety.
Clean Attached Pipes and Taps
Run water through all connected outlets for three to five minutes after refilling. This flushes residual disinfectant from the distribution lines. Your entire system must be free of cleaning agents.
Test Water Quality Before Use
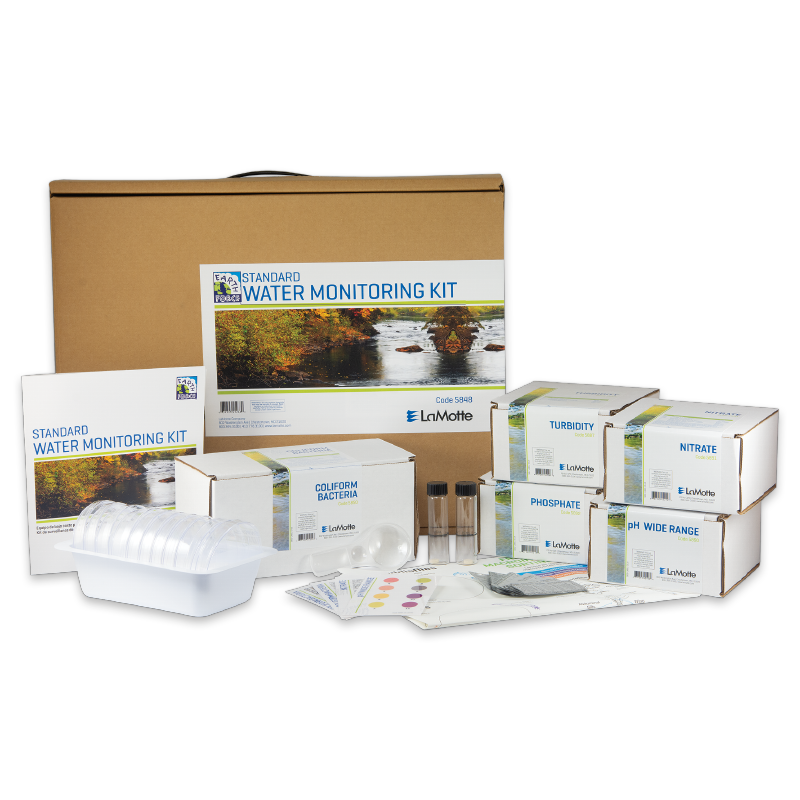
Never assume the water is safe without verifying it through testing. Professional grade kits provide the accuracy needed for drinking water.
Test Key Parameters
Use a certified water testing kit to check vital metrics.
* pH should range between 6.5 and 8.5
* Chlorine residual must stay between 0.2 and 2.0 ppm
* Turbidity should be clear and not cloudy
* Coliform bacteria must be completely absent
Retest if Failed
Repeat disinfection and rinsing if results fall outside safe ranges. Persistent contamination may require professional assistance. Do not use the water until it passes all tests.
Prevent Future Contamination

Preventive measures keep your tank clean longer and reduce maintenance frequency. Small upgrades make a significant difference in water quality.
Install Inlet Mesh Covers
Block leaves, insects, and animals from entering the system. Use fine mesh with openings of 1 mm or less on all openings. This simple step stops most external contaminants.
Block All Light Exposure
Ensure the tank lid is opaque and tightly sealed at all times. Sunlight triggers algae growth rapidly inside storage units. Cover or paint clear tanks to block light penetration.
Add Inline Filtration
Install sediment and carbon filters on the outlet line. This reduces particle buildup and improves taste significantly. Filters catch debris before it reaches your taps.
Use UV or Ozone Sterilizers
Add a UV light system or ozone generator for continuous protection. These devices kill microbes without adding chemicals to the water. They provide an extra layer of security.
Schedule Regular Maintenance
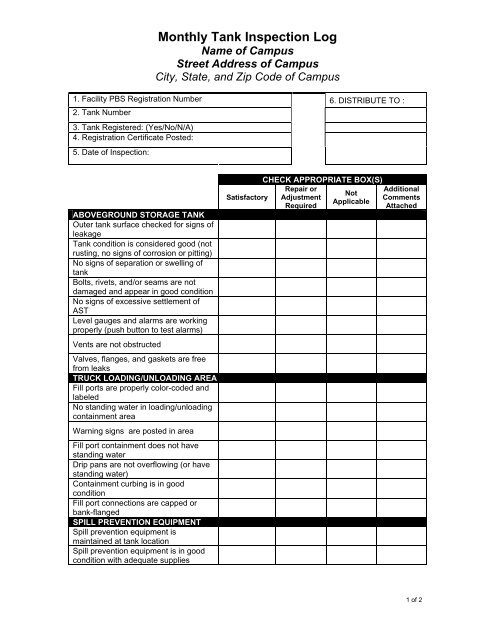
Consistency prevents major contamination events and system failures. A set schedule keeps your water safe year-round.
Clean Every 6–12 Months
High-use or rural tanks may need cleaning every six months. Urban or low-use tanks can often go twelve months between cleanings. Adjust frequency based on your specific usage.
Inspect Monthly
Check for cracks, odors, or discoloration every month. Early detection prevents major issues from developing. Quick action saves time and money on repairs.
Keep a Cleaning Log
Record the date of cleaning and chemicals used. Note water test results and any observed issues. This log helps track performance and meet health regulations.
Fix Common Post-Cleaning Issues
Even with careful work, problems can arise after cleaning. Knowing how to fix them ensures long-term success.
Algae Returns Quickly
Verify the tank is fully light-proof immediately. Add a UV sterilizer if sunlight exposure cannot be eliminated. Light blockage is the only permanent solution.
Sludge Accumulates Fast
Upgrade your inlet filtration system. Install a sediment trap before water enters the main tank. This stops debris before it settles.
Metallic Taste in Water
This indicates rust in metal tanks. Inspect for corrosion and consider switching to plastic or lined tanks. Corrosion compromises water safety.
Cloudy Water After Cleaning
This is caused by insufficient rinsing or disturbed particles. Extend your flushing period and retest turbidity. Patience during rinsing solves most clarity issues.
Frequently Asked Questions About How to Clean a Water Tank
How often should I clean my residential water tank?
You should clean your tank every 6 to 12 months depending on usage. High-use systems or those in dusty environments need cleaning every six months. Regular inspection helps determine the exact schedule for your specific situation.
Can I use regular bleach to clean my drinking water tank?
Yes, you can use household bleach if diluted correctly. Mix one part bleach with ten parts water for surface disinfection. Ensure you rinse thoroughly and test chlorine levels before using the water again.
What is the best way to remove sludge from the bottom?
Drain the tank completely and remove thick sludge manually with a scoop. Follow this by scrubbing with long-handled brushes and low-pressure water. Proper disposal of the sludge is essential to prevent environmental contamination.
Is hydrogen peroxide safe for cleaning potable water tanks?
Food-grade hydrogen peroxide at 3% to 5% concentration is safe and effective. It breaks down biofilm without leaving toxic residues like some harsh chemicals. It is an excellent alternative for those avoiding chlorine.
Why does algae keep growing in my tank after cleaning?
Algae growth indicates that sunlight is entering the tank. Check for cracks in the lid or opaque coating failures. Blocking all light sources is the only way to stop algae permanently.
Key Takeaways for Cleaning Your Water Tank
Proper maintenance ensures your water supply remains safe and free from harmful contaminants. By identifying your tank material, applying the correct disinfectant, and testing water quality, you protect your household health. Regular scheduling and preventive upgrades like mesh covers and UV lights reduce future cleaning needs.
Start your maintenance routine today by inspecting your tank for visible debris or odors. Gather your safety gear and cleaning supplies to begin the draining process. Your clean water depends on taking these precise and actionable steps now.