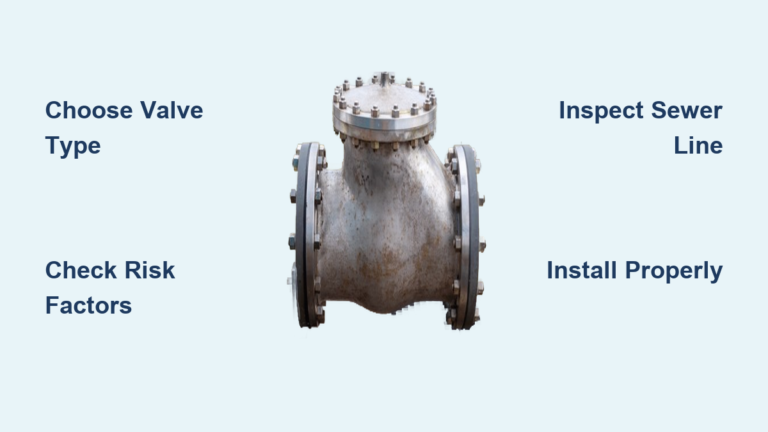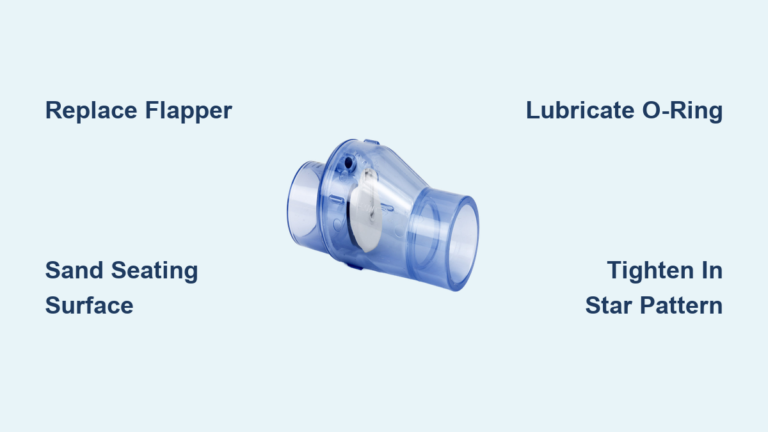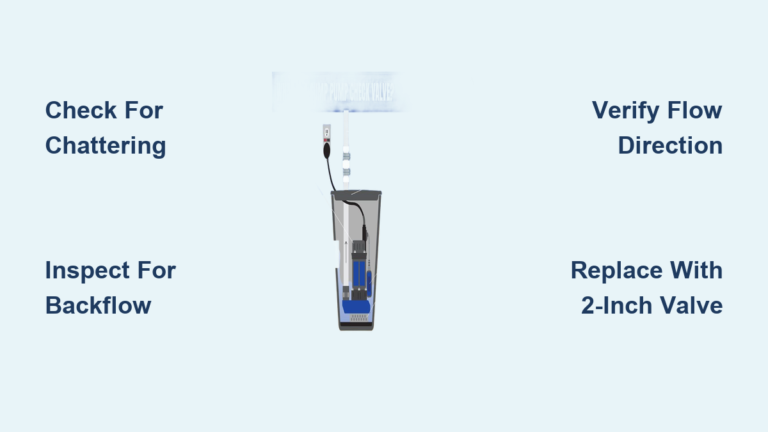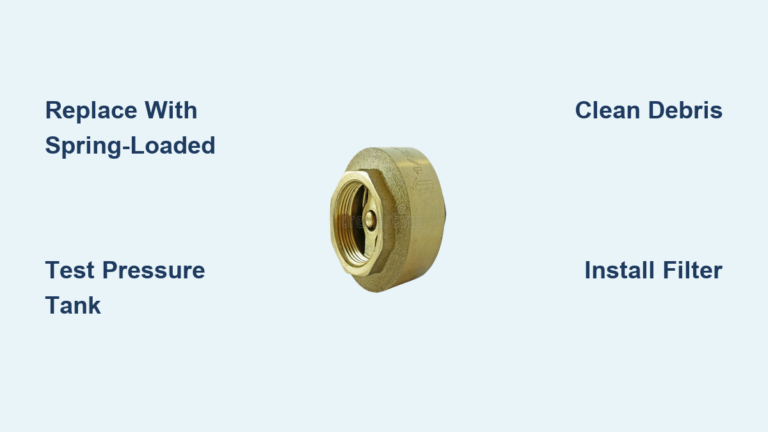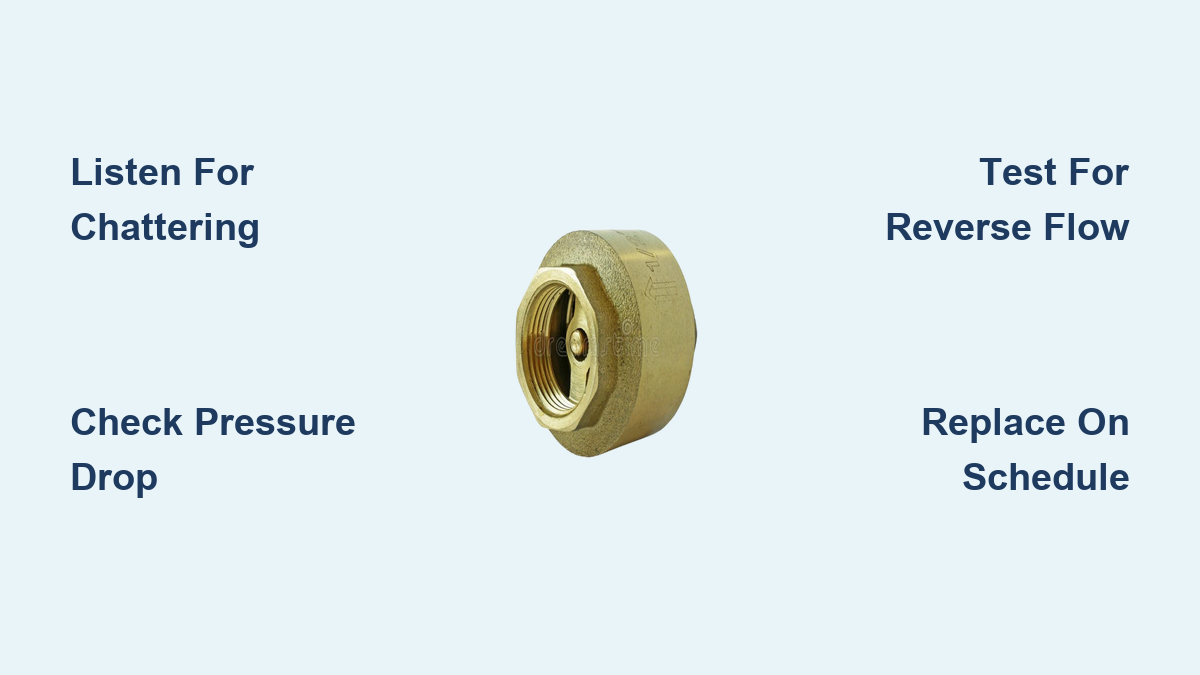
A failing check valve can quietly sabotage your plumbing, pump, or fuel system, leading to wasted energy, equipment damage, and even flooding. This small but critical component ensures fluid flows in one direction only, preventing backflow that compromises safety and performance. When check valve failure occurs, it degrades gradually, sending warning signs through strange noises, pressure drops, and delayed flow.
If your sump pump gurgles after shutdown, your well takes seconds to deliver water, or your engine cranks but won’t start, you may already be experiencing the effects of a compromised valve. Left unaddressed, these symptoms escalate into costly repairs. This guide breaks down exactly how to spot, diagnose, and fix check valve failure across well systems, sump pumps, fuel lines, and more so you can act before secondary damage strikes.
Decode Warning Sounds Early
Unusual noises are often the first clue of check valve failure. These sounds indicate mechanical instability, improper closure, or flow disruption that you can catch before major damage occurs.
Listen for Valve Chattering
A rapid rattling or buzzing sound means the valve disc is fluttering open and closed due to unstable flow conditions. This symptom often appears with subtle to moderate vibrations.
- Common causes: Low flow velocity, an oversized valve, or worn internal parts
- What to do: Confirm flow rate matches valve specs and inspect for loose components
- Risk: Accelerated seal wear, energy loss, and eventual total failure
Pro Tip: Chattering in horizontal lines often points to an oversized valve. Replace with one matching actual GPM output rather than pipe diameter.
Identify Loud Water Hammer
A sharp thud or hammering noise when the pump starts or stops signals sudden valve closure under pressure. This shock wave travels through your piping system and can cause serious damage.
- Mechanism: Rapid backflow slams the disc shut, creating pressure surges
- Common in: Swing check valves and deep well systems
- Consequence: Can crack pipes, damage pump fittings, or break valve hinges
Urgent: In well systems, a startup thump usually means the bottom check valve is leaking and letting the water column drain.
Spot Gurgling or Humming
Gurgling after pump shutoff suggests air entering the line due to incomplete sealing. You might also hear a persistent hum indicating internal vibration.
- Where heard: Sump pits, pool returns, and cisterns
- Cause: Failed seal allows water to siphon back, pulling air with it
- Humming meaning: May indicate a stuck disc or loose internal component
Detect Pressure and Flow Issues

A failed check valve undermines system pressure and delivery. These performance problems are measurable and often precede complete breakdown.
Monitor Pressure Drop When Off
Use a pressure gauge to test if pressure declines when no water is being used. This simple test reveals internal leakage.
- Normal reading: Pressure holds steady
- Failure sign: Gradual drop indicates internal bypass or leak
- Test method: Turn off the pump and observe the gauge for 10 to 15 minutes
Key Insight: Even a 5 PSI drop indicates seal failure. Replace the valve before symptoms worsen.
Watch for Delayed Water Delivery
In well systems, water should flow immediately when a tap opens. Any delay signals trouble with your check valve.
- Problem: Delayed flow means the pump is re-priming a drained column
- Root cause: Bottom check valve leak below the pump
- Result: Pump works harder, cycles more, and wears faster
Note: Retrieving the pump may be needed. Plan for full assembly inspection if delay persists.
Catch Reverse Flow Early
Backflow is definitive proof of check valve failure. Look for these telltale signs across different systems.
- Well systems: Pump runs but no water comes out
- Pools and spas: Water drains from spa into pool when pump is off
- Fuel systems: Engine hard to start because fuel line lost prime
Quick test: Mark fuel line pressure with a gauge. If it drops after shutdown, the check valve is leaking.
Diagnose Mechanical Failures

Physical malfunctions like sticking, leaking, or corrosion directly impair valve operation. These issues require hands-on inspection.
Check for Sticking Valves
A valve stuck open allows backflow while one stuck closed blocks forward flow entirely. Both situations demand immediate attention.
- Test method: Manually cycle the system and listen for expected flow
- Common causes:
- Debris lodged in the seat
- Corrosion on the hinge (especially in swing valves)
- Mineral buildup in hard water areas
Expert Note: In sump systems, lift the discharge pipe flapper. If it doesn’t move freely, clean or replace the unit.
Inspect for Internal Bypass
No external leak does not mean the valve is working. You may have internal leakage bypassing the seal.
- Symptoms: Pressure loss, rapid sump refill, and short pump cycles
- Diagnosis: Isolate the valve, pressurize the upstream side, and monitor downstream
- Fix: Replace the valve since internal seals are rarely repairable
Look for Corrosion and Wear
Visible rust, pitting, or blistering indicates material breakdown that compromises valve integrity.
- Stainless steel valves: Should resist corrosion, so pitting suggests galvanic reaction or low-grade alloy
- Elastomer seals: Crack, harden, or lose flexibility over time
- Rule of thumb: Replace rubber-seated valves every 5 years
Warning: Galvanic corrosion occurs when dissimilar metals connect, such as brass paired with steel. Use dielectric unions to prevent this reaction.
Prevent Failure with Proper Installation
Many check valve failures stem from incorrect setup rather than product defects. Getting installation right prevents repeat problems.
Install in Correct Orientation
Most check valves are directional and orientation-specific. Installing them backwards blocks flow or prevents proper closure.
- Look for the arrow: It must point in the flow direction
- Vertical versus horizontal: Some valves only work in specific orientations
- Swing valves: Require horizontal installation unless designed for vertical use
Mistake to avoid: Installing backwards blocks flow entirely or prevents the valve from closing properly.
Size the Valve Correctly
Oversizing is a top cause of chatter and premature wear. Match both pipe size and flow rate.
- Undersized valves: Create pressure drops and reduce efficiency
- Oversized valves: Low velocity causes the disc to hover, chatter, and fail
- Guideline: Choose valve size based on system GPM, not just pipe diameter
Seal Threads Properly
Improper sealing introduces debris or causes leaks that compromise valve performance.
- Use high-build Teflon tape rather than standard pipe dope
- Wrap three full turns counter-clockwise from your view
- Never let tape extend over the thread edge since fragments break off and jam the valve
Pro Move: After installation, flush the system before powering up to remove any tape particles.
Apply System-Specific Fixes
Different systems face unique failure modes. Tailor your response to the specific application for best results.
Fix Well System Delays
In deep well setups, the bottom check valve prevents column drain. Its failure creates distinct symptoms.
Delayed Water Flow
- Likely cause: Leaking bottom valve
- Diagnosis: Thump at startup combined with delayed delivery
- Solution: Pull the pump assembly and replace the valve
- Prevention: Install within 25 to 30 feet of the pump, never above 33 feet
Why 33 feet? Atmospheric pressure cannot support a taller water column, which creates vacuum and water hammer.
Short Cycling
- Symptom: Pump runs 5 to 10 minutes instead of 15 to 20
- Cause: Valve bypass lets pressure bleed off, triggering frequent restarts
- Fix: Replace the check valve and inspect for debris in the pump housing
Stop Sump Pump Gurgling
A failed check valve makes sump systems inefficient and risky. Quick action prevents basement flooding.
Loud Gurgling After Shutdown
- Cause: Water rushing back into the pit
- Result: Pit refills fast, pump cycles more, and flood risk rises
- Fix: Replace the in-line check valve on the discharge pipe
Installation tip: Mount the valve below basement floor level, as close to the pump as possible.
Flapper Stuck Open
- Inspect: Remove the discharge pipe and check the rubber flapper
- Clean: Use a vinegar soak for mineral deposits
- Replace: If cracked, brittle, or misshapen
Maintenance rule: Inspect annually before rainy season to catch problems early.
Solve Fuel System Starting Issues
In engines, a bad check valve causes hard starts and stalling. Quick diagnosis saves time and frustration.
Engine Cranks But Won’t Start
- Cause: Fuel pressure lost due to leaking check valve
- Test: Turn the key to the “on” position, listen for the fuel pump hum, then wait 10 seconds before cranking
- If no start: Pressure is not holding, so the valve or regulator is the issue
Common location: In the fuel rail or at the injector end of the line.
Replace Ball Check Valves
- Typical design: Spring-loaded ball bearing mechanism
- Failure mode: Worn seat allows fuel backflow
- Fix: Replace the entire valve assembly since no field repair is possible
Warning: Use OEM-spec parts. Aftermarket valves often fail early and cause repeat problems.
Prevent Pool and Spa Backflow
In gravity-fed spa systems, check valves keep water where it belongs. Failure creates obvious drainage issues.
Spa Drains Into Pool
- Definite sign: Failed check valve in the return line
- Inspection: Look for debris in the swing disc or corroded hinge
- Fix: Replace with a spring-assisted model to prevent slow closure
Upgrade tip: Use a dual-disc check valve for high-flow pool pumps to reduce chatter.
Follow Proven Maintenance Rules
Preventive care extends valve life and avoids emergency repairs. These practices keep your systems running smoothly.
Replace Valves on Schedule
Don’t wait for failure. Replace based on age and material type for predictable performance.
| Valve Type | Replacement Interval |
|---|---|
| Elastomer seals (rubber) | Every 5 years |
| Metal seats, no rubber | Every 10 to 20 years |
| Well system bottom valve | At pump service intervals |
Best practice: If one valve fails in a dual system, replace both since they have endured the same stress.
Install Upstream Filters
Debris is a leading cause of check valve failure. Filtration prevents costly damage.
- Use inline strainers before the valve
- Clean filters every 3 to 6 months
- Essential in: Well, irrigation, and industrial systems
Benefit: Catches sand, scale, and pipe fragments before they damage the seat.
Flush System After Repair
Never reinstall a valve into a dirty line. Follow these steps for clean installation.
- Remove the valve
- Flush the line with clean water or compatible fluid
- Reinstall with new tape
- Test under low pressure first
Critical: Prevents immediate re-clogging and repeat failure.
Know When to Call a Pro
Some situations require expert help. Recognizing your limits prevents bigger problems.
Seek Professional Help If:
- The valve is in a pressurized fuel line or buried pipe
- A deep well pump needs retrieval
- Backflow has contaminated potable water
- You are unsure of valve specs including size, pressure, and material
Never guess on replacement parts. A mismatched valve fails faster and risks system damage.
Frequently Asked Questions About Check Valve Failure
What Are the Most Common Signs of Check Valve Failure?
The most common signs include unusual noises like chattering or water hammer, pressure drops when the pump is off, delayed water delivery at taps, and visible reverse flow. You may also notice the sump pit refilling faster than normal or the engine struggling to start due to lost fuel pressure.
How Long Does a Check Valve Typically Last?
Check valves generally last between 5 and 10 years depending on material and usage. Elastomer-based valves with rubber seals should be replaced every 5 years, while metal-seated valves without rubber can last 10 to 20 years under ideal conditions. High-cycle systems may require more frequent replacement.
Can a Check Valve Fail Without Visible Leaks?
Yes, a check valve can fail through internal bypass without any external signs. This happens when the seal degrades internally, allowing fluid to flow backward while the exterior appears dry. Pressure testing with a gauge is the best way to detect this hidden failure mode.
Why Does My Sump Pump Gurgle After Shutting Off?
Gurgling after shutdown indicates that water is flowing back into the sump pit through a failed check valve. The valve should prevent backflow, but when its seal or flapper wears out, water rushes backward and pulls air into the discharge line, creating the gurgling sound.
Is Check Valve Failure Dangerous?
Check valve failure can be dangerous depending on the application. In well systems, it can allow contaminants to enter drinking water. In fuel systems, pressure loss may cause engine stalling in unsafe conditions. Sump pump failure can lead to basement flooding and property damage.
Can I Repair a Check Valve Instead of Replacing It?
In most cases, replacement is more reliable than repair. Internal seals, springs, and discs that have worn or corroded typically cannot be restored to reliable working condition. Cleaning debris from the seat may temporarily restore function, but replacement ensures long-term reliability.
Key Takeaways for Preventing Check Valve Failure
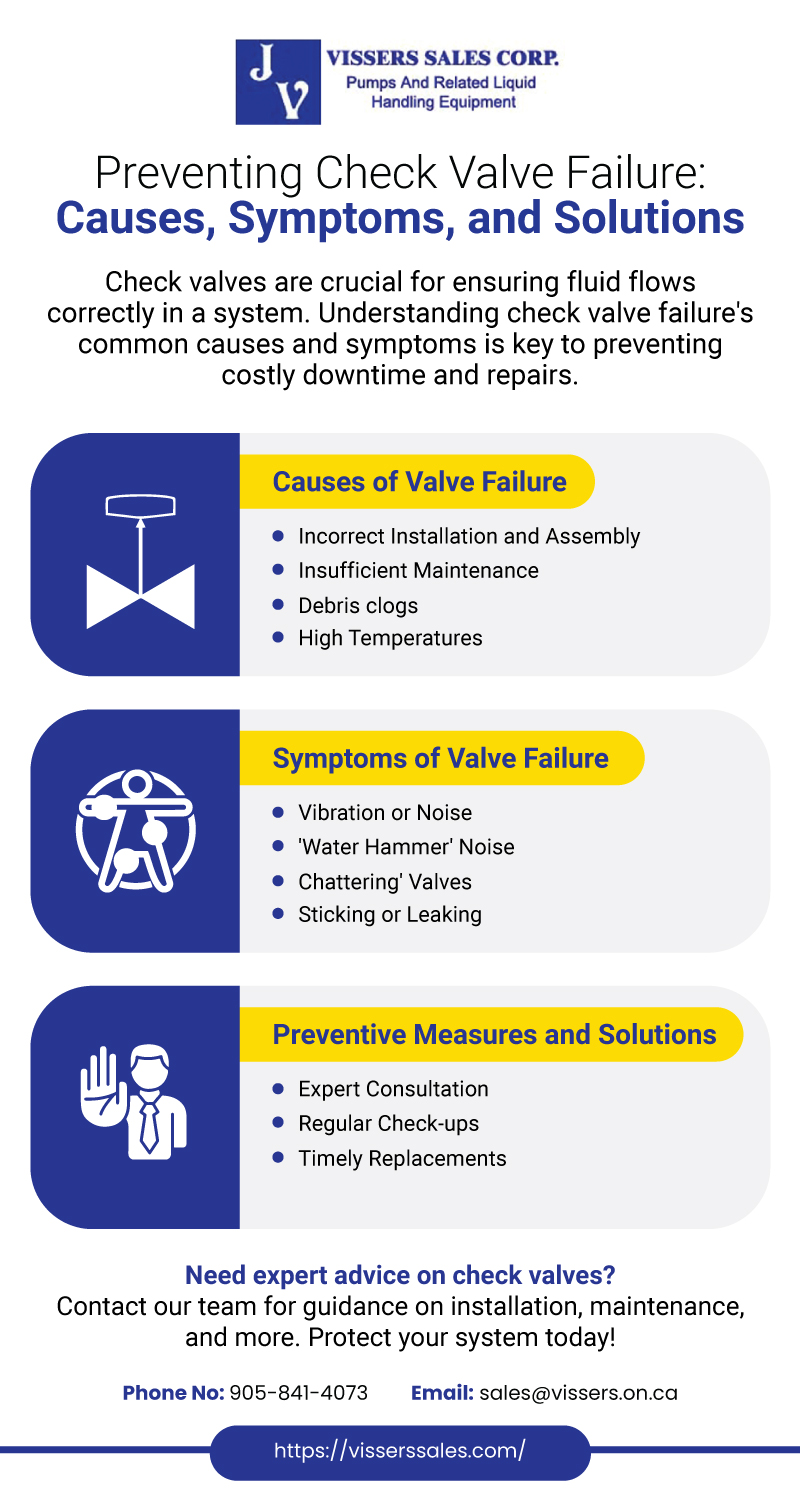
A check valve failure starts small but grows costly fast. By recognizing early symptoms like noise, pressure loss, and delayed flow, you can replace the valve before it damages pumps, floods basements, or contaminates water supplies. Follow proper installation guidelines, size your valve correctly to system flow, use quality materials, and replace components on schedule. With these steps, you will keep your systems running efficiently, safely, and reliably for years to come. Start by listening to your system today and schedule a pressure test to catch silent failures before they become expensive emergencies.