If your well has gone dry or your old pump is failing, installing a new submersible water well pump can restore clean, reliable water to your home. This task may seem daunting, but with the right tools, components, and step-by-step guidance, both experienced DIYers and professionals can complete a permanent installation in a single day. The key lies in precision: every electrical splice, pipe clamp, and depth measurement affects long-term performance and safety.
A properly installed submersible pump runs quietly beneath the water surface, pushing water up through a sealed riser pipe and into your pressure tank. Unlike jet pumps, it operates fully submerged, reducing noise and avoiding cavitation. But one mistake, like a poorly sealed wire splice or missing torque arrestor, can lead to premature failure, costly repairs, or even a dropped pump at the bottom of a 500-foot well.
Gather Required Components and Tools for Submersible Pump Installation
Before installation begins, ensure all system components are on hand and compatible with your well specifications. Each part plays a critical role in durability, efficiency, and safety.
Submersible Pump Selection
Choose a pump based on well depth, static water level, and household demand. For most homes, a 3/4 HP or 1 HP two-wire submersible pump is sufficient. High-flow applications may require a 1½ HP or 2 HP model capable of 50+ GPM. Always set the pump 5 to 15 feet above the well bottom to avoid sediment intake.
Essential Components Checklist
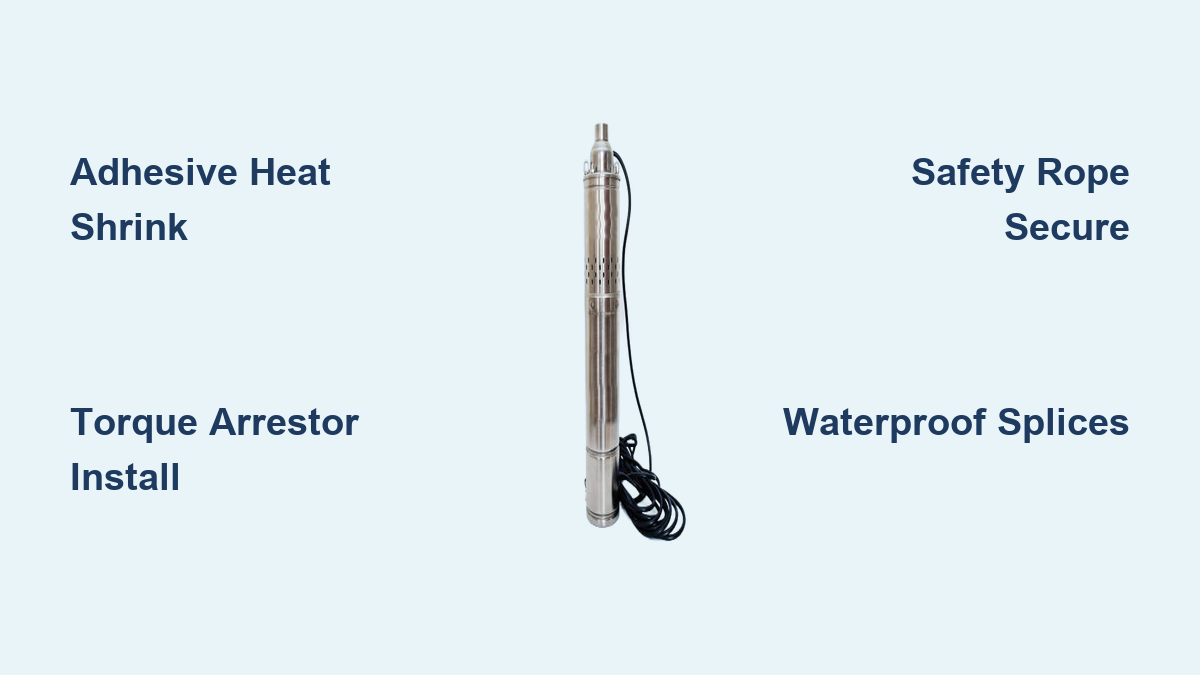
Gather these components before starting your installation. You will need a submersible pump matched to your well depth and flow requirements. Stock 1-inch polyethylene riser pipe rated at 160 PSI for the water line. Get a barbed insert adapter with MPT thread for connecting pipe to pump. Use 300-grade stainless steel hose clamps for secure connections. Purchase 12-2 or 10 AWG submersible pump cable rated for direct burial. Get a heat shrink splice kit with adhesive lining for waterproof connections. A torque arrestor absorbs rotational forces during startup. Include nylon braided safety rope for backup retrieval. You need cable guards and cable ties to protect wiring. The pitless adapter allows water and power lines to exit below frost line. A well cap with conduit knockout seals the top. Have a T-bar or 1-inch drop rod for adapter installation. Include a flow control valve for low-yield wells.
Essential Tools
You will need an adjustable wrench and pipe wrench for tightening fittings. A ratchet pipe cutter or hacksaw cuts pipe cleanly. A propane torch heat-shrinks tubing and softens poly pipe. Wire strippers and crimp connectors prepare electrical connections. A multimeter tests continuity and voltage. A socket set with 11 mm socket removes well caps. A tape measure and marker ensure accurate measurements. A 1¾-inch hole saw drills the pitless adapter opening.
Assemble the Pump String Before Lowering Into the Well
Build the pump assembly on a clean, flat surface before lowering it into the well. Working on a stable platform prevents dropped components and ensures proper alignment.
Attach Barbed Adapter to Pump
Apply Teflon tape clockwise on the pump discharge threads, then add a thin layer of pipe dope for a leak-proof seal. Thread on a 1-inch MPT barbed adapter and tighten with an adjustable wrench. Do not over-tighten to avoid cracking the housing.
Connect Poly Pipe with Double Clamps
Cut black poly pipe to length, adding 10 percent extra for adjustments. Slide two stainless steel hose clamps onto the pipe. Use a propane torch to warm the end of the poly pipe for easier insertion onto the barbed fitting. Push firmly until seated, then position clamps about one-half inch from each end and tighten securely.
Install Torque Arrestor
Place the torque arrestor 6 inches above the pump on the riser pipe. This device absorbs rotational forces during startup and shutdown, preventing pipe cracking and misalignment. Expand the spring-loaded clamp slightly before installation to ensure a snug fit. Tighten bolts evenly to prevent binding and allow full torque absorption during operation.
Make Waterproof Electrical Connections for Underground Use
Electrical failure is the leading cause of submersible pump breakdowns. Proper splicing prevents moisture ingress and short circuits that can ruin the motor.
Crimp and Seal Motor Leads
Strip one-half inch of insulation from each wire, including black, red, and ground wires. Crimp metal connectors onto each conductor and attach to the pump terminal block. Slide adhesive-lined heat shrink tubing over each connection. Use a propane torch to heat evenly until the adhesive flows and creates a hermetic seal around each wire.
Stagger Splice Points
Offset the three splices along the wire bundle to reduce bulk and minimize abrasion risk against the well casing. Never use electrical tape alone. Only heat shrink with internal adhesive provides long-term protection against submersion in water.
Secure Safety Rope and Bundle Cables Properly
A dropped pump is a nightmare scenario. Prevent it with proper mechanical backup before lowering the assembly into the well.
Attach and Route Safety Rope
Tie a nylon braided rope to the pump lifting eyelet or stainless-steel loop. Run the rope parallel to the riser pipe and electrical cable. Bundle all three together using cable ties every 10 feet. This provides a secondary support system if the pipe connection fails.
Install Cable Guards
Attach cable guards every 10 to 20 feet along the riser pipe to prevent the pump cable from rubbing against the well casing. Without protection, vibration during cycling can wear through insulation and cause ground faults that shut down the system.
Install Pitless Adapter Below the Frost Line

The pitless adapter allows water and power lines to exit the well underground, preventing freeze damage during winter months.
Drill Hole and Mount Adapter
Measure down to below the frost line, typically 40 inches or more depending on your region. Use a 1¾-inch hole saw to drill through the well casing at that depth. Disassemble the pitless adapter and thread it onto the T-bar. Insert through the hole from inside the well. From outside, reassemble with rubber washer, metal plate, and nut. Tighten securely with a pipe wrench to create a watertight seal.
Connect Riser Pipe
Thread the barbed end of the poly riser pipe into the pitless adapter. Apply Teflon tape and pipe dope on the threads. Push fully in and secure with a hose clamp if needed. Align with the underground discharge line to avoid kinks that restrict flow.
Lower the Pump Into the Well Safely
With all components assembled, it is time to deploy the pump string into the well casing.
Measure and Trim Final Length
Confirm total drop from wellhead to pump setting depth. For example, in a 200-foot well, you might set the pump at 180 feet. Trim riser pipe and electrical cable to final length, allowing slack for future service and retrieval.
Lower Assembly Carefully
Slowly lower the pump and pipe string into the well. Guide the riser pipe into the pitless adapter seat. Once fully seated, unscrew and remove the T-bar from the top. The pump now hangs on the pipe and rope, supported by both the mechanical connection and the safety backup system.
Run Water and Electrical Lines to the House
Protect water and electrical lines between the well and home from physical damage and freezing.
Use Protective Conduit
Run the poly water line and pump cable through corrugated sleeve or Schedule 40 PVC conduit. Bury below the frost line to prevent freezing. At the house, connect to the pressure tank via a tank tee fitting that consolidates multiple connections.
Install Well Cap
Pass the UFB underground feeder cable through the well cap knockout. Pivot the cap into place and secure with bolts. Ensure a watertight seal to prevent contamination from surface water and debris.
Complete Final Electrical Hookup
Final connections must be secure and code-compliant to ensure safe operation.
Connect at Control Box or Pressure Switch
For two-wire systems, connect pump leads directly to the pressure switch. For three-wire systems, route through a control box first to manage starting torque. Strip UFB cable ends and connect hot and ground wires. Secure with wire nuts and wrap with electrical tape for additional protection.
Verify Wiring Polarity
Reversing hot wires can cause reverse pump rotation and zero water flow. Use a multimeter to confirm correct polarity before energizing the system. On three-wire systems, swapping any two line wires at the control box will correct rotation if the pump runs backward.
Commission and Test the Well System
Test everything before final backfill and regular use to ensure proper operation.
Install Tank Tee Components
Mount the pressure switch set at 40 to 60 PSI on the tank tee. Install a glycerin-filled pressure gauge to dampen vibration. Add a relief valve set at 100 PSI for safety. Include a drain valve for maintenance and a ball valve to isolate the system.
Energize and Test
Turn on power and observe the system. The pump should start within 3 seconds. Pressure should build to 60 PSI and cut off automatically. Check all fittings for leaks. Flow should be consistent without sputtering. Flush the system for 5 minutes to remove debris from the well.
Avoid These Common Installation Mistakes
These frequent errors lead to early failure and costly repairs. Learn what to avoid before starting your project.
Skipping the Safety Rope
Never install without a nylon safety rope secured to the wellhead via a rope hanger. If the riser pipe breaks, the rope allows retrieval without expensive fishing tools. This backup system takes minutes to install but provides peace of mind for years.
Forgetting the Torque Arrestor
Without a torque arrestor, repeated motor rotation stresses pipe joints, leading to cracks and leaks. Always install one directly above the pump to absorb rotational forces and keep the assembly centered in the casing.
Using Poor Electrical Splices
Electrical tape alone fails underwater within months. Use only adhesive-lined heat shrink tubing on every splice. This is non-negotiable for reliability. The cost is minimal compared to retrieving a failed pump.
Final Verification and Maintenance Tips
Ensure long-term performance with these final checks and ongoing maintenance.
Test System Pressure Response
With all faucets closed, let pressure build to 60 PSI. Open a tap and watch pressure drop to 40 PSI. The pump should restart promptly. No short cycling should occur. If cycling is too frequent, the pressure tank may be waterlogged and needs recharging with air.
Label and Document Setup
Label the electrical circuit and document pump depth, wire gauge, pressure switch setting, and well yield. This information helps with future troubleshooting and maintenance.
Schedule Annual Inspections
Check pressure gauge reading, relief valve function, rope tension, conduit integrity, and electrical connections yearly. Early detection prevents major failures and extends system life.
Frequently Asked Questions About Installing Submersible Well Pumps
How deep should a submersible pump be placed in a well?
Set the pump 5 to 15 feet above the well bottom to avoid sediment intake. The pump must remain submerged during maximum drawdown to prevent overheating and motor damage.
What size pump do I need for a residential well?
Most homes need a 3/4 HP or 1 HP submersible pump. Larger homes with high water demand may require 1½ HP. Match the pump capacity to your well yield and household usage.
Do I need a check valve on my submersible pump?
Yes, install a long-body Schedule 80 check valve directly on the pump discharge. Add a second check valve near the pressure tank. For wells deeper than 200 feet, add intermediate check valves every 200 feet of rise.
Can I install a submersible pump myself?
Yes, with proper tools and attention to detail, experienced DIYers can install a submersible pump in 4 to 8 hours. Follow local codes, obtain permits if required, and test thoroughly before backfilling.
How long does a submersible well pump last?
A properly installed submersible pump typically lasts 15 to 25 years. Regular maintenance and correct installation extend service life significantly.
Key Takeaways for Successful Submersible Pump Installation
Installing a submersible water well pump is a precision task, not a rush job. With proper component selection, waterproof electrical splices, and adherence to depth and mechanical rules, your system can deliver clean water for 15 years or more. Always follow local codes, use only submersible-rated materials, and test thoroughly before backfilling.
The most critical steps are using adhesive-lined heat shrink on every electrical connection, installing the torque arrestor above the pump, and securing a safety rope for retrieval backup. For low-yield wells, add a flow control valve to prevent dry running. When done right, you will have a silent, reliable water source that works day after day with minimal maintenance.