
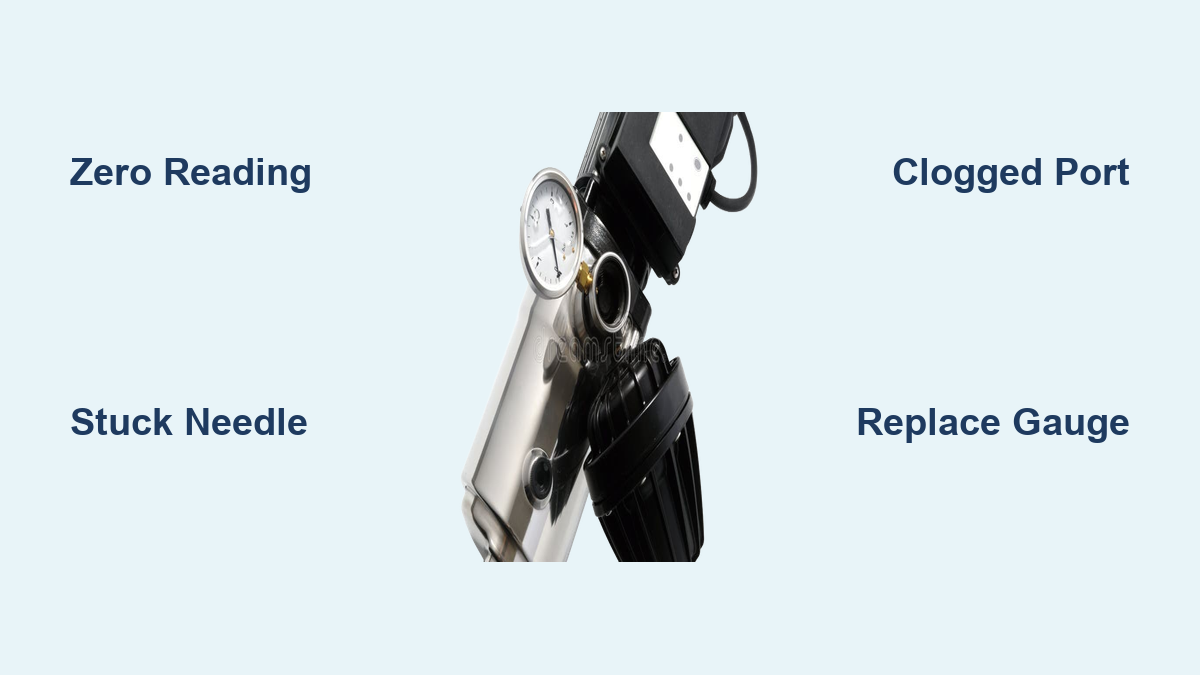
If your water pump pressure gauge is not moving, sticking, or showing impossible readings like 100+ psi, you are not alone. A water pump pressure gauge not working is one of the most common issues in residential well systems. The good news is that it is usually a simple fix that costs under $20 and takes about 15 minutes.
The pressure gauge does not control your pump. It only displays system pressure, so when it fails, your system might still work fine, but you are left diagnosing blind. A zero reading with normal water flow almost always means the gauge or its port is faulty, not the pump itself. In this guide, you will learn exactly how to diagnose the problem, replace the gauge, and prevent future failures.
Diagnose: Gauge vs System Failure
The first step is determining whether the issue is with the gauge or the water system itself. Misdiagnosing a dead gauge as a failed pump leads to unnecessary repairs and expenses.
Test Water Flow First
Open an outdoor spigot or indoor faucet and observe what happens.
Water flows normally indicates the system has pressure, and the gauge is likely faulty. No water or weak flow means you have a real pressure issue, and you should check the pump power, well level, or leaks in the system.
This single test separates gauge failure from pump or well problems. Most cases of no pressure reading with working water flow are due to a clogged port or dead gauge, not a failing system.
Listen to the Pump
Stand near the pressure tank and listen when a faucet opens.
The pump starts and runs smoothly means the system is active and the gauge is suspect. No sound from the pump indicates you should check power, the breaker, or the pressure switch. A humming sound with no water delivery suggests possible motor or capacitor failure.
A running pump with zero gauge reading confirms the gauge is not keeping up, not that there is no pressure in the system.
Use a Test Gauge at a Spigot
Buy a $10 inline test gauge and screw it onto an outdoor hose bib. Turn on the water and compare the reading to your main gauge.
If the spigot gauge shows 40 to 60 psi but your main gauge reads zero or 100+, the main gauge is broken. This is the most reliable way to confirm actual system pressure.
Common Gauge Failure Symptoms
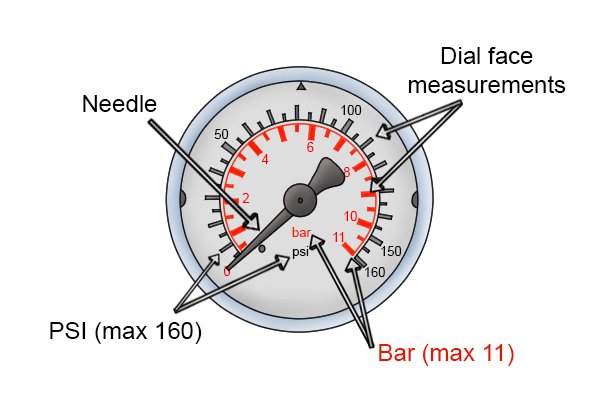
Gauge Reads Zero But Water Flows
This is the classic sign of gauge or port failure. Water moving through fixtures proves pressure exists in the system. The gauge is not seeing the pressure due to internal mechanical failure, a clogged gauge nipple or port, or a disconnected or blocked sensing line.
User case example: C. Ross reported no gauge reading but strong water flow. Replacing the gauge and cleaning the port fixed the issue in 10 minutes.
Needle Stuck at 100+ Psi
If your pressure switch is set to 40/60 psi, a 100+ psi reading is impossible. The switch cuts off the pump at 60 psi. A reading this high means the gauge is broken, not that your system is over-pressurized.
Needle Does Not Drop to Zero
After shutting off the pump and opening faucets, if the needle stays at 55 psi, possible causes include a stuck gauge mechanism or a failing check valve allowing backflow and residual pressure.
To test this issue, open multiple faucets. If pressure does not drop and the gauge stays high, replace the gauge first. If the system truly holds pressure, inspect the check valve.
Needle Jumps Over Stop Pin
If you have seen a needle resting below zero or caught on the pin, this happens during a pressure surge or water hammer, causing the needle to jump over its mechanical stop. Once it is past the pin, it cannot reset. This is irreversible damage, and the gauge must be replaced.
Erratic or Vibrating Needle
Rapid needle oscillation during pump cycles indicates water hammer, lack of pulsation damping, or excessive vibration. Over time, this wears out the internal Bourdon tube and linkage. Install a gauge snubber or switch to a glycerin-filled gauge to prevent repeat failure.
Root Causes of Gauge Failure
Internal Mechanical Damage
The Bourdon tube, spring, or needle mechanism can fail due to age, vibration from the pump or plumbing, or sudden pressure spikes. The typical lifespan is 3 to 5 years. Once the internal parts degrade, the gauge cannot respond accurately. No repair is possible. Replacement is the only fix.
Clogged Gauge Port or Nipple
Mineral deposits, iron, or sediment can block the small orifice where the gauge screws in. Even a partial clog prevents water from entering the gauge, resulting in zero or delayed readings.
To fix this, remove the gauge and inspect the port. Use a small wire or pick to clear debris. Briefly pressurize the system to flush out residue.
Water Hammer and Pressure Spikes
Rapid pump starts or sudden valve closures create shock waves in the plumbing. These spikes stress the gauge mechanism, cause the needle to jump, and shorten the lifespan of the gauge.
Prevention involves installing a gauge snubber, which is a $7 device that absorbs shocks and extends gauge life.
Low-Quality or Incompatible Gauges
Using a 0 to 50 psi gauge on a 40/60 system risks overpressure damage. Cheap dry gauges also fail faster in hard water or high-cycle systems.
The best choice is a 0 to 100 psi gauge with 1/4 inch NPT connections and glycerin-filled construction with brass wetted parts.
Replace the Gauge: Step-by-Step
Gather Tools and Parts
You will need a new gauge rated 0 to 100 psi with 1/4 inch NPT threads, costing $8 to $20. You also need an adjustable wrench, Teflon tape, and optionally a wire brush, bucket, and gauge snubber.
Step 1: Shut Off Power and Pressure
Turn off the pump at the circuit breaker. Open a faucet to relieve system pressure. Let water drain from the gauge port, placing a small towel or cup underneath to catch drips.
Step 2: Remove the Old Gauge
Use an adjustable wrench on the hex base of the gauge, not the body. Unscrew counterclockwise. Inspect the port for rust, scale, or debris.
Step 3: Clean the Port
Use a small wire, pick, or wire brush to clear the nipple. Briefly turn on the pump for 1 to 2 seconds to flush the port with the gauge removed and power restored temporarily. Turn the power back off when done.
Step 4: Prepare the New Gauge
Wrap the threads with 3 to 5 layers of Teflon tape, applying it clockwise. Do not cover the bore because tape inside the opening can break off and clog the system.
Step 5: Install the New Gauge
Hand-tighten first to avoid cross-threading. Final tighten with a wrench, using finger tight plus a quarter turn. Do not over-tighten because this can crack the gauge housing or damage the threads.
Step 6: Restore and Test
Turn the pump power back on. Let the system pressurize. Watch the gauge as it should rise smoothly to cut-out pressure, such as 60 psi. Open a faucet and observe that pressure drops and rises again when the pump kicks in.
Pro tip: Install a gauge snubber or isolation valve for easier future replacements.
Upgrade for Long-Term Reliability
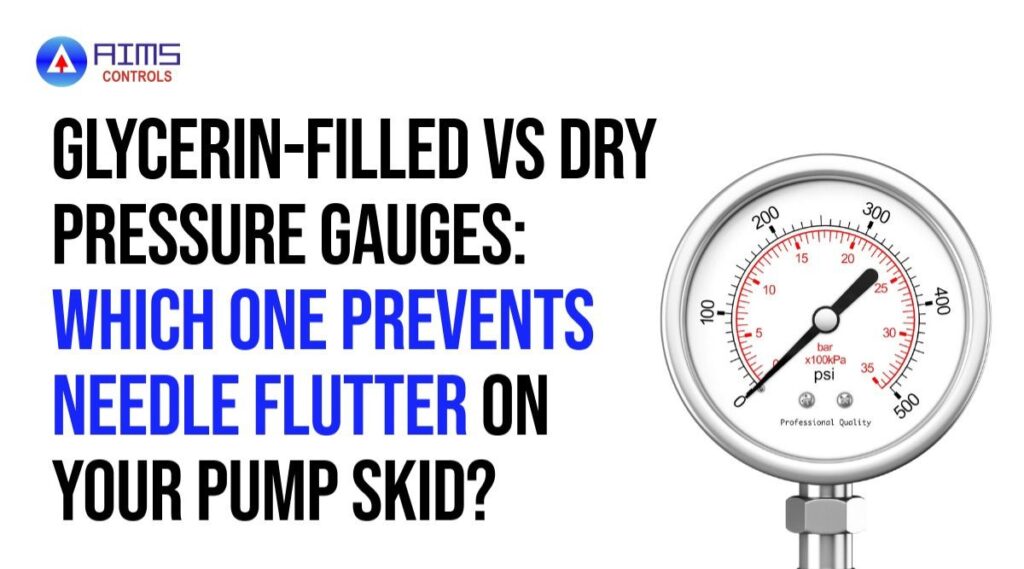
Use a Glycerin-Filled Gauge
Liquid-filled gauges using glycerin or silicone dampen vibration and pressure spikes. They last 2 to 3 times longer in high-cycle or hard water systems. The cost of $12 to $20 is worth every penny.
Install a Gauge Snubber
A snubber screws between the port and gauge, acting as a shock absorber. It prevents needle jump, reduces wear, and costs under $10. Install it in-line with the new gauge for maximum protection.
Add an Isolation Valve
An isolation tee or shut-off valve lets you remove the gauge without draining the system. This is ideal for frequent maintenance or hard-to-access installations.
Can You Run Without a Gauge?
Yes, but not safely long-term. The pump and switch will still operate, but you lose the ability to detect low pressure or short cycling, spot a waterlogged tank, or identify early signs of pump or tank failure.
Think of the gauge as your system is dashboard. Driving without it works until something breaks.
Fixing a Running Pump? Gauge Will Not Help
A common misconception is that if the pump runs non-stop and the gauge reads zero, replacing the gauge will fix it. This is false. The gauge does not control the pump. Continuous operation is caused by a drop pipe leak resulting in loss of prime, a failed pressure switch, a blocked switch sensing tube, or a waterlogged pressure tank.
Replace the gauge for monitoring purposes, but diagnose the pump issue separately.
Prevent Future Gauge Failures
Maintenance Schedule
Inspect the gauge every 3 months to catch early failure. Check the tank air charge every 6 months to prevent short cycling. Clean filters every 3 to 6 months to reduce sediment. Replace the gauge every 3 to 5 years to ensure accuracy.
Best Practices
Replace the gauge proactively instead of waiting for failure. Use liquid-filled gauges in high-use homes. Install a snubber if you hear water hammer. Keep a spare gauge and tape on hand for emergencies.
When to Call a Pro
Call Immediately If
Call a professional immediately if there is no water at any fixture, the pump runs but pressure never builds, the breaker trips repeatedly, or you suspect a dry well or submersible pump failure.
Recommended For
Hire a pro for deep well systems, replacing pressure tanks or control boxes, and diagnosing intermittent electrical issues. A professional can test amperage, well yield, and switch function, which is beyond the scope of DIY repairs.
Final Tips and Takeaways
Replace the gauge first because it is cheap and fails often. Test system pressure with a spigot gauge instead of trusting the main dial. Clean the port before installing a new gauge. Use Teflon tape correctly, applying it clockwise with 3 to 5 wraps while avoiding the bore.
Glycerin-filled gauges combined with a snubber offer the longest lifespan. A dead gauge will not stop a running pump, so diagnose those issues separately. Check the tank air charge, which must be 2 psi below cut-in pressure, such as 38 psi for a 40/60 switch.
A working pressure gauge is essential for maintaining your well system. Most issues take under 15 minutes and cost under $20 to fix. Do not ignore a faulty gauge. Replace it, verify it, and keep your system in check.
Frequently Asked Questions About Water Pump Pressure Gauge Issues
Why does my pressure gauge read zero when water flows normally?
This almost always indicates gauge failure or a clogged gauge port. Water flowing normally proves the system has pressure. The gauge is not registering it due to internal mechanical failure or debris blocking the port where the gauge screws in.
Can a bad pressure gauge cause the pump to run constantly?
No. The pressure gauge is a passive monitoring device that does not control pump operation. If your pump runs constantly, the issue is likely a drop pipe leak, failed pressure switch, blocked sensing tube, or waterlogged pressure tank. Replace the gauge for monitoring, but investigate the pump separately.
How do I know if my pressure gauge is accurate?
Attach a separate test gauge to an outdoor spigot using a hose adapter. Compare the reading to your main gauge. If they differ significantly, the main gauge is faulty. This is the most reliable way to verify accuracy.
What type of pressure gauge should I buy for my well system?
Choose a 0 to 100 psi gauge with 1/4 inch NPT threads and brass wetted parts. For better durability, select a glycerin-filled model, which dampens vibration and lasts longer in high-cycle or hard water systems.
How often should I replace my water pump pressure gauge?
Replace the gauge proactively every 3 to 5 years, especially in hard water areas or high-use homes. Regular inspection every 3 months helps catch early failure before it becomes a problem.
Is it safe to operate my well system without a working pressure gauge?
The system will function because the pump and pressure switch operate based on actual pressure, not the gauge display. However, you lose the ability to diagnose problems early. Running without a gauge long-term is not recommended.


