Your well pump is humming, but the taps are bone dry. That familiar motor sound now feels like a taunt rather than a reassurance. You are not alone. This is one of the most common well pump problems homeowners face, and it can stem from something as simple as a clogged nipple or as serious as a dry well. A well pump running but no water demands immediate attention because running dry can destroy your pump motor in minutes.
This guide walks you through every major cause, in order of likelihood and ease. You will learn exactly how to diagnose the problem safely, what to fix yourself, and when to call a professional. By the end, you will have a clear action plan to restore your water supply.
Check for Loss of Prime First
If you have a shallow well or jet pump, loss of prime is the most frequent culprit when the pump runs but delivers no water. A primed pump requires the entire casing and suction line to be full of water. Air breaks the vacuum seal, and the impeller spins without moving any water.
What Causes Loss of Prime
Air enters the system through several pathways. A failed foot valve allows water to drain back into the well after shutdown. Cracked or loose suction pipes let air leak in. Low water levels can also expose the intake, pulling air instead of water. The result is the same: the pump hums, but nothing comes out.
You can confirm this by listening after shutdown. If you hear water gurgling back into the well, prime has been lost. Foamy or sputtering water when flow does occur is another telltale sign.
Re-Prime the Pump in 5 Steps
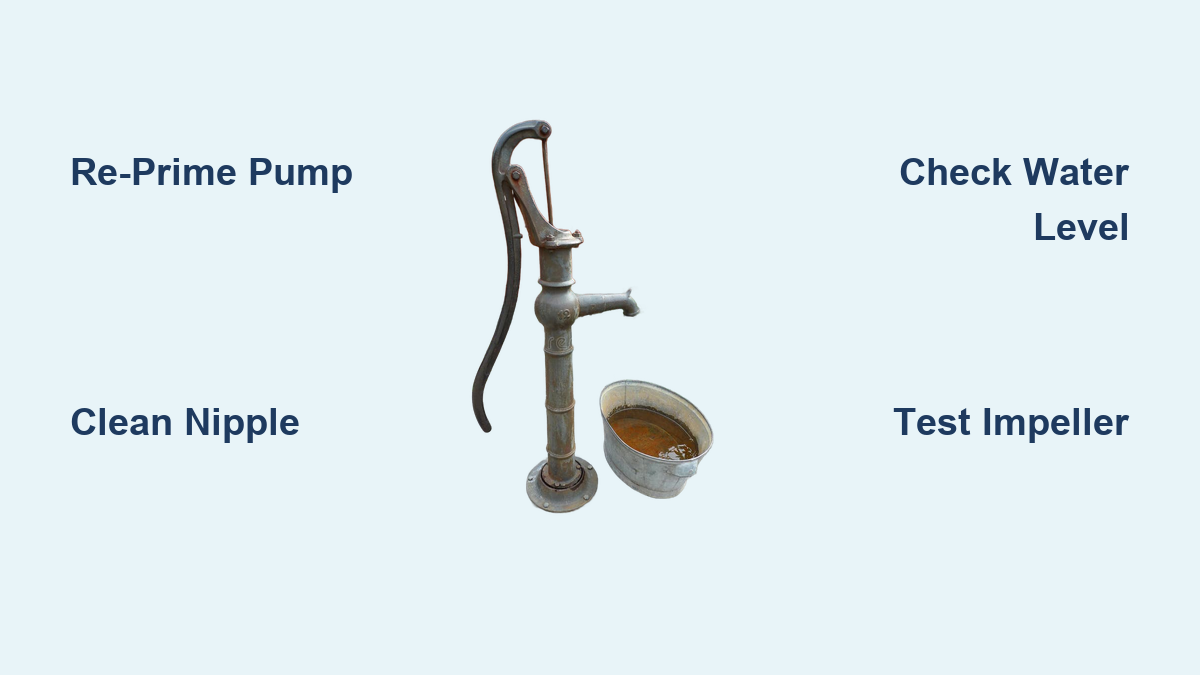
Turn off power at the breaker before any work. Locate the priming plug on top of the pump housing. Pour three to five gallons of clean water into the casing using a funnel. Seal the priming plug tightly to prevent air entry. Restore power and restart the pump.
Watch for steady water flow within thirty seconds. If water returns but stops again, air is re-entering the system. You will need to inspect the foot valve and suction line for leaks.
Inspect the Foot Valve and Suction Line

The foot valve sits at the bottom of the drop pipe, functioning as a one-way check valve. It keeps water in the system when the pump shuts off. When it fails open, the entire water column drains back into the well.
Signs of a Bad Foot Valve
You will need to re-prime after every shutdown. Faucets will sputter air. Water flow may return temporarily after priming but then stop again. The diagnostic test is simple: re-prime the pump, let it run, then shut it off and listen. A gurgling sound means water is draining back, indicating a faulty foot valve.
Replacement Considerations
The part itself is inexpensive. However, fixing it requires pulling the entire drop pipe from the well, which is labor-intensive. Most homeowners hire a well contractor for this job. If foot valve failures recur, consider upgrading to a self-priming jet pump system.
Look for Broken or Leaking Water Lines
A broken or disconnected water line between the well and house can let water escape or air enter. The pump may run, but delivery stops.
Where to Check
Inspect above-ground pipes and connections first. Look for wet spots, unusually green grass, or soggy ground between the well and your house, which can indicate buried line leaks. Check the drop pipe in deep wells for cracks or disconnections.
Quick Diagnostic Test
If the pump is moving water but none reaches the house, verify that all shutoff valves are open. Break the connection at the pump outlet and briefly run the pump. Water sprays out? The problem is in the line to the house. No flow? The issue is upstream, at the well, impeller, or prime.
Use a clamp-on ammeter to confirm. If the pump draws current but no water moves, the fault is hydraulic, not electrical.
Test for Impeller Failure
The impeller spins inside the pump, transferring energy to water. If it is damaged, detached, or worn, the motor runs but nothing happens.
Symptoms of Impeller Failure
The pump hums normally. There is no water discharge. Amperage draw is normal, meaning the motor runs. The pressure gauge shows no rise.
How to Confirm
Turn off power. Disconnect the output line. Re-prime and briefly run the pump while wearing safety gear. Water sprays out? The impeller is functional. No flow? The impeller is broken or disconnected.
If the impeller has failed, the pump must be repaired or replaced. For submersible units, this means pulling the entire assembly from the well.
Clean the Pressure Switch Nipple

This is one of the most common but overlooked causes. The pressure switch nipple is a small threaded port under the pressure switch. It allows water pressure to trigger the pump on and off. If blocked by rust, sediment, or mineral buildup, the switch cannot feel pressure changes.
Symptoms of a Blocked Nipple
The pump runs continuously. Water flow is intermittent or absent. The pressure gauge reads zero even when the system should be pressurized.
This is dangerous. A stuck switch can let pressure rise to 150 psi, risking burst pipes or hose failure.
How to Clean It Safely
Turn off power at the breaker. Remove the 240V wires from the switch, noting polarity. Use a 9/16-inch wrench to remove the pressure switch. Inspect the nipple for red or dark buildup. Clear it with a screwdriver or wire. Reinstall the switch and restore power.
Many users report immediate restoration of normal pump cycling after this simple fix. In hard water areas, clean the nipple every six to twelve months. Install a sediment filter upstream to prevent future clogs.
Measure Your Well Water Level
Your well might simply be dry. Drought, seasonal changes, or overuse can lower the water level below the pump intake.
Signs of a Low Water Table
Pressure declines gradually. Faucets sputter air. Water appears foamy or carbonated. You get short bursts of water followed by dry spells.
How to Test Water Depth
Tie a heavy weight to a cotton string. Lower it into the well until it hits bottom. Wait five minutes so the cotton absorbs water up to the surface level. Pull up and measure the wet section. Compare this to your pump depth, typically ten to twenty feet above the well bottom.
If water is less than one foot above the pump, the well is functionally dry. Solutions include lowering the submersible pump, installing a low-water cutoff switch, drilling a deeper well, or conserving water to allow aquifer recovery.
Diagnose Submersible Pump Issues
For deep wells, the submersible pump is out of sight but not out of trouble. Common failures include impeller or motor issues, drop pipe breaks, electrical faults, and failed foot valves.
Retrieving a Submersible Pump
You do not need a crane. Use a pipe hitch with synthetic rope. Anchor one end, pull up the pipe, and slide the hitch down. Repeat until fully retrieved. For long runs, use a front-end loader with two hitches.
A half-horsepower submersible adds approximately eighty pounds to the pipe string. Use extra hitch turns on slick polyethylene pipe. Once out, bench-test the pump or replace it.
Check the Pressure Tank
A waterlogged or empty pressure tank can mimic pump failure. The tank stores pressurized water and reduces pump cycles through a bladder separating air and water.
Failure Signs
Rapid cycling, on and off every few seconds, indicates a problem. No water in the tank despite the pump running is another sign. A dull thud when tapped means the tank is waterlogged. The tank feels heavy, around eighty pounds versus the normal twenty pounds.
Test and Recharge
Drain the tank completely. Check air charge with a tire gauge. For a 40/60 psi system, the pre-charge should be 38 psi. For 30/50, it should be 28 psi. Add air if low, then refill the system and test. If the bladder is ruptured, replace the tank.
Rule Out Electrical Problems
Sometimes the pump is not really running at all. Hidden electrical faults include loose or corroded wires, tripped breakers, failed capacitors, and insect nests in contacts.
Use an Ammeter to Diagnose
Clamp onto each power wire and check for current. No amps means an electrical issue. Amps present means a hydraulic issue. This is the most critical diagnostic step.
With power on, flick contacts with an insulated screwdriver. A spark confirms power delivery. Only attempt this if you are trained. 240V can be lethal.
When to Call a Well Professional
Some jobs are not DIY. Call a licensed contractor if you need to pull a submersible pump, buried lines are leaking, the well casing is damaged, you are drilling deeper or modifying the well, or electrical faults involve 240V circuits.
A professional can hydrofracture a low-yield well, repair casing, or install a new system.
Prevent Future Failures
Monthly, check the pressure gauge and inspect the tank for waterlogging. Quarterly, clean the pressure switch nipple and test for leaks. Annually, flush the system, inspect electrical connections, and test pump performance. Every five to ten years, replace the pressure tank, install a sediment filter, and upgrade to high-pressure hoses rated at 110 psi or higher.
Keep a spare pump or re-priming kit on hand. Many homeowners keep an old sump pump as a backup with a hose clamp ready.
Final Checklist: What to Do Now
Shut off the pump to prevent dry running. Re-prime if you have a shallow well. Clean the pressure switch nipple. Check valves and lines. Test for water at the pump. Measure well water level. Inspect the pressure tank. Use an ammeter to rule out electrical issues.
If none of these work, suspect impeller failure or a dry well. Buy a new pump first to restore water, then fix the old one at your pace.
Frequently Asked Questions About Well Pump Running But No Water
Why does my well pump run but not deliver water?
This can happen due to loss of prime, a failed foot valve, broken water lines, impeller failure, a clogged pressure switch nipple, low water table, or electrical problems. The pump motor may be running, but water is not being moved or delivered.
How do I re-prime my well pump?
Turn off power at the breaker. Locate the priming plug on top of the pump housing. Pour three to five gallons of clean water into the casing using a funnel. Seal the plug tightly. Restore power and restart the pump. Steady water flow should return within thirty seconds.
Can a clogged pressure switch cause no water flow?
Yes. The pressure switch nipple can become blocked by rust, sediment, or mineral buildup. When blocked, the switch cannot sense pressure changes. The pump may run continuously or not at all, and the pressure gauge reads zero.
How do I check my well water level?
Tie a heavy weight to a cotton string. Lower it into the well until it hits bottom. Wait five minutes to allow the cotton to absorb water. Pull up and measure the wet section. Compare this to your pump intake depth. If water is less than one foot above the pump, the well is dry.
When should I call a professional for well pump issues?
Call a professional if you need to pull a submersible pump, buried water lines are leaking, the well casing is damaged, you need to drill deeper, or electrical issues involve 240V circuits. Professional intervention is also needed for well deepening or hydrofracturing.
How can I prevent my well pump from running dry?
Install a low-water cutoff switch to protect the pump. Monitor water usage during droughts. Perform regular maintenance, including cleaning the pressure switch nipple and checking the pressure tank. Keep a spare pump or re-priming kit available for emergencies.
Key Takeaways for Fixing a Well Pump Running But No Water
A well pump running but no water is stressful, but most issues can be diagnosed in under an hour. Start with the simplest fixes: re-prime shallow wells, clean the pressure switch nipple, and check the pressure tank. Move to more complex checks: inspect water lines, test the impeller, and measure well water level. Use an ammeter to distinguish between electrical and hydraulic failures. If your well is dry or the pump requires replacement, call a professional. Regular maintenance prevents most failures. Keep this guide handy so you can act fast, fix right, and keep your water flowing.