You’ve walked outside to find your solar water pump silent, no hum, no flow, just stillness. The fountain is dry, the well isn’t drawing, or your garden irrigation has stopped. You’re not alone. Solar water pump not working is one of the most common off-grid system complaints, but over 90% of failures are fixable with basic troubleshooting. Whether it’s a garden fountain, submersible well pump, or surface booster, this guide walks you through every possible cause, from electrical and mechanical issues to environmental factors, and delivers clear steps to get your system running again.
From a dusty solar panel to a clogged impeller or failed capacitor, we’ll help you diagnose the issue fast. No guesswork. No unnecessary replacements. Just proven fixes based on real-world diagnostics and component-level testing. By the end, you’ll know exactly what to check, how to test it, and whether to repair or replace.
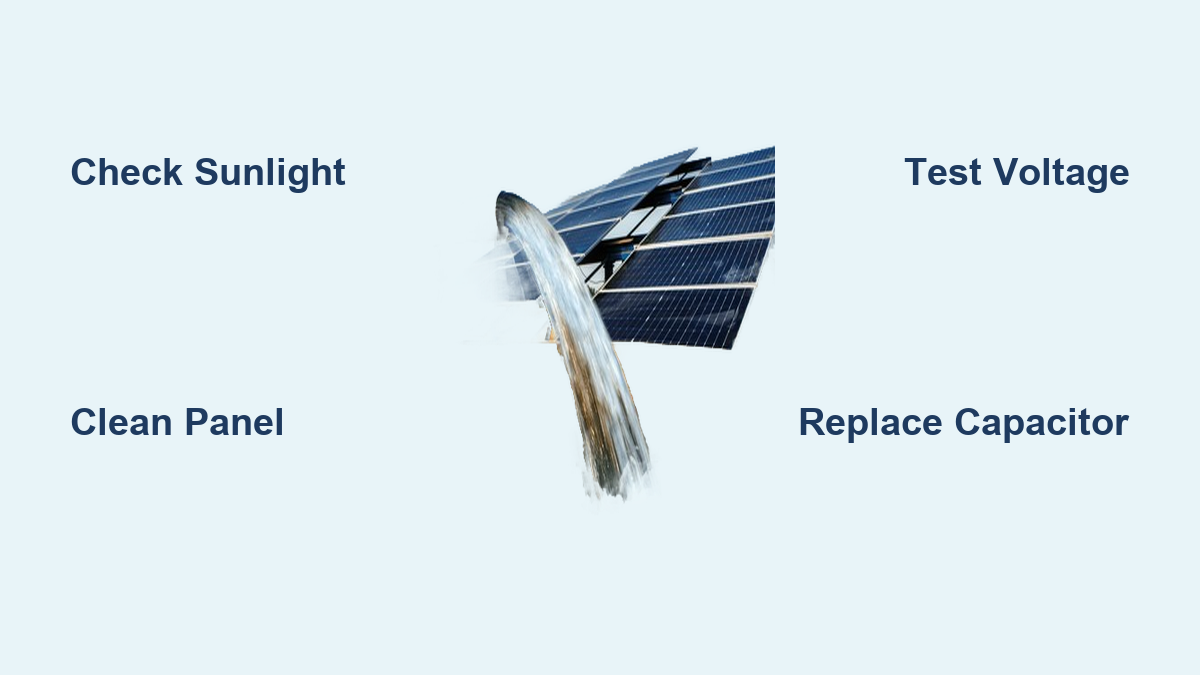
Check Sunlight and Panel Position First
Your solar pump only runs when the sun shines, and not just any light counts. Without adequate direct sunlight, the system simply won’t start or will shut down unexpectedly.
Ensure 5-6 Hours of Direct Sunlight
Solar pumps need unshaded, direct sunlight for at least 5-6 hours daily to start and maintain operation. Even partial shade from a tree branch, fence, or bird droppings can shut down the entire system due to series wiring in solar panels.
• Test time: Diagnose only between 10 a.m. and 3 p.m., when sunlight is strongest
• Avoid testing on cloudy days or at dusk, false negatives are common
• If your pump works midday but stops early, it may lack sufficient irradiance for startup
Pro Tip: Shadow from just one leaf can cut power in half. Walk around the panel and check for any obstructions at different times of day.
Adjust Panel Tilt for Maximum Output
Fixed-tilt solar panels should be angled to match your latitude for peak performance. Northern U.S. locations (WA, MT, ND) need approximately 37° tilt. Reduce tilt by 2° in summer and increase by 4° in winter. Use a tilt meter or smartphone app to verify alignment.
Clean Solar Panel Surface
A dirty solar panel can lose up to 30% of its output. Dust, pollen, algae, and bird droppings block sunlight and reduce efficiency dramatically.
Remove Dust, Bird Droppings, and Water Spots
Use a soft microfiber cloth and water to clean the glass surface. For stubborn grime, add a drop of mild soap, never abrasive cleaners. Rinse thoroughly and dry to prevent water spots.
Visual cue: If the panel looks dusty or streaky, clean it even if it seems okay. After cleaning, wait 15 minutes in full sun and check if the pump starts. Many failed pumps restart with a simple wipe.
Test Panel Output with Multimeter

Even a clean, sunny panel may not deliver enough power. Always verify output with a multimeter, never assume the panel is working properly.
Measure Voltage and Current
Disconnect the panel from the controller first. Set the multimeter to DC voltage (200V range) and measure open-circuit voltage (Voc) by touching the red probe to positive and black to negative. Compare to the panel label. Then switch to DC current (10A range) and measure short-circuit current (Isc) by connecting probes in series.
Critical insight: A panel may show good voltage but lack amperage, which is the hidden killer of solar pump startups. A panel reading 43V Voc but only 1.2A Isc when it needs 2.5A indicates insufficient current. The solution is to add parallel solar panels to boost amperage.
Inspect Wiring and Connections
Loose, corroded, or damaged wiring is a top cause of total system failure. These issues often go unnoticed but can completely halt operation.
Check MC4 Connectors and Splices
Focus on MC4 connectors, which must be fully clicked and dry. A loose fit breaks continuity. At splice points (submersible cable to THHN at well head), look for burnt insulation, green corrosion from copper oxidation, melted terminals, or moisture ingress.
Re-terminate damaged wires with waterproof connectors. Seal splices in jelly-filled junction boxes or use self-amalgamating tape. Ensure all connections are tight and elevated above ground.
Warning: A single corroded splice can drop voltage below the startup threshold.
Diagnose Controller and Indicator Lights
The controller is the brain of your system, and its lights tell you exactly what’s happening.
Decode MPPT or LCB Controller Signals
Flashing light means the controller is searching for optimal power point, which is normal. Solid light means it’s locked onto maximum power, also normal. No light indicates no power input, so check the panel, wiring, and switch.
Common failures include burnt pressure switches (look for blackened casing or melted plastic), clogged sensor tubes where debris blocks pressure detection, and stuck contacts that prevent the pump from starting even with power present.
Pump Humming But Not Running
A humming pump means power is reaching the motor but it can’t start. The culprit is usually a failed start capacitor.
Replace the Start Capacitor
Capacitors typically range from 15-50μF and 50-100V DC, non-polarized type, located near the motor or controller. For diagnosis, look for visual signs like bulging, leaking, or burn marks. Test with a capacitance meter and replace if out of spec.
Swap with an identical capacitor. A 15-year-old Astral e320 pump was restored after capacitor replacement using this method.
Pro Tip: Add a start capacitor (25-50μF) to older systems that need jump-starts.
Clear Mineral Buildup in Pump
Hard water leaves calcium, lime, and scale on internal parts, especially the flywheel and magnet. This breaks the magnetic coupling, so the motor spins but the impeller doesn’t.
Soak Flywheel in Vinegar Solution
Remove the pump from water and disassemble to access the flywheel. Soak in 15 ml vinegar plus a pinch of baking soda for 15 minutes to overnight. Gently scrape deposits with a plastic tool and clear the center pin hole with a needle. Reassemble and test.
Fact: This single fix resolves over 40% of failed pumps.
Pump Runs Backward? Swap Two Wires
If water flows backward or there’s no suction, your three-phase solar pump may be wired incorrectly.
Reverse Rotation in 3-Phase Pumps
Swap any two of the three motor wires, then re-energize and verify rotation.
Warning: Reverse operation can unscrew the rotor from the shaft. Check the threading after correction.
No Water Flow Despite Running
Even a spinning pump won’t move water if blocked or air-bound.
Clear Clogs and Air Locks
Common causes include clogged filter or nozzle (hair is the number one clogger), impeller jammed from debris, air lock from incomplete submersion, low water level where the intake isn’t fully submerged, and pump positioned too high in the well to reach water.
Remove and rinse filters weekly. Disassemble to clean the impeller and check for wear. Submerge the outlet and refill the reservoir to prime the pump and release trapped air.
Intermittent Operation? Check Connections
If the pump starts and stops randomly, several factors could be at play.
Stabilize Power Delivery
Cloud cover causes normal intermittent operation during variable light. Loose wiring causes voltage drops, so tighten all MC4s and splices. A failing controller should be replaced or reset by turning off power for 2-5 minutes. For battery models like Poposoap, expose the panel to full sun for 1-2 days to recharge.
Continuous Flow or Leaks
Water running non-stop usually indicates a failed check valve or leak in the system.
Test Check Valve and Pipes
Shut off the supply and monitor pressure. If it drops, there’s a leak or bad check valve. If it holds, the system is intact. Inspect the yard for puddles to reveal leak locations.
Replace the check valve. Repair or replace cracked pipes. Adjust the pressure switch after turning off power first.
Battery Backup Not Working
Only battery-equipped models run at night or on cloudy days.
Recharge or Replace Battery
If the pump works in sun but not at dusk, expose the panel to full sun for 1-2 days to recharge. Replace the battery if needed, choosing user-replaceable models. Confirm the system actually has battery capability, as many solar pumps are daylight-only.
FAQ: Why won’t my solar fountain work at night? Only battery-equipped models run at night. Non-battery systems require sunlight.
Low-Well Sensor Tripping
Pumps with automatic shutoff stop when water drops below the sensor.
Reposition and Reset
Causes include the sensor not being submerged, wiring disconnection, or seasonal water drop (common in summer). Lower the sensor into water and verify the connection to the controller. Perform a power reset by turning off for 2-5 minutes, then restart.
Motor Failed? Test with Jump-Start
If nothing else works, test the motor directly using a 12V battery to jump-start the pump. Connect positive and negative leads, and the pump should run instantly.
If it runs, the problem is insufficient startup current. Add an LCB controller or start capacitor. If it doesn’t run, the motor or internal pump is dead and the unit needs replacement.
Damaged Solar Panel? Replace It
Panel damage kills performance. Microcracks cause gradual power loss, hot spots create overheating and fire risk, and shattered glass is a safety hazard.
No DIY Fixes for Cracks or Hot Spots
Inspect for dark spots, discoloration, or melted areas. Use a thermal camera if available. Do not attempt polyurethane or tape repairs, they are ineffective and unsafe. Replace damaged panels for the only reliable solution.
When to Repair vs. Replace
Repair If
Clogged filter, mineral buildup, or failed capacitor indicate repairable issues. Also repair loose wiring or dirty panel problems. If the pump hums or starts with a jump, it’s likely salvageable.
Replace If
Burnt motor, melted stator, or cracked housing means replacement is needed. Pumps over 10-15 years old are often cost-effective to replace. Repeated clogs from sandy water or no response even with battery jump indicate the end of the pump’s life.
Upgrade Smart: Consider brushless DC motors for efficiency and longer life. Add MPPT or LCB controllers to prevent dry run and improve startup. Choose models with user-replaceable parts for battery, pump, and filter.
Maintenance Schedule for Long Life
| Component | Task | Frequency |
|---|---|---|
| Solar panels | Clean, inspect | Monthly |
| Intake filter | Rinse | Weekly (outdoor), Quarterly (indoor) |
| Flywheel/magnet | Clean mineral deposits | Annually |
| Capacitor | Test/replace | Every 5-10 years |
| Wiring | Check for corrosion | Annually |
| Sensor/switch | Inspect, clean | Dry season |
With care, solar pumps last 3-5 years, some up to 15 years with proper maintenance.
Frequently Asked Questions About Solar Water Pump Not Working
Why won’t my solar water pump start at all?
The most common causes are insufficient sunlight (less than 5-6 hours of direct, unshaded light), dirty solar panels reducing output by up to 30%, loose or corroded wiring connections, or low voltage/current from the panel. Start by checking sunlight exposure, cleaning the panel, and testing output with a multimeter.
How do I know if the solar panel is producing enough power?
Measure open-circuit voltage (Voc) and short-circuit current (Isc) with a multimeter under full sun. Compare readings to panel specifications. A panel may show good voltage but lack sufficient amperage for startup. If Voc matches but Isc is low, add parallel panels or check for shading.
Can I fix a humming solar pump myself?
Yes, a humming pump usually means power is reaching the motor but it can’t start. The most likely cause is a failed start capacitor. Replace the capacitor (15-50μF, 50-100V DC, non-polarized) or clean mineral deposits from the flywheel using vinegar solution.
Why does my solar pump only work at midday?
This indicates insufficient irradiance for startup. The pump needs more power to start than to run. Solutions include adjusting panel tilt for better angle, cleaning the panel surface, adding a start capacitor or LCB controller to assist startup, or adding parallel solar panels to increase amperage.
How often should I clean my solar water pump?
Clean the solar panel monthly. Rinse the intake filter weekly for outdoor use or quarterly for indoor setups. Annually, clean the flywheel and magnet to remove mineral deposits. Regular maintenance extends pump life to 3-5 years or longer.
Key Takeaways for Fixing Your Solar Water Pump
The number one cause of solar water pump failure is debris clogging the impeller or flywheel. Hair, algae, and sand accumulate quickly, so weekly cleaning of filters and intake screens is essential. The startup killer is low amperage. Even with correct voltage, insufficient current prevents the motor from turning. Add parallel panels or install a start capacitor to provide the inrush current needed.
Silent failures often stem from loose MC4 connectors or corroded splices. Inspect all connections annually and reseal any points showing oxidation. Most solar pumps are daylight-only and require sunlight to operate. Only battery-equipped models like Poposoap fountains work at night or during cloudy weather.
The good news is that over 90% of solar water pump failures are repairable. Focus on sunlight, cleanliness, connections, and startup current as your primary troubleshooting targets. Clean the pump internally, test with a multimeter, and upgrade to an MPPT or LCB controller if your system lacks one. With this systematic approach, you can restore flow fast and keep your system running for years.