Nothing ruins stored water faster than a slimy green bloom appearing inside your tank. If you have ever opened a lid to find cloudy, smelly water coated in algae, you know how quickly light and warmth create this mess. The key to solving this lies in disrupting the perfect storm of conditions that fuel rapid algae development within just days.
This guide breaks down proven strategies ranging from blocking every ray of sunlight to using precise chemical dosing. You will learn step-by-step methods to stop algae before it starts and keep your water clean for any application.
Block All Light Exposure to Stop Photosynthesis

Light is the number one trigger for algae growth in any water storage system. Even minimal sunlight passing through translucent plastic can kickstart photosynthesis and lead to visible growth in under two weeks. Eliminating light penetration is the most effective long-term method to prevent algae in water tanks.
Choose Opaque or Dark-Colored Tanks
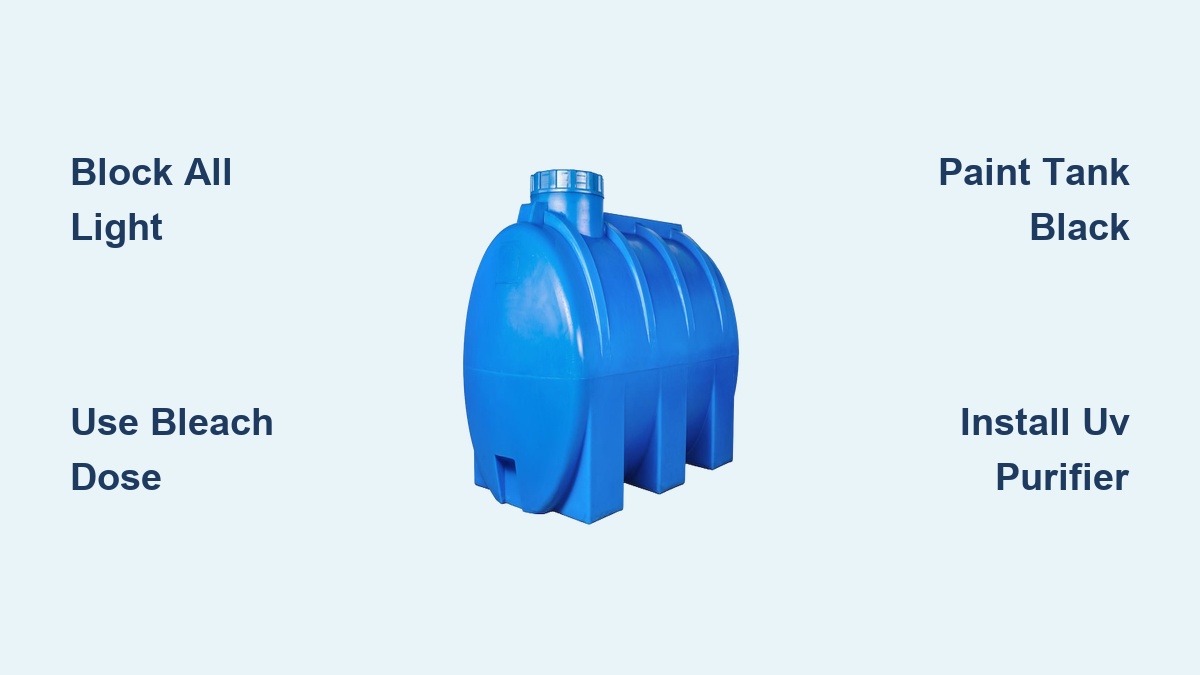
Start your prevention strategy by selecting the right tank material. You should use black or dark-colored poly tanks that block UV and visible light entirely. Clear or translucent IBC totes may seem convenient for viewing levels, but they act like greenhouses for algae spores. If you are buying new equipment, always opt for opaque models. For underground installations, ensure the tank material is UV-resistant even if buried.
Paint Translucent Tanks Black
If you are stuck with a clear or white plastic tank, painting it offers a permanent fix. Focus your efforts on the sides and top where sunlight exposure is highest.
- Prep the Surface: Remove the inner bladder from the cage if using an IBC. Clean the exterior with a soft brush and rinse thoroughly. Let it dry indoors.
- Sand for Adhesion: Lightly sand the surface with 220-grit sandpaper. Wipe off dust with a damp towel and let dry for 20 minutes.
- Apply Matte Black Primer: Use a plastic-specific matte black spray paint. Glossy finishes reflect more light and reduce effectiveness. One coat acts as a base while two ensure full opacity.
- Add a White Topcoat: After the black layer dries for 24 hours, apply one or two coats of white paint. This reduces heat absorption while maintaining light blockage.
- Cure Before Use: Wait at least 2 to 3 days before filling to prevent chemical leaching.
Pro Tip: Matte black absorbs heat significantly. A black base with a white topcoat balances algae prevention and temperature control.
Install Light-Blocking Wraps
Wrapping is ideal for temporary setups or when painting is not feasible for your situation.
- Bladder-Only Wrap: Remove the inner plastic bladder and wrap it tightly in black opaque plastic. Secure the bottom with duct tape then reinsert into the cage. This method blocks 100 percent of light and lasts longer than full-cage wraps.
- Full Wrap: Cover the entire IBC unit with leftover plastic sheeting. It is cheap but prone to tearing so expect about 4 years of life before replacement.
Use Covered or Shaded Storage
Even with tank modifications, placement matters significantly for long-term success. Store tanks under a shed, tarp, or canopy to reduce direct solar exposure. Avoid areas with skylights or reflective surfaces that bounce light onto the tank. Always keep lids tightly sealed because open tops invite light, dust, and insects.
Warning: Painting eliminates visibility completely. Install a clear vertical hose on the outside connected to the tank base to monitor water levels safely.
Use Chemical Algaecides Properly for Control

When light control is not enough or during warm months, chemical treatments keep algae in check effectively. Accuracy is critical because too little will not work while too much risks clogs or toxicity.
Add Bleach in Small Doses
Unscented household bleach containing 5 to 6 percent sodium hypochlorite kills algae and bacteria fast.
- Dosage: Use 1/8 to 1/4 teaspoon per 5 gallons of water.
- Application: Mix thoroughly and wait 30 minutes before using the water.
- Frequency: Reapply every 1 to 2 weeks especially in hot weather.
- Monitoring: Use chlorine test strips to maintain 0.2 to 0.5 ppm residual. This is enough to sanitize without overdoing it.
Avoid: Scented, color-safe, or splash-less bleach. These contain additives that can damage tanks or leave residues.
Apply Copper Sulfate for Long-Lasting Control
Copper sulfate is a favorite in agriculture for its effectiveness and low cost. It is safe for herbicide mixing and does not clog lines when dosed correctly.
- Dosage Guide:
- 1,500 gallons: 2 tablespoons
- 1,000 gallons: 1/4 cup (may be high so start low)
- 5,000 gallons: 1 cup
- How to Use: Dissolve crystals in a bottle of water first then pour into the tank. Or add directly during filling for even distribution.
- Effectiveness: Prevents growth for 2+ weeks reliably.
- Visual Check: Water may turn slightly blue which is normal. A vivid “Caribbean blue” means overdose often from mixing with 28 percent fertilizer.
Expert Note: Agricultural suppliers confirm copper sulfate does not affect herbicide performance at recommended levels.
Try Hydrogen Peroxide for Residue-Free Treatment
For non-toxic and eco-friendly control, use 3 percent food-grade hydrogen peroxide.
- Dosage: 1 to 2 tablespoons per 50 gallons.
- Benefits: Breaks down into water and oxygen with no harmful residues.
- Best For: Sensitive applications like garden irrigation or where chemical runoff is a concern.
Hang Copper Wire as a DIY Option
A low-cost passive method involves suspending a coiled piece of copper wire or pipe inside the tank.
- How It Works: Slowly releases copper ions that inhibit algae growth.
- Caution: Secure it so it cannot be sucked into the pump intake. Effectiveness varies so use it as a supplement not a primary solution.
Keep Water Moving and Clean Regularly

Stagnant water is algae’s playground even with other controls in place. Circulation and filtration boost your defense significantly against organic buildup.
Circulate Water with a Pump
Install a small recirculating pump set on a timer to move water for 15 to 30 minutes every few hours. Movement prevents spores from settling and growing on tank walls. This also helps distribute chemical treatments evenly throughout the volume.
Filter Incoming Water
Block organic matter before it enters the tank since dust, leaves, and insects feed algae.
- Inlet Screens: Place fine mesh screens over all fill points.
- Sediment Filters: Use pre-storage filters such as 50 to 100 micron to catch debris.
- Maintenance: Clean screens monthly to prevent clogs and decay.
Clean the Tank Every 3 to 6 Months
No system is foolproof so regular cleaning removes biofilm and sediment buildup.
- Drain completely.
- Scrub interior with a soft brush.
- Spray with diluted white vinegar to dissolve slime and mineral deposits.
- Rinse thoroughly.
Pro Tip: Check for cracks, leaks, or sediment accumulation during cleaning cycles.
Install UV Purifiers for Final Protection

UV purifiers do not stop tank growth but they sanitize water as it exits. This kills algae spores and pathogens before they reach your tap or spray nozzle.
- Best Use: Point-of-use for showers, toilets, or irrigation systems.
- Installation: Inline between tank and tap.
- Limitation: Only works if water passes through the unit. Pair with light blocking for full protection.
Advanced Option: Connect UV to a recirculation loop to treat water continuously within the tank.
Monitor for Early Warning Signs
Catch problems before they escalate with regular checks and visual inspections.
Watch for Visual Cues
- Cloudy or milky water: First sign of microbial growth.
- Green film on walls: Active algae colonization.
- Musty or earthy smell: Indicates organic decay.
- Blue tint: Likely copper sulfate overdose.
Test Water Weekly
- Chlorine Strips: If using bleach, test residual levels weekly.
- Visual Inspection: Open the lid briefly to check clarity without prolonged light exposure.
- Flow Test: Reduced pressure or clogged spray tips may signal internal buildup.
Troubleshoot Common Failures
Even careful systems fail sometimes so know how to fix them quickly.
Algae Grows Despite Black Paint
- Check for light leaks: Inspect seams, corners, and lid seals. Even a small gap can let in enough light.
- Verify paint thickness: One thin coat may not block all light. Two coats are essential.
- Assess storage area: Skylights or reflective walls in sheds can still expose tanks to indirect sunlight.
Clogged Lines After Copper Use
- Cause: Overdosing or stirring up old sediment.
- Fix: Flush lines with clean water. Reduce copper dosage next time. Clean filters and nozzles regularly.
Bleach Affects Chemical Mixes
- Risk: High chlorine levels can oxidize certain herbicides.
- Solution: Follow chemical label instructions. Use copper sulfate instead for agricultural tanks.
Choose the Right Method for Your Use Case

Not all solutions fit every situation so match your strategy to your tank purpose.
For Farm Spray Tanks
- Top Choice: Copper sulfate because it is safe, cheap, and compatible with herbicides.
- Support: Paint tank black and add inlet filters.
- Avoid: Storing partially filled tanks in direct sun.
For Home Shower and Toilet Water
- Top Choice: Light blocking plus UV purifier.
- Maintenance: Shock with bleach if odor appears.
- Priority: Odor and hygiene control over potability.
For IBC Rainwater Harvesting
- Best Long-Term: Remove bladder and wrap in black plastic.
- Best Permanent: Paint with matte black plus white topcoat.
- Budget Fix: Wrap entire IBC in plastic sheeting.
Frequently Asked Questions About Preventing Algae in Water Tanks
How often should I add bleach to my water tank?
You should reapply unscented household bleach every 1 to 2 weeks depending on temperature. Use 1/8 to 1/4 teaspoon per 5 gallons and wait 30 minutes before use.
Will copper sulfate hurt my plants or chemicals?
No, copper sulfate is safe for herbicide mixing when used at recommended doses. Agricultural suppliers confirm it does not affect chemical performance or clog lines.
Can I use clear plastic tanks if I paint them?
Yes, painting clear tanks with matte black primer and a white topcoat blocks light effectively. Ensure you apply two coats and let them cure for 2 to 3 days.
Why is my water turning bright blue?
A vivid blue color usually indicates a copper sulfate overdose. This often happens when mixing with certain fertilizers or using too high a dose initially.
How do I check water levels in a painted tank?
Install a clear vertical hose on the exterior connected to the tank base. This acts as a sight gauge since you cannot see through the painted walls.
Key Takeaways for Preventing Algae in Water Tanks
Stopping algae requires a layered approach starting with total light elimination. Block every ray of sunlight using opaque tanks, paint, or wraps before considering chemical treatments.
Combine physical barriers with precise chemical dosing and regular maintenance for best results. Start by inspecting your tank today for light leaks or sediment buildup to ensure your stored water stays clean.