A sudden gurgle from your basement floor drain during a heavy storm might seem minor, until foul-smelling water starts flooding your basement. This is exactly what a backwater valve is designed to prevent. Installed on your home’s main sewer line, this critical device stops sewage from backing up into your home during municipal overflows or extreme weather events.
Learning how to check a backwater valve is essential for every homeowner, especially those with basements or properties in flood-prone areas. A malfunctioning valve can lead to thousands of dollars in water damage, serious health hazards, and even denied insurance claims. The good news is that checking it is a quick task taking just 10 to 15 minutes annually. This guide walks you through every step, from safety prep and visual inspection to cleaning, testing, and spotting red flags.
Essential Safety Precautions Before You Begin
Before touching the valve, protect yourself from harmful bacteria and toxic gases.
Wear Proper Protective Gear
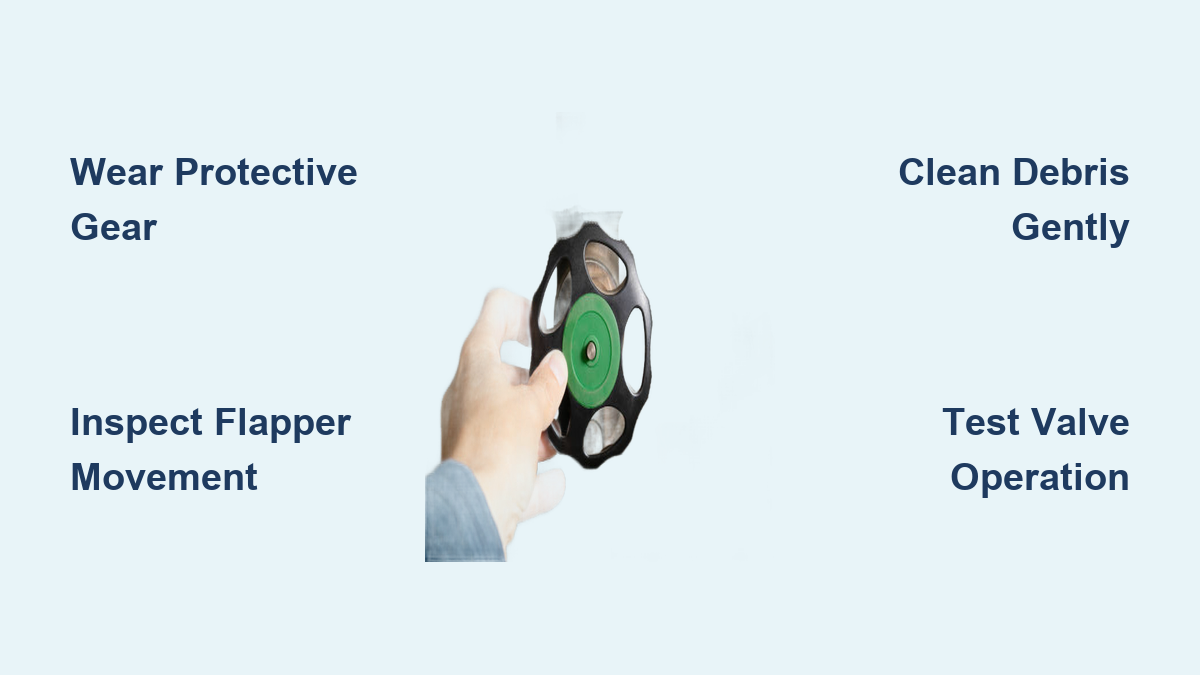
Always wear heavy-duty rubber gloves, safety goggles, and old clothes you can wash or discard. Sewage contains pathogens that can cause serious illness if they contact skin or eyes. Goggles prevent accidental splashes during inspection, especially when removing the access cover.
Prepare the Area Safely
Run hot, soapy water down sinks and flush toilets before opening the valve. This clears loose waste from the immediate pipe section and reduces raw sewage exposure. If the valve is indoors in the basement, ensure the room is well-ventilated. Open windows or use a fan to disperse sewer gases like hydrogen sulfide, which can be dangerous in enclosed spaces.
Use Adequate Lighting
The inside of the valve is dark. Bring a bright flashlight or trouble light to clearly see the flapper, seals, and debris. Good visibility is crucial for spotting cracks, warping, or buildup that could compromise performance.
Locate and Access the Backwater Valve
Find the right access point without damaging the system.
Identify the Main Cleanout
The backwater valve is usually installed on the main sewer lateral, near where it exits the foundation. Look for a 10-by-14-inch round or rectangular access cover in the basement floor, often near the water heater, washer drain, or foundation wall. In some homes, especially with outdoor models, the valve may be in a yard riser or concrete pit.
Remove the Access Cover Carefully
Unscrew or lift the cleanout plug by hand. If it is stuck, gently use a wrench but avoid over-tightening when reassembling. Never force it, as this can strip threads or crack the housing. Once open, immediately inspect the O-ring on the cover for dryness, cracking, or compression. A damaged O-ring will not seal, allowing gases or sewage to escape around the lid.
Inspect the Flapper and Internal Components

Check the core mechanism that stops sewer backup.
Look for Debris and Buildup
Shine your light into the valve body. Look for wipes, grease, hair, or sediment around the flapper, hinges, and seal area. Even small obstructions can prevent the flapper from closing fully during a backup. If the flapper is yellow or clear plastic, check its underside, as this is where grime often accumulates.
Test Flapper Movement
Gently lift the flapper by hand. It should move freely up and down without sticking. If it is stiff or binds, clean around the hinge pins with a soft brush. A stuck flapper will not seal when needed. After lifting, release it and gravity should return it smoothly to the open position. If it does not drop freely, debris or mineral buildup may be interfering.
Check the Floats and Seal
Inspect the small flotation devices on either side of the flapper. These help lift the flapper during reverse flow. If they are cracked, waterlogged, or missing, they will not function. Also examine the elastomeric seal on the flapper edge. Look for tears, brittleness, or warping. A damaged seal will not create a watertight closure.
Clean the Valve Without Causing Damage
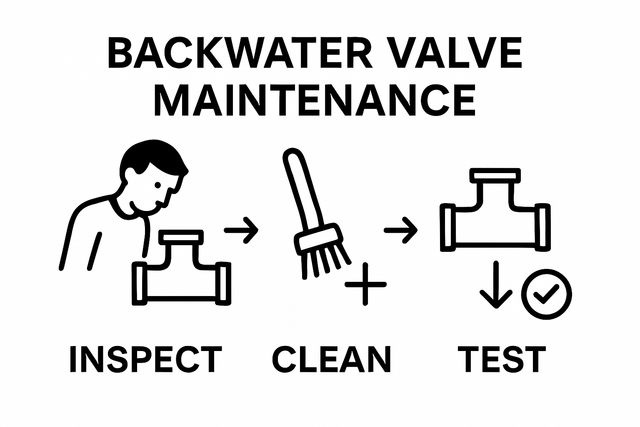
Remove buildup safely and effectively.
Flush and Brush Gently
Start by flushing the valve with a garden hose or bucket of water. This may dislodge loose debris. For stubborn buildup, use a long-handled soft brush to scrub the valve body, flapper, and hinge areas. Avoid wire brushes or sharp tools, as these can scratch surfaces or puncture seals.
Never Use a Drain Snake
Do not run a plumbing snake through the backwater valve. The rotating cable can damage the flapper, jam it closed, or become entangled, rendering the valve useless. If you suspect a blockage beyond the valve, have a plumber install cleanout tees on either side of the unit for safe snaking access.
Service Outdoor Extendable Valve Models
Maintain above-ground units without entering the pipe.
Remove the Top Assembly Safely
For models like the Clean Check, remove the threaded cap on top. Locate the stainless-steel thumb screw inside the collar and loosen it completely, but do not remove it. Use the finger hole to pull the entire inner pipe and flapper assembly straight up and out of the riser.
Clean All Parts Above Ground
With the unit out, inspect and clean all parts above ground. Remove debris from the flapper, hinges, and inside the riser. Check the flapper for warping or cracks from long-term sewage exposure. These units often have snap-in replacement flappers rated up to 75 PSI, so replace any that show damage.
Reinstall with Precision
Lower the assembly back into the riser. Rotate it until the thumb screw is loose and no longer pressing against the riser wall. Push down until it seats fully and no longer wobbles. Hand-tighten the thumb screw until it contacts the inner wall, not the top edge. Misalignment can prevent proper closure.
Test Valve Operation After Reassembly

Verify it works before sealing everything back up.
Simulate Normal Drainage Flow
After cleaning and reassembling, test the valve’s basic function. Flush a toilet or run a full sink of water. If your valve has a clear top, watch the flapper. It should lift smoothly as water flows out and then drop freely when the flow stops. You may hear a soft thud as it closes.
Listen for Proper Function
No clear top? Listen near the access point. A working flapper opens with flow and closes with a distinct sound when water stops. If you hear gurgling or no closure noise, recheck for debris or misalignment.
Note: You cannot safely simulate actual backflow at home. The DIY test confirms free movement only, which is sufficient for routine checks.
Spot Warning Signs of Valve Failure
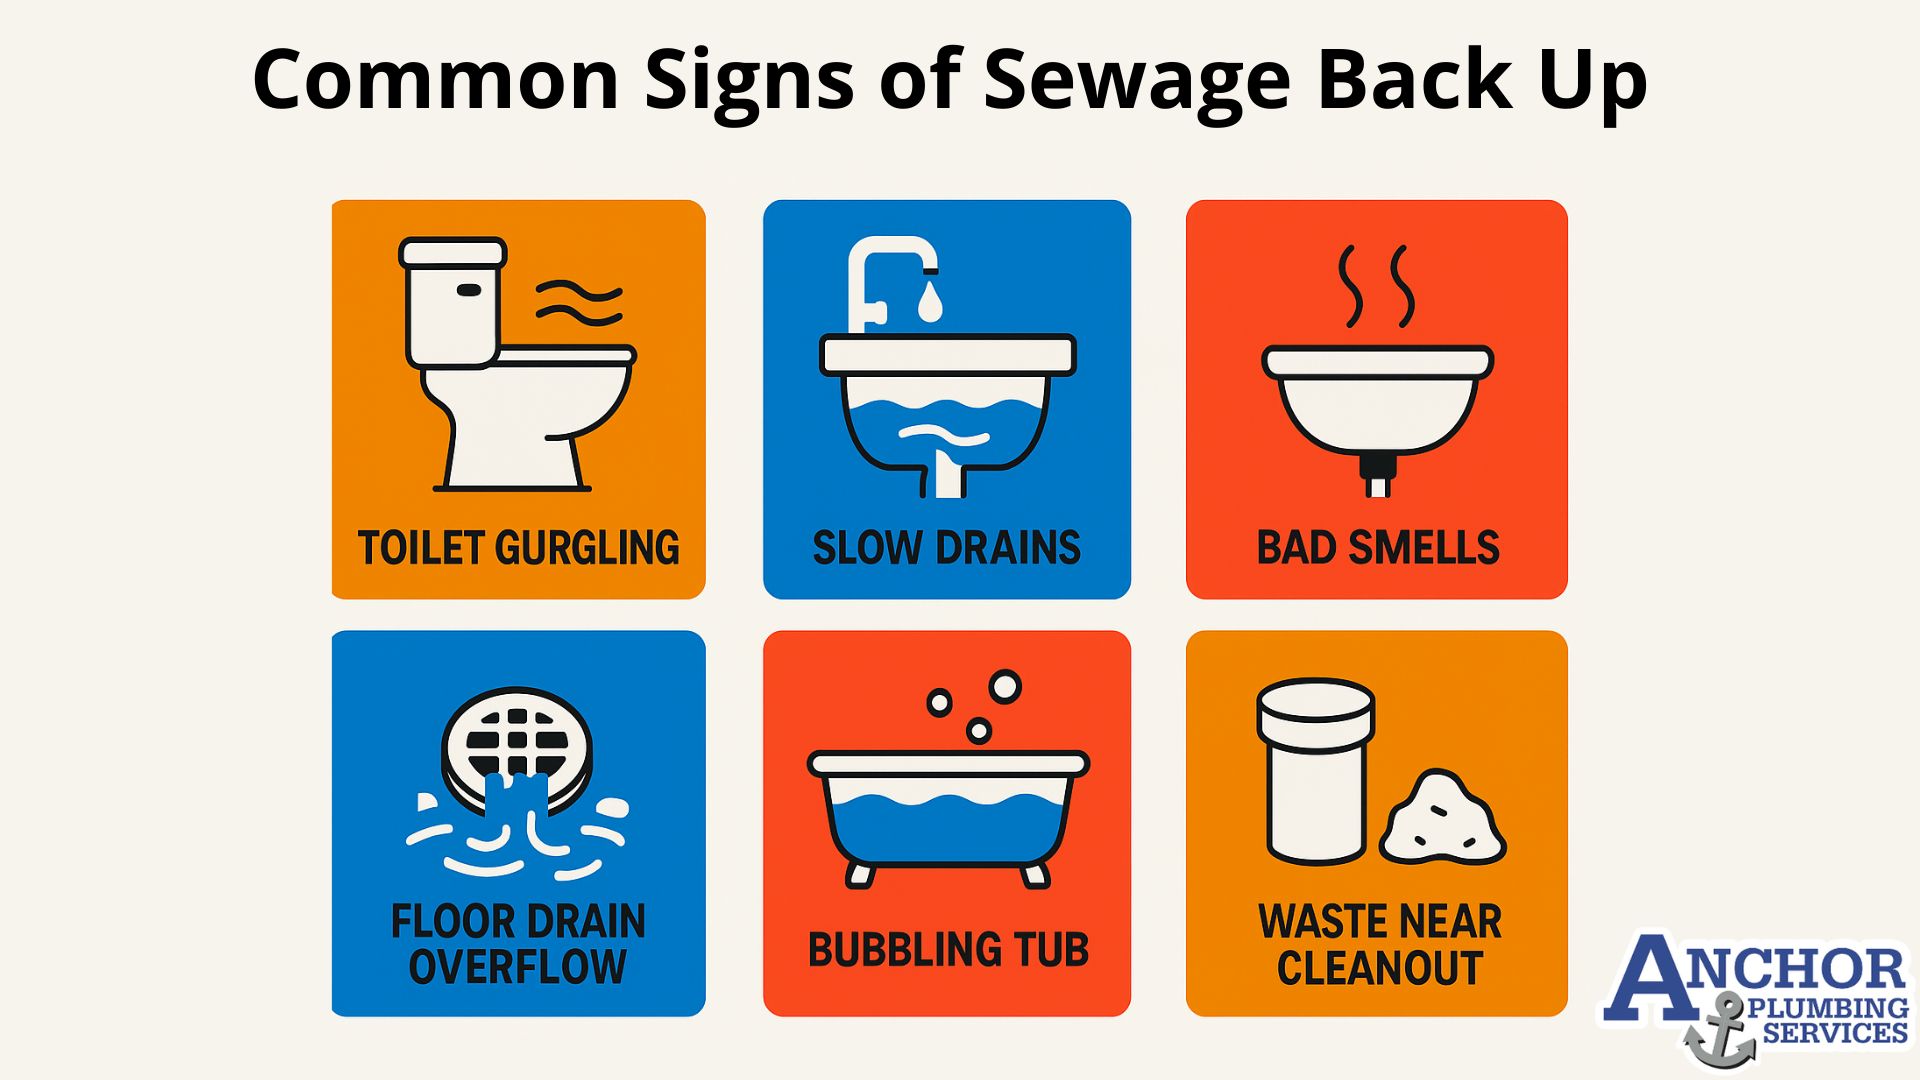
Catch problems before they cause flooding.
Gurgling Drains During Rain
If your basement drain gurgles during storms, the valve may not be sealing or the line is partially blocked. This is a major red flag that requires immediate inspection.
Sewage Backup or Foul Odors
Water rising from the floor drain or foul sewer smells indicate a failed seal, loose cover, or damaged flapper. These conditions require urgent attention.
Visible Damage or Sticking Parts
A flapper that does not move freely, cracked floats, or a flattened O-ring all mean the valve will not work when needed. Replace worn parts before the next storm.
Follow a Regular Maintenance Schedule
Keep your valve reliable year after year.
Annual Inspection Is Critical
Inspect and clean the valve at least once a year. The best times are early spring before snowmelt or before the rainy season. Post-flood inspections are also wise if your area experienced heavy runoff.
Quick Quarterly Checks
Every three months, remove the cover for a 30-second visual check. Look for new debris, water lines, or odors. Early detection prevents clogs and failures.
Maintenance Checklist
- Access cover removed safely
- Debris checked and cleared
- Flapper moves freely
- Floats intact and dry
- O-ring and seal in good condition
- No sharp tool damage
- Cover tightened securely but not over-tightened
- Area around valve unobstructed
Avoid Common Installation Mistakes
Ensure your valve works as designed.
Never Install Vertically
Backwater valves must be installed horizontally. In a vertical setup, the flapper cannot swing freely or seal properly. Gravity is essential for both opening and closing, so vertical installation guarantees failure.
Do Not Ignore Foundation Drains
A major cause of basement flooding is not the valve itself but foundation drains connected downstream of the valve. During a backup, pressure can force sewage into these drains, flooding through the floor. Disconnect foundation drains from the sanitary sewer and route them to a sump pump system instead.
Tighten the Cover Properly
A loose or cross-threaded cover is one of the top reasons valves fail. A City of Ottawa study found that one-third of failed valves had improperly secured lids, allowing sewage to bypass the seal. Always hand-tighten the cover and check the O-ring regularly.
Understand Costs and Insurance Impact
Know what is at stake financially.
Installation and Repair Costs
- New construction: approximately $500 for valve and labor
- Retrofitting: $2,000 to $5,000 for excavation, concrete removal, and pipe work
- Valve unit only: $250 to $500 for 3-inch, 4-inch, or 6-inch PVC or ABS models
Many cities offer subsidies or low-interest loans for installation. Check your municipality’s website for available programs.
Insurance Requirements
Most insurers now require a backwater valve for water backup coverage. If you do not have one, or if it fails due to neglect, your claim may be denied. A certified, maintained valve can lower premiums or qualify you for coverage.
Homeowner Liability
You are responsible for installation, access, and maintenance. Blocking the access point with flooring or storage violates code and increases liability. During home sales, many cities require proof of a working valve.
Replace Worn Parts Promptly

Keep your valve in top condition.
Swap Out Damaged Flappers
Flappers degrade over time. If yours is cracked, warped, or brittle, replace it. Many models offer snap-in replacements that require no plumber. Use manufacturer-approved parts rated for sewer use up to 75 PSI.
Renew O-Rings Annually
Rubber O-rings dry out and crack. Even if they look okay, replace them every year during cleaning. Lubricate lightly with plumber’s grease to ensure a tight seal.
Upgrade to Extendable Models
If your current valve requires crawling under pipes, consider upgrading to an above-ground extendable model. These allow full inspection and cleaning without reaching into raw sewage, which is ideal for safety and convenience.
Frequently Asked Questions About Checking a Backwater Valve
How Often Should I Check My Backwater Valve?
Inspect and clean your backwater valve at least once per year. For optimal reliability, perform a quick visual check every three months. The best times for full maintenance are early spring before snowmelt or before the rainy season.
What Happens If I Never Check My Backwater Valve?
Neglecting your valve can lead to catastrophic basement flooding with contaminated sewage, structural damage, and significant financial loss. A clogged or stuck flapper will not seal during a backup, and insurance claims may be denied if negligence is found.
Can I Use Drain Cleaner in a Backwater Valve?
Avoid excessive use of chemical drain cleaners. These products can degrade rubber seals and flappers over time, reducing the valve’s effectiveness. Mechanical cleaning with water and a soft brush is safer and more effective.
How Do I Know If My Backwater Valve Is Failing?
Common warning signs include gurgling drains during rain, water backing up from the basement floor drain, foul sewer odors, or visible debris and water lines inside the valve chamber. Any of these require immediate inspection.
Is It Safe to Test a Backwater Valve Myself?
You can safely test free movement by flushing a toilet or running water while observing the flapper. However, simulating actual backflow is not recommended for DIY homeowners due to contamination risks. Visual confirmation of smooth movement is the standard test.
What Should I Do If the Flapper Is Stuck?
If the flapper does not move freely, gently clean around the hinge pins with a soft brush to remove debris or mineral buildup. If it remains stuck after cleaning, the flapper may be warped and needs replacement. Do not force it, as this can damage the seal.
Key Takeaways for Checking Your Backwater Valve
Knowing how to check a backwater valve protects your home from costly sewage backups and keeps your insurance coverage valid. The process is straightforward: wear proper PPE, access the cleanout, inspect the flapper and floats, clear debris with a soft brush, and test for free movement. Annual maintenance takes only 10 to 15 minutes but prevents thousands in potential damage.
Mark your calendar today for your next inspection. Gather your gloves, goggles, and flashlight, and make this quick check part of your yearly home maintenance routine. Your basement, your wallet, and your peace of mind will all benefit from this small but essential effort.