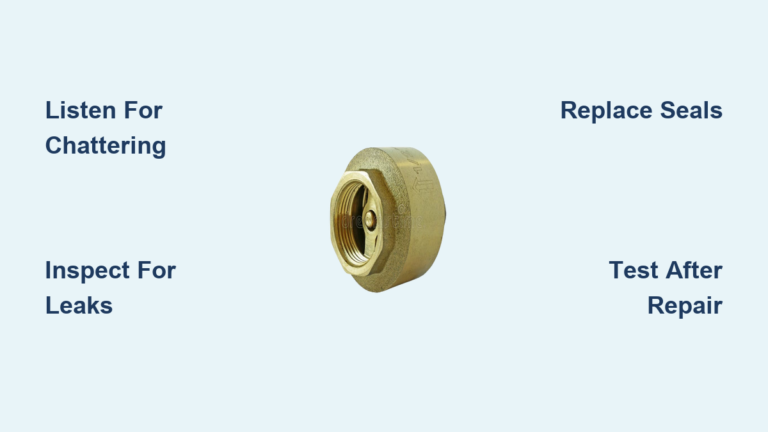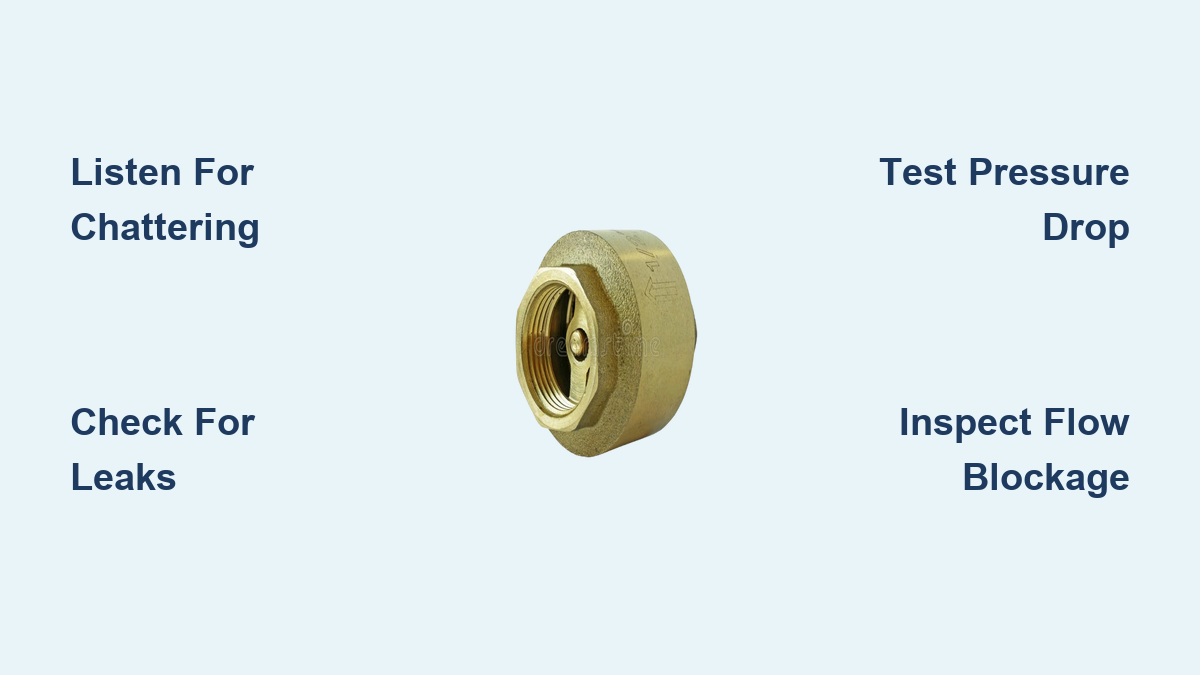
A failing check valve can silently sabotage your system. Backflow, pressure drops, strange noises, and even equipment failure often trace back to this small but critical component. These one-way valves allow fluid or air to move in only one direction, preventing reverse flow that could damage pumps, contaminate fluids, or waste energy. When they fail, the symptoms are often subtle at first: a slow pressure loss, a faint hiss, or a rhythmic chattering noise.
Check valve troubleshooting doesn’t require guesswork. Most failures stem from three root causes: debris clogging the mechanism, wear in seals and springs, or incorrect installation. The good news is that many issues can be diagnosed quickly and resolved with basic tools. Whether you are dealing with an air compressor that won’t hold pressure, a well pump losing prime, or a chemical skid allowing cross-contamination, this guide walks you through proven diagnostic steps, repair protocols, and prevention strategies. You will learn how to test valve integrity, clean internal components, and decide when to repair or replace.
Recognize Common Failure Symptoms

Spotting early signs of check valve failure is the key to avoiding system-wide damage. Most problems manifest through sound, pressure behavior, or visible leaks. Identifying these cues helps isolate the issue before it leads to pump damage, contamination, or water hammer events.
Listen for Chattering or Banging Noises
A chattering valve produces a rapid rattling sound, often felt as vibration in the line. This happens when the valve flutters between open and closed states due to low flow pressure or debris blocking full movement. It commonly occurs when using a valve with a cracking pressure higher than the system’s operating pressure, especially in vertical installations.
A loud bang (known as water hammer) occurs when the valve slams shut suddenly during flow reversal. This shockwave stresses pipes and fittings and is typical in swing check valves that rely on gravity. If you hear either noise, inspect the valve immediately. Continuous chattering wears out seals, while repeated banging can crack housings or joints.
Spot Leaks and Backflow Signs
External leaks are visible clues. Look for fluid pooling around the valve body, rust stains, or persistent condensation in pneumatic lines. Internal bypass, where fluid flows backward when the system is off, is harder to see but just as damaging.
In well systems, a telltale sign is a gradual pressure drop after the pump shuts off. Use the pressure tank test: isolate the tank and watch the gauge. If pressure steadily declines, backflow is occurring, likely due to a failed check valve letting water drain back into the well.
In chemical skid setups, perform a color transfer test. Run dyed fluid (like blue surfactant) through the discharge. If color appears in a supply line when the pump is off, backflow confirms valve failure.
Monitor Pressure and Flow Performance
Unusual pressure behavior often points to valve issues. Slow tank pressurization in air compressors suggests the check valve isn’t sealing, forcing the motor to work harder. This inefficiency can lead to fuse blowouts, a red flag that the compressor is cycling excessively due to back pressure.
In high-demand water systems, reduced flow despite a working pump may mean debris is partially blocking the valve. The pump runs, but the check valve restricts forward movement, limiting output. Similarly, in dosing systems, inconsistent delivery rates can stem from a sticking diaphragm or ball check valve.
Diagnose Valve Problems Step by Step
A structured diagnostic process prevents misdiagnosis and ensures accurate repairs. Start with simple non-invasive tests, then progress to disassembly if needed. Always shut down and depressurize the system before any inspection.
Test Air Compressor Check Valves
For compressors, use the intake suction test, a quick and reliable method:
- Shut off the compressor and release pressure.
- Remove the air filter.
- Cover the intake port with your finger for 30 seconds.
- Remove your finger.
If you feel suction or hear a pop, air is leaking from the tank back through the valve. This means the check valve isn’t sealing. Replace it immediately to prevent motor strain and pressure loss. Also, check for slow fill times or frequent cycling, which often trace back to a failing valve.
Perform a Well System Pressure Check

In residential or agricultural well systems, follow these steps:
- Turn off all water use.
- Let the pump cycle on and off.
- Once it shuts off, monitor the pressure gauge.
A drop of more than 1 to 2 psi per hour indicates a leak in the drop pipe or a failed check valve. Since the bottom valve is located near the pump (typically 25 to 30 feet down), a pressure loss means the entire pump assembly may need to be pulled for inspection. This emphasizes the importance of using durable, corrosion-resistant valves from the start.
Inspect Skid and Chemical Systems

In multi-tank skid setups, run a colored fluid through one circuit. Observe other lines when the pump is off and look for color migration. Any transfer means backflow is