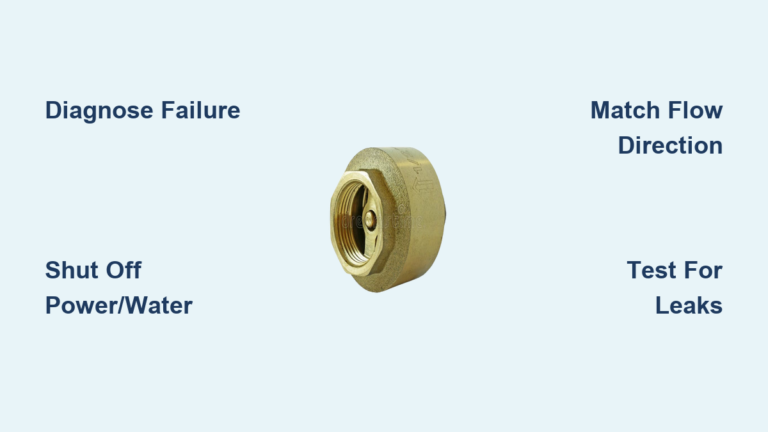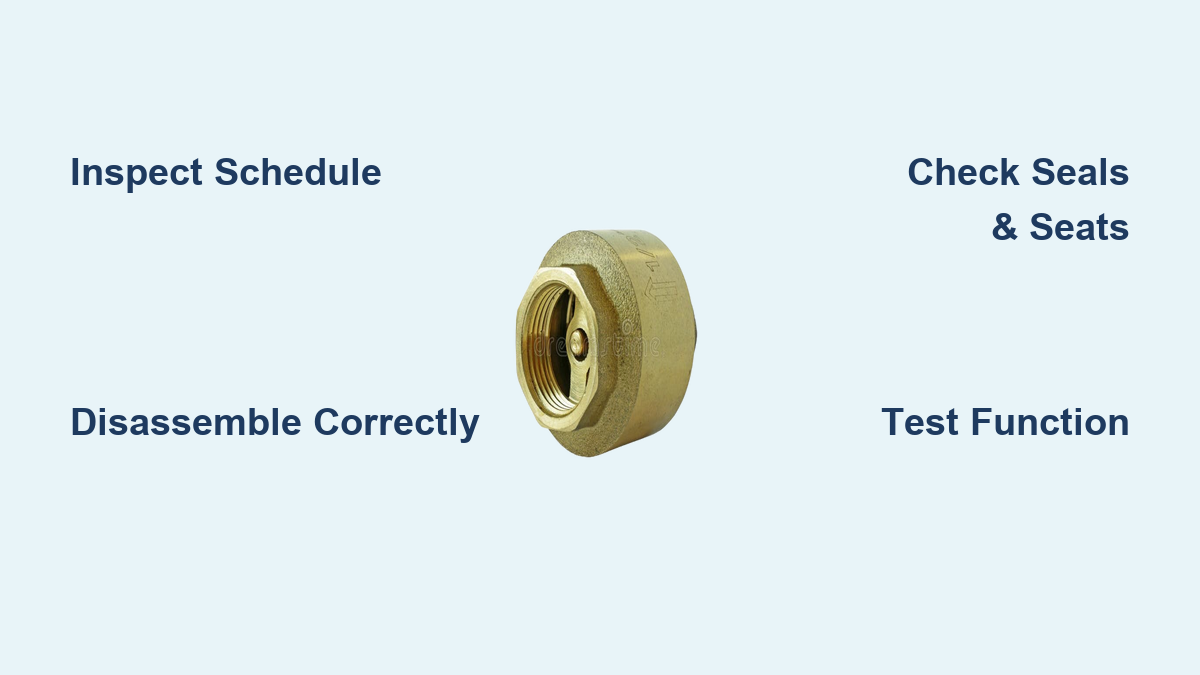
A single valve failure can halt a power plant, leak hazardous chemicals, or trigger catastrophic equipment damage. Check valves work silently in the background to enforce one-way flow, but neglect turns them into liability risks. Across steam turbines, processing lines, and water systems, check valve maintenance is the difference between reliable operation and emergency shutdowns.
This guide breaks down practical inspection schedules, disassembly techniques, component checks, and troubleshooting methods for industrial check valves. You will learn when to inspect, what to look for, and how to prevent the most common and dangerous failures in your system.
Set Inspection Frequency Based on Risk
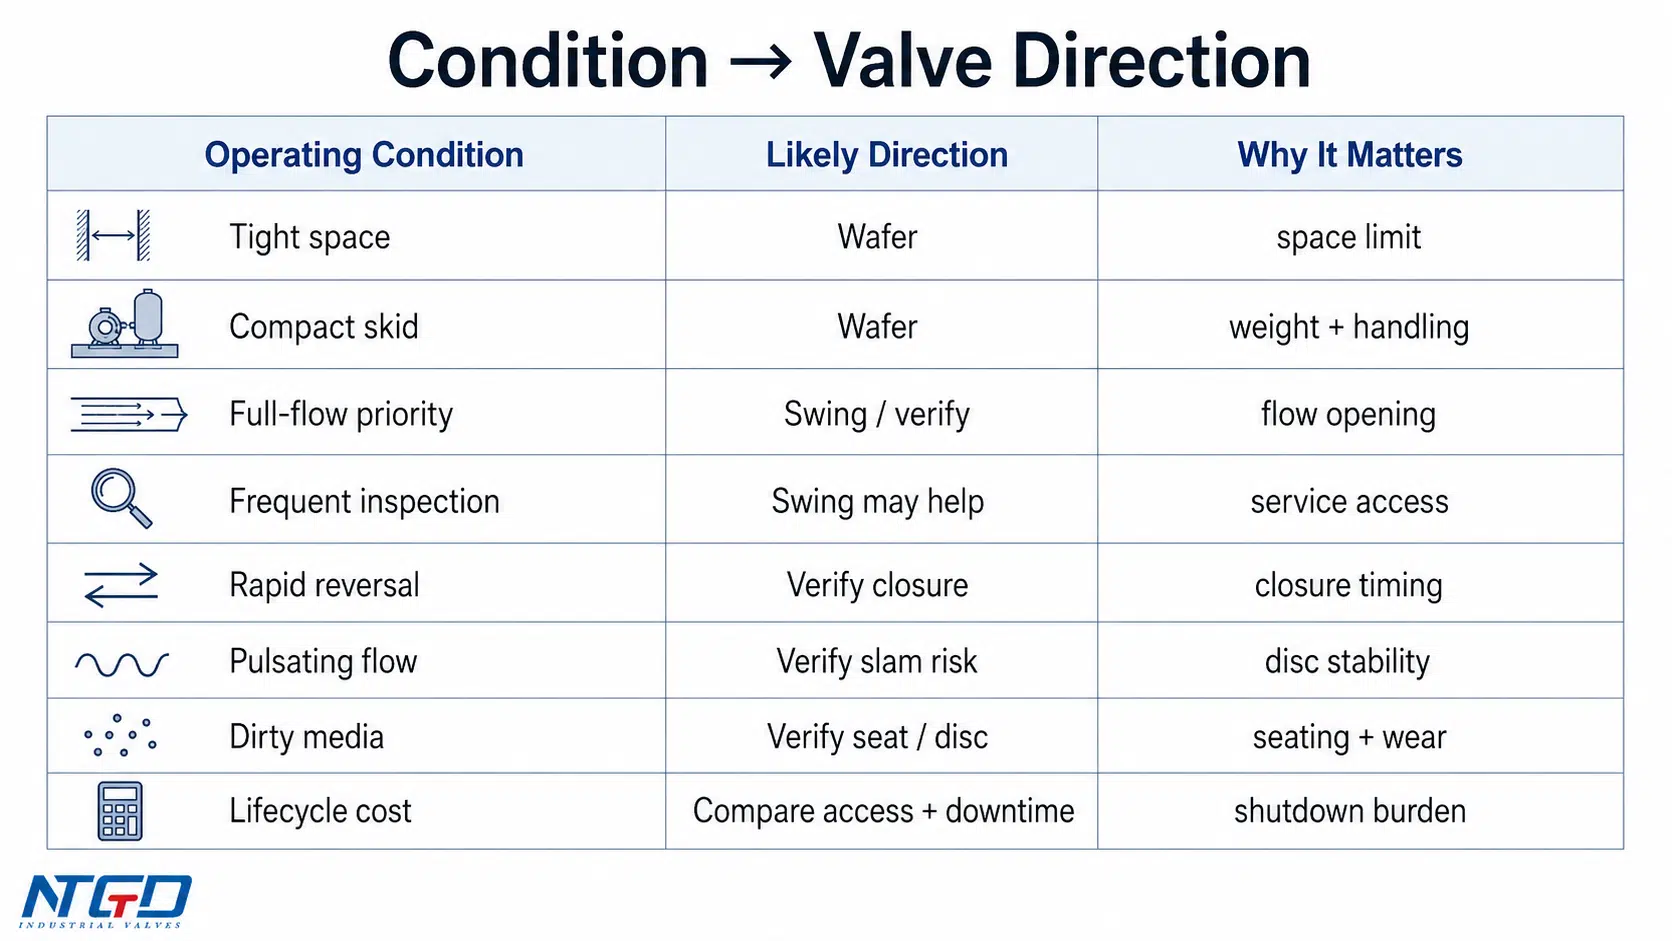
Maintenance schedules must match operating conditions, not generic timelines. The right interval depends on fluid type, environment, and system criticality.
Match Schedule to Operating Conditions
Standard conditions with clean fluids and stable pressure call for annual inspections as the baseline. Harsh environments with corrosive chemicals, high-velocity steam, or abrasive slurries demand shorter cycles of every six months. In extreme cases, schedule checks quarterly.
Routine visual walkarounds should happen weekly or monthly. Watch for:
– Drips or stains around the body or seals
– Unusual vibration or rattling
– Corrosion on external surfaces
Catching these early prevents emergency shutdowns.
Swing Valve Inspection Timeline
Swing check valves require layered maintenance routines:
– Visual checks during every plant round
– Cleaning every 3 to 6 months based on debris buildup
– Lubrication when disc movement feels stiff
– Full inspection once per year, including seat, disc, and hinge
Skipping cleaning causes debris to score the seat and leads to premature failure.
Extraction Steam Valve Maintenance Schedule
In power generation, these valves prevent turbine overspeed. Their maintenance is non-negotiable.
Monthly tasks:
– Check for leaks at cover gasket and shaft seal
– Test air cylinder with hand test valve; spring must move the shaft slightly
Every 2 years:
– Replace air/oil cylinder seals
– Inspect internals
– Perform feeler gauge test between disc and seat
– Check disc stop wear
Every 4 years:
– Full disassembly
– Measure shaft and bushings and record baseline data
– Inspect disc arm for bending
– Rebuild cylinder and replace all gaskets and packing
Every 8 years:
– Replace shaft, bushings, seat, split rings, and shaft dog
– Full reconditioning equivalent to a complete rebuild
Missing a cycle risks million-dollar outages.
Disassemble In-Line Valves Correctly
One wrong move during disassembly can damage threads or misalign components. Follow this sequence to protect the valve and your hands.
Secure and Open the Valve
- Position the valve upright in a vice with the flow arrow pointing up.
- Use a 7/8-inch wrench to loosen the body. Apply steady force without jerking.
- Remove internal parts in order: spring, poppet, then O-ring.
Keep components in sequence and label if needed.
Clean and Inspect Each Part
Use a solvent compatible with the fluid type. Never use abrasives on sealing surfaces.
Critical checks include:
– Poppet: Look for nicks, cracks, or deformation
– O-ring: Must be smooth, round, and free of cuts
– Body bore: Check for corrosion or scoring
Replace any part showing wear. An O-ring with a single nick will leak.
Reassemble with Alignment Check
- Insert the spring first, then the poppet, then the O-ring.
- Hand-tighten until seated.
- Test alignment by slightly opening the valve. Watch the O-ring shift from the top of the poppet to the center of the body. If it does not move, the poppet is misaligned.
- Re-clamp in the vice with arrow up and torque fully using the 7/8-inch wrench.
Misalignment is the leading cause of reverse flow failure.
Test Before Reinstalling
Connect an air hose to verify function:
– Forward flow: Air passes freely
– Reverse flow: Zero airflow
If air leaks backward, disassemble and recheck O-ring seating and poppet alignment.
Maintain Extraction Steam Valves Safely
These valves are safety-critical. A single failure can destroy a turbine. Proceed with extreme caution.
Follow Safety Protocols First
Before any work:
– Apply Lockout/Tagout (LOTO) to the system
– Confirm zero pressure in the line and actuator
– Wear PPE including gloves, face shield, and respirator if pre-1983 (asbestos risk)
– Use only clean, dry tools
Valves built before 1983 may contain asbestos in gaskets. Do not sand or grind these components. Follow hazardous material procedures.
Remove and Inspect the Disc
The disc can come out while the seat stays in the body.
- Check the disc for bending using a machinist square
- Inspect the post seal weld on two-piece discs and replace if cracked
- Never attempt to straighten a bent disc arm. Replace it instead.
Refurbish the Seat In Place
Skilled welders can refurbish the seat without removing the valve body:
– Reweld the seat surface
– Re-machine to a flat, angled sealing surface
– Restore sealing integrity
This approach saves downtime and avoids full replacement costs.
Inspect Critical Components for Wear
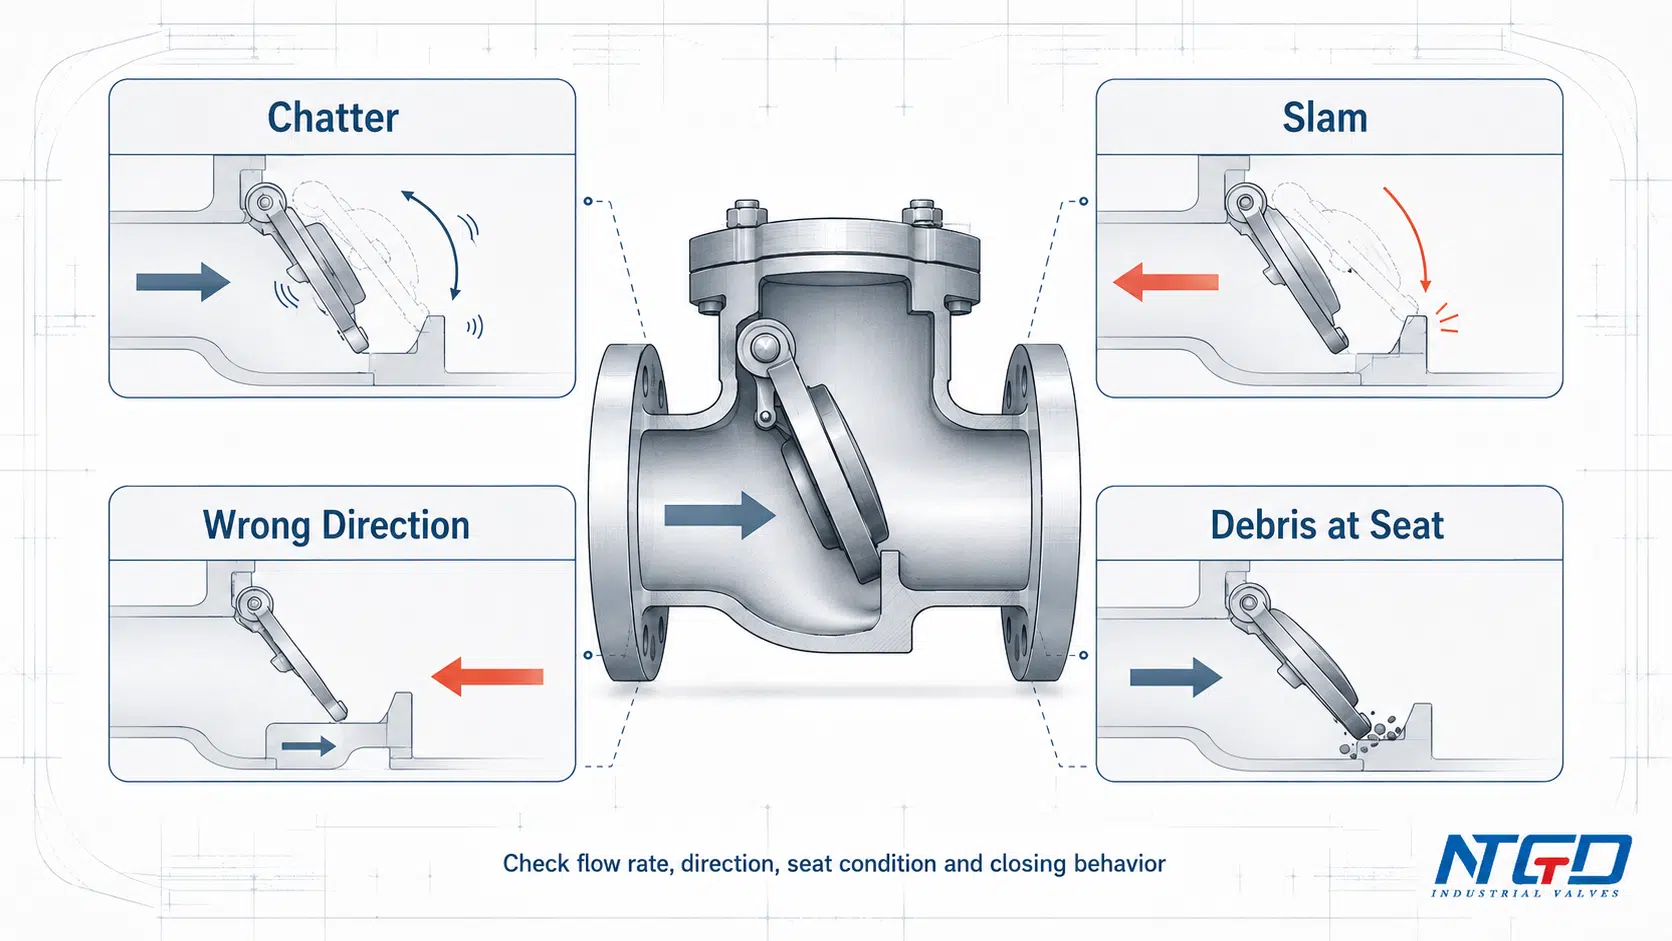
Even small damage can lead to system failure. Know what to look for and when to replace.
Check Disc and Seat Sealing Surfaces
- Look for pitting, scratches, or galling
- Perform the feeler gauge test per the IOM. Any gap means leakage.
- If the surface is rough or corroded, replace or reface it.
A scored seat will not seal, regardless of disc condition.
Verify Disc Stop and Clearance
The disc stop prevents over-travel. After impact, it may need rebuilding.
- The stop should hold the disc at roughly 15 degrees below horizontal
- Rebuild with compatible weld materials
- Measure clearance between the disc OD and body wall and record the value
Spacers between bushing tails and the disc arm prevent contact. Note their position during disassembly.
Measure Shaft and Bushings
- Replace the shaft if runout exceeds 0.005 inches
- Check bushings for chipping, galling, and uneven wear
- Measure at every outage to track wear trends
Worn bushings allow disc wobble and lead to seat damage.
Test Hinge and Packing
- The hinge must allow free swinging motion without binding
- Inspect the shaft and stuffing box for corrosion
- Replace packing per schedule (every 2 to 4 years)
- Torque gland bolts to IOM specifications
- Verify the shaft rotates freely after installation
Overtightened packing increases friction and prevents full closure.
Troubleshoot Common Valve Failures
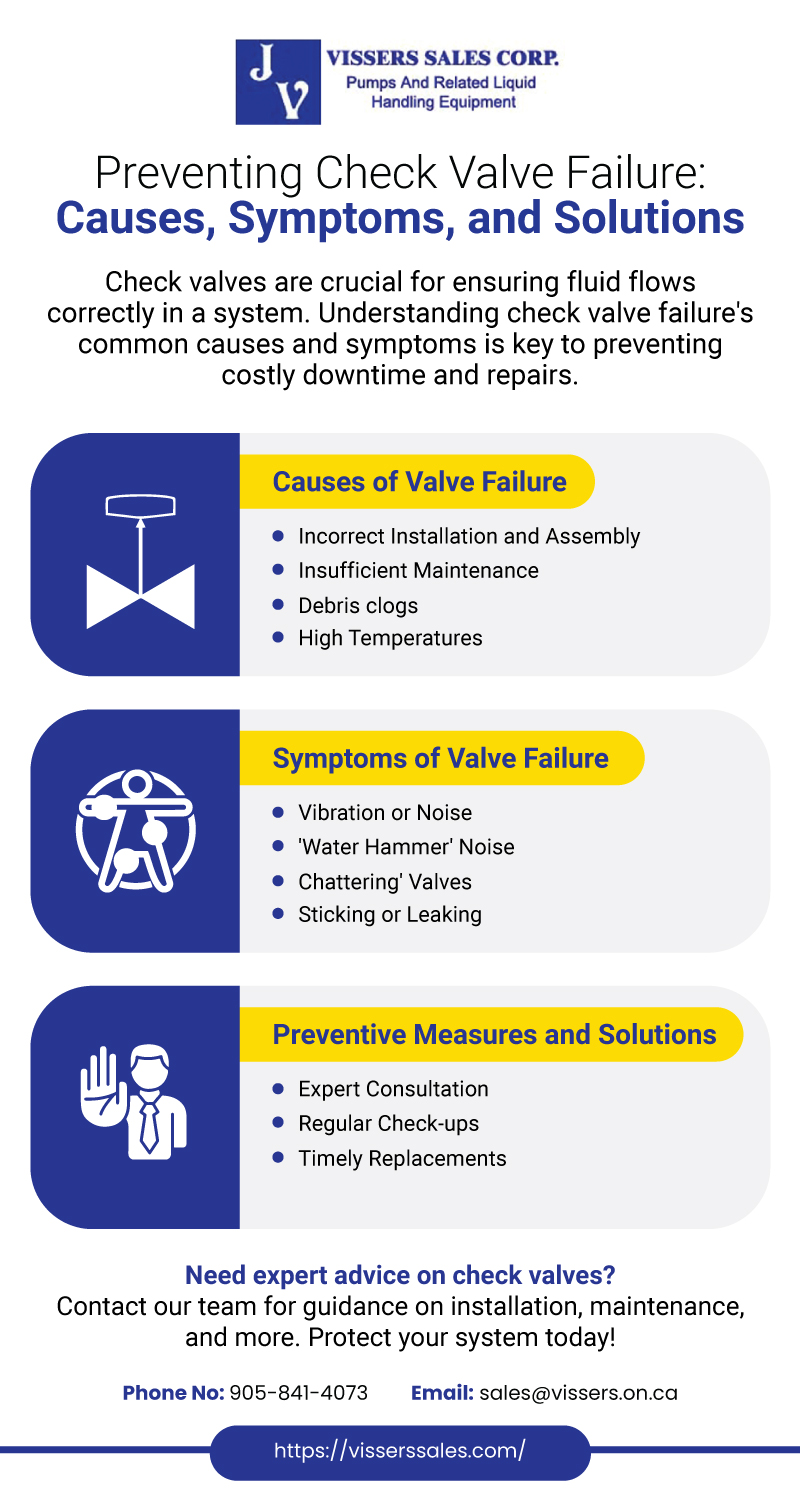
Most problems have clear causes and straightforward fixes. Use this diagnostic table to identify issues quickly.
Air Cylinder Not Closing
| Symptom | Cause | Fix |
|---|---|---|
| Cylinder will not close | Blocked exhaust, low air pressure (below 70 psi), faulty solenoid | Clear exhaust line, verify pressure, test or replace solenoid |
Air supply must remain at or above 70 psi. Below that threshold, the spring cannot overcome packing friction.
Leaks at Seals and Gaskets
- Cover leak: Tighten bolts to spec. If it still leaks, replace the gasket and inspect the sealing surface.
- Test port leak: Re-torque the plug. Replace the seal if damaged.
- Bearing cover leak: Check gasket and surface flatness. Rebuild if warped.
- Shaft packing leak: Tighten the gland. If it persists, replace packing or shaft.
Use OEM gaskets such as graphite/stainless steel or spiral wound for high-temperature applications.
Vibration and Noise
Turbulence causes wear and noise. Address the root cause.
- Cause: Insufficient straight pipe runs
- Solution: Ensure 10 pipe diameters upstream and 5 pipe diameters downstream
- Adjustment: Modify external weights (if equipped) to dampen disc motion
Ideal operation keeps the valve fully open during normal flow to minimize movement.
Incomplete Closure
If the disc does not seal, something obstructs the path.
- Inspect internals for debris
- Verify the lever arm moves freely
- Check for disc binding on bushings
Even a small obstruction prevents complete shutoff.
Prevent Failure with Best Practices
Proactive care always beats emergency repair. Build these habits into your maintenance program.
Install Valves Correctly
- The flow arrow must point in the direction of flow. Reversing blocks forward flow.
- Size the valve properly. Oversizing causes vibration and water hammer.
- Match orientation to valve requirements. Some valves only work horizontally or vertically.
- Provide adequate pipe runs: 10D upstream and 5D downstream to prevent turbulence.
A misinstalled valve fails early regardless of maintenance quality.
Select the Right Valve
Consider these factors when choosing a check valve:
– Fluid type (corrosive or abrasive)
– Flow rate and pressure
– Temperature range
– Required closing speed to prevent water hammer
– Material compatibility (stainless versus carbon steel)
When in doubt, consult the OEM for guidance.
Keep It Clean and Lubricated
- Install in-line filters to block debris
- Flush pipes regularly to remove settled particles
- Lubricate hinges and moving parts when stiffness appears
- Use system-compatible solvents for cleaning
Clean valves last longer and seal better.
Stock Critical Spare Parts

Downtime costs money. Be ready with the right inventory.
For high-criticality systems, keep these spares on hand:
– Shaft packing and gaskets (graphite/stainless)
– Air cylinder repair kits
– Live-loaded conversion kits (if applicable)
– Solenoid valves (verify NO/NC configuration)
– Hand test valve with locking pin
– Air filter regulator with gauge
Having spares cuts repair time from days to hours.
Follow Safety and Compliance Rules
Cutting corners kills. Always follow protocol without exception.
Lock Out Before Working
- Apply LOTO to the system
- Verify zero energy in the line and actuator
- Use PPE and proper tools
No exceptions apply to these rules.
Use OEM Parts and Documentation
- OEM parts are engineered specifically for your valve
- Non-OEM seals or cylinders may fail under stress
- Retrieve original drawings and BOMs using tag info on the cover
- If the tag is missing, use the order number or drawings to rebuild history
Manufacturers like Trillium support valves up to 60 years old. Use that resource.
Understand the Overspeed Risk
In power plants, check valve failure during an overspeed event is catastrophic:
– Three failures must occur: load loss, governor failure, and trip system failure
– If the check valve does not close, the turbine can explode
– Damage costs range from $300,000 to $1 million per day in downtime
– Turbine replacement takes 6 to 15 months
Most failures stem from poor maintenance rather than design flaws.
Apply Principles Across Industries
While power generation carries the highest stakes, these rules apply everywhere:
– Oil and gas pipelines
– Water and wastewater treatment plants
– Chemical processing facilities
– HVAC systems
– Municipal water supplies
A failed check valve in any system risks leaks, contamination, or equipment damage.
Frequently Asked Questions About Check Valve Maintenance
How often should check valves be inspected?
In standard conditions with clean fluids, annual inspections are sufficient. Harsh environments with corrosive chemicals, high temperatures, or abrasive slurries require inspections every six months or even quarterly. Visual walkarounds should occur weekly or monthly regardless of the full inspection schedule.
What are the signs of a failing check valve?
Common warning signs include visible leaks around the body or seals, unusual vibration or rattling noises, changes in pressure or flow rates, and corrosion on external surfaces. Any of these symptoms warrant immediate inspection regardless of the scheduled interval.
Can check valve seats be repaired without removing the valve body?
Yes. Skilled welders can refurbish the seat in place by rewelding the surface and re-machining it to a flat, angled sealing surface. This approach saves significant downtime and avoids the cost of full valve replacement.
Why is air pressure critical for extraction steam check valves?
The air cylinder assists closure during normal operation. If air pressure drops below 70 psi, the spring cannot overcome packing friction and the valve may fail to close. Monthly testing with the hand test valve confirms the spring initiates motion and the shaft rotates slightly.
What spare parts should be kept for critical check valves?
For high-criticality systems, stock shaft packing and gaskets, air cylinder repair kits, live-loaded conversion kits, solenoid valves, a hand test valve with locking pin, and an air filter regulator with gauge. Having these parts ready cuts repair time from days to hours.
Are pre-1983 check valves dangerous to maintain?
Valves manufactured before 1983 may contain asbestos in gaskets and packing. Workers must wear proper PPE including respirators and follow hazardous material protocols. Never sand or grind these components, as this releases asbestos fibers into the air.
Key Takeaways for Check Valve Maintenance Success
Check valve maintenance protects more than equipment. It safeguards production schedules, worker safety, and bottom-line profitability across every industry that relies on one-way flow control. The most important principles to remember are these: match inspection frequency to operating conditions rather than using generic timelines, follow precise disassembly and reassembly sequences to prevent damage, and never skip safety protocols especially on extraction steam valves where failure means catastrophic turbine damage.
Start with your most critical valves and document every step of the maintenance process. Train your team on proper procedures and stock the spare parts you need before emergencies arise. Most importantly, never skip the monthly air cylinder test on extraction steam valves. When the system fails, the check valve must work, and that reliability comes from consistent, proactive care.