Imagine a power outage cutting off your water supply, or living off-grid where electricity simply does not exist. You need water for drinking, gardening, or emergency purposes, yet commercial pumps require power you do not have. This is exactly when a homemade water pump becomes invaluable. Whether you are drawing from a rain barrel, pond, or shallow well, you can build reliable water-moving systems using everyday materials like PVC pipes, plastic bottles, and recycled parts. This guide walks you through five proven pump designs, from simple hand-powered systems for emergencies to solar-compatible electric models for sustainable irrigation.
You will learn the physics behind each design, step-by-step assembly instructions, and which pump best fits your specific situation. Every design uses accessible materials and requires no specialized tools or expensive components.
Build the HCPL1 Hydropneumatic Pump

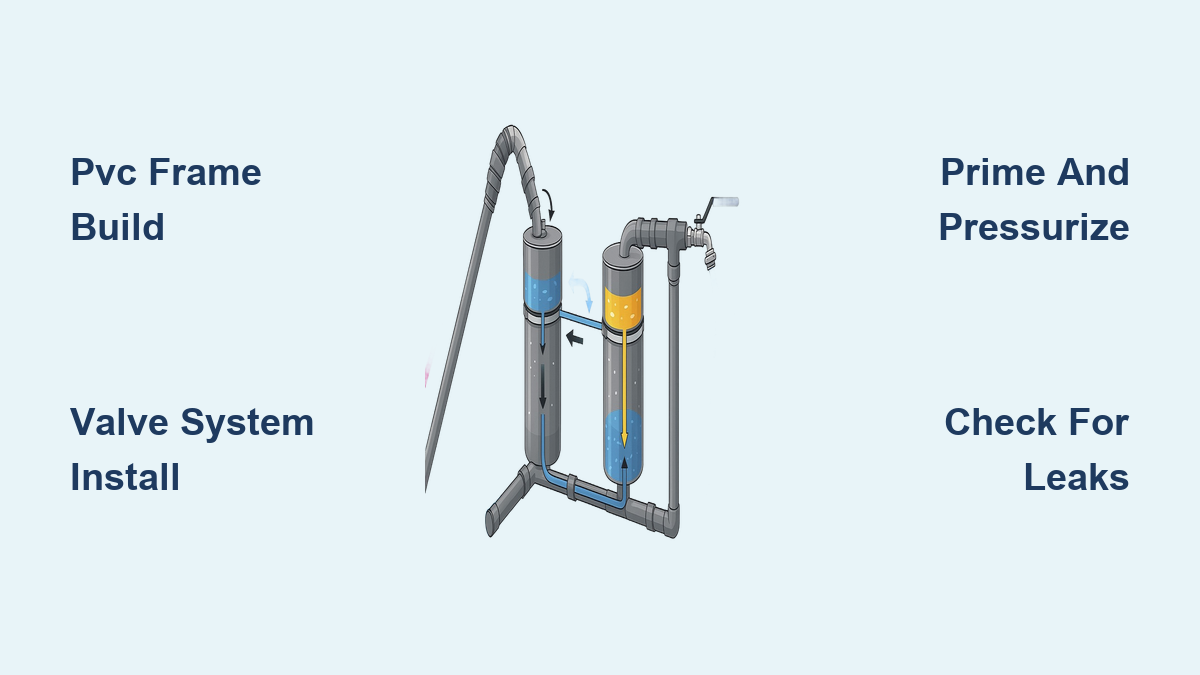
The Hydro-Cycling Pressure Loop (HCPL1) is a non-mechanical, self-sustaining water pump that runs on compressed air and fluid dynamics. Once pressurized, it delivers continuous flow using only pressure differentials and the Venturi effect, with no motor or electricity required.
Assemble PVC Frame and Tanks
Construct two vertical 110mm by 400mm PVC tanks using heat-expanded joints for airtight seals. Apply high-pressure PVC cement on all connections and reinforce with clamps to ensure structural integrity. Attach 32mm support tubes with T-junctions to maintain perfect vertical alignment, as any tilt disrupts pressure balance and causes vortexing. Connect base components using 32mm T-fittings, 90-degree elbows, and reducers, ensuring every joint is sealed internally with PVC cement.
Install Valve System and Air Charge Port
Mount a Schrader-type tire valve into a 50mm threaded plug at the top cap. Secure it with nuts on both sides to handle pressures up to 60 psi. Add a spring-loaded ball check valve in-line to prevent backflow, acting as the system is one-way gate for maintaining directional flow. Seal all threaded parts with Teflon tape and test for leaks before charging the system.
Prime and Pressurize the Loop
Fill the entire loop with water, eliminating air pockets by gently rocking the assembly. Attach a bicycle pump to the tire valve and pressurize to 30 to 60 psi. Close the valve. Open the outlet tap slightly, as this constriction creates a Venturi effect that drops pressure at the intake and draws in external water. The compressed air expands as water exits, acting like an invisible piston and sustaining flow until pressure drops.
Re-pressurize every 5 to 10 minutes for continuous operation. For hybrid use, manually pump air using a hand-operated compressor built from another DIY pump.
Construct a Manual PVC Hand Pump
This simple, low-cost piston pump uses PVC pipes and recycled rubber to move water through suction and displacement. It is ideal for transferring water between containers or drawing from shallow sources.
Build the Base Check Valve
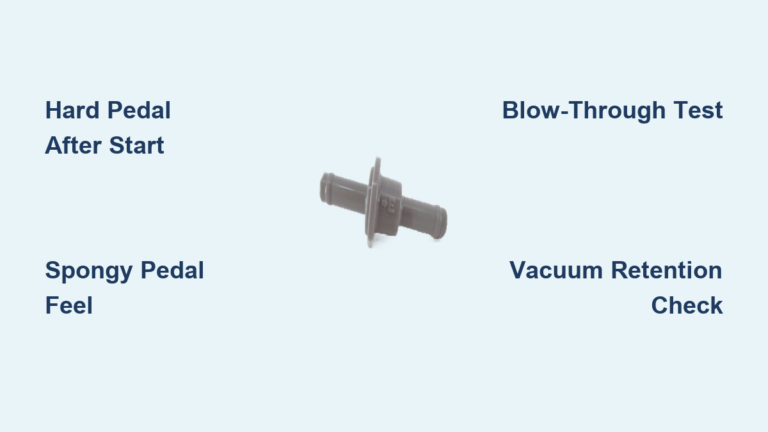
Cut a rubber gasket from an old bicycle inner tube and place it over a drilled center hole in a 1.5-inch PVC coupler. Secure it with a bolt and nut, tightening just enough to allow flexing. Drill multiple side holes around the coupler is edge so water enters during the upstroke. Attach this assembly to the bottom of an 8-inch 1.5-inch PVC housing pipe.
Assemble Floating Washer Plunger
Modify a 1-inch PVC plug into a disc and drill a center hole for a threaded bolt. Stack components in this order: fixed disc, floating large washer (seal), medium washer (spacer), and locking nut. Insert the bolt into a 3/4-inch PVC plunger tube, cap the top, and secure with a nut through a drilled hole. The floating washer moves dynamically, sealing during the downstroke and opening on the upstroke.
Attach Handle and Outlet Spout
Fix a 3/4-inch T-fitting to the plunger is top and add short PVC extensions as hand grips. Connect a reducer or hose adapter to the T-splitter at the base for directed flow. Use PVC cement on permanent joints but keep the plunger removable for cleaning.
After priming with 3 to 5 dry strokes, water should discharge steadily. If not, inspect the gasket seal and ensure no air leaks at the top cap.
Make a Drill-Powered Centrifugal Pump
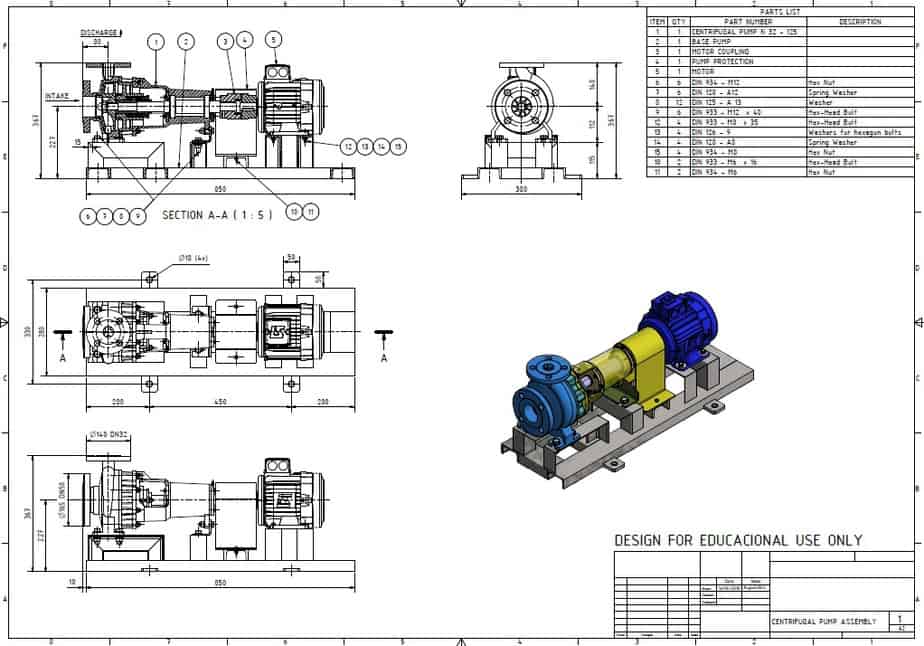
Turn a standard electric drill into a high-speed water evacuator using centrifugal force. This is perfect for quickly emptying flooded areas or rainwater tanks.
Prepare the Rotor and Chamber
Drill a snug hole in a rubber stopper to fit a short PVC pipe, matching the diameter to the stopper. Insert the pipe and seal with waterproof adhesive. Push the stopper into a 1 to 2 liter plastic bottle to create a sealed chamber, with the PVC acting as the rotating shaft.
Connect to Drill and Submerge
Chuck the exposed end of the PVC pipe into a standard electric drill. Fill the bottle with water, cap it with the stopper assembly, and invert it so the PVC end is submerged in the water source. Start the drill at high speed.
Activate Centrifugal Flow
As the PVC spins inside the bottle, centrifugal force flings water outward, creating low pressure at the center. This suction pulls water up through the pipe and discharges it out the top. With a powerful drill, this system can move up to 2.5 liters per second.
Never run dry, as this can overheat the motor. Clean the intake after use to avoid clogs.
Build a 12V DC Motor Water Pump
Automate water transfer using a 12V 775 high-torque motor. This setup is solar-compatible and ideal for unattended irrigation or off-grid applications.
Mount Motor and Rotor
Secure a 775 DC motor to the top of a plastic bottle using brackets or epoxy. Drill a hole in a rubber stopper, insert a PVC pipe, and seal it. Insert the stopper into the bottle mouth. Couple the motor shaft directly to the PVC pipe using a small sleeve or adhesive, ensuring no slippage during rotation.
Wire and Power the System
Connect the motor leads to a 12V power source such as a battery, car adapter, or solar charge controller. Use waterproof connectors and insulate all exposed wires. Position the bottle so the PVC intake is submerged.
Optimize for Continuous Operation
Add a check valve on the discharge line to prevent backflow when the system is off. Enclose the motor in a waterproof box if exposed to splashes. Install a speed controller to adjust flow rate based on need.
Replace plain PVC with a 3D-printed or salvaged impeller for higher flow and lower energy use.
Assemble a Dual-Valve Piston Pump
This classic reciprocating pump uses two check valves to achieve deep suction, capable of drawing water from up to 25 feet deep.
Create Homemade Check Valves
Build two one-way valves. For the foot valve at the bottom, use a marble inside a PVC T-fitting, as gravity seals it when flow reverses. For the delivery valve at the plunger head, cut a rubber flap from an inner tube and mount it over a port in the plunger cap.
Assemble Cylinder and Plunger
Use 1 to 2 inch PVC pipe, 18 to 36 inches long, as the cylinder. Fit a slightly smaller PVC tube or rod as the plunger. Install the delivery valve in the plunger head. Attach a handle to the top. Seal the cylinder top with a cap that allows the plunger rod to slide freely but blocks air.
Prime and Operate
Pour water into the cylinder to prime the system. Begin pumping. During the upstroke, vacuum opens the foot valve and draws water into the cylinder. During the downstroke, pressure closes the foot valve and forces water past the delivery valve and out the spout.
Atmospheric pressure limits suction depth to approximately 32 feet, with practical maximum of 20 to 25 feet due to friction and seal losses.
Compare Pump Designs for Your Needs
Each design serves different scenarios. Choose based on power availability, required flow, and depth.
HCPL1 works best for passive flow and education, requiring low effort after pressurization. Flow is continuous from shallow sources, costing 15 to 25 dollars.
Manual Hand Pump excels at bucket transfer with high effort but pulsating flow from about 10 feet depth. Cost is under 10 dollars.
Drill-Powered delivers fast removal with medium effort and continuous flow from submerged sources, costing 10 to 20 dollars.
12V DC Motor provides solar irrigation with no effort and continuous flow when submerged, costing 15 to 30 dollars.
Dual-Valve Piston reaches deep wells up to 25 feet with high effort and pulsating flow, costing 10 to 20 dollars.
Optimize Performance and Prevent Failures
Even the best design fails without proper setup. Follow these proven tips to ensure reliable operation.
Ensure Airtight and Watertight Seals
Use high-pressure PVC cement on all joints. Wrap threaded connections with Teflon tape. Test for leaks by pressurizing with air before water testing. Replace worn gaskets immediately to maintain seal integrity.
Maximize Flow Rate
Increase pipe diameter, such as going from 1 inch to 1.5 inch, for higher volume. Use smoother internal surfaces by sanding rough PVC edges. For motorized pumps, run at maximum safe RPM while checking motor specifications.
Prevent Backflow and Cavitation
Install a check valve on discharge lines to stop reverse flow. In HCPL1 systems, maintain partial tap opening to avoid sudden pressure drops that cause cavitation.
Extend Pump Lifespan
Store disassembled components in dry conditions. Clean intake filters and valves regularly. Use sealed bearings in motors to resist moisture ingress.
Follow Critical Safety Rules
DIY pumps involve pressure, moving parts, and electricity, making safety essential.
Never exceed 60 psi in PVC systems due to explosion risk. Wear eye protection when cutting or heating PVC. Keep electric motors away from standing water unless fully insulated. Do not run motors dry, as this causes overheating. Secure rotating parts to prevent contact during operation.
Apply Your Pump in Real-World Scenarios
Use in Gardens and Rainwater Systems
Connect any electric or hand pump to a rain barrel for gravity-free irrigation. Add a drip line to the outlet for efficient watering. The 12V 775 motor pump is ideal here; run it off a small solar panel for automatic daily watering.
Deploy in Emergencies
Pack a manual PVC hand pump in emergency kits. It requires no fuel, works in darkness, and can draw from ponds, bathtubs, or flooded basements. Keep spare gaskets and O-rings in your kit.
Teach Fluid Dynamics
Use the HCPL1 or dual-valve piston pump in classrooms to demonstrate the Venturi effect, atmospheric pressure limits, check valve function, and energy conversion from air to water. Students gain hands-on insight into physics and engineering principles.
Key Takeaways for Building Your Homemade Water Pump
Building a homemade water pump is entirely feasible using common materials found at any hardware store. The five designs presented here cover every scenario, from simple bucket transfer to solar-powered automated irrigation. The manual PVC hand pump offers the lowest cost and highest accessibility for immediate needs, while the HCPL1 hydropneumatic pump demonstrates elegant physics without any moving parts. For deeper water access, the dual-valve piston pump reaches 25 feet, and the drill-powered and 12V motor options provide rapid transfer speeds when electricity is available.
Start with the design matching your current resources and needs. Test each component before full assembly, and always prioritize proper sealing over speed of construction. With careful assembly and alignment, any of these pumps can deliver reliable, long-term service, giving you water independence regardless of grid availability.
Frequently Asked Questions About Making a Homemade Water Pump
What materials do I need to build a homemade water pump?
You will need PVC pipes and fittings, a rubber stopper, plastic bottles, PVC cement, Teflon tape, and check valves. For motorized versions, add a 12V 775 motor or electric drill. Recycled materials like bicycle inner tubes work well for seals and gaskets.
How deep can a homemade water pump lift water?
The dual-valve piston pump can lift water from up to 25 feet deep due to atmospheric pressure limits. Most other designs work best with shallow sources where the intake can be submerged.
Do I need electricity to run a homemade water pump?
Not necessarily. The HCPL1 hydropneumatic pump and manual hand pump operate entirely without electricity. Drill-powered and 12V motor pumps require power but can run on batteries or solar panels.
How long does it take to build a homemade water pump?
Simple designs like the manual hand pump take 1 to 2 hours. More complex systems like the HCPL1 may require 3 to 4 hours including drying time for PVC cement.
Can I use these pumps for drinking water?
These pumps move water but do not filter or purify it. Use the pumped water for irrigation, cleaning, or emergency purposes, and treat or filter before drinking.