A failed or worn water pump often means replacing the gasket, but just as important as installing the new one is properly removing the old. If you’re asking how to remove water pump gasket material safely and completely, you’re already on the right track. Leftover residue, scratches on the mating surface, or debris in coolant passages can lead to leaks, overheating, and even engine damage. This guide delivers a step-by-step, tool-specific approach based on verified techniques from mechanics, user experiences, and OEM standards.
Essential Safety and Prep Steps
Before touching any tool, protect yourself and your engine.
Drain Coolant and Remove Pump
Shut down a hot engine and wait until it is cool. Open the radiator cap only when cool and drain the coolant into a sealed container. Recycle it properly because antifreeze is toxic. Disconnect hoses, unbolt the pump, and gently pry it off. Never force it. If the pump is stuck, check for missed bolts or corrosion.
Block Off Engine Openings
Slide clean rags into coolant passages, timing cover gaps, or block cavities. This prevents gasket fragments, metal shavings, or solvent from falling inside and clogging narrow channels or damaging bearings.
Inspect the Gasket Surface
Look closely at the mating area. Note whether the old gasket is easily peeled off, baked on and fused, or carbonized and blackened. Also note the surface material because aluminum requires gentler tools than cast iron. Check for warping with a straight-edge and feeler gauge. Any visible groove or bulge may need professional resurfacing.
Choose the Right Tools for Your Surface
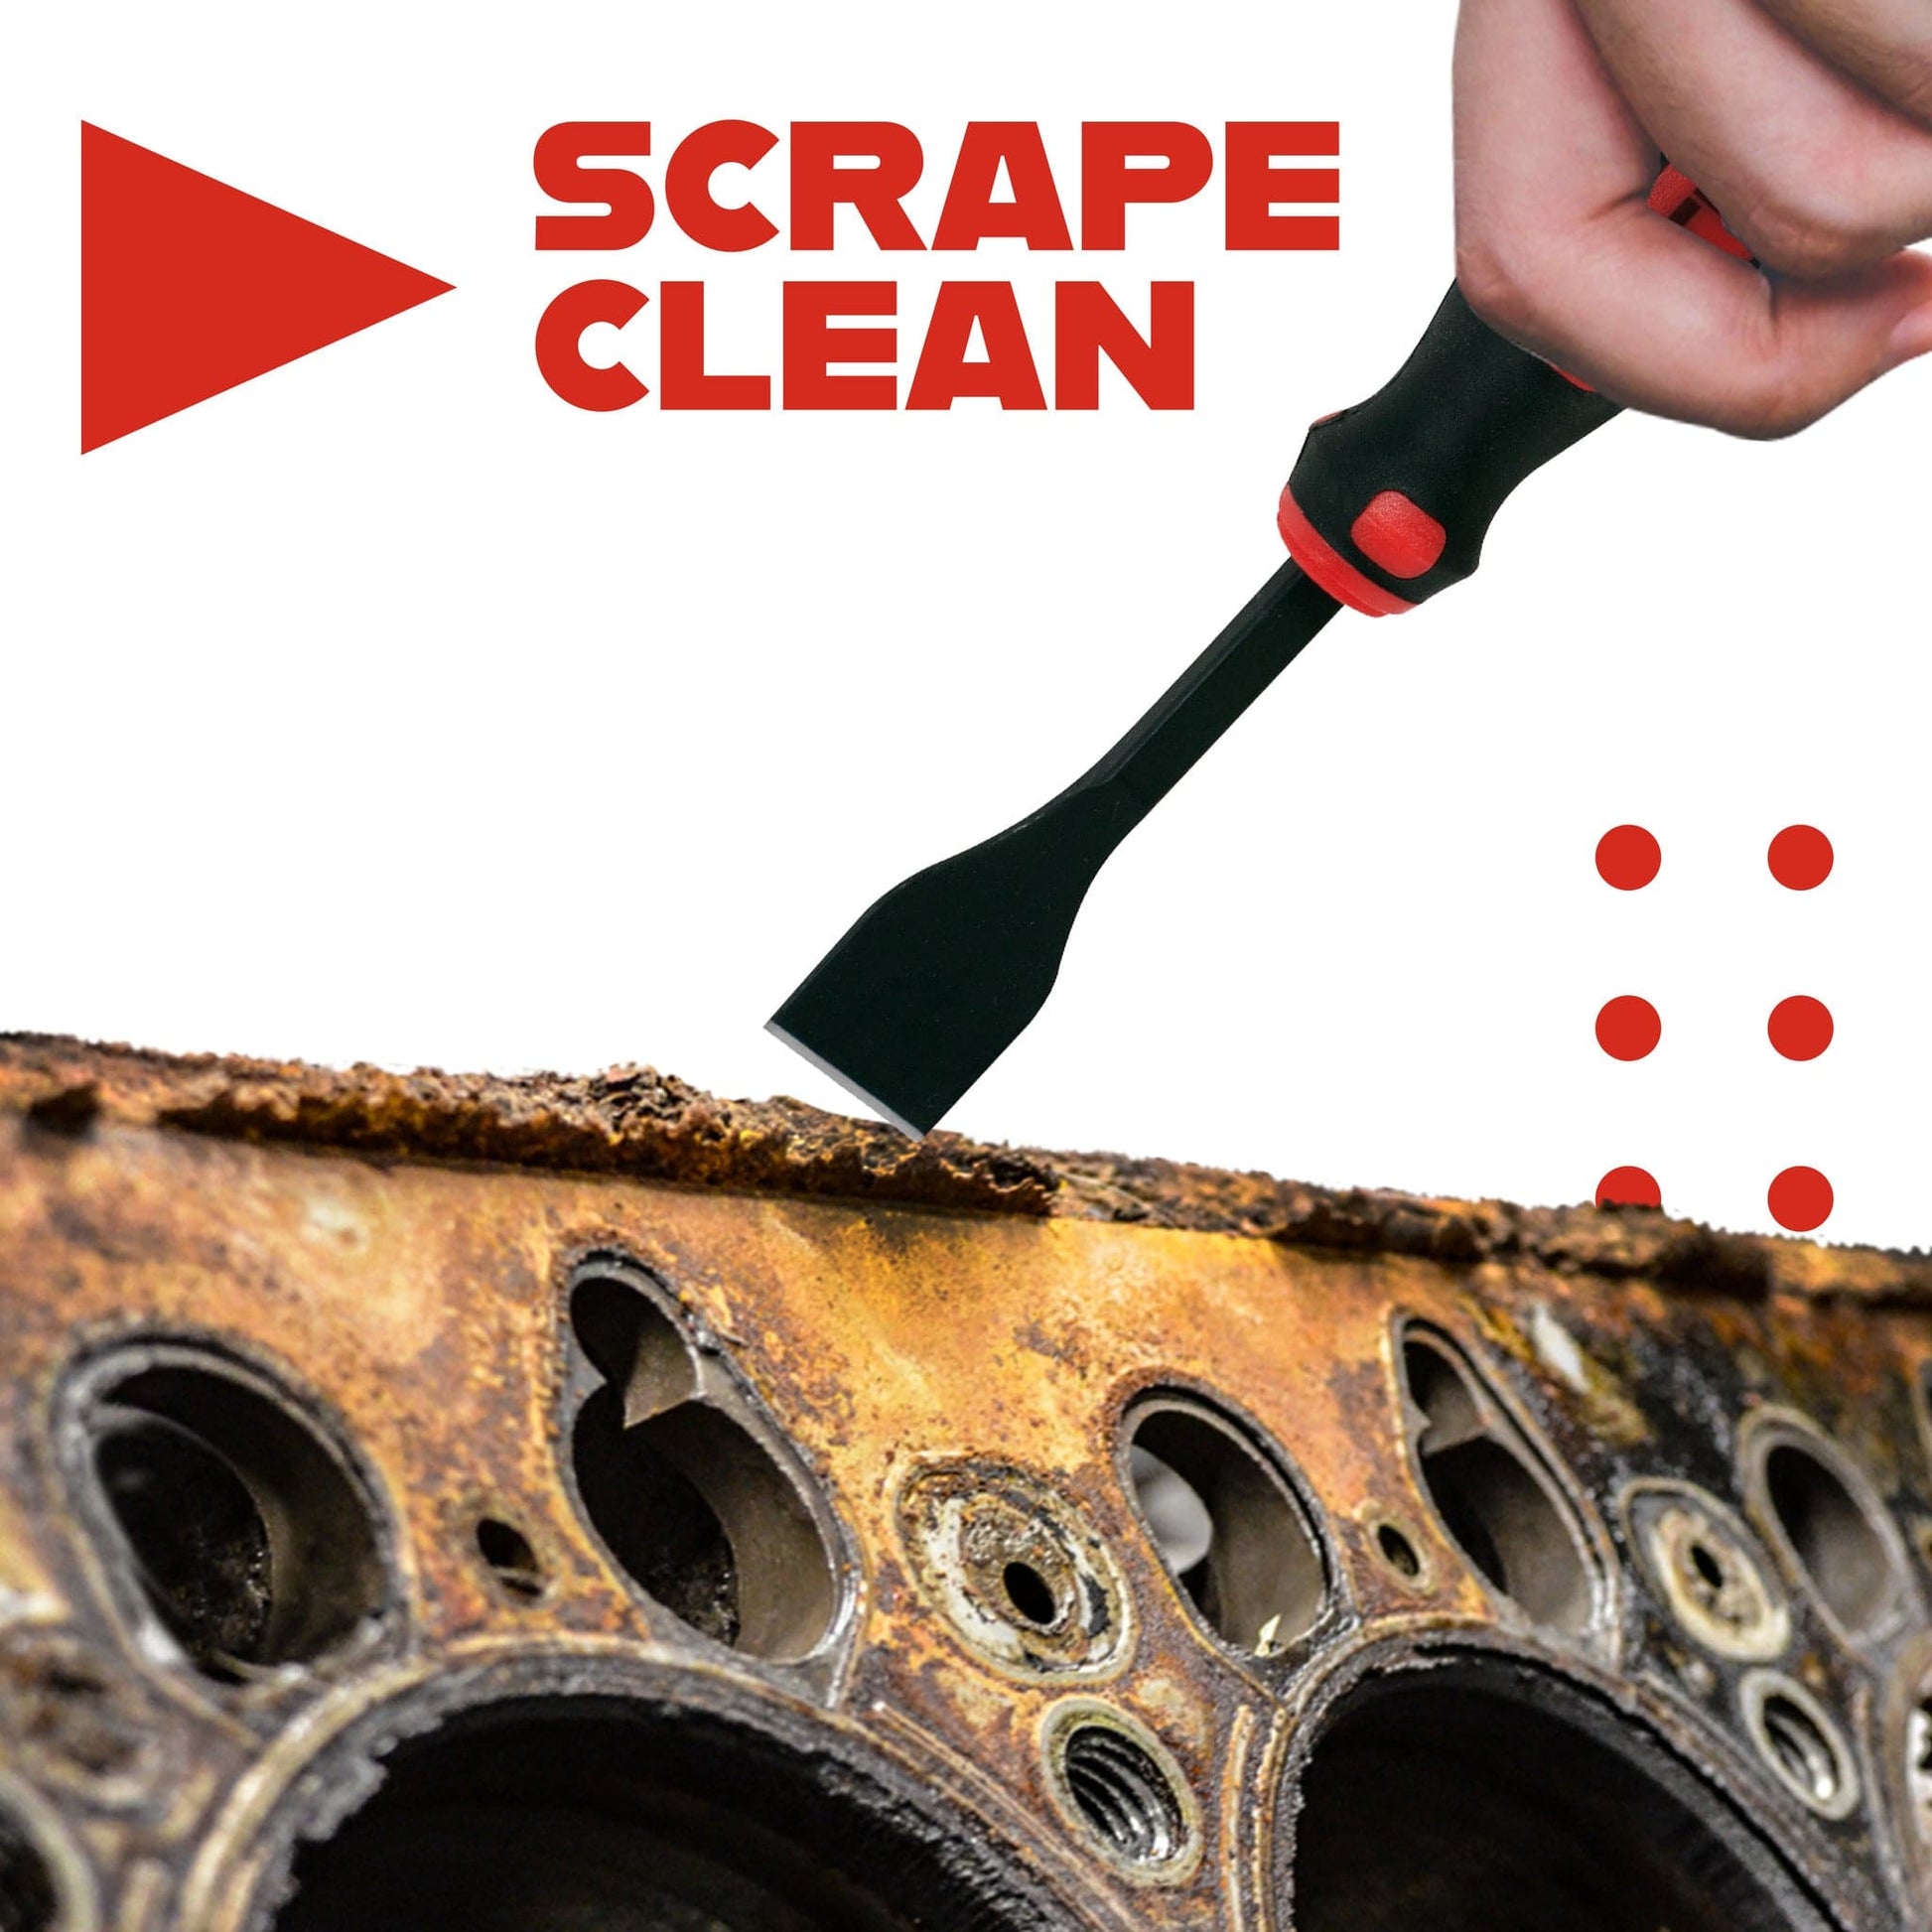
Using the wrong scraper can turn a simple job into a costly repair.
For Aluminum Surfaces: Use Non-Metallic Tools
Aluminum scratches easily, compromising the seal. Stick to plastic scrapers, single-edge razor blades held flat against the surface, or wooden paint sticks after solvent soak. Avoid screwdrivers, metal chisels, or aggressive wire wheels. Even minor gouges can cause leaks.
For Cast Iron: Metal Tools Are Acceptable
Cast iron is tougher. You can use a sharpened metal putty knife, a 3-inch wood chisel with sharp controlled taps, or a brass wire brush on a drill. Still, apply light pressure because deep scratches retain debris and disrupt gasket compression.
Powered Tools: Use with Caution
A die grinder with medium-grit conditioning pad delivers an ideal factory-smooth finish for Volkswagen and Land Rover applications. A Scotch-Brite pad on a cordless drill provides fast, low-risk cleaning. A whiz wheel efficiently removes baked-on gaskets, but control depth carefully. Never use sandpaper because it removes base metal and ruins flatness.
Apply the Best Solvents for Fast Removal
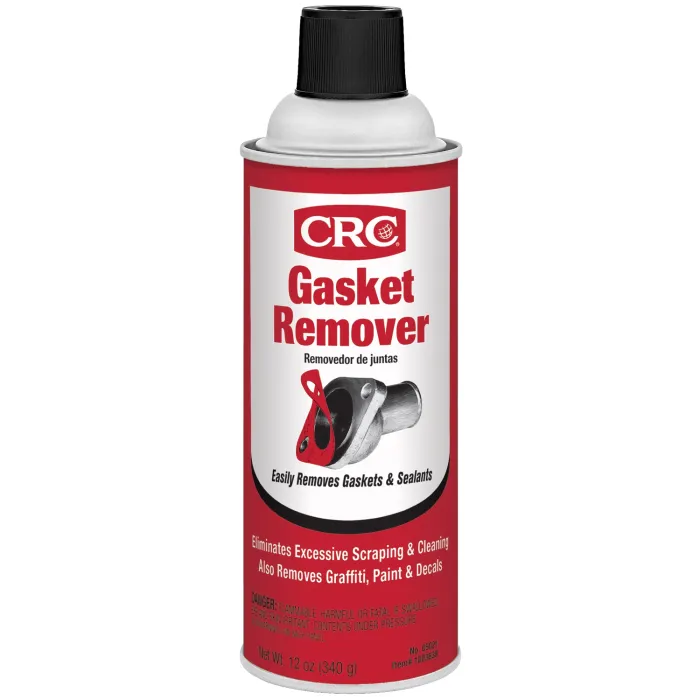
Chemicals soften stubborn residue, reducing scraping time and surface risk.
Top Solvents by Use Case
Carb cleaner works well for general gasket breakdown and fused or layered gaskets. Spray it on, wait two to five minutes, and wipe with a rag. Brake cleaner serves the same purpose with similar application. Paint thinner excels at baked-on or carbonized residue. Soak a rag and lay it on the surface for ten to fifteen minutes. PB Blaster penetrates deep on cast iron with heavy buildup, then follow with Scotch-Brite. WD-40 handles final adhesive cleanup when used with a green pad for polish. Acetone removes synthetic adhesive residue by wiping after primary cleaning.
Avoid These Chemicals
Permatex Gasket Remover is ineffective on silicone and risks engine contamination if it enters internal passages. Nail polish remover may react with aluminum or synthetic gasket materials. RTV remover will not work on silicone gaskets because mechanical removal is required instead.
Step-by-Step Gasket Removal Process
Follow this sequence for a clean, safe, and complete removal.
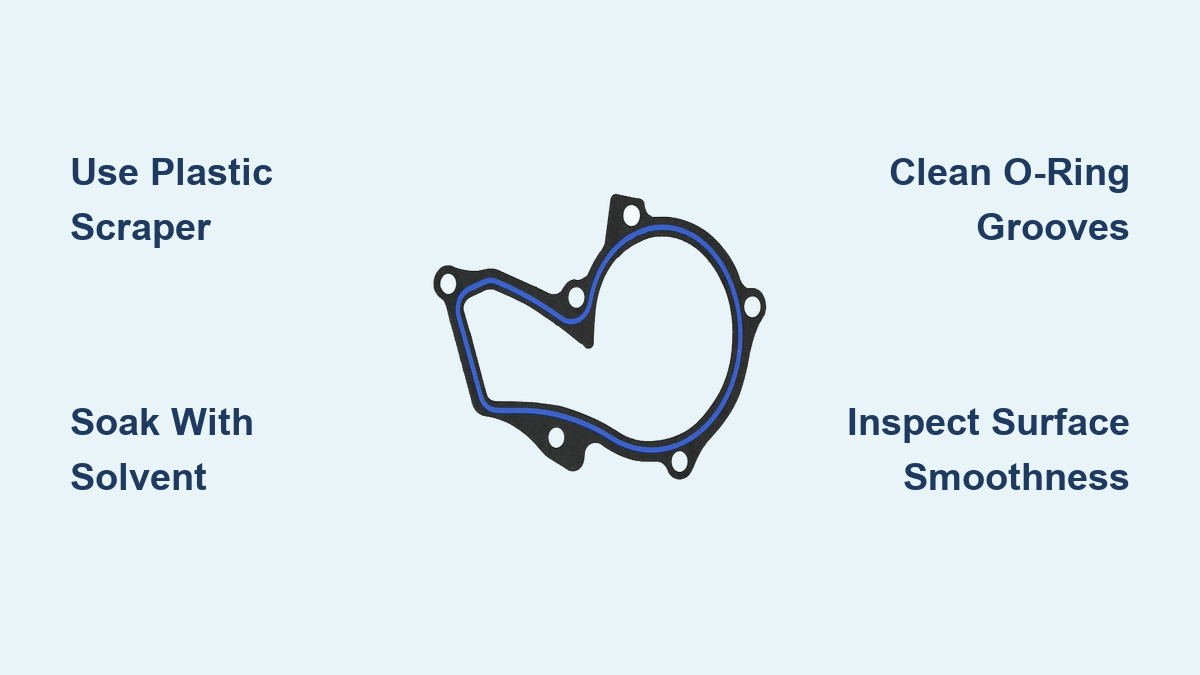
Peel Off Large Sections by Hand
Use fingers or a plastic tool to lift loose gasket pieces. Wipe away fragments with a lint-free rag. Skip metal tools at this stage to avoid accidental scratches.
Soak with Solvent
Spray brake cleaner or carb cleaner over the entire surface. Let it dwell for one to two minutes on light residue or ten to fifteen minutes on baked-on gasket material. Reapply if the surface dries. For thick layers, cover with a soaked rag to prevent evaporation.
Scrape Flat, Never Dig
Hold your tool parallel to the surface, not at an angle. Use short, controlled strokes. A plastic scraper handles general cleanup. A razor blade removes thin, fused layers but replace it often because dull blades gouge. A wooden stick lifts softened material after soaking. On cast iron, a sharpened putty knife helps, but keep pressure light.
Clean O-Ring Grooves and Bolt Holes
Use a plastic pick to remove old O-rings from grooves. Inspect grooves for nicks or debris. Blow out bolt holes with compressed air because debris here affects torque accuracy.
Final Polish with Scotch-Brite
Use a green Scotch-Brite pad by hand or on a drill. Scrub in circular motions until the surface is uniformly smooth. On Volkswagen or Land Rover, a die grinder with a conditioning pad delivers a professional finish.
Surface-Specific Cleaning Tips
Aluminum: Protect at All Costs
Use only non-metallic tools on aluminum. If minor scratches occur, apply Permatex sealant to bolt threads and gasket edges rather than the full surface. Avoid any tool that digs or creates sparks.
Cast Iron: Efficient but Risky
PB Blaster plus Scotch-Brite is highly effective on cast iron. A wire brush or bristle disk saves time, but keep the tool moving to prevent grooving. Stop if you see shiny metal streaks because this means you are removing base material.
Handle Special Gasket Types Correctly

O-Rings: Common on Modern Vehicles
O-rings appear on Land Rover, Volkswagen, and many European models. Remove them with a plastic pick. Inspect the groove for cuts or debris. Lubricate the new O-ring with waterproof grease before installation.
Formed-in-Place Silicone Gaskets
These have no physical gasket because liquid RTV was applied at the factory. They require full mechanical removal because solvents will not dissolve pure silicone. Use a razor blade and patience, then inspect under bright light for film residue. Permatex Gasket Remover does not work on silicone, so do not waste time or risk contamination.
Avoid These Common Mistakes
Using a Screwdriver as a Scraper
This is the number one cause of gouged surfaces. One slip can ruin an aluminum timing cover, requiring one hundred dollars or more for resurfacing.
Skipping Debris Containment
Fragments falling into the engine block can block coolant flow, damage water pump bearings, and cause overheating. Always use rags to cover openings.
Applying RTV Silicone on Dry Gaskets
Most OEM paper gaskets install dry. Only use sealant if your service manual specifies it. Never coat the entire surface because this prevents proper compression and can flake off into the system. Volkswagen factory practice requires no RTV, no foam sealers, and no aerosol adhesives.
Post-Cleaning Inspection Checklist
Before installing the new pump, verify each item.
Surface is Smooth to the Touch
Run your finger across the mating area. Any roughness means leftover gasket. Re-clean with Scotch-Brite.
No Residue Under Bright Light
Use a flashlight or shop light. Shine it at an angle to reveal thin films or particles.
Flatness Verified
Place a straight-edge across the surface. Slide a feeler gauge underneath. Any gap over 0.002 inches indicates warping that may require machining.
Coolant Passages Are Clear
Inspect all holes and channels. Blow out with compressed air if needed.
All Tools and Rags Are Removed
Double-check because leaving a rag in the timing cover can cause catastrophic failure.
Reassembly Best Practices
Use a New Gasket, Always
Never reuse an old gasket. Even if it looks intact, its sealing ability is compromised.
Align Correctly
Match bolt holes and cutouts to the original position. On pumps with weep holes, orient them downward when possible to allow coolant escape if the seal fails.
Verify Pump Compatibility
Check the length because it affects belt tension. Verify hub size because it must align with the fan. Confirm bolt pattern because minor hole differences are normal. Aftermarket pumps like Laso may have thinner gaskets, and some users prefer upgrading to OEM for better seal.
Torque Bolts to Spec
Use a torque wrench. Overtightening cracks aluminum, and undertightening causes leaks. Follow your service manual.
Bleed the Cooling System
After refill, run the engine with the radiator cap off until all air bubbles escape. Trapped air causes hot spots and overheating.
Frequently Asked Questions About Removing Water Pump Gaskets
What is the fastest way to remove a stuck water pump gasket?
Apply carb cleaner or brake cleaner and let it soak for ten to fifteen minutes. Use a plastic scraper or razor blade held flat against the surface. Work in sections, reapplying solvent as needed. Patience matters more than force.
Can I use a screwdriver to scrape off old gasket material?
No. Screwdrivers gouge aluminum surfaces easily, creating leaks that require expensive resurfacing. Use plastic scrapers, razor blades, or wooden sticks instead. This is the most common mistake that turns a simple job into a costly repair.
How do I clean an aluminum water pump surface without scratching it?
Use only non-metallic tools like plastic scrapers, wooden paint sticks, or razor blades held flat. Avoid wire wheels, sandpaper, or metal chisels. Apply solvent to soften residue before scraping. Finish with a green Scotch-Brite pad by hand.
What solvent works best for baked-on gasket residue?
Carb cleaner and brake cleaner are highly effective for general use. Paint thinner works well for stubborn baked-on material. PB Blaster penetrates deeply on cast iron surfaces. Acetone removes synthetic adhesive residue. Avoid Permatex Gasket Remover on silicone-based gaskets.
Do water pump gaskets install dry or with sealant?
Most OEM paper gaskets install dry. O-rings should be lubricated with waterproof grease. Only apply sealant if your service manual specifies it, and use only a small dab at corners or bolt holes. Volkswagen models specifically prohibit RTV silicone and foam sealers.
How long does water pump gasket removal take?
Average time is thirty to ninety minutes depending on gasket condition and tool quality. Baked-on gaskets take longer. Some users spread the work over two days to reduce frustration. The key is allowing enough solvent soak time rather than forcing the job.
Key Takeaways for Removing Water Pump Gasket
Proper gasket removal is not just cleanup. It is a critical step in engine longevity. Use plastic scrapers and razor blades, especially on aluminum surfaces. Apply carb or brake cleaner to soften residue before scraping. Never use sandpaper, steel wool, or aggressive wire wheels. Block engine openings to prevent debris entry. Lubricate O-rings with waterproof grease, but install paper gaskets dry. Inspect and polish until the surface is smooth and residue-free. Replace the gasket every time with no exceptions. The few extra minutes spent scraping carefully can prevent a five-hundred-dollar leak repair down the road.