Installing a water pump can restore water pressure, boost irrigation efficiency, or prevent engine overheating, whether you are upgrading a home system or replacing a failing automotive unit. Knowing how to install a water pump correctly ensures long-term performance and helps you avoid costly mistakes. This guide covers residential, industrial, and automotive installations, delivering clear, actionable steps based on verified technical procedures.
Choose the Right Water Pump for Your Application
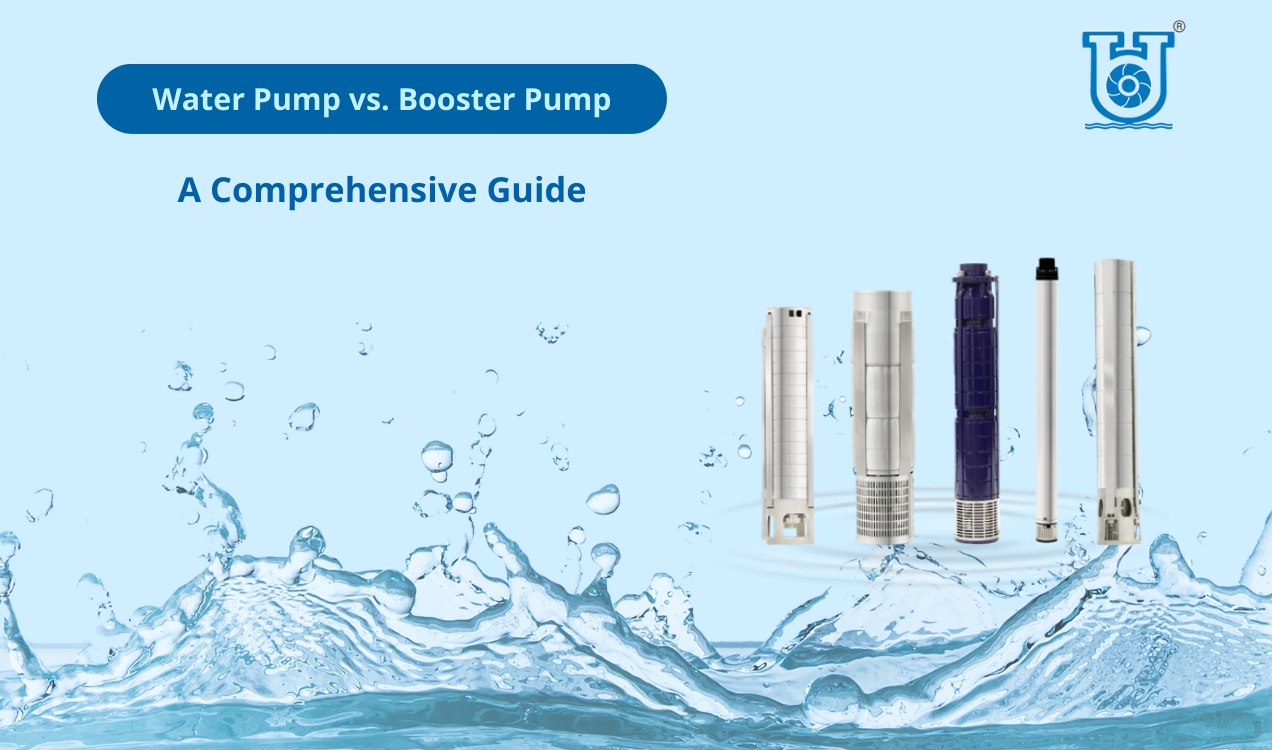
Selecting the correct pump type is the foundation of a successful installation. Using the wrong model leads to poor performance or premature failure, wasting both time and money.
Match Pump Type to Your Needs
Residential water supply systems typically require a booster or centrifugal pump to increase pressure from municipal lines or storage tanks. Deep wells over 25 feet depth need a submersible pump, which runs efficiently underwater without requiring priming. Shallow wells under 25 feet work well with a jet pump that pulls water effectively with proper priming. Automotive engines require an OEM-spec coolant circulation pump designed specifically for your vehicle is make and model.
Always verify that the flow rate matches your household or system demand. Calculate the Total Dynamic Head, which accounts for vertical lift and pipe friction losses. Choose materials compatible with your water conditions, such as stainless steel for hard water environments.
Gather Essential Tools and Materials
Having the right equipment ready prevents delays and ensures precision throughout the installation process.
Universal Tools Required
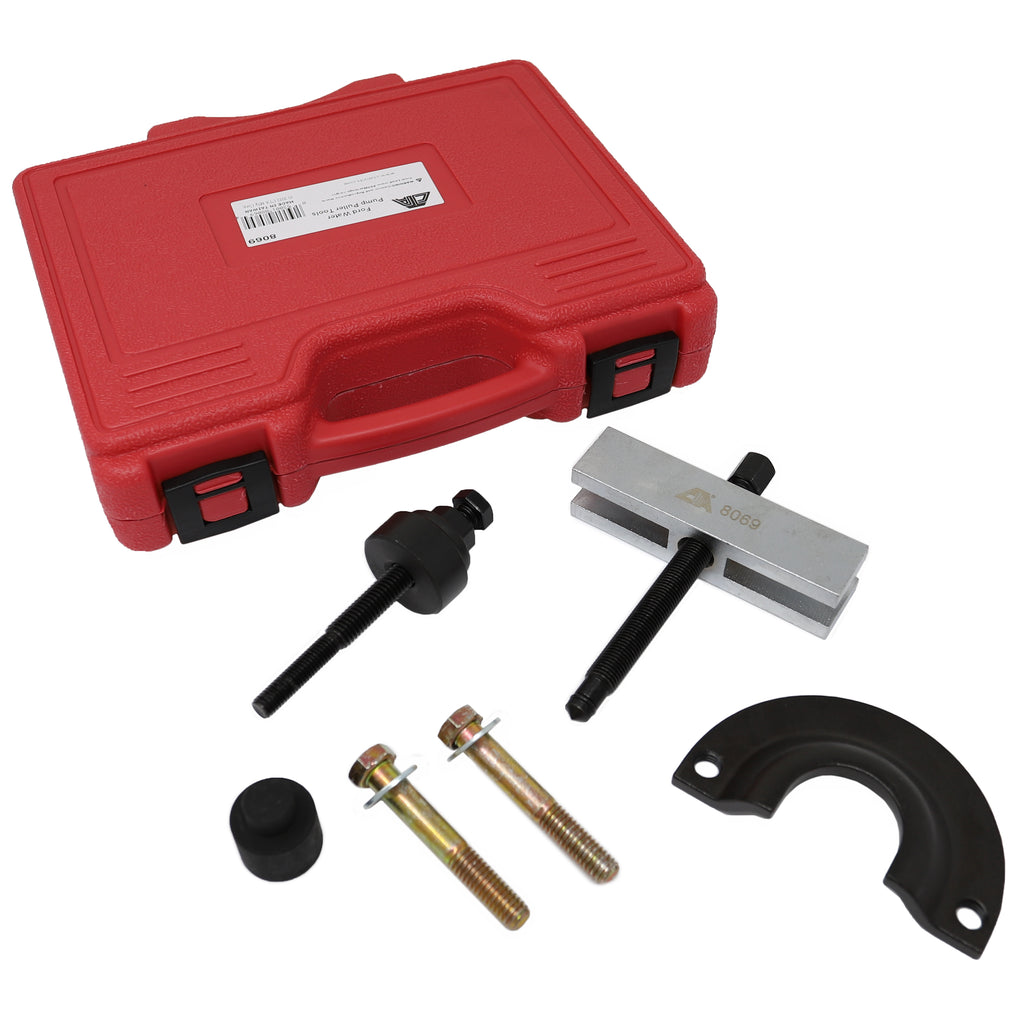
You will need a pipe wrench and adjustable wrench, screwdrivers in flathead and Phillips varieties, a voltage tester, a level, and a pipe cutter or hacksaw. Stock up on Teflon tape and plumber is sealant for threaded connections. Have wire strippers and a crimping tool ready for electrical work. Keep a bucket nearby for draining fluids.
Automotive-Specific Tools
For vehicle water pump replacement, gather a socket set and ratchet, a torque wrench which is critical for engine components, and a plastic gasket scraper. A drain pan and safety glasses are essential for this type of work.
Materials Checklist
Your materials list should include the new water pump in the correct model, suction and discharge piping, a check valve to prevent backflow, and a strainer or filter for the suction line. Use flexible connectors to absorb vibration and reduce stress on fittings. Ensure you have proper gauge wiring such as 12 AWG for 1.5 HP motors, anti-vibration mounts, and RTV silicone if no gasket is provided.
Follow Critical Safety Protocols
Safety must be your top priority before beginning any water pump installation.
Shut Off Power and Water Supply
Turn off the main electrical breaker and use a voltage tester to confirm no live current is present. Shut off water supply valves at the source and relieve system pressure by opening a faucet or drain valve.
For automotive pumps specifically, wait at least one hour after engine shutdown before starting work. Hot coolant under pressure can cause severe burns. Never remove the radiator cap while the engine is warm. Always disconnect the negative battery terminal first when working on vehicle electrical systems.
Handle Coolant Safely
Ethylene glycol, the most common coolant, is toxic to humans and pets. Collect used fluid in a labeled container and dispose of it at auto parts shops or recycling centers. Never pour coolant into drains or soil.
Install a Residential Water Pump
With the right pump selected and safety measures in place, you can now proceed with the installation.
Mount the Pump Securely
Place the pump on a level, stable surface such as a concrete pad or rubber anti-vibration mounts. Allow six inches of clearance on all sides for maintenance access. Keep the pump close to the water source to minimize suction lift, which reduces energy loss and improves performance.
Use mounting bolts with washers to prevent shifting during operation. For outdoor installations, place the pump under a weatherproof shelter with good airflow to protect it from the elements.
Connect Suction and Discharge Lines
Attach a strainer at the intake to block debris from entering the pump. Use Teflon tape on threaded joints or PVC cement for glued connections. Keep the suction line short, straight, and sloped upward toward the pump to avoid air pockets. Even small leaks prevent priming, so ensure all seals are airtight.
On the discharge side, install a non-return check valve immediately after the pump to prevent backflow. Connect to a pressure tank or main plumbing line. Use flexible hoses for connections to absorb vibration and reduce stress on fittings. Avoid sharp bends by using long-radius elbows to reduce friction loss.
Wire the Electrical System
Connect the pump to a dedicated circuit with proper overload protection. Use the correct wire gauge as specified by the manufacturer, such as 12 AWG for 1.5 HP single-phase motors. Follow the manufacturer is wiring diagram exactly and ground the motor frame using a copper grounding rod if required. For outdoor setups, ensure GFCI protection to prevent shock hazards.
Prime and Test the Pump
Centrifugal and booster pumps must be primed before startup. Open the priming plug on the pump housing and fill it completely with clean water. Close the plug tightly.
Turn on the power and observe for steady flow without sputtering, which indicates air in the line. Check for leaks at joints and listen for normal noise levels with no grinding or screeching. Adjust the pressure switch if needed, which is typically set to 30 to 50 psi cut-in and cut-out.
Install a Submersible Well Pump
Submersible pumps require a different approach since they operate underwater.
Assemble and Lower the Pump
Measure the well depth and static water level before beginning. Attach the drop pipe to the pump using couplings and secure the power cable with stainless steel clips every 10 to 15 feet. Install a check valve near the top of the drop pipe to prevent backflow.
Carefully lower the assembly using a rope or winch, taking care not to kink the cable. Ensure the pump sits at least 10 to 20 feet above the well bottom to avoid sediment intake.
Seal and Connect Surface Equipment
Seal the well cap tightly to prevent contamination. Connect the discharge pipe to a pressure tank and install a pressure switch and gauge. Use a control box if required by your specific pump model. Run waterproof conduit from the control box to the dedicated circuit breaker.
Energize and Test
Turn on the power and monitor for smooth pressure buildup, which should reach 40 to 60 psi. Listen for unusual sounds like cavitation, which produces bubbling or knocking sounds and may indicate air leaks or incorrect submersion depth.
Replace an Automotive Water Pump
Automotive water pump replacement involves additional steps related to cooling systems.
Drain the Coolant System
Place a drain pan under the radiator or engine block. Open the drain plug and remove the radiator cap, but only when the engine is completely cold. Let all coolant flow out completely, then reinstall the plug and dispose of old coolant properly.
Remove the Serpentine Belt
Locate the belt tensioner and rotate it to release tension. Slide the belt off the pulleys and take a photo or sketch the routing before removal. Replace the belt if it shows cracks, glazing, or wear, typically after three to four years of service.
Unbolt and Extract the Old Pump
Remove the five to eight mounting bolts, which vary by vehicle. Loosen them in a criss-cross pattern to avoid warping the housing. Gently rock the pump to break the gasket seal and pull straight out to avoid damaging surrounding components.
Clean the Mounting Surface
Use a plastic gasket scraper to remove old material without damaging aluminum surfaces. Wipe the surface with degreaser and dry thoroughly. Inspect for cracks or warping and replace the housing if damaged.
Install the New Pump
Check for shipping plugs or foam inside the pump and remove them. If using RTV silicone, apply a thin, continuous bead around the mounting surface while staying inside the bolt holes. If using a pre-cut gasket, place it dry without any sealant.
Align the pump carefully and insert all bolts by hand first.
Torque Bolts to Specification
Use a torque wrench and tighten in a star pattern. Perform the first pass at one-third of final torque, the second pass at two-thirds, and the final pass at full specification, which is typically eight to 15 foot-pounds. Always use new bolts, as reused ones may fail due to thermal fatigue.
Reconnect Hoses and Belt
Reattach all hoses including radiator, heater, and bypass lines. Push fully onto nipples and tighten clamps securely without crushing soft hoses. Route the serpentine belt using your photo reference. Use the tensioner to guide it onto the last pulley and release slowly. Check that thumb deflection is approximately one-half inch.
Refill Coolant and Bleed Air
Fill the radiator and overflow reservoir with a 50/50 coolant-water mix. Start the engine with the radiator cap off if safe per your manual. Rev to 2,000 RPM in short bursts to help expel trapped air. Once bubbles stop and temperature stabilizes, replace the cap, let the engine cool, and recheck the reservoir level.
Avoid Common Installation Mistakes
Several frequent errors can compromise your installation and lead to premature failure.
Assuming you know the process without reading the manufacturer is guide leads to errors in torque, wiring, or alignment. Always read the manufacturer is instructions, which include model-specific specs and warranty conditions.
Even tiny air leaks in the suction line prevent priming in centrifugal pumps. Test joints with soapy water to reveal bubbles indicating leaks.
Reused engine bolts can snap due to thermal stress. Use new bolts every time, as they are cheap insurance against major problems.
Without a check valve, water flows back into the source, breaking prime and increasing wear. Install one on both residential and submersible systems.
Misrouting the serpentine belt causes slippage, noise, or accessory failure. Take a photo before removal to ensure correct routing.
Test and Commission Your System
After installation, thorough testing ensures everything operates correctly.
Run Leak and Performance Checks
Operate the pump for five to 10 minutes and inspect all joints under pressure. Confirm flow matches expected gallons per minute and verify the pressure switch cycles correctly. Check for vibration or loud noises and use a multimeter to confirm stable voltage at motor terminals.
Troubleshoot Common Issues
If the pump will not start, check for no power or a tripped breaker and reset while testing voltage. Low flow indicates a clogged strainer or air leak, so clean the filter and reseal the suction line. Excessive noise suggests loose mount or misalignment, requiring bolt tightening or realignment. Overheating motors often result from undersized wiring or poor ventilation, so upgrade wire and clear vents. Frequent cycling points to a faulty pressure switch or undersized tank, requiring replacement or increased tank size.
Maintain Your Water Pump Long-Term
Regular maintenance extends the life of your investment.
Check monthly for leaks, noise, and pressure drops. Quarterly, clean the strainer and inspect wiring connections. Annually, test the pressure switch, inspect seals, and re-torque bolts. Every two to three years, replace mechanical seals on centrifugal pumps. Every five to seven years, pull and inspect submersible pumps, especially in hard water areas.
Know When to Call a Professional
DIY installation works for most residential and automotive replacements, but seek expert help for deep-well submersibles requiring special equipment, three-phase electrical systems, stripped or broken bolts in engine blocks, or tight engine bays that may require engine mount removal.
Frequently Asked Questions About Installing a Water Pump
Can I install a water pump myself?
Yes, most residential and automotive water pump installations are feasible for DIYers with basic mechanical skills. However, complex systems like deep-well submersibles or tight engine bays may require professional help.
How long does it take to install a water pump?
Residential pump installation typically takes one to three hours. Submersible pump installation takes two to five hours. Automotive replacement takes under one hour for experienced mechanics and three to four hours for beginners.
What happens if I do not prime a centrifugal pump?
Failure to prime causes dry running, which damages seals and impellers permanently. Always prime centrifugal and booster pumps before startup.
How often should I replace my water pump?
Most water pumps last five to 15 years depending on usage and water quality. Automotive water pumps typically last 60,000 to 100,000 miles.
Why does my water pump keep losing prime?
Loss of prime usually indicates a leak in the suction line, a faulty check valve, or air pockets in the system. Inspect all connections and test with soapy water to find leaks.
Key Takeaways for Successful Water Pump Installation
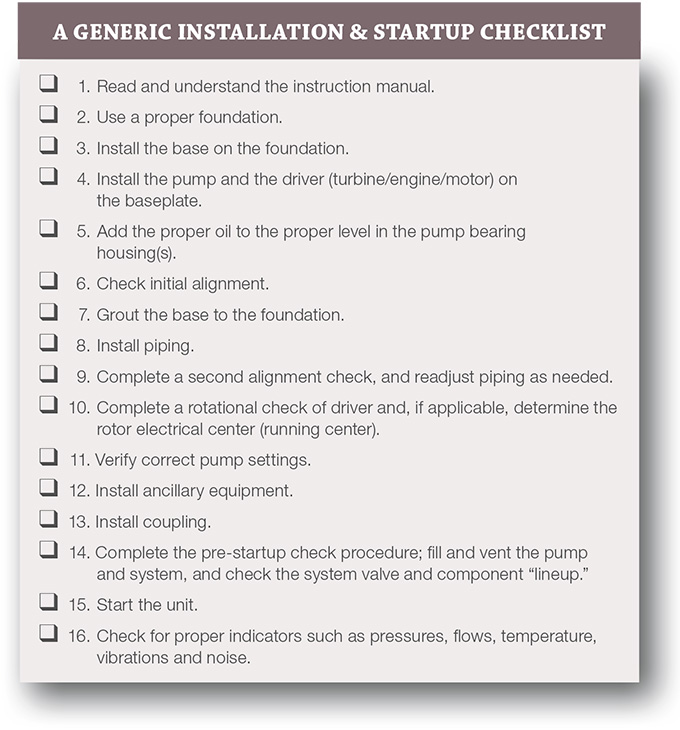
Choosing the correct pump type for your application is the first critical step. Always read the manufacturer is manual for specific torque values, wiring diagrams, and warranty requirements. Use new bolts and proper torque specifications, especially on automotive engines where thermal fatigue weakens reused fasteners.
Ensure airtight seals on all suction connections and always prime centrifugal pumps before startup. Install check valves to maintain prime and prevent backflow. Test thoroughly after installation by checking for leaks, verifying pressure, and listening for abnormal noises.
With proper installation and regular maintenance, your water pump will deliver reliable service for years to come, whether it is boosting home water pressure, supplying well water, or keeping your vehicle is engine cool.