A water tank valve leaking often signals that your system is managing dangerous pressure or heat levels. When internal conditions exceed 150 psi or 210°F, the temperature and pressure relief valve opens to prevent tank rupture.
This guide helps you diagnose why your valve is dripping and explains how to stop it safely. You will learn to identify normal discharge versus critical failures and discover steps to fix thermal expansion or thermostat issues.
Identify Normal Discharge Versus Critical Leaks
Distinguishing between a working safety device and a broken component saves you from unnecessary panic. Brief dripping during heating cycles is often normal operation as the system balances internal pressure.
When Is Dripping Considered Normal?
Occasional discharge happens when water heats up and expands within a closed plumbing system. The valve releases a small amount of water to relieve this temporary spike before sealing shut again.
- Short bursts after heavy hot water usage
- Minor dripping during the recovery phase
- Discharge when incoming water pressure is naturally high
When Does Leaking Signal a System Failure?
Continuous flowing water indicates your system is under constant stress or the valve cannot reseal properly. Ignoring this steady stream risks significant water damage and potential safety hazards for your household.
- Steady flow that persists after the heater cools down
- Dripping that continues despite lowering temperature settings
- Leaks accompanied by strange noises from the tank
Recognize Signs That the Relief Valve Needs Replacement
Your T&P valve is a mechanical device that wears out over time due to mineral deposits and repeated use. Specific visual and functional clues tell you when cleaning is not enough and replacement is necessary.
Check for Persistent Leaks After Cooling
If the valve continues to drip after the tank has cooled and pressure should be normal, the internal seal is likely compromised. Mineral scale or internal wear often prevents the mechanism from closing tightly.
Inspect for Corrosion and Mineral Buildup
Examine the valve body and the discharge pipe for white crusty deposits or rust. These signs of hard water damage can obstruct the valve seat and cause constant leaking.
Test the Valve Mechanism for Sticking
Lift the test lever gently to see if it springs back into place smoothly. A stiff lever or one that fails to return indicates the internal mechanism is jammed or faulty.
Diagnose Common Causes of Water Tank Valve Leaking
Several specific factors can trigger your relief valve to open repeatedly. Identifying the root cause is essential for applying the correct fix and preventing future occurrences.
High Water Temperature Settings
Setting your water heater above 120°F increases the risk of overheating and excessive pressure buildup. Water expands significantly at higher temperatures, forcing the T&P valve to open frequently.
- Lower the thermostat to 120°F to reduce scalding risks
- Adjust both upper and lower thermostats on electric models
- Monitor the system for several hours after adjustment
Faulty Thermostat Malfunctions
A broken thermostat may allow water to overheat even if the dial shows a safe temperature. Electric heaters with dual thermostats can experience lower element failure that causes unchecked heating.
Thermal Expansion in Closed Plumbing Systems
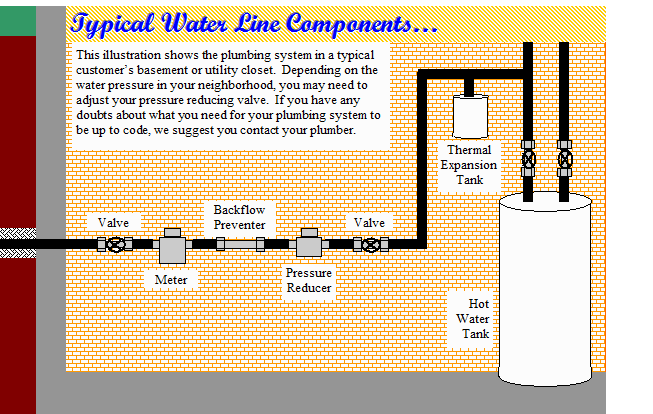
Modern homes often have check valves that create closed systems where expanding water has nowhere to go. This trapped volume raises pressure until the relief valve opens to release it.
Missing or Failed Expansion Tank
An expansion tank absorbs excess water volume created by thermal expansion to protect your plumbing. If this tank is missing or waterlogged, the T&P valve bears the full brunt of pressure spikes.
Sediment Trapped in the Valve Seat
Minerals from hard water can settle inside the tank and get lodged in the valve opening. This debris prevents a tight seal and leads to constant dripping even when pressure is normal.
Take Immediate Steps to Stop the Leak
Acting quickly can prevent water damage and reduce stress on your water heater components. Follow these sequential steps to stabilize the situation before performing detailed diagnostics.
Shut Off Power or Gas Supply
- Turn off the breaker labeled “Water Heater” for electric units.
- Rotate the gas control knob to “Pilot” or “Off” for gas models.
- This action stops further heating and halts pressure buildup immediately.
Lower the Water Heater Temperature
Locate the thermostat access panel and set the temperature to 120°F. Wait a few hours for the water to cool and check if the leaking stops.
Test Your Home Water Pressure
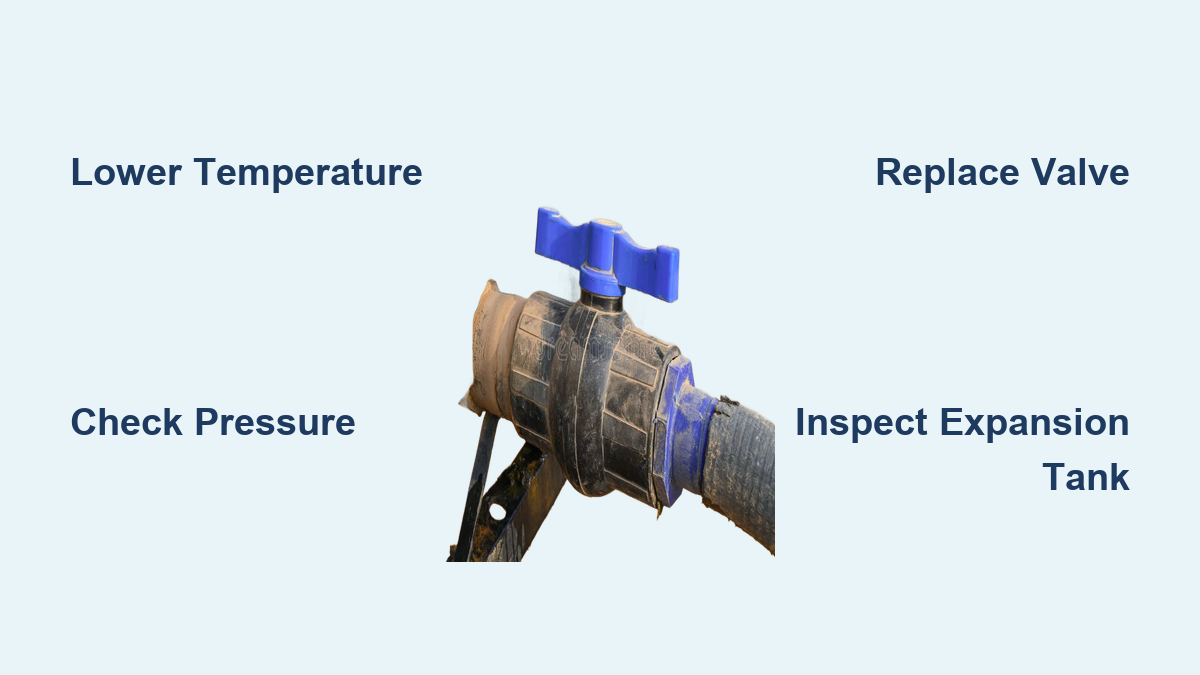
Attach a garden hose-style pressure gauge to an outdoor spigot to measure psi. Ideal residential pressure ranges between 50 and 70 psi, and anything over 80 psi requires attention.
- Screw the gauge onto the hose bib tightly
- Open the valve fully to get an accurate reading
- Install a pressure-reducing valve if readings exceed 80 psi
Perform a Manual Test on the Relief Valve
Testing the valve ensures it opens and closes correctly without being stuck open or seized shut. This simple procedure confirms whether the component is functional or requires replacement.
Execute the Lever Lift Test
- Place a bucket under the discharge pipe to catch hot water.
- Slowly lift the test lever on the valve until you hear water flow.
- Release the lever and ensure the water stops flowing immediately.
Pro Tip: If water continues to drip after releasing the lever, the valve likely needs replacement.
Inspect the Discharge Pipe Configuration
The discharge pipe must run straight down to within six inches of the floor without bends or caps. Improper piping can trap pressure or cause leaks at the joints rather than the valve itself.
Resolve Thermal Expansion Problems
:max_bytes(150000):strip_icc()/installing-an-expansion-tank-2719066-hero-375405ad9eaa426a880e3ed978ba00f5.jpg)
Thermal expansion is a leading cause of recurring leaks in modern closed plumbing systems. Installing or repairing an expansion tank solves this issue by providing a cushion for expanding water.
Install a Properly Sized Expansion Tank
Match the tank size to your water heater capacity and install it on the cold water inlet line. Pre-charge the tank with air to match your household water pressure, usually around 60 psi.
Verify Existing Expansion Tank Function
Tap the tank to listen for a hollow sound at the top and a solid sound at the bottom. Press the Schrader valve like a tire stem; if water sprays out, the tank is waterlogged and failed.
- Replace tanks that are older than 5 to 7 years
- Ensure the air charge matches system pressure
- Check for physical damage or corrosion on the tank body
Clean or Replace the T&P Valve Safely
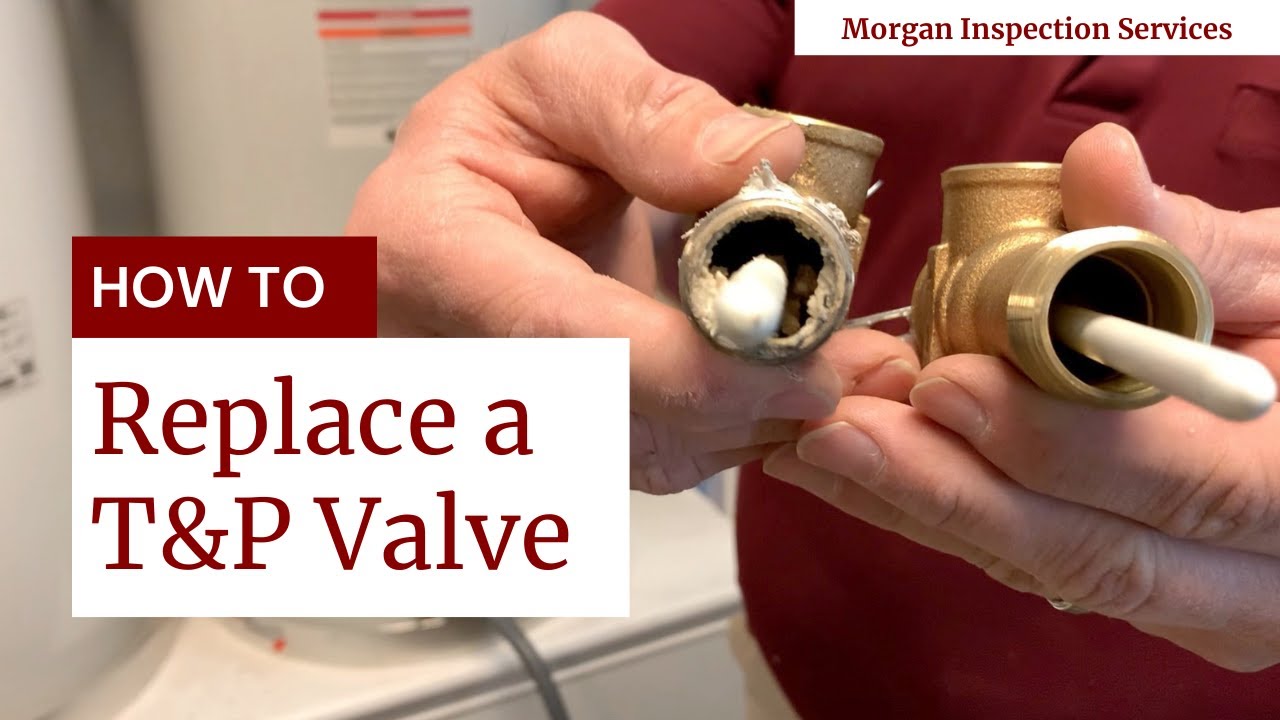
While cleaning is sometimes possible, replacement is often the safer and more reliable option for safety devices. A new valve costs little compared to the risk of a failed safety mechanism.
Evaluate Cleaning Versus Replacement Options
Sediment can sometimes be flushed out, but tampering with internal parts risks future failure. Most experts recommend replacing the valve if sediment has prevented it from sealing properly.
Follow Steps to Replace the Relief Valve
- Shut off power and the cold water supply to the heater.
- Drain a few gallons from the tank using the drain valve.
- Unscrew the old valve counterclockwise with an adjustable wrench.
- Wrap thread sealant on the new valve and screw it in clockwise.
- Restore water and power, then check for leaks.
Warning: Never plug or disable the relief valve as this creates a severe explosion hazard.
Know When to Call a Professional Plumber
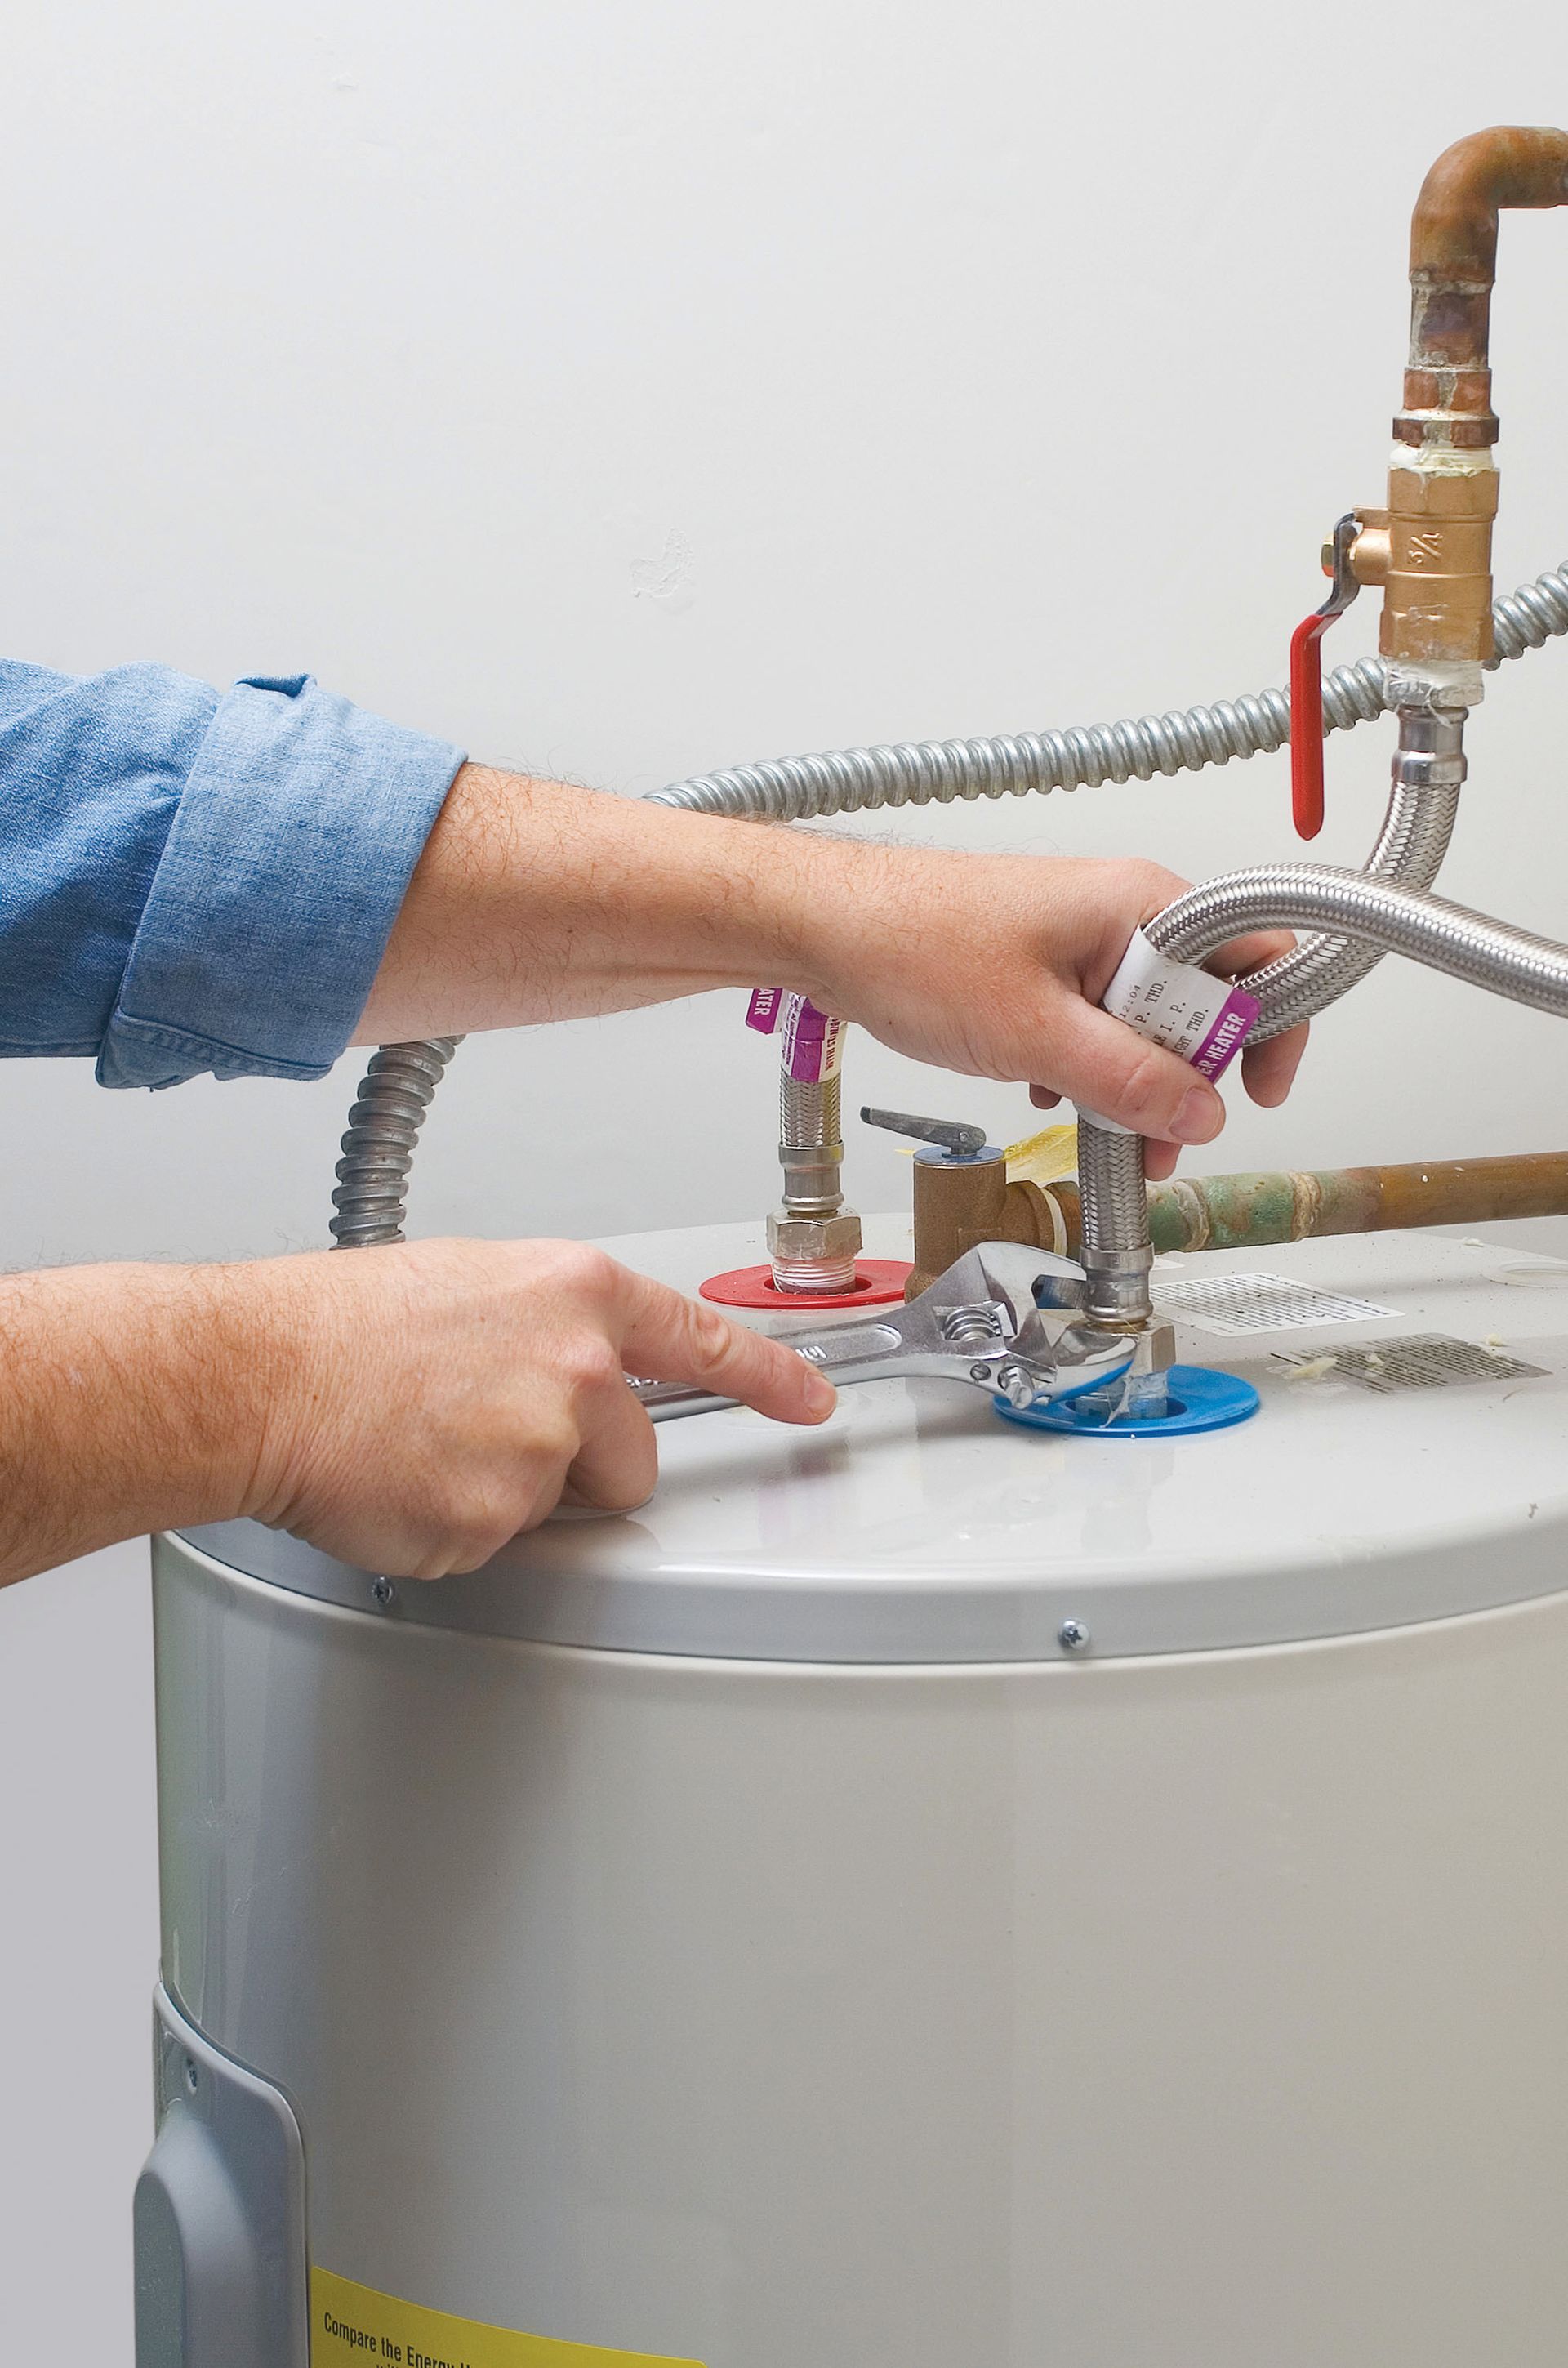
Some situations require specialized tools and expertise to resolve safely and effectively. Calling a licensed technician prevents further damage and ensures your system meets local codes.
Identify Signs You Need Expert Help
Contact a professional if the leak continues after lowering the temperature or if you smell gas near a gas heater. You should also call if the tank shows signs of rust bulging or if you feel uncomfortable working with utilities.
Benefits of Professional Diagnosis
Technicians can diagnose complex thermostat failures or heating element issues that are not visible. They can also install pressure-reducing valves and verify that your entire system is compliant with safety standards.
Prevent Future Water Tank Valve Leaks
Regular maintenance and smart settings extend the life of your water heater and keep the T&P valve functioning correctly. Proactive care reduces the likelihood of emergency repairs and water damage.
Maintain Safe Temperature Settings
Keep your water heater set to 120°F to prevent excessive pressure and reduce scale buildup. This temperature is safe for most households and minimizes the risk of scalding accidents.
Schedule Annual Professional Maintenance
Have a technician inspect your system yearly to flush sediment and test the T&P valve. They will also check the anode rod condition and inspect the expansion tank for proper function.
Monitor Water Pressure Regularly
Test your home water pressure every six months to catch spikes early. Installing a whole-house water softener can also help if hard water is causing frequent sediment issues.
Understand Safety Risks of Ignoring Leaks
Ignoring a leaking relief valve removes your primary defense against catastrophic tank failure. The consequences of inaction range from minor water stains to severe structural damage.
Risk of Tank Rupture and Explosion
A failed T&P valve leaves no outlet for building pressure, which can cause the tank to crack or explode. This releases scalding water and steam that can cause serious injury and property destruction.
Water Damage and Mold Growth
Even a slow drip can soak into flooring and drywall, promoting mold growth within days. Left unattended, this moisture leads to costly structural repairs and potential health hazards.
Increased Scalding Hazard
Overheated water resulting from valve failure increases the risk of severe burns. Water at 140°F can cause a serious burn in just five seconds, posing a major threat to children and seniors.
Frequently Asked Questions About Water Tank Valve Leaking
Is it normal for a T&P valve to drip occasionally?
Yes, brief dripping during heating cycles is normal as the system manages thermal expansion. However, continuous flowing water indicates an underlying issue like high pressure or a faulty valve.
What temperature should I set my water heater to prevent leaks?
You should set your water heater to 120°F or lower to prevent excessive pressure buildup. Higher temperatures cause water to expand more, triggering the relief valve to open frequently.
Can I just tighten the relief valve to stop the leak?
No, you should never tighten a leaking relief valve to stop a leak as it may be damaged internally. If it continues to drip after cooling, replace the valve with a new unit rated for your system.
How often should I replace my water heater expansion tank?
Most expansion tanks last between 5 to 7 years before failing or becoming waterlogged. Test yours annually by pressing the air valve; if water comes out, replace it immediately.
What happens if I ignore a leaking relief valve?
Ignoring the leak can lead to water damage, mold growth, and potential tank rupture due to unchecked pressure. It also removes a critical safety feature designed to prevent explosions.
Key Takeaways for Fixing Your Leaking Water Tank Valve
A water tank valve leaking is a clear signal that your system needs attention to prevent safety hazards. Start by lowering the temperature to 120°F and testing your home water pressure to rule out simple fixes. If the leak persists, inspect the expansion tank and replace the T&P valve if it shows signs of wear or sediment blockage.
Never ignore a steady drip or attempt to plug the valve, as this compromises your home’s safety. Regular maintenance and prompt repairs ensure your water heater operates efficiently and safely for years to come.