Your RV sink drains slowly while gurgling sounds echo from under the floorboards during your weekend camping trip. These frustrating signs point directly to neglected rv grey water tank maintenance requiring immediate attention.
This guide teaches you daily habits, proper dumping sequences, and deep cleaning methods to fix drainage issues fast. You will learn how to prevent odors and protect your plumbing system from costly damage with simple, actionable steps.
Daily Habits That Prevent Grey Water Clogs
Effective rv grey water tank maintenance begins with what you allow to enter your drain pipes each day. Small items and thick liquids accumulate quickly in compact RV plumbing systems causing major blockages.
Choose Biodegradable Soaps Specifically
Standard household detergents contain oils that do not break down easily inside your holding tank. These substances create thick sludge layers that trap food particles and restrict water flow significantly. Always select biodegradable and septic-safe soaps designed specifically for recreational vehicle systems.
Scrape Food Waste Before Washing
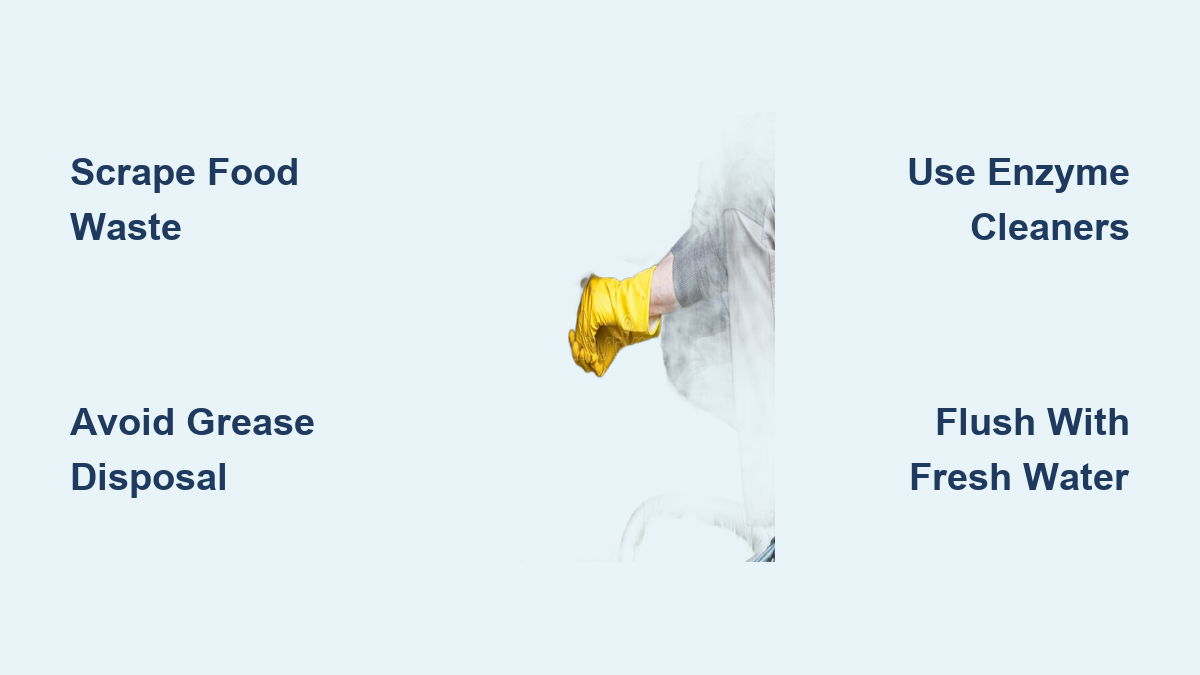
Food scraps represent one of the leading causes of severe clogs in grey water systems. Even tiny bits of cereal or vegetables clump together over time when mixed with soapy water. Scrape all plates thoroughly into the trash bin before placing them in the sink for washing.
Eliminate Grease and Oil Pouring
Hot grease flows easily but solidifies rapidly as it cools within your cold RV pipes. This hardening process creates stubborn blockages that are extremely difficult to remove without professional help. Pour cooled oil into a sealed container and dispose of it in regular trash bins instead.
- Use a dedicated metal can for grease collection under your sink.
- Wipe oily pans with paper towels before washing them.
- Avoid frying foods that generate excessive amounts of liquid fat.
Correct Valve Operation for Emptying Tanks
Proper valve management ensures your system empties completely and stays clean between uses. Many owners make critical errors during the dumping process that lead to long-term accumulation issues.
Dump When Tank Reaches Capacity
Allowing grey water to sit for extended periods encourages bacterial growth and unpleasant smell development. You should empty your tank every few days during active use or when it reaches two-thirds full. Waiting until the tank is completely full increases pressure on seals and joints unnecessarily.
Follow the Black Then Grey Sequence
The most effective cleaning method involves using grey water to flush your sewer hose after black water disposal. First empty your black water tank completely and close that valve tightly. Next open the grey water valve to let the soapy water rinse residual waste from the hose.
- Open black water valve first to discharge solid waste.
- Close black valve once flow stops completely.
- Open grey valve to flush the connected sewer hose.
Critical Warning: Never leave your grey tank valve open while connected to campground sewer systems. This practice allows water to drain away while leaving solids behind to bake and harden inside the tank.
Deep Cleaning Your Grey Water System
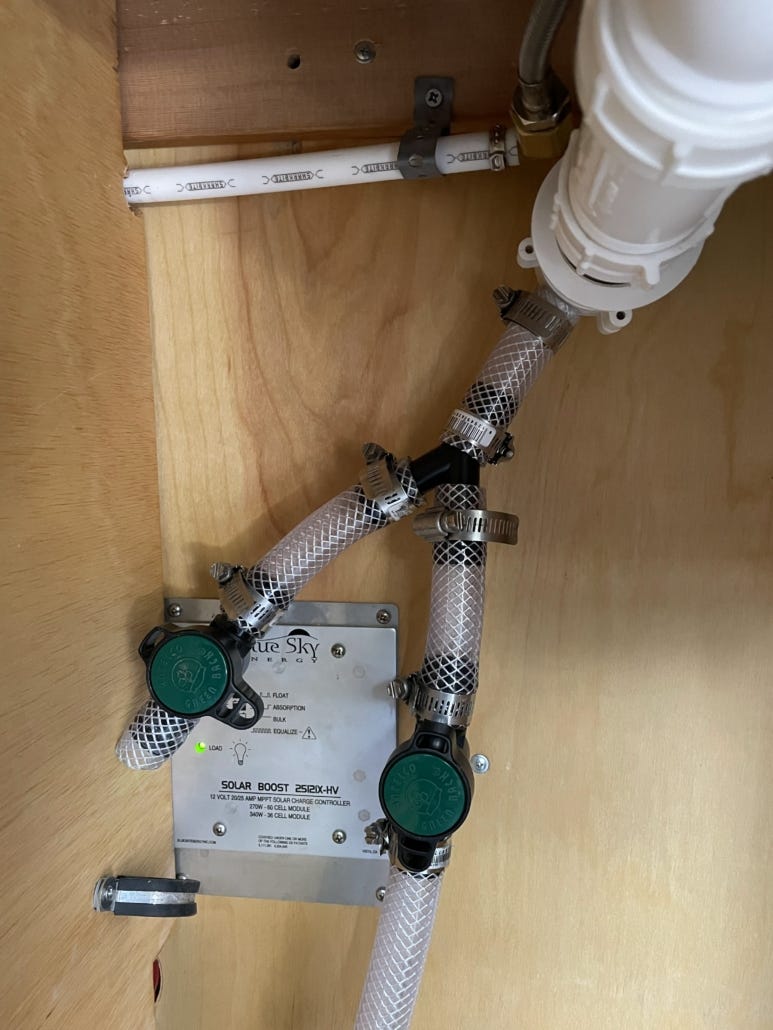
Regular flushing removes built-up film and keeps your rv grey water tank maintenance routine effective. A thorough cleaning every few months prevents permanent damage and sensor failure.
Rinse With Fresh Water Monthly
Add three to five gallons of fresh water to your tank after every dumping session. Run this water through your shower and sinks to help dislodge residue sticking to tank walls. This simple step keeps internal components wet and reduces sludge formation significantly.
Install a Dedicated Tank Rinser
Permanent rinsing devices provide high-pressure spray coverage that manual filling cannot match. These tools attach to your fresh water line and spray inside the tank to break up grime. Use the rinser immediately after emptying the tank for best results.
Apply Enzyme Based Treatments
Enzyme cleaners use natural bacteria to digest organic matter like hair, soap scum, and food particles safely. These treatments break down waste without damaging rubber seals or plastic tank materials. Avoid harsh chemical cleaners containing formaldehyde as they kill beneficial bacteria needed for digestion.
Eliminate Odors From Grey Water Tanks
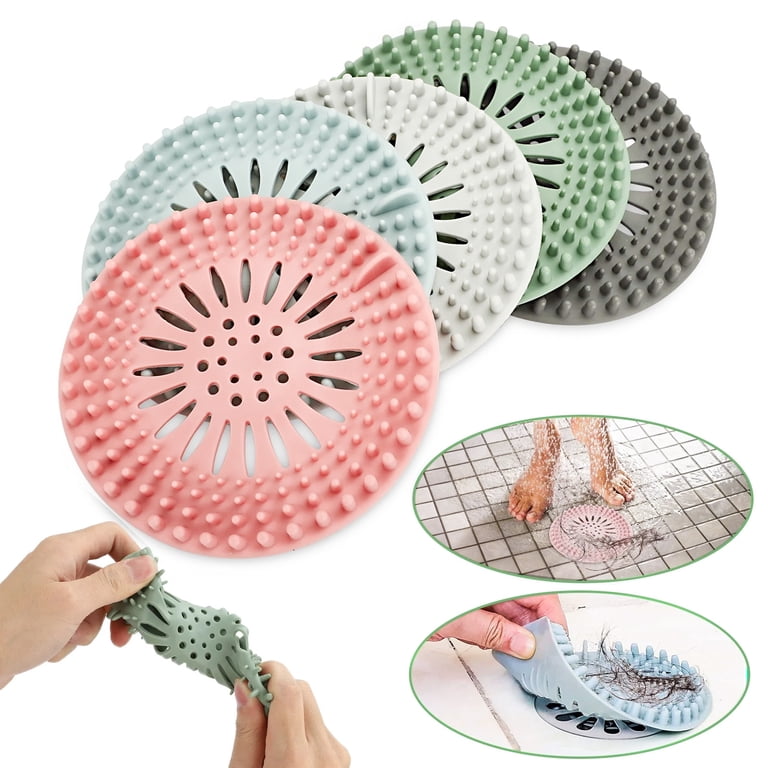
Foul smells often indicate standing water issues or dried-out seals within your drainage system. Addressing these sources quickly restores fresh air to your RV living space.
Maintain Water Levels in Traps
Sink and shower traps must hold water to block sewer gases from entering your cabin. Pour one cup of water down each drain weekly if the RV sits unused for long periods. This keeps the seal intact and prevents gas leakage effectively.
Install Odor Blocking Covers
Silicone drain covers act as physical barriers that reduce evaporation and block smells from rising. Mesh strainers also catch hair and debris before they enter the plumbing system. These inexpensive accessories significantly improve overall system hygiene.
Deodorize With Baking Solutions
Mix half a cup of baking soda with one cup of white vinegar for a powerful natural cleaner. Pour this combination down the drain and let it fizz for thirty minutes before flushing. This reaction cleans pipe walls and neutralizes bad odors without toxic chemicals.
- Do not mix vinegar with bleach or other chemical cleaners.
- Repeat this process once a month for ongoing odor control.
- Flush with hot water to clear loosened debris completely.
Inspect Components for Leaks and Damage
Regular visual inspections help you catch small problems before they become expensive disasters. Checking your system routinely extends the life of your entire wastewater setup.
Check Under RV for Moisture Signs
Examine the ground beneath your vehicle for unexpected wet spots or dark stains regularly. Look closely at the tank exterior and dump valve area for signs of corrosion or dripping. Early detection of leaks prevents wood rot and structural damage to your trailer frame.
Test Valve Movement Regularly
Ensure your dump valve opens and closes smoothly without sticking or resistance. A partially closed valve causes slow drainage and potential overflow situations during use. Lubricate the valve mechanism with silicone-based spray to maintain smooth operation year-round.
Clean Strainers and Filters Weekly
Most showers and sinks feature removable strainers that catch hair and large debris particles. Remove these screens weekly to wash away accumulated gunk and restore proper flow rates. A clogged filter often mimics a full tank causing unnecessary confusion.
Winterize Your Grey Water System Properly
Freezing temperatures can crack pipes and tanks if you do not prepare your RV correctly. Proper winterization protects your investment during cold storage months.
Drain All Water Completely
Empty both black and grey tanks fully before storing your RV for the winter season. Flush the system with fresh water then leave all drain valves open to ensure no water remains trapped. Any remaining water can freeze and expand causing catastrophic cracks.
Add Non-Toxic Antifreeze
Pour three to four cups of pink RV antifreeze into each drain including showers and sinks. This protects the P-traps from freezing and provides odor protection while the vehicle sits unused. Never use automotive antifreeze as it is toxic and dangerous to your system.
Troubleshoot Common Drainage Problems
Even with excellent care, issues may arise that require immediate diagnosis and repair. Use these steps to identify and fix common drainage failures quickly.
Diagnose Slow Draining Sinks
- Check the drain strainer for hair or food blockage.
- Pour baking soda and vinegar mixture to clear minor buildup.
- Verify the grey tank valve is fully open and not stuck.
- Inspect the sewer hose for kinks or external obstructions.
Fix Complete Drainage Failure
- Confirm the dump valve handle is in the fully open position.
- Disconnect the sewer hose to check for internal clogs.
- Flush the tank aggressively using a dedicated rinser tool.
- Insert a flexible plumber snake for stubborn deep blockages.
Address Persistent Foul Smells
Identify if the smell comes from a dry trap, blocked vent, or cracked seal. Pour water into drains to refill traps and check roof vents for bird nests or leaves. Inspect under the RV for any visible leaks or damaged seals around fixtures.
Long Term Care Strategies for Tank Health
Adopting proactive habits ensures your grey water system lasts for many years of reliable service. Consistent care prevents the need for major repairs or replacements.
Avoid Harsh Chemical Drain Cleaners
Products like Liquid-Plumr are too aggressive for RV plumbing materials and seals. These chemicals can eat through rubber gaskets and soften PVC pipes over time. Stick to enzyme-based cleaners and mechanical removal methods for safety.
Monitor Sensor Accuracy Often
Residue buildup on sensors often gives false “full” readings even when the tank is empty. Clean sensors with a soft cloth or specialized spray after every deep cleaning cycle. Accurate readings prevent accidental overflows and dumping errors.
Understand Your Tank Capacity
Most recreational vehicle grey tanks hold between thirty and fifty gallons of wastewater. Monitor your usage closely during boondocking trips to avoid filling up unexpectedly. Planning your water usage helps you manage dump stations efficiently.
Frequently Asked Questions About RV Grey Water Tank Maintenance
How often should I empty my RV grey water tank?
You should empty your tank every two to four days during active use or when it reaches two-thirds capacity. Waiting too long allows bacteria to grow and causes unpleasant odors to develop inside the tank.
Can I pour cooking oil down my RV sink drain?
No, you must never pour cooking oil or grease down your RV sink drain. The oil solidifies in cold pipes creating hard blockages that are very difficult to remove without professional tools.
What is the best cleaner for grey water tanks?
Enzyme-based cleaners are the best choice because they use natural bacteria to digest waste safely. These products break down organic matter without damaging rubber seals or plastic tank components.
Why does my grey water tank smell like rotten eggs?
Rotten egg smells usually come from dried-out P-traps or bacterial growth in standing water. Pouring water into drains refills traps while enzyme treatments reduce the bacteria causing the odor.
Is it okay to leave the grey tank valve open at campsites?
No, leaving the valve open causes water to drain while solids remain and harden inside the tank. This practice leads to severe clogs and persistent odors that are hard to eliminate later.
How do I unclog a blocked grey water tank?
Start by checking strainers and using a baking soda and vinegar solution to break up minor clogs. For severe blockages, use a dedicated tank rinser or a flexible plumber snake to clear the line.
Key Takeaways for Effective RV Grey Water Tank Maintenance
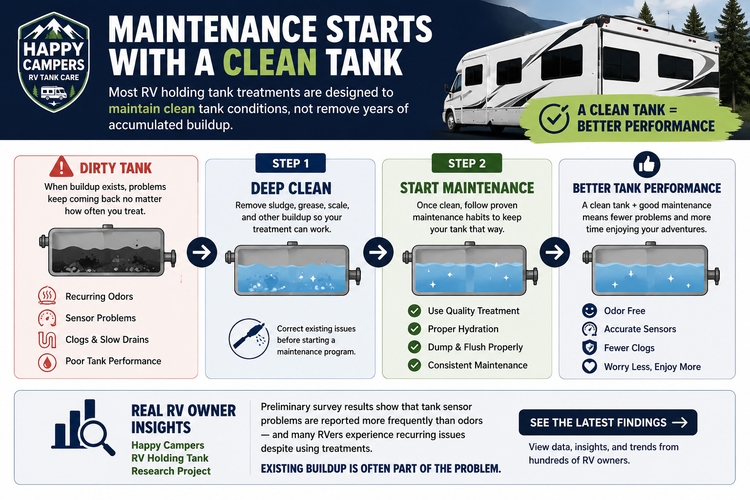
Successful rv grey water tank maintenance relies on daily prevention habits and regular deep cleaning routines. You must avoid pouring grease down drains, use enzyme cleaners, and follow the correct dumping sequence to prevent clogs. Consistent inspection of valves and traps ensures your system remains odor-free and functional for years.
Start your next trip by checking your drain strainers and adding an enzyme treatment to your tank. These simple actions will save you from messy backups and allow you to enjoy your travels without plumbing worries.