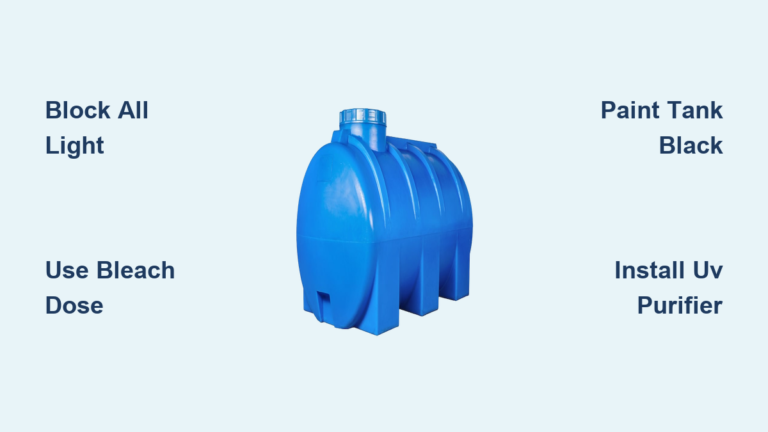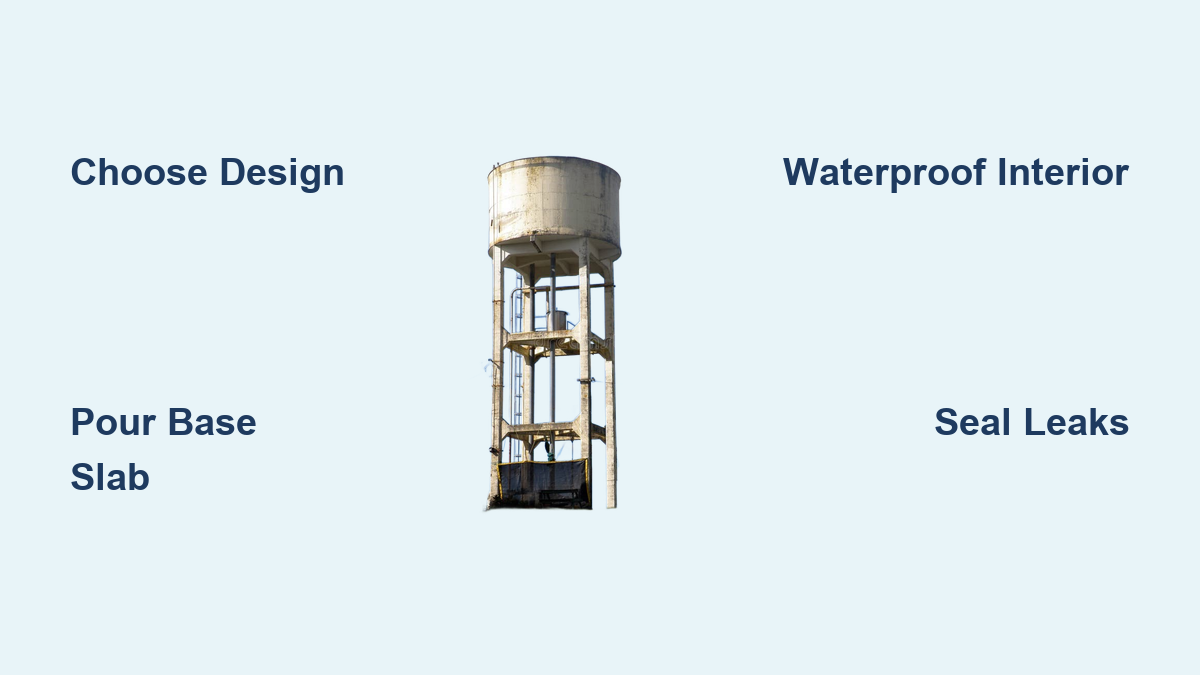
Building a water tank at home saves money and ensures you have reliable storage for emergencies or gardening. Whether you need rainwater collection or a large reserve, knowing how to build a water tank properly prevents costly leaks and contamination issues later.
This guide details every step required to construct a safe, durable concrete water tank using common materials. You will learn site selection, precise mixing ratios, pouring techniques, and essential maintenance tips to complete your project with confidence.
Select the Best Concrete Tank Design
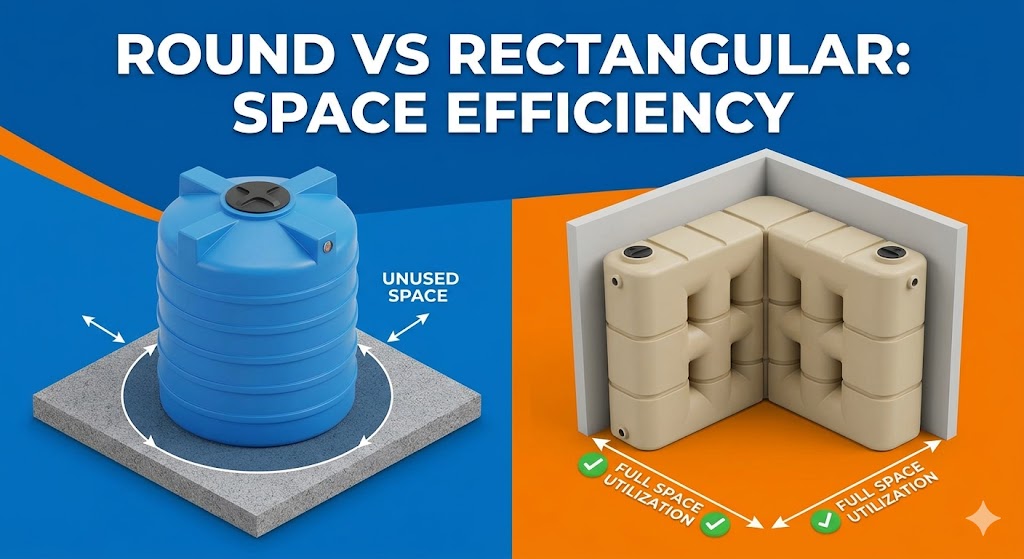
Choosing the right design ensures your storage solution meets your specific capacity needs and site conditions. Concrete remains the top choice for permanent, large-scale installations because it offers superior durability compared to plastic or metal alternatives.
Why Choose Concrete Over Other Materials
Concrete tanks resist sunlight degradation and can last over 30 years with proper care. Unlike metal, they do not rust, and unlike plastic, they do not become brittle under UV exposure. You can build them above ground or below ground depending on your landscape requirements.
Understanding Structural Requirements
Reinforced concrete with steel bars provides the necessary strength to hold thousands of liters of water. Underground models require extra reinforcement to withstand soil pressure without cracking. Proper design prevents structural failure that often occurs when builders take shortcuts.
Calculate Capacity and Choose a Site
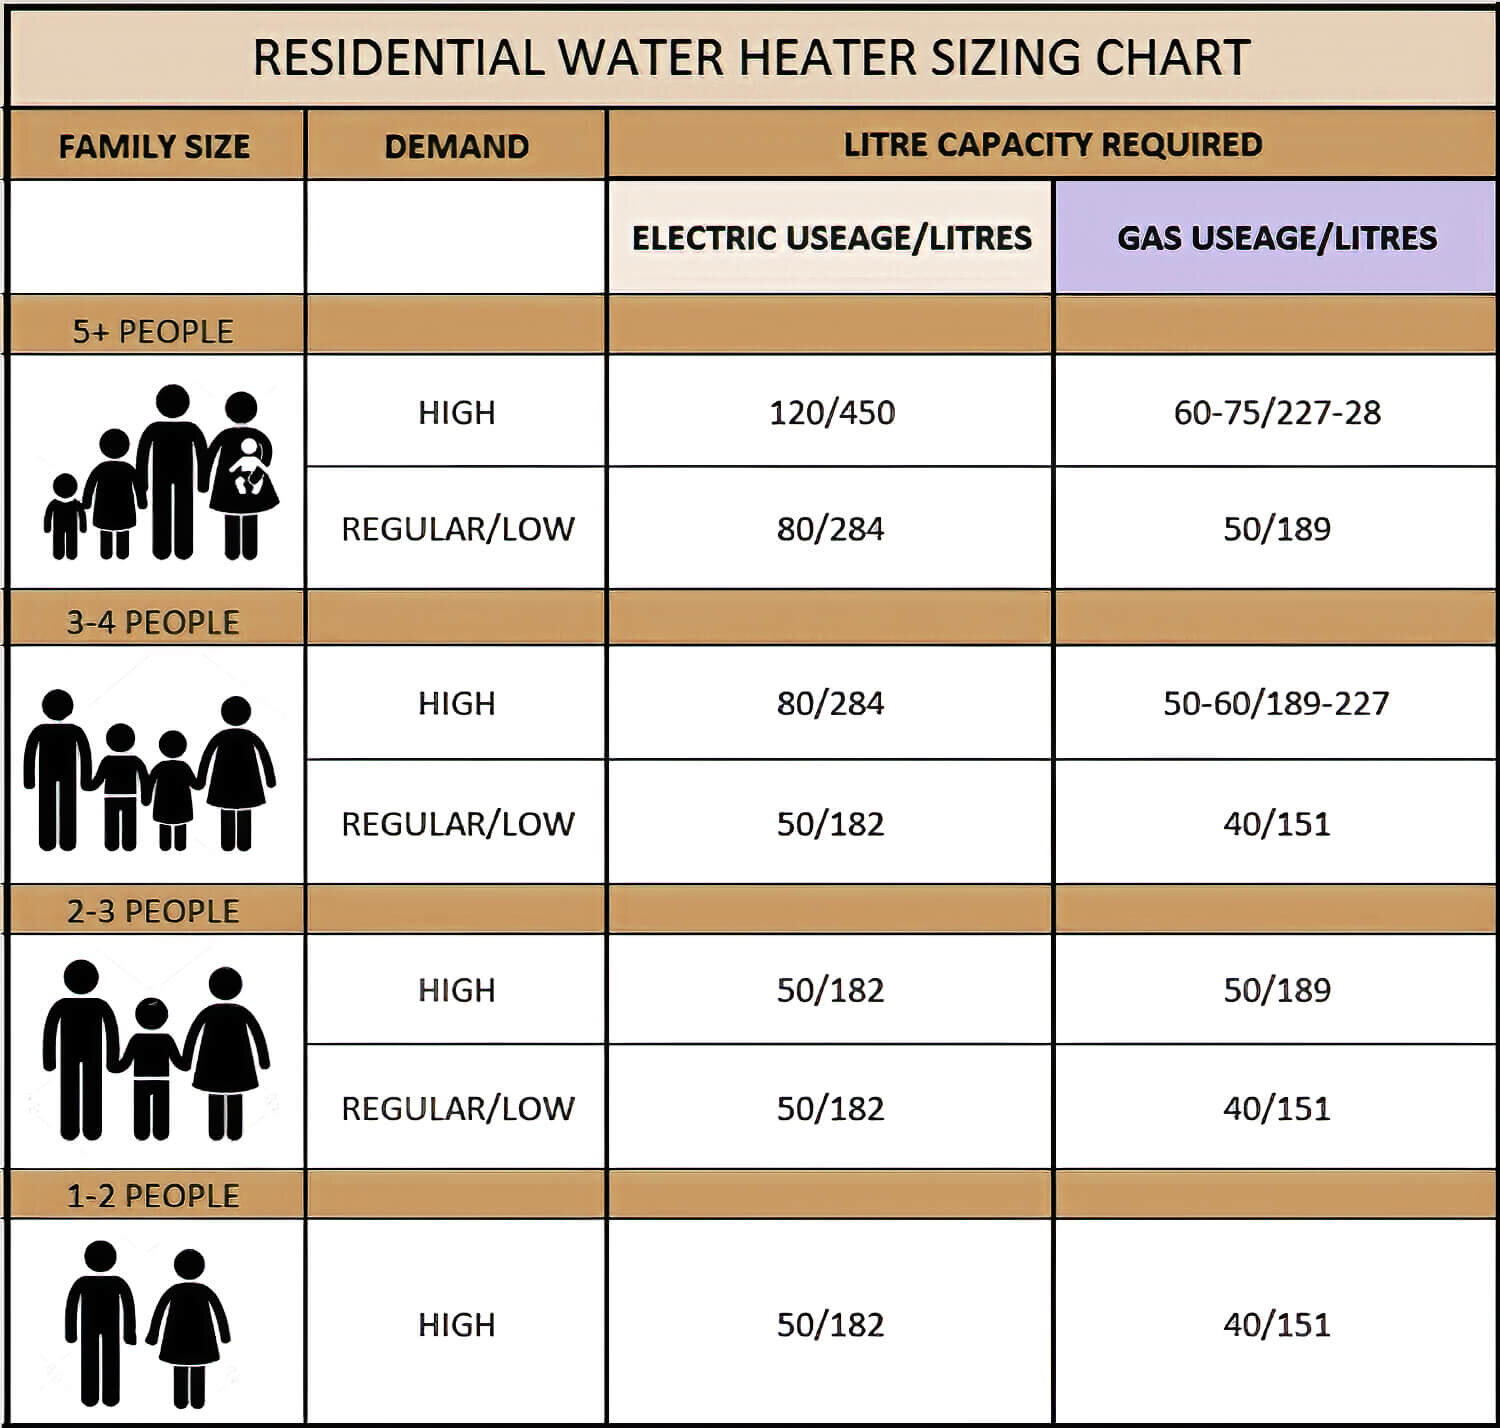
Accurate sizing and strategic placement are critical for the long-term performance of your new water storage system. Planning these elements carefully before you dig saves time and prevents future operational headaches.
Estimate Your Daily Water Usage
You must calculate your needs to determine the correct tank size for your household or farm.
* Drinking and cooking require 5 to 10 liters per person daily.
* Bathing and washing use between 50 and 100 liters per person.
* Garden irrigation needs 10 to 20 liters per square meter of plants.
Multiply your daily total by the number of storage days you need, such as three to seven days for emergency supplies. A family of four needing seven days of supply at 150 liters per day requires a 4,200-liter tank.
Pick a Flat and Stable Location
Select a flat area with good drainage to support the heavy weight of the full tank. Avoid low spots where rainwater pools, as this can undermine the foundation over time. Keep the site away from trees to prevent root damage and reduce leaf debris falling into the water.
Gather Essential Materials and Tools
Having all necessary items ready before you start ensures consistent work quality and avoids frustrating delays. Preparation is key when working with concrete, as it sets quickly once mixed.
List of Required Materials
- Concrete mix using a 1:2:4 ratio of cement, sand, and gravel
- Rebar or wire mesh for internal reinforcement
- High-quality waterproofing agent or tank sealant
- Wood or metal formwork materials to shape the tank
- PVC pipes for inlet, outlet, overflow, and drain fittings
- Tight-fitting lid to block debris and sunlight
- Leveling sand or gravel for the base layer
List of Required Tools
- Shovel and tamper for earthwork
- Spirit level and measuring tape for precision
- Trowel and float for smoothing concrete surfaces
- Drill with hole saw attachment for pipe fittings
- Wheelbarrow for mixing and transporting concrete
- Safety gear including gloves, goggles, and a mask
Prepare the Foundation and Formwork

A solid foundation prevents shifting and cracking, which are the most common causes of tank failure. You must create a stable base before pouring any concrete for the walls or floor.
Excavate and Level the Base
Clear the site of all grass, rocks, and loose soil to reach stable ground. Excavate to a depth of 15 to 20 cm and lay a 10 cm layer of compacted gravel or sand. Level the surface carefully because any slope can cause uneven stress on the tank walls.
Build Strong Wooden Molds
Construct inner and outer wooden molds to define the shape of your cylindrical or rectangular tank. For round tanks, bend plywood or use metal sheets secured with clamps to achieve the curve. Ensure the wall thickness is at least 10 cm for small tanks and up to 20 cm for larger ones.
Pour the Base Slab and Walls
Pouring concrete in the correct sequence ensures a monolithic structure that resists leaking. Follow these steps strictly to achieve a professional-grade result.
Step 1: Pour the Floor Slab
Lay a mesh of rebar in the foundation area and elevate it slightly off the ground using small stones. Pour a 15 cm thick concrete slab and smooth it immediately with a trowel. Cure this section for at least 7 days by keeping it damp with burlap and daily water sprinkling.
Step 2: Install Reinforcement Bars
Insert vertical rebar rods into the cured base slab, spacing them every 30 cm. These bars connect the floor to the walls and provide tensile strength. Do not proceed until the base is fully hardened to prevent disturbing the alignment.
Step 3: Pour the Wall Sections
Fill the formwork with concrete in layers, tamping each layer to remove air pockets. Insert your PVC pipes at the correct heights during this process.
* Place the inlet pipe near the top of the wall.
* Position the outlet 10 to 15 cm above the floor to avoid sediment.
* Install the overflow pipe just below the rim.
* Set the drain pipe at the very bottom.
Remove the formwork after 7 days and continue curing the walls for another week to ensure maximum strength.
Waterproof and Seal the Interior

Waterproofing is the most critical step to prevent leaks and bacterial growth within your new tank. Unsealed concrete is porous and will eventually allow water to seep out or contaminants to enter.
Apply Waterproofing Compound
Wait until the tank is completely dry before applying a cement-based waterproofing compound or liquid sealant. Apply two generous coats to all interior surfaces, paying special attention to joints and corners. This barrier ensures your stored water remains clean and the structure stays intact.
Install Plumbing and Accessories
Connect your inlet pipe to a downspout or municipal line with a mesh screen to trap debris. Attach a ball valve to the outlet pipe to control water flow effectively. Finally, secure a tight-fitting lid over the top to keep out insects, animals, and sunlight.
Maintain Your Water Storage System
Regular maintenance extends the life of your tank and ensures the water remains safe for use. Neglecting these tasks can lead to contamination or structural issues over time.
Clean Every Six to Twelve Months
Drain the tank completely and scrub the interior with a brush and mild bleach solution. Use a ratio of one part bleach to 20 parts water for effective sanitization. Rinse thoroughly before refilling to remove any chemical residue or sediment buildup.
Inspect for Damage Regularly
Check walls, joints, and seals annually for hairline cracks or signs of wear. Repair minor cracks immediately with hydraulic cement to prevent them from expanding. Larger damage may require partial reconstruction or relining to restore full functionality.
Troubleshoot Common Tank Problems
Identifying issues early saves repair costs and protects your water supply from contamination. Most problems have simple solutions if addressed promptly.
Fix Bad Smells or Tastes
Bad odors usually indicate contamination from debris or bacterial growth. Clean the tank thoroughly, check the inlet filter, and ensure the lid is sealed tight. Consider adding a carbon filter to the outlet line for improved water quality.
Repair Leaks and Low Pressure
Seal small leaks in concrete tanks with waterproof cement designed for submerged structures. If you experience low pressure in a gravity-fed system, ensure the tank is elevated at least 1 to 2 meters above the outlet point.
Frequently Asked Questions About Building Water Tanks
How much does it cost to build a concrete water tank?
Costs vary by size and location, but DIY concrete tanks are generally cheaper than buying prefabricated plastic ones. You primarily pay for cement, sand, gravel, rebar, and formwork materials. Labor costs are zero if you do the work yourself.
Can I drink water stored in a concrete tank?
Yes, provided you use food-grade materials and seal the interior properly. You must use a non-toxic waterproofing sealant and clean the tank regularly. Testing the water quality periodically is recommended for drinking safety.
How long does a concrete water tank last?
A well-constructed and maintained concrete tank can last over 30 years. Proper waterproofing and regular cleaning significantly extend its lifespan. Avoiding structural stress and repairing cracks immediately also helps durability.
Do I need a permit to build a water tank?
Regulations vary by location, so check with your local building authority before starting. Some areas require permits for large underground tanks or specific plumbing connections. Always verify local codes to ensure compliance.
What is the best shape for a DIY water tank?
Cylindrical shapes are strongest because they distribute water pressure evenly around the walls. Rectangular tanks require more reinforcement at the corners to prevent bowing. Round designs are generally easier to build and maintain.
Key Takeaways for Building Your Water Tank

Building a water tank requires careful planning, precise construction, and regular maintenance to ensure safety and longevity. By selecting the right site, using proper concrete ratios, and applying effective waterproofing, you create a reliable water source for your home or farm.
Start your project by calculating your exact water needs and gathering high-quality materials. Follow the pouring and curing steps meticulously to avoid structural weaknesses. With proper care, your DIY water tank will provide secure water storage for decades.