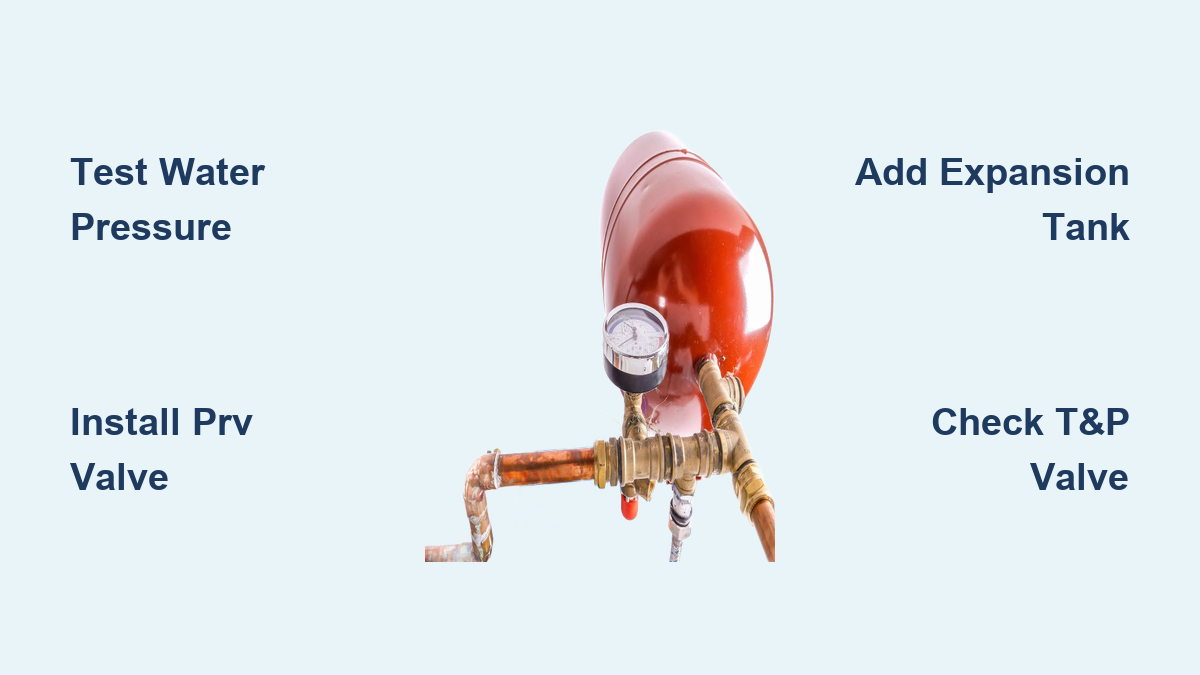
High water pressure can silently damage your plumbing and cause your hot water tank to leak or fail prematurely. If you hear banging pipes or see your temperature relief valve dripping, you likely need to reduce pressure in your hot water tank immediately.
This guide explains how to test your current levels and install a Pressure Regulating Valve to fix the issue. You will learn to manage thermal expansion and adjust your system for long-term safety and efficiency.
Test Your Water Pressure Before Making Changes

Guessing your water pressure often leads to unnecessary repairs or missed safety hazards. You must measure the exact static pressure to determine if your system exceeds the safe limit of 80 psi.
Use a Dedicated Pressure Test Gauge
The only accurate way to measure pressure is with a specialized gauge available at hardware stores.
* Screw the gauge securely onto an outdoor spigot or laundry sink faucet.
* Turn the faucet on fully to get a static reading with no other water running in the house.
* Read the value in pounds per square inch (psi) on the dial.
Interpret Your Pressure Readings
Compare your results against standard residential benchmarks to decide on next steps.
* Below 50 psi: Acceptable but may limit high-demand appliance performance.
* 50 to 70 psi: The ideal range for most homes and appliances.
* Over 80 psi: Dangerous levels that require immediate action to prevent damage.
Most fixtures and water heaters are rated for a maximum of 80 psi. Exceeding this accelerates wear on internal seals and valves.
Install a Pressure Regulating Valve for Control
A Pressure Regulating Valve (PRV) is the primary solution for reducing high municipal water pressure to a safe level. This device protects your hot water tank from damaging surges and extends the life of your plumbing.
Select the Correct PRV Model
Choose a valve rated for 15 to 75 psi with a flow rate matching your home’s demand.
* Standard PRVs: Act as one-way valves that prevent backflow into the city line.
* Backflow-capable models: Allow thermal expansion to push water backward, which may eliminate the need for a separate expansion tank.
* Recommended options: Cash Acme E3, Cash Acme EB25, or Watts 25AUB.
The Cash Acme EB25 features tool-free adjustment, making future tuning much easier for homeowners.
Position the PRV Correctly
Proper location is critical for code compliance and optimal performance. Install the valve after the main shutoff and water meter but before the first branch line splits to the house. If you have an irrigation system, place the PRV after the irrigation tap so your lawn receives full city pressure while indoor plumbing gets regulated flow.
Add Essential Installation Accessories
Include specific components during installation to ensure long-term maintenance is possible.
* Drain line: Install after the PRV to allow system draining without disconnecting hoses.
* Dual pressure gauges: Place one before and one after the PRV to monitor the pressure drop in real time.
Follow Precise Installation Steps
- Shut off the main water supply and open faucets to drain the system completely.
- Cut the pipe using an auto-cut copper cutter for a clean, burr-free edge.
- Assemble components in order: main shutoff, PRV, drain line, then the T-fitting.
- Remove the PRV body before soldering nearby joints to protect internal seals from heat.
- Reinstall the PRV after cooling, ensuring O-rings are seated and nuts are snug.
- Turn water back on slowly and check all connections for leaks.
Adjust PRV Settings to Target Pressure

Once installed, you must fine-tune the PRV to achieve a safe and consistent pressure level throughout your home.
Make Incremental Adjustments
Most valves have a top-mounted adjustment screw secured by a locking nut.
1. Loosen the locking nut to free the adjustment screw.
2. Turn the screw clockwise to increase pressure or counterclockwise to decrease it.
3. Monitor the downstream gauge after every quarter-turn of the screw.
4. Allow the system pressure to stabilize before making another adjustment.
Aim for the 50 to 70 Psi Range
Target 60 psi as a balanced setting that provides strong flow while remaining safe for appliances. If the pressure fluctuates or does not respond to adjustments, the PRV may be clogged or failing. Tighten the locking nut securely once you reach your target pressure.
Manage Thermal Expansion in Closed Systems

Heating water creates thermal expansion, which increases volume and raises pressure inside the tank. In a closed system with a standard PRV, this pressure has nowhere to go without proper management.
Install a Thermal Expansion Tank
An expansion tank absorbs excess water volume during heating cycles to prevent dangerous spikes.
* Mount the tank on the cold water inlet line of the water heater where expansion begins.
* Use a T-fitting to connect the tank and install it upside down to prevent stagnation.
* Use a brass adapter when connecting stainless steel tanks to copper pipes to prevent galvanic corrosion.
Charge the Tank Using the Plus 10 Rule
Expansion tanks come pre-charged to 40 psi, but you must adjust this to match your system. Set the air charge to 10 psi above your target water pressure. For example, if your target is 50 psi, charge the tank to 60 psi. Always charge the tank before turning the water back on to ensure accuracy.
Use a Backflow-Capable PRV as an Alternative
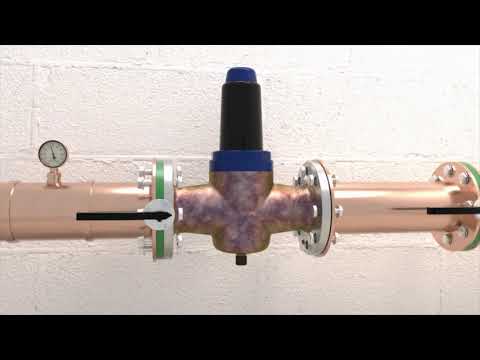
You may prefer a single-device solution if local codes permit backflow into the municipal supply.
How Backflow-Capable Models Work
Units like the Cash Acme EB25 or Watts 25AUB allow expanded water to flow back into the city line. This built-in relief eliminates the need for a separate expansion tank in many installations.
Verify Local Plumbing Regulations
Many jurisdictions prohibit backflow into public water supplies due to contamination risks. Always consult local codes before choosing this option. If permitted, this method simplifies installation and reduces the number of required parts.
Test the T and P Valve Annually
The Temperature and Pressure relief valve on your water heater is your last line of defense against explosion.
Perform a Functional Test
- Place a bucket under the drain pipe to catch discharged water.
- Lift the lever fully to open the valve and allow several gallons to discharge.
- Release the lever and ensure the flow stops immediately.
Replace a Dripping Valve
If water continues to drip after closing the lever, the internal seat is damaged. Do not attempt to repair it. Shut off power and water, drain a few gallons, and replace the valve with a unit matching the original pressure and temperature ratings.
Troubleshoot Common Pressure Issues
Even well-installed systems can develop problems that require diagnosis and repair.
PRV Fails to Reduce Pressure
A clogged filter screen is a common cause of failure in models like the Cash Acme E3. Unscrew the housing to clean or replace the filter element. Worn internal seals may also cause screeching noises or inconsistent pressure, requiring a rebuild kit.
Expansion Tank Malfunctions
A waterlogged tank cannot absorb expansion. Tap the tank to listen for a hollow sound on top and a solid sound on the bottom. If the tank sounds solid throughout or the air charge is near zero, the bladder is ruptured and the tank needs replacement.
Maintain Long-Term System Health
Preventive care keeps your water pressure stable and your hot water tank safe from damage.
Follow an Annual Maintenance Checklist
- Test the T&P valve to ensure it opens and closes properly.
- Check the expansion tank air charge with a tire gauge.
- Inspect the PRV for leaks, noise, or signs of failure.
- Verify system pressure with a gauge to ensure it remains in range.
Watch for Warning Signs
Banging pipes indicate pressure surges known as water hammer. Leaking faucets or frequent pressure fluctuations suggest a failing PRV or waterlogged expansion tank. Address these signs promptly to avoid costly repairs or water damage.
Frequently Asked Questions About Reducing Water Pressure
What is the ideal water pressure for a residential home?
The ideal range is between 50 and 70 psi. Pressures above 80 psi can damage fixtures and water heaters, while pressure below 50 psi may affect appliance performance.
How often should I test my water pressure?
You should test your water pressure annually or whenever you notice signs of high pressure like leaking valves or banging pipes. Regular testing helps prevent long-term damage to your plumbing system.
Can I install a PRV myself without a plumber?
While DIY installation is possible for skilled homeowners, you should consult local codes first. Professional installation ensures proper sizing, code compliance, and correct placement relative to irrigation systems.
Why is my expansion tank leaking water from the air valve?
This indicates the internal bladder has ruptured and the tank is waterlogged. You must replace the expansion tank immediately as it can no longer absorb thermal expansion safely.
Do I need an expansion tank if I have a PRV?
Yes, unless you have a backflow-capable PRV and local codes allow backflow. Standard PRVs create a closed system where thermal expansion must be managed to prevent dangerous pressure spikes.
Key Takeaways for Reducing Hot Water Tank Pressure
Reducing pressure in your hot water tank is essential for preventing leaks, noise, and potential system failure. Start by testing your current pressure and installing a PRV if levels exceed 70 psi. Remember to manage thermal expansion with a properly charged tank or a backflow-capable valve.
Regular maintenance of your T&P valve and pressure components ensures your system remains safe and efficient. Take action today by purchasing a pressure gauge and testing your home’s water pressure to protect your investment.