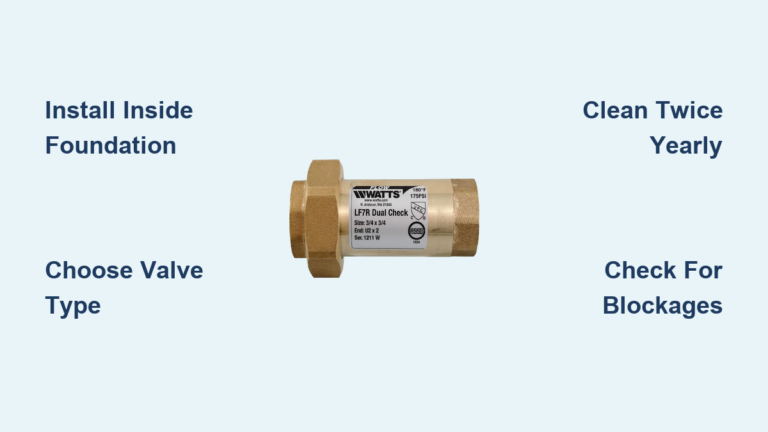
If your well pump cycles on and off every few minutes with no water running, or you hear a loud clunk right after it shuts down, a failed check valve is often the culprit. The well pump check valve installation process is critical for maintaining system pressure, preventing backflow, and protecting your pump from premature failure. Without a properly installed valve, water drains back into the well and forces the pump to restart constantly.
This guide covers everything you need to know about well pump check valve installation, including correct placement, material selection, step-by-step replacement, and how to avoid common mistakes. Whether you are a seasoned DIYer or working with a professional, understanding the physics and best practices ensures your well system runs efficiently and lasts longer.
Strategic Check Valve Placement
Follow the 25-Foot Rule
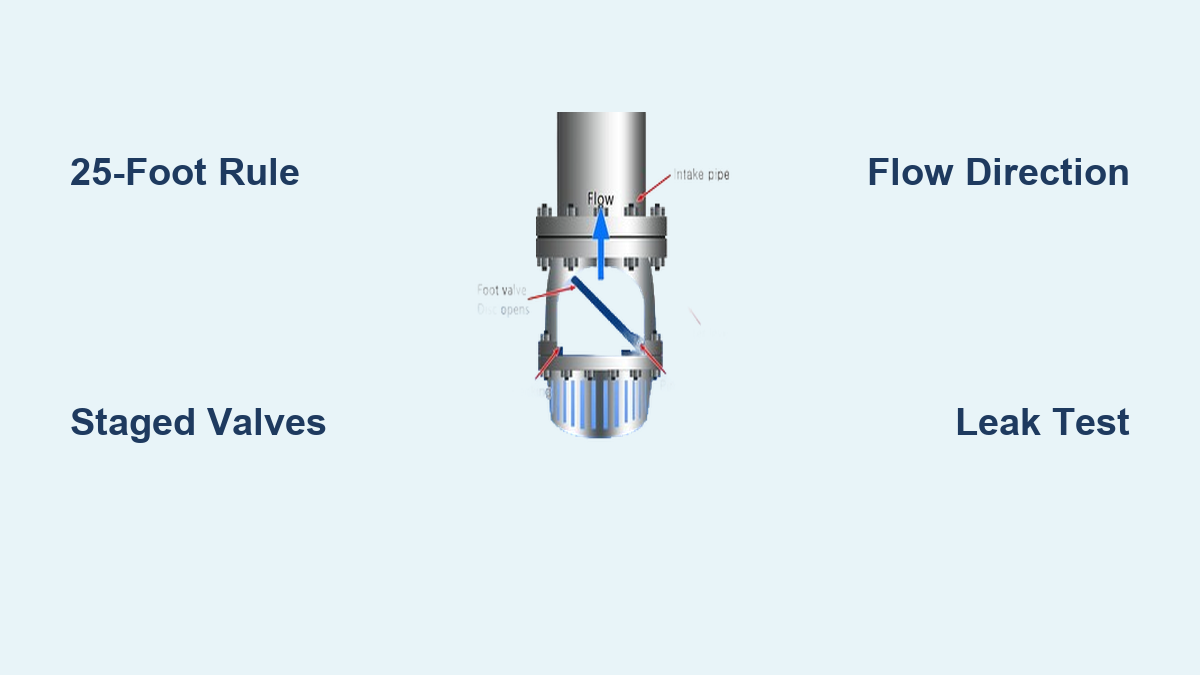
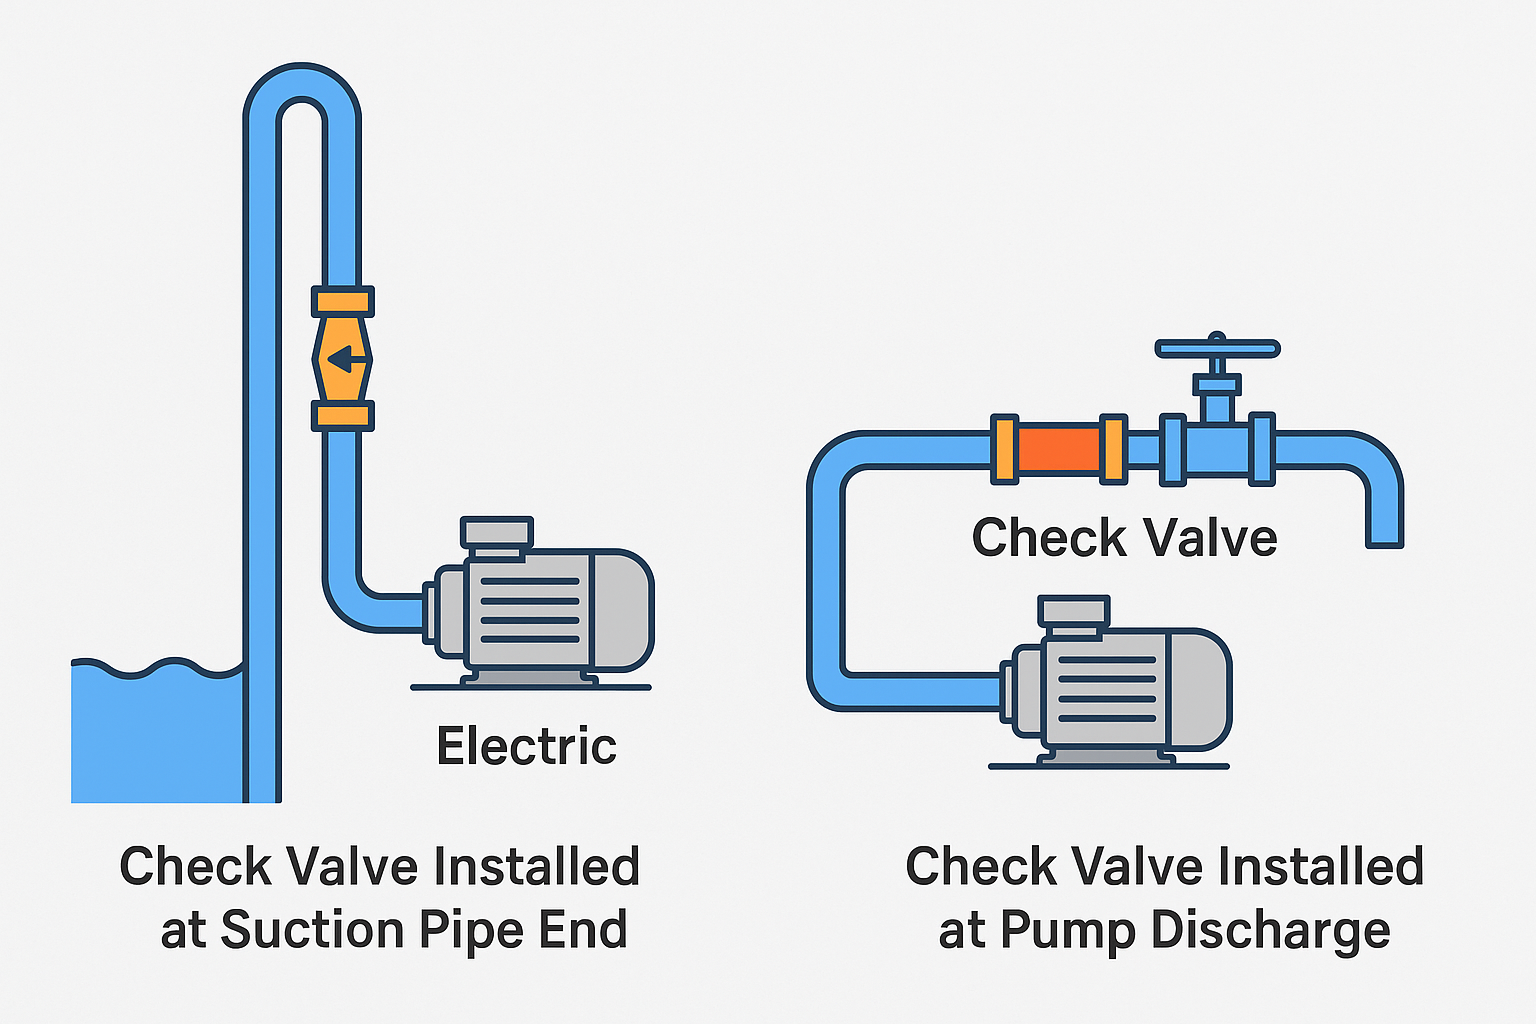
The first external check valve must sit no more than 25 feet above the dynamic water level. This rule is based on the physical limit of atmospheric pressure, which can only support a water column up to 32 feet high. Beyond that limit, a vacuum forms and water falls back, losing prime and causing the pump to restart unnecessarily.
Even if your pump has a built-in check valve, this secondary valve acts as a failsafe. If the internal valve fails, the 25-foot rule ensures the next valve can still hold the water column and prevent backflow.
Space Valves Every 200 Feet
For deep wells over 200 feet, install an additional check valve every 200 feet up the drop pipe. This 200-foot spacing rule prevents hydraulic shock (water hammer) by breaking the water column into manageable sections.
When the pump stops, the sudden stoppage creates intense backpressure, sometimes exceeding 860 PSI in high-flow systems. A single valve cannot handle that force. Staged valves absorb the shock incrementally, protecting the pump, pipes, and fittings.
Install a Surface Valve
Many local codes require a check valve above ground, typically near the pressure tank. This final barrier prevents water from your home’s plumbing from draining back into the well system when the pump is off.
It also protects against contamination and ensures consistent pressure in household lines. Even if not required, adding a surface valve is a low-cost safeguard.
Multi-Valve Installation in Deep Wells

Build a 750-Foot Well Valve Plan
For a 750-foot well with a 700-foot pumping water level, use this valve layout:
- Valve 1: At the pump discharge (built-in or one pipe length up)
- Valve 2: At 675 feet (within 25 feet of water level)
- Valve 3: At 475 feet
- Valve 4: At 275 feet
- Valve 5: At 75 feet
- Valve 6: At surface (near pressure tank)
This configuration ensures no single valve bears excessive pressure and maintains system integrity during shutdown.
Avoid the Single-Valve Trap
Never rely on a single high-pressure check valve, even if it is rated for 400+ PSI. Pressure ratings do not account for dynamic forces like water hammer. Without staging, the valve faces destructive shock loads every time the pump stops.
Multiple lower-rated valves, properly spaced, outperform one heavy-duty valve every time.
Diagnose Check Valve Failure
Listen for Warning Sounds
A failing check valve often announces itself through distinct noises:
- Clunk and rattle: Water surges backward, then the pump restarts under load
- Hissing after shutdown: Indicates slow backflow through a leaking seal
- Intermittent cycling: Pump turns on and off without water use due to pressure loss
These signs mean water is draining back into the well, putting stress on the motor and shortening its lifespan.
Watch for Pressure Issues
During high-demand use, such as running a shower and dishwasher simultaneously, a weak check valve can cause sudden pressure drops, inconsistent flow, and chattering in cycle stop valves (CSV).
If your CSV cannot maintain steady pressure, check the valve before blaming the CSV itself.
Prevent Mechanical Damage
Stop Pump Backspin
When water flows backward, it spins the pump impellers in reverse. If the motor restarts while spinning backward, the torque can snap the shaft or destroy the thrust bearing.
A properly placed check valve eliminates reverse flow, preventing this dangerous condition.
Reduce Up-Thrust Stress
Pumps starting under low-head conditions, such as when backflow has drained pressure, generate upward force on the impeller shaft. This up-thrust wears internal components over time.
Staged check valves maintain head pressure, reducing up-thrust and extending pump life.
Control Water Hammer
A sudden valve closure or pump shutdown creates a shockwave that can burst pipes and damage fittings. Staged check valves absorb this energy in steps, reducing peak pressure spikes by up to 70% compared to single-valve systems.
Step-by-Step Installation Guide
Shut Down the System Safely
Before starting well pump check valve installation, isolate the system completely:
- Turn off the circuit breaker
- Close the main house supply valve
- Shut off the well feed valve (usually a ball valve near the tank)
- Open a faucet to release pressure
Never work on a pressurized system. Flooding and injury risks are high.
Remove the Old Valve
Access the valve on the line between the well and pressure tank. Loosen clamps on barbed fittings and use a heat gun if fittings are seized. Remove the old valve carefully.
Inspect the pipe for sediment or corrosion. Clean the ends before installing the new valve.
Install the New Check Valve
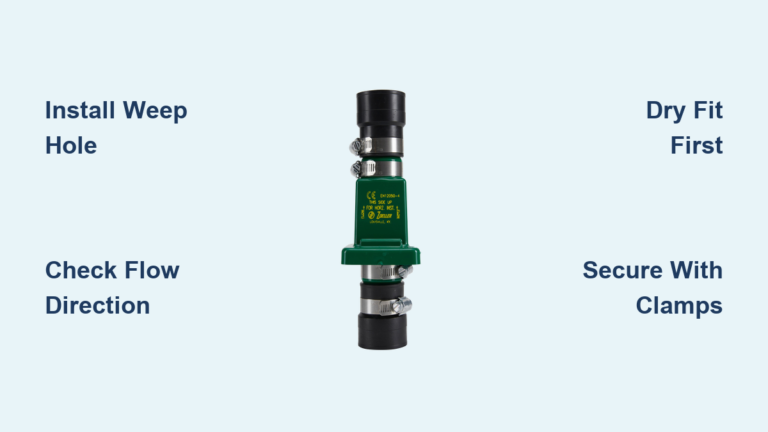
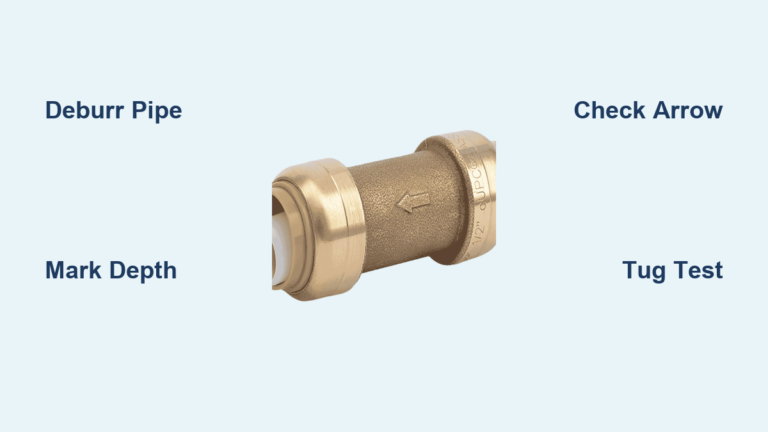
Verify Flow Direction
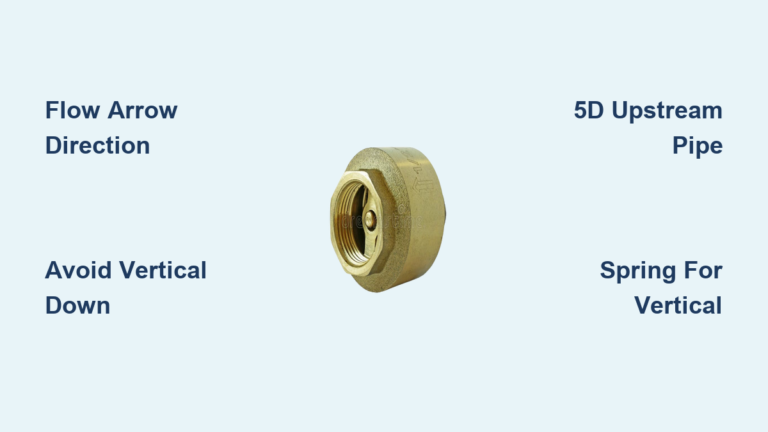
The arrow on the valve must point toward the house, not the well. Installing it backward blocks all water flow.
Prepare Threads
Use pipe dope (not just Teflon tape) on all threaded connections. Apply in the direction of the thread to prevent bunching.
Teflon tape can fail under high pressure or vibration. Pipe dope seals better and lasts longer.
Assemble Securely
For barbed fittings, slide on new stainless clamps, push pipe fully onto fitting, then tighten clamps. For threaded joints, hand-tighten first, then use channel locks to snug, but do not over-tighten. Brass and stainless fittings can crack if torqued too hard.
Replace Internal Pump Valves

Use the Right Tool
Some submersible pumps, such as Franklin Electric models, have a check valve inside the discharge head. To replace it, use a poppet wrench that fits the valve’s notches. Insert and turn clockwise to loosen, then lift out the old valve.
Install with Proper Torque
Insert the new valve and turn counter-clockwise to tighten. Use a torque wrench set to 15 to 20 inch-pounds only.
Warning: Overtightening can crack the housing or damage the poppet seal, leading to immediate failure.
Choose the Right Material

Match Valve to Water Chemistry
Brass valves work well for neutral pH water (6.5 to 8.5). Stainless steel valves are essential for acidic water (pH below 7).
In low-pH water, brass corrodes quickly, leading to pinhole leaks and structural failure. Stainless steel resists corrosion and lasts decades.
Prioritize Build Quality
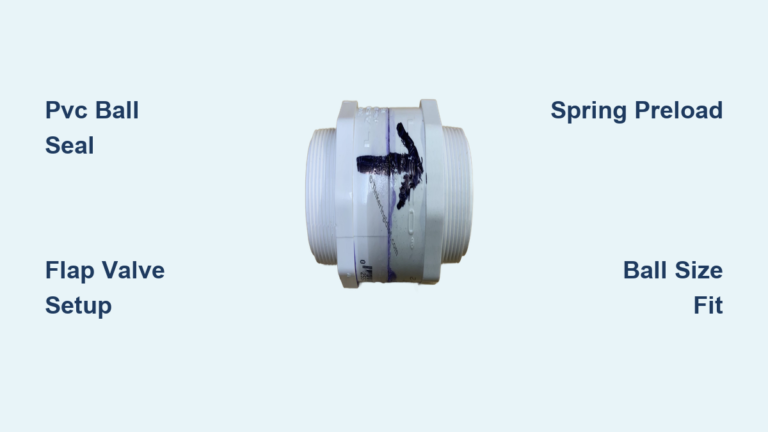
Avoid cheap, generic valves. Look for spring-loaded design, precision-machined seats, and NSF/ANSI certification.
Top brands like Flomatic, Simmons, and Franklin Electric offer reliable, long-lasting performance.
Size Valves for Flow
Match GPM, Not Just Diameter
A valve sized only for pipe diameter may restrict flow or create turbulence. Always match the valve to your system’s flow rate (GPM).
For example, a 10 GPM system needs a 1-inch valve, while a 350 GPM system requires larger diameter and staged valves. High velocity increases backpressure and water hammer risk.
Check Thread Compatibility
Most external check valves have a 1¼-inch male NPT on the bottom (pump side) and a 1-inch female NPT on the top (pipe side). Verify thread size before purchase. Mismatched threads cause leaks and require adapters.
Test and Re-Pressurize
Check for Leaks Slowly
After installation, slowly open the well feed valve and watch for drips at connections. Then open the house supply valve and restore power at the breaker.
A slow startup prevents sudden pressure surges that could damage the new valve.
Monitor the First Cycle
Watch the pressure gauge. The pump should run until cut-off (around 60 PSI) and shut off cleanly with no clunking or hissing. Pressure should hold steady with no drop.
If pressure falls, the valve may be leaking or installed backward.
Prevent Future Failures
Replace Every 10 to 15 Years
Even if working, replace the primary external check valve every 10 to 15 years. It is cheap insurance against costly pump repairs.
Do it whenever the pump is pulled for maintenance.
Install a Sand Separator
In sandy wells, sediment can jam the valve open. A sand separator or sediment filter upstream extends valve life and prevents clogging.
Avoid Cross-Threading
Many DIY failures come from cross-threaded fittings. Always start threads by hand and inspect old fittings for damage.
Use a heat gun to loosen stuck parts. Never force them.
Frequently Asked Questions About Well Pump Check Valve Installation
How deep should a check valve be installed in a well?
The first external check valve should sit no more than 25 feet above the dynamic water level. This ensures it stays within the 32-foot vacuum limit and holds the water column when the pump stops.
How many check valves does a deep well need?
A 750-foot well typically requires five to six check valves: one at the pump discharge, one within 25 feet of the water level, and additional valves every 200 feet up the drop pipe. A surface valve near the pressure tank is often recommended.
What happens if a check valve is installed backward?
A backward check valve blocks all water flow and prevents the pump from delivering water to the house. Always verify the arrow on the valve points toward the house before completing installation.
Can acidic water damage a check valve?
Yes. Brass valves corrode quickly in acidic water (pH below 7), leading to pinhole leaks and failure. Stainless steel valves resist corrosion and are the better choice for low-pH wells.
How often should a well pump check valve be replaced?
Replace the primary external check valve every 10 to 15 years or whenever the pump is pulled for service. This proactive replacement prevents sudden failures and protects the pump from backspin damage.
Why does my pump cycle on and off with no water running?
Rapid cycling usually means water is draining back into the well through a failed check valve. The pressure switch detects the drop and restarts the pump, creating a continuous on-off cycle that wears out the motor.
Key Takeaways for Successful Well Pump Check Valve Installation
Proper well pump check valve installation protects your pump, prevents water hammer, and keeps your system running quietly. Follow the 25-foot rule for the first external valve, space additional valves every 200 feet in deep wells, and always verify flow direction before tightening any fitting.
Choose stainless steel for acidic water, use pipe dope instead of Teflon tape, and avoid overtightening internal valves beyond 20 inch-pounds. Test the system slowly after installation and replace valves every 10 to 15 years as preventive maintenance.
Your next step: inspect your current check valve setup today. Listen for clunking or hissing, check for pressure drops during peak use, and plan a replacement if your valve is over a decade old. A small investment in proper installation now saves thousands in pump repairs later.