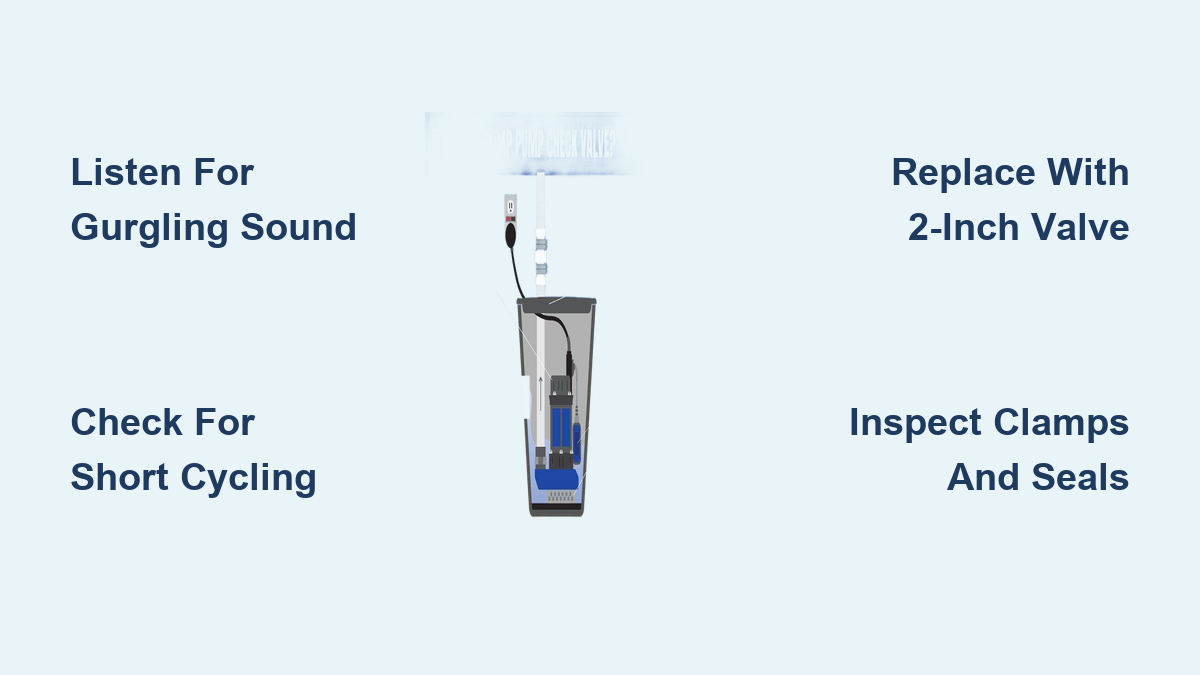
A sump pump check valve leaking is one of the most overlooked causes of basement flooding. When this small component fails, water flows backward into the sump pit after every pump cycle, forcing the pump to restart repeatedly and dramatically increasing wear on the motor. The most common clue is a strange “washing machine draining” sound when no appliances are running, signaling that discharged water is sneaking back through the system. In storm-prone regions like Northwest Indiana, heavy rains can quickly overwhelm a compromised drainage setup. The good news is that diagnosing and replacing a faulty valve is a straightforward DIY project that takes under 20 minutes and significantly improves system performance.
This guide walks you through the warning signs of a leaking sump pump check valve, the tools needed for replacement, and how upgrading to a 2-inch model eliminates flow restrictions. You will also learn how to test your repair and maintain the system to prevent future failures.
Why a Sump Pump Check Valve Leaks in the First Place
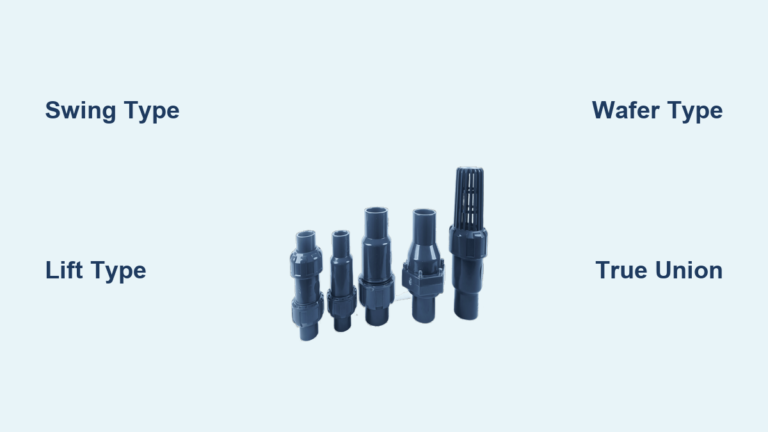
A sump pump check valve is designed to let water exit the discharge pipe while blocking any return flow. Over time, wear, debris, or a poor original design can break that seal and cause backflow problems.
How Backflow Damages Your Sump Pump
When the valve fails to seal, gravity pulls discharged water back into the sump pit. This recirculation triggers the float switch prematurely, creating a condition called short cycling. Each unnecessary restart overheats the motor and shortens the pump’s lifespan. During heavy storms, returning water can outpace the pump’s output, causing the pit to overflow and flood your basement or crawl space.
The “Washing Machine” Sound That Gives It Away
The most recognizable symptom of a sump pump check valve leaking is an unexplained draining or gurgling noise from the discharge pipe. Many homeowners mistake this for a running shower or appliance. The sound happens because water escapes backward through the failed seal, sometimes seeping into crawl spaces or behind walls. If you hear this noise when no water is in use, your check valve is almost certainly the culprit.
Diagnose a Leaking Sump Pump Check Valve
Catching the problem early prevents flooding and protects your pump from premature failure. Use these observable signs to confirm a faulty valve.
Listen for Backflow Sounds After Shutdown
Stand near the sump pit or discharge pipe right after the pump shuts off. A gurgling or draining sound within seconds of shutdown is a strong indicator of backflow. A properly functioning valve should prevent any noise after the pump stops. Recording the sound can help you compare it with known examples of failed valves online.
Watch for Short Cycling Patterns
Time how long the pump stays off between cycles. If it restarts within 30 to 60 seconds of shutting off, backflow is likely refilling the pit. Normal operation includes much longer intervals between cycles, even during moderate rain. Frequent cycling without matching inflow points directly to a sump pump check valve leaking.
Inspect for Moisture in Unexpected Places
Check the crawl space, discharge pipe joints, and floor around the pit for dampness. Water pooling near the pipe exit or valve connection confirms a leak. Examine the valve body and clamps for drips, mineral deposits, or white crusty buildup, all signs of chronic seepage.
Why Upgrading to a 2-Inch Check Valve Solves the Problem
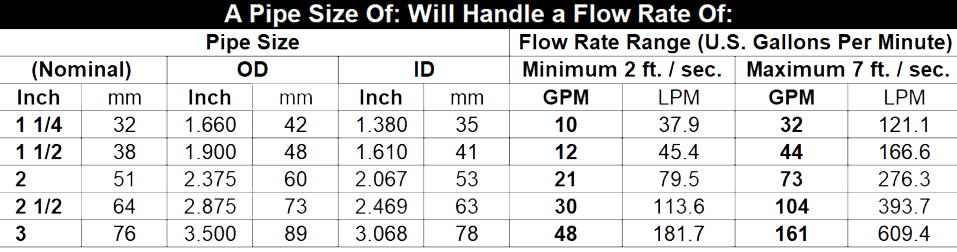
Replacing a failed valve with the same undersized model invites repeat failures. Upgrading to a larger diameter improves both performance and longevity.
The 1.25-Inch vs 2-Inch Flow Bottleneck
Many sump systems ship with 1.25-inch check valves on 1.5-inch discharge pipes, a design flaw that restricts flow. Switching to a 2-inch check valve eliminates this bottleneck. The larger diameter reduces hydraulic resistance, speeds up discharge during peak inflow, and lowers turbulence inside the valve. This upgrade is especially valuable in regions with frequent heavy rainfall.
Avoid Flow-Restricting Fittings
Never install a valve smaller than the discharge pipe. A 1.25-inch valve on a 1.5-inch pipe creates unnecessary restriction, slowing drainage and straining the pump. Always match or exceed the pipe size. A 2-inch valve on a reducer fitting maintains full flow capacity without choking the system.
Replace the Leaking Check Valve Step by Step

Replacing a sump pump check valve leaking is a manageable fix with the right tools. No glue or permanent modifications are needed, just clamps and rubber seals.
Gather Your Tools and Materials
Before starting, collect the following items:
- 2-inch check valve with an upward arrow indicator
- 2-inch to 2.5-inch reducer with rubber seal
- 2-inch tension hose
- Rubber seals (included with fittings)
- Hose clamps
- 5/16-inch nut driver
- Drill (to power the nut driver quickly)
Confirm all rubber seals are intact and free of defects before installation.
Remove the Old Valve Safely
- Unplug the pump from its power source for safety.
- Use the drill with the nut driver attachment to loosen hose clamps on both sides of the old valve.
- Slide off the clamps, rubber seal, and the failed valve.
- Inspect the 1.5-inch discharge pipe for cracks, debris, or buildup, and clean it if needed.
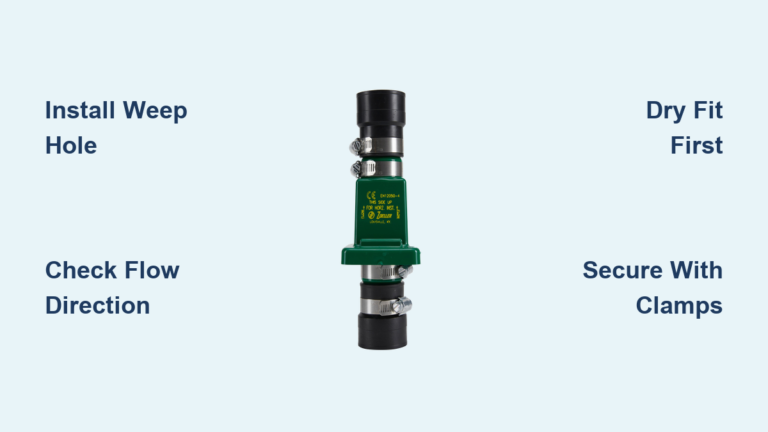
Install the New 2-Inch Check Valve
- Slide a new rubber seal onto the discharge pipe.
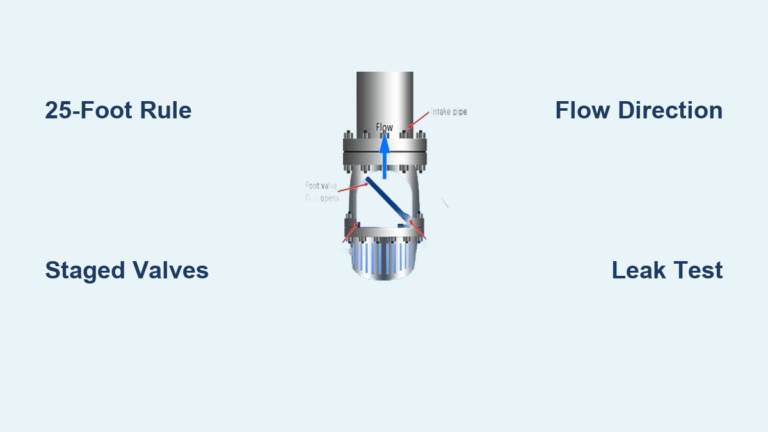
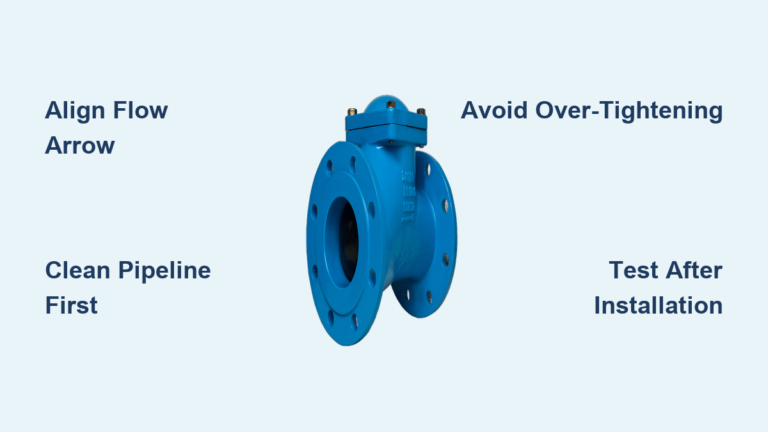
- Position the 2-inch check valve so the arrow points upward, which is critical for proper flow direction.
- Verify the internal flap opens upward and closes when pushed from below.
- Attach the 2-inch to 2.5-inch reducer using its included seal.
- Connect the 2-inch tension hose between the valve and discharge assembly.
- Slide all components into place and secure with hose clamps, tightening firmly with the drill.
Align the Pump for a Leak-Free Connection
Misalignment stresses connections and causes future leaks. After installation:
- Re-center the pump in the sump pit.
- Ensure the outlet aligns straight with the valve and pipe.
- Avoid twisting or bending the tension hose.
- Double-check that all clamps are snug.
Test the Repair Before Walking Away
Never assume the fix worked without verifying it. A quick test confirms the sump pump check valve leaking issue is fully resolved.
Run a Full Pump Cycle
- Plug the sump pump back into power.
- Let the pit fill naturally or pour several buckets of water into it.
- Watch the pump activate and discharge water.
Confirm These Key Outcomes
- Water flows out smoothly with no hesitation.
- No leaks appear at clamps, seals, or joints.
- The valve closes instantly when the pump stops.
- No gurgling or draining sounds follow shutdown.
If the “washing machine” noise is gone, backflow has been stopped successfully.
Prevent Future Sump Pump Check Valve Leaks
A proper installation lasts years, but routine maintenance keeps the system reliable. Use these habits to avoid repeat failures.
Inspect the System Twice a Year
Check the sump pump setup:
- Before storm season begins
- After major rainfall events
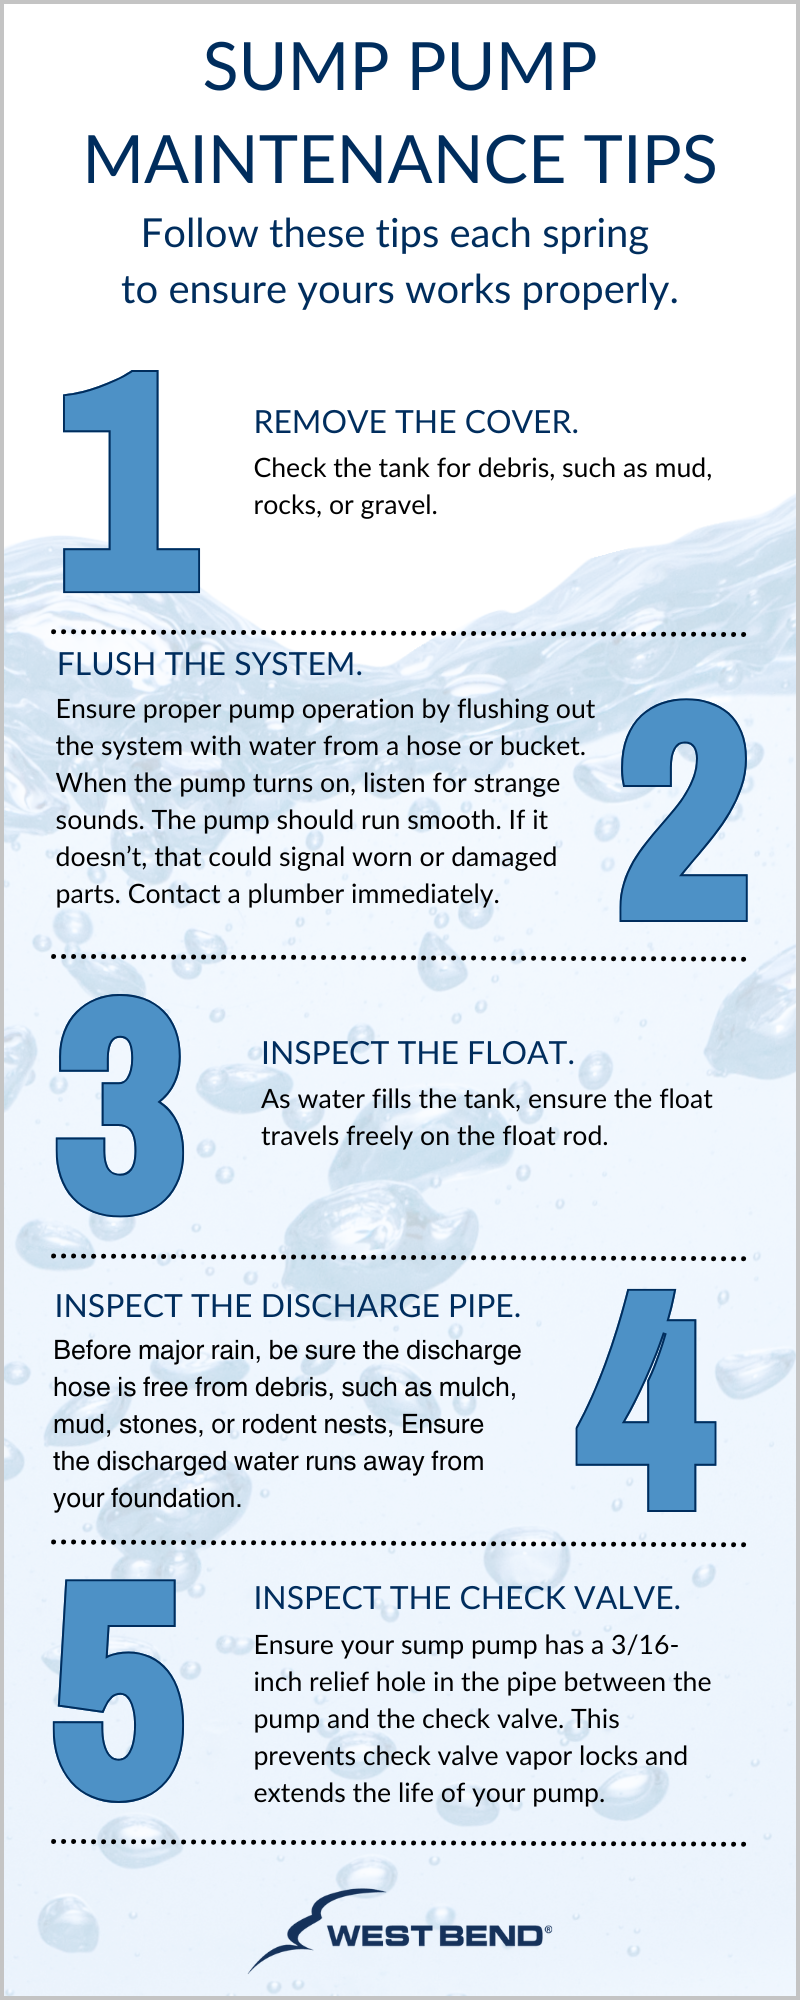
Look for loose hose clamps, cracked or hardened rubber seals, a misaligned pump, and debris blocking the valve flap. Replace rubber seals every 3 to 5 years as a preventive measure.
Keep the Valve Flap Clear of Debris
Sediment, string, or grit can prevent the internal flap from sealing fully. During inspections, flush the discharge pipe and ensure the valve opens and closes freely. Installing a basement drain filter helps if your groundwater carries sand or dirt.
Why Upgraded Valves Last Longer
A 2-inch valve reduces water velocity, which decreases wear on the flap and seals. The larger size also minimizes turbulence that can loosen clamps over time. Combined with the clamp-and-seal assembly method, this allows for easy future access, unlike glued PVC joints that require cutting to service.
Frequently Asked Questions About Sump Pump Check Valve Leaking
What does a leaking sump pump check valve sound like?
The most common sound is a draining or gurgling noise similar to a washing machine emptying, even when no water-using appliances are active. This noise occurs because discharged water flows backward through the failed valve and into the pit or crawl space.
Can a sump pump check valve leaking cause short cycling?
Yes. Backflow from a leaking valve refills the sump pit quickly after each pump cycle, triggering the float switch to reactivate the pump within 30 to 60 seconds. This short cycling overheats the motor and dramatically shortens the pump’s lifespan.
How long does it take to replace a sump pump check valve?
Replacing a sump pump check valve leaking typically takes under 20 minutes when using the clamp-and-seal method. No glue or permanent modifications are required, and the only tools needed are a drill with a 5/16-inch nut driver.
Why should I upgrade to a 2-inch check valve?
Many systems come with 1.25-inch valves on 1.5-inch discharge pipes, creating a flow bottleneck. A 2-inch check valve reduces hydraulic resistance, speeds up discharge during heavy rain, and lowers turbulence inside the valve, all of which extend pump life.
How do I know if my check valve is leaking or if the pump itself is failing?
A leaking check valve produces a gurgling sound after shutdown and causes short cycling without heavy inflow. A failing pump typically runs constantly, makes unusual grinding noises, or fails to discharge water at all. Inspect the valve first since it is the easier and cheaper fix.
How often should I inspect my sump pump check valve?
Inspect the valve twice per year, ideally before storm season and after major rainfall events. Regular checks catch loose clamps, worn seals, and debris before they cause a sump pump check valve leaking problem.
Key Takeaways for Fixing a Sump Pump Check Valve Leak
A sump pump check valve leaking is a silent threat that can lead to pump failure and basement flooding if ignored. The unmistakable “washing machine” draining sound and frequent short cycling are the two clearest warning signs. Replacing the failed valve with a 2-inch upgrade restores proper flow, reduces strain on the pump, and takes under 20 minutes using basic tools. The clamp-and-seal assembly method keeps the repair non-permanent, making future maintenance easier than glued PVC systems.
Your next step is simple: listen for backflow sounds after your next pump cycle, then gather the listed tools and parts to perform the upgrade this weekend. In high-rainfall regions, this quick fix can be the difference between a dry basement and thousands of dollars in water damage.