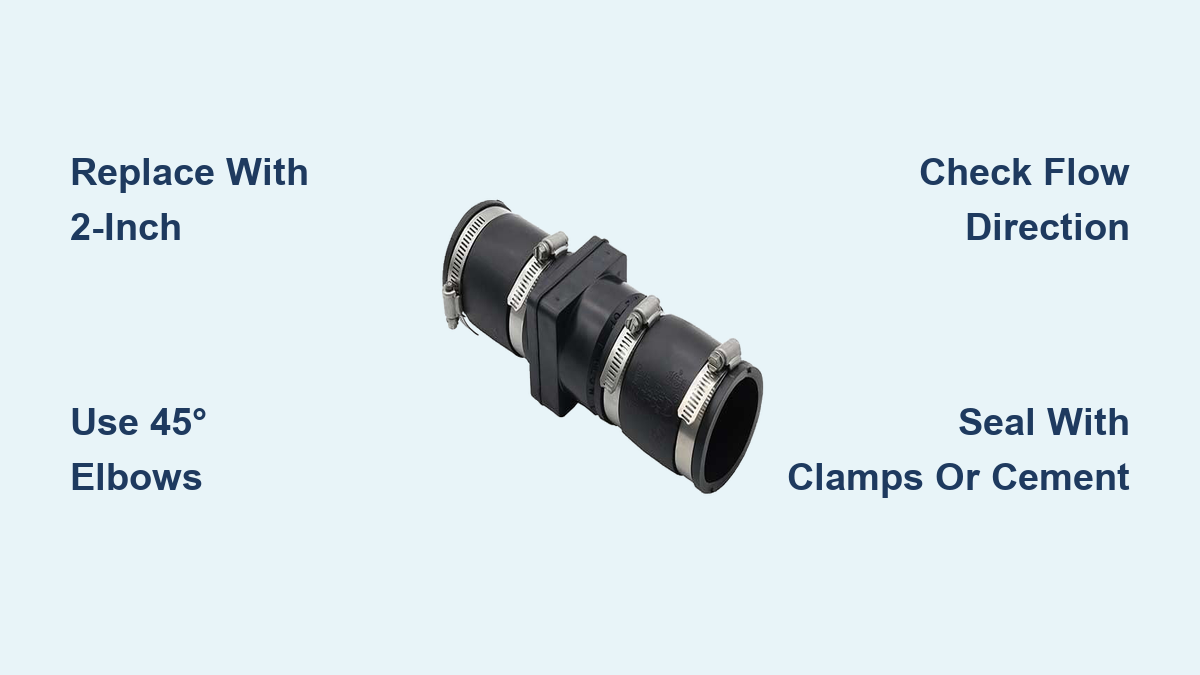
Hearing a loud bang every time your sump pump shuts off? Or noticing the pump cycling constantly, even when water levels seem low? These are classic signs of a failing check valve on a sump pump, a small but critical component that prevents discharged water from flowing back into the pit. When this valve fails, your pump works harder, wears out faster, and risks basement flooding during heavy rains.
Replacing a sump pump check valve is a straightforward DIY project that takes under an hour with the right tools and parts. This guide covers diagnosing failure, selecting the best replacement valve, and completing the installation correctly. You’ll learn how to eliminate water hammer noise, stop short cycling, and extend your pump’s lifespan by years.
Recognize Check Valve Failure Symptoms
Listen for Auditory Warning Signs
A failing check valve often announces itself through distinct sounds:
- Loud water hammer (a sharp bang) when the internal flap slams shut due to uncontrolled backflow
- Repeated pump cycling as water drains back into the pit and triggers the float switch again
- Draining or gurgling noises after shutdown, suggesting continuous backflow through a stuck flap
These noises signal increased strain on your pump motor and potential long-term damage if ignored.
Spot Visual Red Flags
Check for these physical indicators around your sump system:
- Water pooling near the discharge pipe base or in the crawlspace after the pump stops
- A visible drip or stream flowing backward into the sump pit
- Corrosion or mineral buildup around valve joints from frequent wet-dry cycles
If any of these symptoms appear, your check valve needs replacement before a minor issue becomes a flooded basement.
Choose the Right Replacement Check Valve

Upgrade to a 2-Inch Quiet Check Valve
Most builder-installed valves are 1.25-inch or 1.5-inch models that restrict flow and create noise. Replace them with a 2-inch quiet check valve, even if your discharge pipe is smaller. Here’s why this upgrade matters:
- Prevents flow restriction and reduces pump strain
- Uses a half-pound spring to close gradually, eliminating water hammer
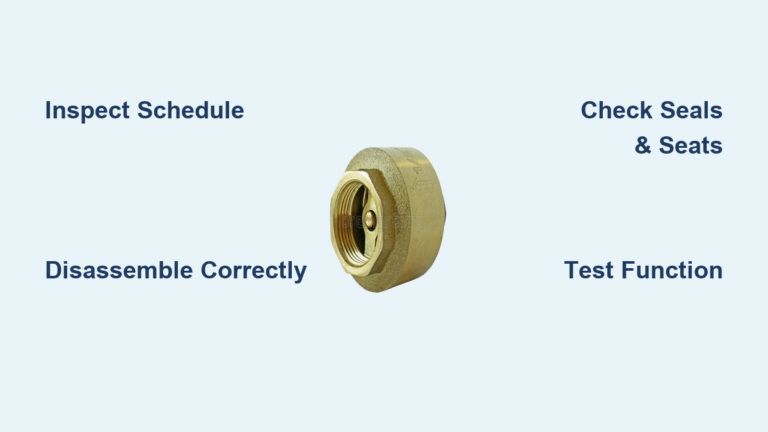
- Features a clear body so you can visually confirm flap movement and detect blockages
Using a larger valve with a reducer is better than downsizing. It improves efficiency and extends pump life.
Avoid Standard Flap-Style Valves
Standard check valves use a simple rubber flap with no spring control. They:
- Close abruptly, causing loud banging
- Wear out faster due to uncontrolled slamming
- Often fail to seal completely when installed at an angle
Opt instead for a quiet spring-assisted model designed specifically for residential sump systems.
Match Fittings to Your Existing Setup
You’ll likely need these additional components:
- A 2-inch to 1.5-inch PVC reducer with a built-in rubber seal for size transitions
- 45° PVC elbows to replace any 90° bends installed at a downward slope
- Hose clamps (3/4″ or 1″) for tension-style connections, or PVC primer and cement for permanent joints
Always verify flow direction before installation. The arrow on the valve must point upward, toward the discharge line.
Gather Tools and Materials
Essential Tools Checklist
Have these ready before starting:
- Miter saw or compact hacksaw for clean pipe cuts (miter saw preferred for burr-free results)
- 5/16″ nut driver with drill to speed up clamp tightening
- Flathead screwdriver for loosening hose clamps
- Adjustable wrench wrapped in a rag to protect plastic fittings during tightening
- Utility knife or medium-grit sandpaper for removing burrs from cut pipe ends
- Bucket and rag to catch residual water and protect components
Required Materials
Purchase these items before beginning work:
- 2-inch quiet check valve with clear body and spring-loaded mechanism
- 2-inch to 1.5-inch PVC reducer with rubber seal
- Two hose clamps sized to match your pipe diameter
- 45° PVC elbows if replacing problematic 90° bends
- Zip ties for securing auxiliary drain lines like water softener tubes
Ensure all rubber seals are included with your valve. Leaks often stem from missing or damaged gaskets.
Shut Off Power and Prepare the System
Disconnect Power Immediately
Before touching any plumbing:
- Unplug the sump pump from the electrical outlet
- If hardwired, turn off the circuit breaker and verify power is off
Never work on a live system. Accidental activation could cause injury or flooding.
Drain Residual Water
Follow these steps to prepare your workspace:
- Wait for the sump pit to empty naturally, or manually bail out standing water
- Place a bucket beneath the discharge line to catch leftover water when disconnecting
- Loosen clamps starting closest to the pump to avoid sudden water bursts
This prevents mess and gives you dry access to the valve area.
Remove the Old Check Valve
Disconnect and Extract Components
Follow this sequence to remove the failed valve:
- Use a flathead screwdriver to loosen both hose clamps securing the old valve
- Slide off the rubber seal and remove the valve from the pipe
- If the pipe is mounted to a wall bracket, remove the bracket temporarily for easier access
Take note of the flow direction arrow on the old valve. This helps orient the new one correctly.
Inspect for Installation Errors
Common problems found during removal include:
- 90° elbow at a negative grade that prevents the flap from seating fully
- Undersized valve creating flow restriction
- Backward installation that stops water from discharging entirely
Fix these issues during reassembly to prevent future problems.
Cut and Prepare the Discharge Pipe
Mark and Cut at 24 Inches
Measure and cut the discharge pipe at the proper height:
- Measure 24 inches up from the top of the sump pump, the standard height for check valve placement
- Mark the cut line clearly on the discharge pipe
- Use a miter saw for a straight, burr-free cut, or a compact hacksaw in tight spaces
Pro Tip: Make the initial cut slightly long, do a dry fit, then trim to perfect length for proper alignment.
Deburr and Smooth Edges
Proper edge preparation ensures leak-free connections:
- Run a utility knife or sandpaper around the inside and outside of the cut edge
- Remove all plastic shavings and rough spots completely
A smooth surface is critical for watertight seals and prevents damage to rubber gaskets.
Optimize Pipe Geometry with 45° Elbows

Replace Problematic 90° Bends
If your discharge line uses a 90° elbow immediately above the pump at a downward angle:
- Remove it and replace with a 45° PVC elbow
- This reduces turbulence and allows the check valve flap to close completely
A misaligned flap will never seal properly, leading to backflow and constant cycling.
Ensure Vertical Alignment
The section where the check valve installs must be vertical or nearly vertical. Avoid lateral runs or sagging sections that trap water or stress joints. Use zip ties or brackets to secure the line and maintain proper orientation.
Install the New Check Valve Using the Clamp-On Method

Best for Quick, Serviceable Upgrades
Use this method if installing a tension hose-style valve with rubber seals and clamps. It allows future maintenance without cutting pipes.
Slide on the Rubber Seal
Before connecting anything:
- Slide the new rubber seal onto the existing 1.5-inch PVC discharge pipe
- Position it below the cut point so it’s ready for assembly
Assemble Valve and Reducer
Next, prepare the valve assembly:
- Insert the 2-inch check valve into the 2-inch to 1.5-inch reducer
- Confirm the flow arrow points upward, which is non-negotiable for proper operation
- The clear body lets you verify internal flap orientation
Connect to Discharge Line
Then connect the assembly:
- Slide the entire assembly onto the prepared discharge pipe
- Align the reducer flush with the pipe end
- Reposition the sump pump as needed to ensure the line runs straight without kinks
Tighten Hose Clamps Securely
Finally, secure all connections:
- Position one clamp on the reducer side, one on the pipe side
- Tighten firmly using a nut driver with drill for speed
- Do not over-tighten, as this can deform the rubber seal and cause leaks
Test fit first, then finalize clamping once alignment is perfect.
Install the New Check Valve Using the PVC Cement Method
Best for Permanent, Leak-Proof Joints
Use this method for quiet check valves with slip-fit PVC ends that require gluing.
Dry Fit All Components First
Before applying any cement:
- Assemble the new valve, 45° elbows, and couplers without glue
- Verify flow direction (arrow up), clearance from lid and walls, and straight vertical run
- Use the clear body to confirm the flap moves freely
Dry fitting prevents costly mistakes after cementing.
Apply Primer and Cement
Work quickly during this step:
- Brush PVC primer onto both pipe end and fitting interior
- Then apply PVC cement to the same surfaces
- Primer dries fast, so move efficiently
Join with a Quarter-Turn
Connect the pieces properly:
- Insert the pipe into the fitting with a quarter-turn motion to spread cement evenly
- Push until fully seated
Hold for 30 Seconds
Keep pressure on the joint:
- Hold the connection still for 30 seconds to prevent push-out as cement sets
- Wipe away excess cement with a rag
Final Tightening and Recheck
Complete the installation:
- After curing (wait at least 15 minutes), recheck all connections
- Use a rag-wrapped pipe wrench to tighten couplers slightly beyond hand-tight
- Avoid cracking the plastic fittings
Reassemble and Test the System
Secure Auxiliary Drain Lines
- Attach water softener or dehumidifier drain tubes to the main discharge line using zip ties
- Prevent them from dangling into the pit or blocking the float switch
Reinstall Pump and Cover
- Lower the sump pump back into the pit carefully
- Route the power cord neatly to avoid entanglement with the float switch
- Replace the cover securely
Run a Full System Test
Follow these steps to verify your installation:
- Plug in the pump to restore power
- Fill the sump pit with a bucket of water or trigger the float manually
- Watch for leaks at all new connections, especially the valve and reducer
- Listen for noise. The shutdown should be silent or near-silent
- Verify no backflow. Once the pump stops, water should not drain back into the pit
If leaks occur, tighten clamps slightly or reseat glued joints. If the pump doesn’t discharge, check valve orientation immediately.
Prevent Future Check Valve Problems
Avoid Common Installation Mistakes
Steer clear of these frequent errors:
- Never reduce pipe size at the valve. Always go same size or larger
- Don’t install upside down. The flow arrow must point up
- Don’t skip the 45° elbow. It’s essential for proper flap seating
- Don’t over-tighten clamps or fittings. This damages seals and cracks plastic
These errors cause premature failure and recurring problems.
Schedule Annual Visual Checks
Once a year, inspect your clear body valve for:
- Flap movement and proper seating
- Debris or mineral buildup
- Cracks or cloudiness in the plastic
Clean gently with vinegar if scaling is present.
Plan for Easy Future Replacement
Choose union-style or clamp-on valves so you can replace them later without cutting PVC. This saves time and avoids costly plumber visits down the road.
Frequently Asked Questions About Sump Pump Check Valve Replacement
What does a check valve do on a sump pump?
A check valve prevents water from flowing back into the sump pit after the pump shuts off. Without it, discharged water would drain back down, causing the pump to cycle constantly and wear out prematurely. It also causes the loud banging noise known as water hammer.
How do I know if my sump pump check valve is bad?
Common signs include loud banging or water hammer when the pump shuts off, continuous cycling even with low water levels, visible water dripping back into the pit, and water pooling near the discharge pipe. A washing machine-like sound when no appliances are running is another clear indicator.
Can I replace a sump pump check valve myself?
Yes, most homeowners can complete this replacement in under an hour with basic tools. The job requires cutting PVC pipe, fitting the new valve with reducers, and securing connections with either hose clamps or PVC cement. No specialized plumbing experience is needed for clamp-on installations.
What size check valve do I need for my sump pump?
A 2-inch quiet check valve is recommended for most residential sump pumps, even if your discharge pipe is 1.25 or 1.5 inches. Use a reducer to connect the larger valve to your existing pipe. Never install a valve smaller than your discharge pipe diameter.
Why does my sump pump bang when it shuts off?
The banging sound (water hammer) occurs when the check valve flap slams shut abruptly after pump shutdown. Standard flap-style valves without spring control cause this problem. Installing a quiet check valve with a half-pound spring eliminates the noise by closing gradually.
How long does a sump pump check valve last?
High-quality quiet check valves with clear bodies and spring mechanisms typically last over 10 years in residential applications. Annual visual inspections help identify wear before failure occurs. Standard flap-style valves usually fail much sooner due to uncontrolled slamming.
Key Takeaways for Replacing Your Sump Pump Check Valve
Replacing the check valve on a sump pump is a simple upgrade with outsized benefits. It stops annoying banging, prevents short cycling, extends pump life, and protects your basement from water damage during heavy storms.
The most important steps include upgrading to a 2-inch quiet check valve with a clear body and half-pound spring, installing it with proper vertical orientation, and using 45° elbows instead of problematic 90° bends. These details ensure smooth, silent operation for over a decade.
Take an hour this weekend to make the swap. Your ears, your pump motor, and your foundation will all benefit from this straightforward improvement.