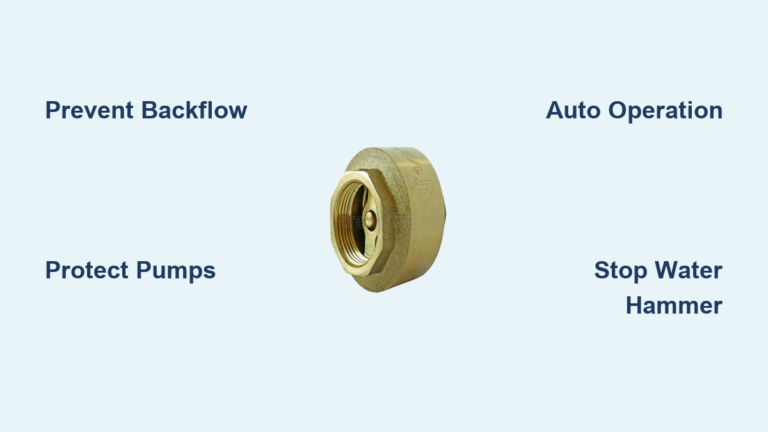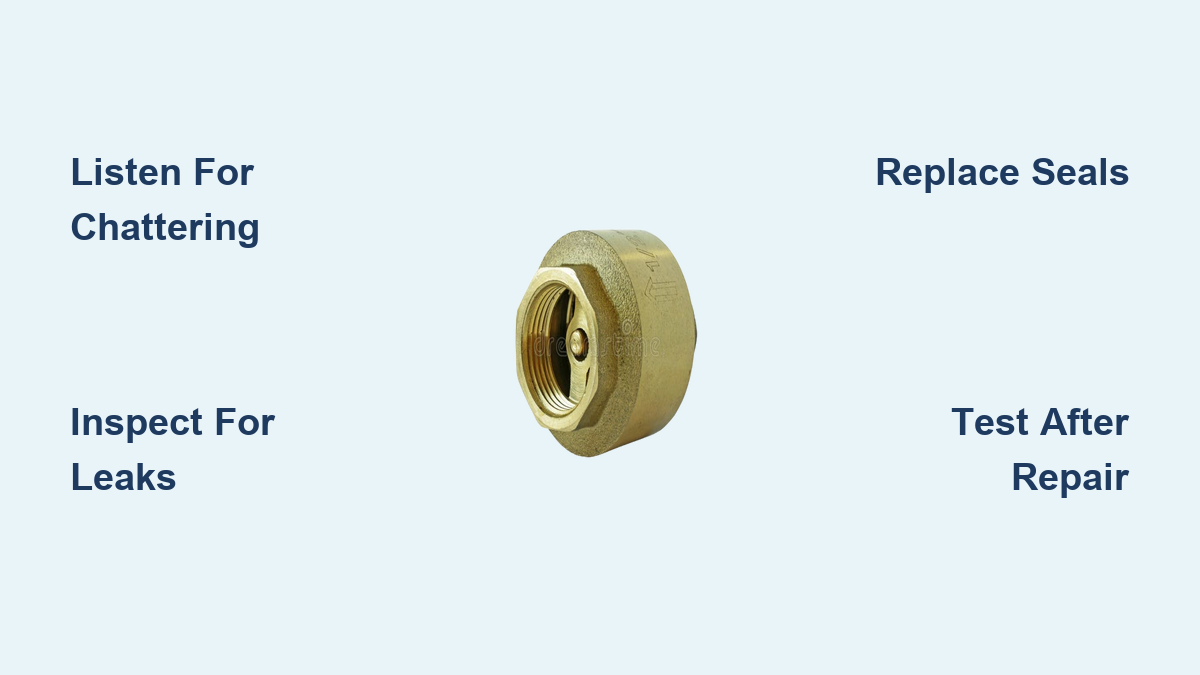
If your pump keeps losing prime, your spa drains back overnight, or your air compressor refuses to build pressure, a faulty check valve is likely the cause. A check valve is a small but critical component that allows fluid or air to flow in only one direction, preventing damaging backflow into your equipment. When it fails, the consequences range from annoying water loss to complete pump or motor burnout. In this guide, you will learn how to diagnose symptoms, identify your valve type, perform hands-on repairs, and replace components safely across pool, compressor, RV, and plumbing systems.
The good news is that most check valve problems can be solved with basic tools, a little patience, and the right replacement parts. Whether you choose to clean, repair, or fully replace the valve, the steps below will save you hundreds in service calls and prevent future system failures.
Recognizing the Warning Signs of a Failing Check Valve
Before you start taking things apart, confirm the check valve is actually the problem. Check valves fail in predictable ways, and each symptom points to a specific internal issue.
Listen for Unusual Noises During Operation
A healthy valve operates silently. Strange sounds are usually the first clue something is wrong.
Common auditory warning signs include:
- Chattering or rattling caused by rapid opening and closing from low pressure or trapped debris
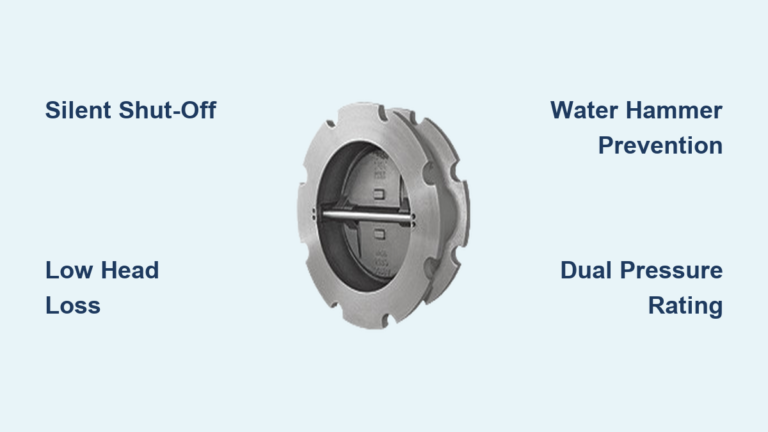
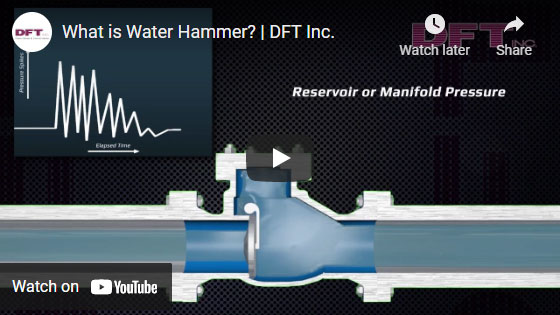
- Loud banging (water hammer) from sudden pressure reversal slamming a swing-type disc shut
- Popping or hissing in air compressors where internal seals have failed
Watch for Performance and Flow Problems
Visible system behavior often reveals valve failure long before a part physically breaks.
Key performance indicators include:
- Water draining back into equipment after pump shutdown, common in pools and spas
- Slow pressure buildup in air compressors
- Repeatedly blown fuses from motor strain caused by back-pressure
- Loss of prime in RV or well pumps where the pump runs but no water flows
Inspect for Physical Damage
Sometimes the problem is visible on the surface. Look for cracked housings from freezing, corroded metal springs, flattened O-rings, and discolored or brittle rubber seals. Any of these signs confirms the valve needs immediate attention.
Identifying Your Specific Check Valve Type
Not every check valve can be repaired. Knowing your exact design determines whether you can clean and replace parts or must swap the entire unit.
Non-Disassemblable Valve Designs
These sealed units offer no access to internal parts. They are common in union-connected pool systems such as Jandy non-union models. If this style fails, the only option is full replacement. There are no serviceable internals.
Disassemblable Valve Designs
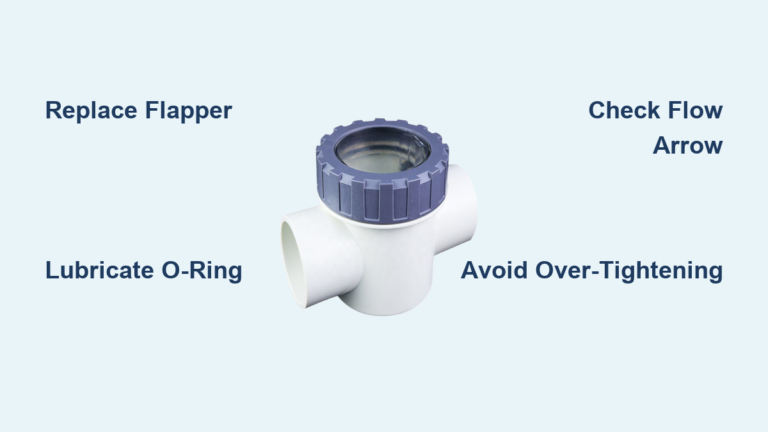
These valves feature a removable lid, cap, or threaded body that exposes internal components. Examples include Jandy models with eight screws securing a clear lid and Waterway models with a twist-off gray rim. You can open these, inspect internals, clean parts, and swap seals, springs, and gaskets.
Mechanism-Based Valve Variations
Different internal designs create different failure patterns:
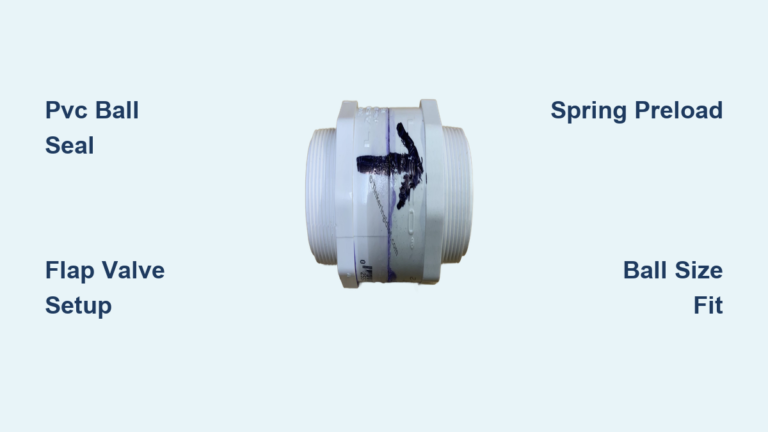
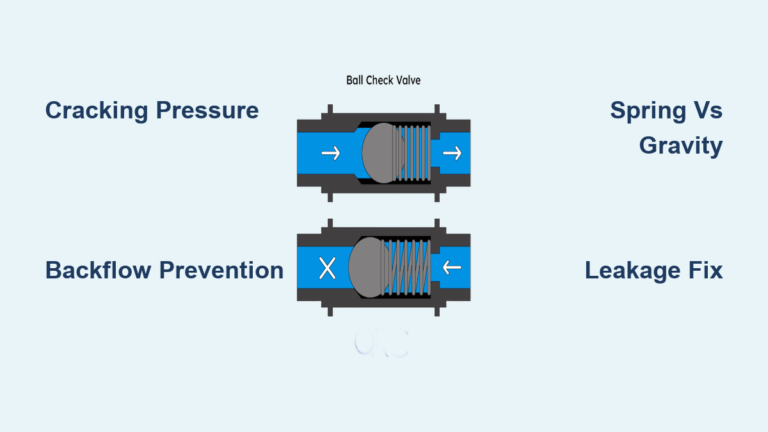
- Ball check valves use a free-moving ball to seal the seat and are prone to sticking when dirty
- Swing check valves rely on a hinged disc and frequently cause water hammer
- Spring-loaded valves close positively with spring tension and work in any orientation
- Diaphragm and duckbill valves use flexible seals that degrade from UV, chemicals, and age
Match your repair strategy to the mechanism you find.
Preparing the System Safely Before Any Repair
Never work on a pressurized or powered system. Proper preparation prevents injury and protects your equipment.
Shut Down and Fully Depressurize
Start by turning off the pump, compressor, or water supply at the source. Open a downstream drain valve or bleed port to release trapped pressure. For air compressors, unplug the unit and drain the tank completely before touching any fittings.
Document Everything Before Disassembly
Take clear photos showing the flow direction arrow, pipe alignment, and screw positions. If you are removing multiple components, label each pipe with tape and a marker. These photos become your reassembly roadmap.
Gather the Right Tools and Supplies
You will need hand screwdrivers (never power tools on plastic), adjustable wrenches, needle-nose pliers, a flat-blade pocket knife, a soft brush, white vinegar or descaling solution, and replacement O-rings, gaskets, and springs. Have silicone-based grease ready for reassembly.
Repairing a Disassemblable Pool or Spa Check Valve
This procedure applies to Jandy, Waterway, and similar models with screw-on or twist-off lids.
Remove the Valve Cover Carefully
Unscrew all eight screws by hand, working in a crisscross pattern. If the lid sticks, gently pry it up with a flat-blade knife. For Waterway twist-off models, rotate the gray rim counterclockwise until the cover releases. Set all screws in a small container so none are lost.
Inspect and Clean Every Internal Component
Lay out the spring, flap, O-rings, and gaskets in order. Examine each part:
- Flap or poppet for cracks, warping, or worn edges
- Spring for corrosion, stretching, or loss of tension
- O-rings and gaskets for flattening, cracking, or squishing
- Seat and bore for scale, algae, or mineral buildup
Clean all parts with fresh water and a soft brush. Use white vinegar on stubborn mineral deposits. Rinse thoroughly before reassembly.
Replace All Worn Seals and the Spring
Remove the old O-ring with a small flat tool and install a new one in the cover groove. Replace internal gaskets even if they look acceptable, since rubber degrades invisibly. Swap the spring as a preventive measure because it costs only a few dollars and is critical for proper closure. If the flap is damaged, replace the entire internal assembly.
Lubricate and Reassemble the Valve
Apply silicone-based grease to all seals and threads. Never use petroleum products, which destroy rubber. Seat the new O-ring in its groove and align the cover with the flow arrow. Insert screws one at a time, starting opposite each other to prevent cross-threading. Tighten evenly by hand and stop at firm resistance. Do not over-tighten.
Test the Repair Before Closing Up
Let the valve sit for 24 hours without powering the system. After this curing period, restart the pump and watch carefully for leaks. Confirm that the spa or water feature holds its level when the pump shuts off.
Replacing a Non-Disassemblable or Glued Check Valve
When the valve cannot be opened or is cemented permanently into the line, full replacement is the only path forward.
Remove the Old Valve from the Line
For union-connected valves, unscrew both unions and lift the unit out. For glued PVC installations, cut the pipe on both sides of the valve using a ratcheting pipe cutter. Remove the old valve and any damaged pipe sections.
Prepare the Pipes for the New Installation
Deburr and clean all pipe ends thoroughly. Measure the gap left by the removed valve and cut new PVC sections if needed. Choose a union-style replacement valve to make future service simple and avoid gluing the new unit permanently in place.
Install the New Valve Correctly
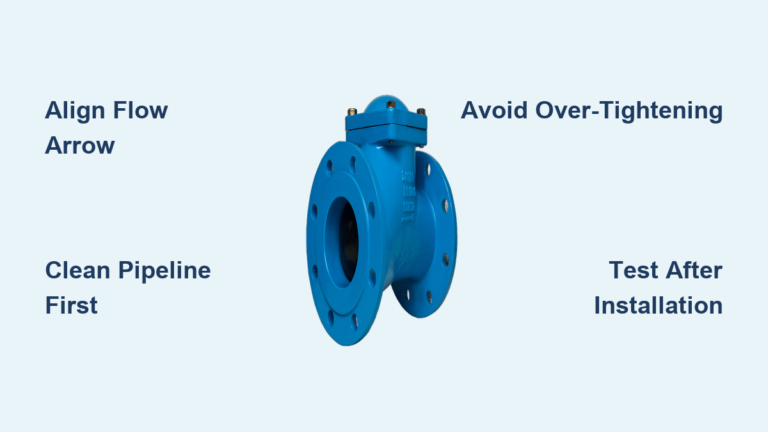
Dry-fit all pieces first to confirm alignment. Apply PVC primer and cement to joints, or wrap threaded connections with Teflon tape. Insert the valve so the flow arrow points toward the feature, not back toward the pump. Hold each joint steady for 30 seconds while the cement sets. Allow full curing time per manufacturer instructions, usually two or more hours, before pressurizing.
Fixing an Air Compressor Check Valve
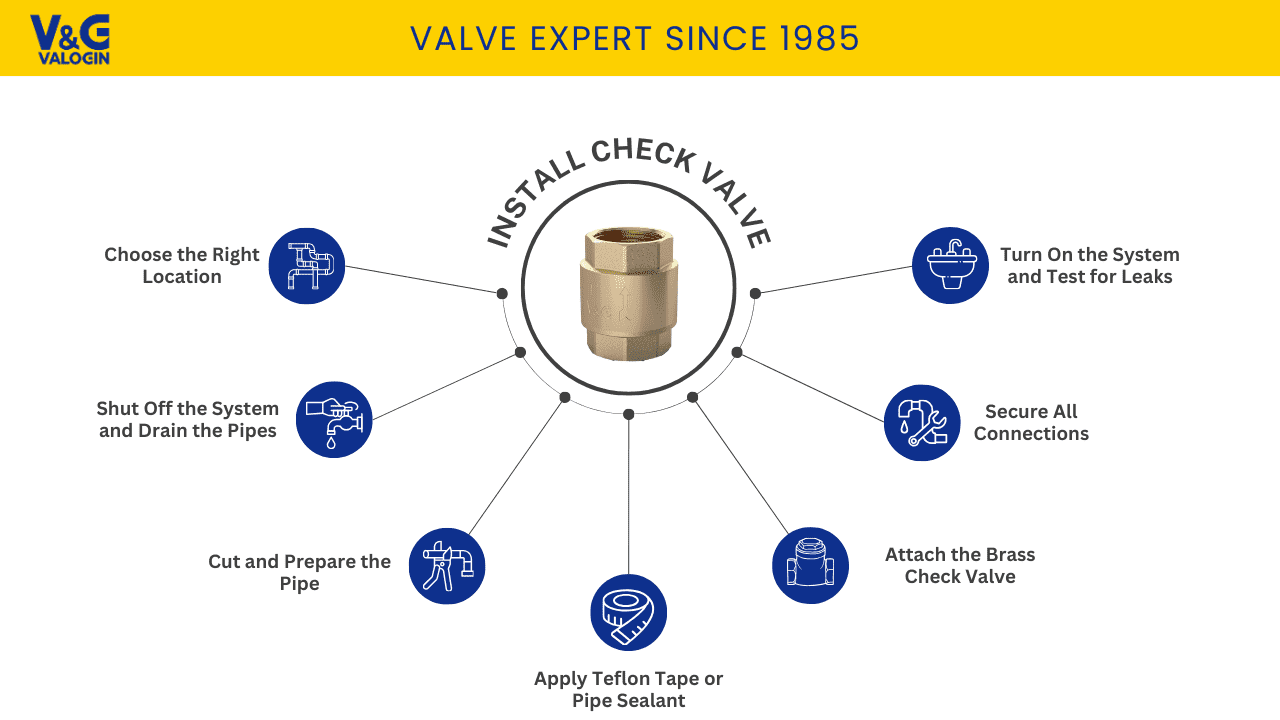
Compressor check valves fail differently than water valves and require a specific test and replacement procedure.
Test the Valve for Failure
Remove the air filter element and cover the intake port with your finger for 30 seconds. Remove your finger. If you feel suction or hear a distinct pop, the check valve is leaking internally and must be replaced.
Remove the Faulty Valve
Use two adjustable wrenches: one to hold the fitting below the valve steady, and one to turn the valve body counterclockwise. Unscrew completely and set the old valve aside.
Install the New Valve with Proper Sealing
Wrap two to three layers of Teflon tape clockwise around the new valve threads. Hand-tighten the valve into place, then use wrenches to tighten approximately one and a half turns past hand-tight. Stop there. Over-tightening cracks fittings and strips threads.
Verify Normal Compressor Operation
Power on the compressor and listen for air leaks at the connection. Confirm the tank reaches full pressure within the normal time frame. Any hissing or slow buildup indicates an installation problem.
Freeing a Stuck Check Valve Without Full Replacement
Sometimes a seized valve just needs cleaning and lubrication rather than replacement.
Remove and Soak the Valve
Extract the valve from the system and submerge it in white vinegar or a commercial descaling solution for one to two hours. This dissolves mineral buildup that causes sticking.
Disassemble and Scrub All Surfaces
Open the valve if possible. Use a soft brush to scrub the seat, ball, flap, and body interior. For stubborn deposits, gently polish the sealing surfaces with fine abrasive material. Do not gouge or scratch the seat, as deep marks prevent proper sealing.
Lubricate Moving Parts Before Reassembly
Apply a manufacturer-approved lubricant to hinges, springs, and ball seats. Reassemble the valve and reinstall it into the system. Power up and observe operation. If sticking or leaking persists, replace the valve rather than risk equipment damage.
Preventing Future Check Valve Failures with Maintenance
A small amount of routine care dramatically extends valve life and prevents emergency repairs.
Replace Seals Every Two to Three Years
O-rings and gaskets degrade from chlorine, heat, UV, and friction. Replace them proactively on a schedule, even when no leaks are visible. In harsh chemical environments, annual replacement is safer.
Change Springs During Every Service
Springs lose tension with repeated cycling and cost only a few dollars. Replace the spring every time you open the valve for any reason. A weak spring causes slow leaks and chattering.
Install Upstream Filters and Strainers
Inline strainers catch dirt, rust, and debris before they reach the valve. This is critical in older plumbing systems or any location with sediment-heavy water. Clean strainers regularly to maintain flow.
Avoid Permanently Gluing Valves
Always use union or threaded connections instead of solvent cement. Glued valves require cutting and replumbing for any future service, which adds cost and downtime.
Add Water Hammer Arresters Where Needed
Install shock absorbers in high-pressure or pulse-prone systems. These protect both the valve and surrounding pipes from the damaging effects of rapid closure.
Winterize Systems Properly in Cold Climates
Drain all water from exposed lines before freezing weather arrives. Trapped water expands and cracks housings and internal parts. Consider freeze-resistant valve designs for vulnerable installations.
Choosing the Right Replacement Valve

When repair is not possible, selecting the correct replacement ensures long service life.
Match Critical Specifications Exactly
Confirm the size (such as 1.5 inch, 2 inch, or 3/4 inch NPT), connection type, and cracking pressure. The cracking pressure must open at your system flow rate. Too high causes chattering; too low causes slow closure.
Select Materials Suited to Your Application
Match the housing and seal materials to the fluid:
- Pools and spas: PVC housing with EPDM or Viton seals for chlorine resistance
- Air compressors: Brass or stainless steel bodies with NBR or Viton seals for oil resistance
- RVs and potable water: NSF-certified components safe for drinking water
Upgrade for Serviceability and Durability
Replace any glued valve with a union-style disassemblable model. Swap swing checks for spring-loaded designs in high-vibration areas. Consider adding a secondary check valve in critical systems for redundant protection.
Quick Troubleshooting Reference for Common Symptoms
Use this table to match symptoms with causes and fixes.
| Symptom | Likely Cause | Recommended Fix |
|---|---|---|
| Valve chatters | Low pressure or wrong type | Install lower cracking pressure valve |
| Loud bang on shutoff | Water hammer | Add arrester or switch to spring-loaded valve |
| Water drains back | Worn O-ring or debris | Clean and replace seals |
| Stuck open or closed | Debris or corrosion | Disassemble, clean, lubricate |
| Slow air pressure rise | Leaking internal seal | Replace compressor check valve |
| Blown fuses | Motor strain from backflow | Replace valve immediately |
| Cracked housing | Frozen water | Replace valve and improve winterization |
Critical Safety Guidelines for Check Valve Work
Follow these rules every time you service a check valve.
- Never ignore a failing valve. It can destroy pumps, compressors, and cause flooding.
- Never use power tools on plastic valves. Hand-tighten screws only to avoid cracking housings.
- Depressurize fully before disassembly. High-pressure release causes serious injury.
- Use only silicone grease. Petroleum products destroy rubber seals.
- Wear eye protection when cutting pipes or handling chemical cleaners.
Frequently Asked Questions About Check Valve Repair
Can a check valve be repaired, or does it always need replacement?
It depends on the design. Disassemblable valves with screw-on or twist-off lids can be repaired by replacing O-rings, gaskets, and springs. Sealed non-disassemblable valves must be replaced entirely when they fail.
What causes a check valve to chatter or rattle?
Chattering usually means the system pressure is too low to hold the valve steadily open, or debris is preventing smooth seating. Installing a valve with a lower cracking pressure or cleaning the existing valve typically solves the problem.
How often should check valve seals be replaced?
Replace O-rings and gaskets every two to three years as preventive maintenance. In harsh environments with high chlorine, heat, or chemical exposure, replace them annually to avoid unexpected failures.
Why does my air compressor blow fuses repeatedly?
A failing check valve allows compressed air to flow backward into the pump, forcing the motor to work harder on every cycle. This overload trips fuses or breakers. Replace the check valve immediately to protect the motor.
What is the difference between a swing check and a spring-loaded check valve?
A swing check uses a hinged disc that closes by gravity and reverse flow, which causes water hammer in high-pressure systems. A spring-loaded valve closes positively with spring force, works in any orientation, and closes more quietly.
Can I use petroleum grease on check valve O-rings?
No. Petroleum-based products degrade rubber seals and cause premature failure. Use only silicone-based grease, which is safe for EPDM, Viton, and NBR elastomers commonly found in check valves.
Key Takeaways for Successfully Fixing Any Check Valve
A properly functioning check valve keeps your system efficient, quiet, and protected from reverse flow damage. The repair process follows a reliable sequence: diagnose the symptom, identify the valve type, shut down and depressurize safely, then either clean and replace internal parts or swap the entire unit. Choosing repairable, union-connected valves and replacing seals and springs on a regular schedule prevents most emergency failures.
Now that you understand how to fix a check valve, gather your tools, identify your valve type, and tackle the repair this weekend. Start with a thorough inspection, replace any worn seals, and test the system carefully before returning it to full service. With the right approach, you will save money, extend equipment life, and keep your fluid systems running smoothly for years to come.