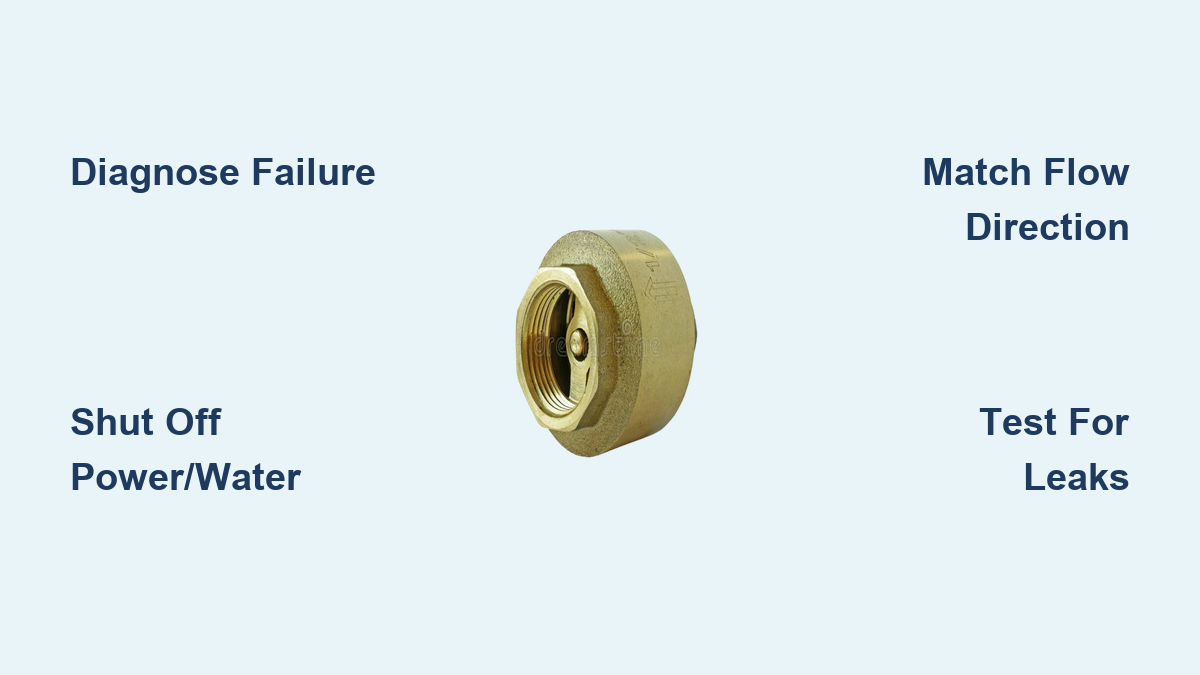
A failing check valve can quietly drain your wallet through basement flooding, pump burnout, and constant noise. These one-way valves sit inside sump pumps, pool systems, RV water lines, and residential plumbing to stop backflow. When debris, wear, or freeze damage breaks the seal, water flows backward after the pump shuts off, faucets drip endlessly, and your sump pump cycles nonstop. Catching these symptoms early saves you from costly repairs.
Replacing a check valve takes less than an hour with the right prep. This guide walks you through diagnosis, tool selection, and installation by application. You will learn how to safely remove the old valve, choose the correct replacement, and install it with proper flow direction. Whether you are silencing water hammer, stopping recurring flooding, or fixing inconsistent water pressure, the steps below restore system efficiency and protect your equipment.
Diagnose a Failing Check Valve Before Replacement
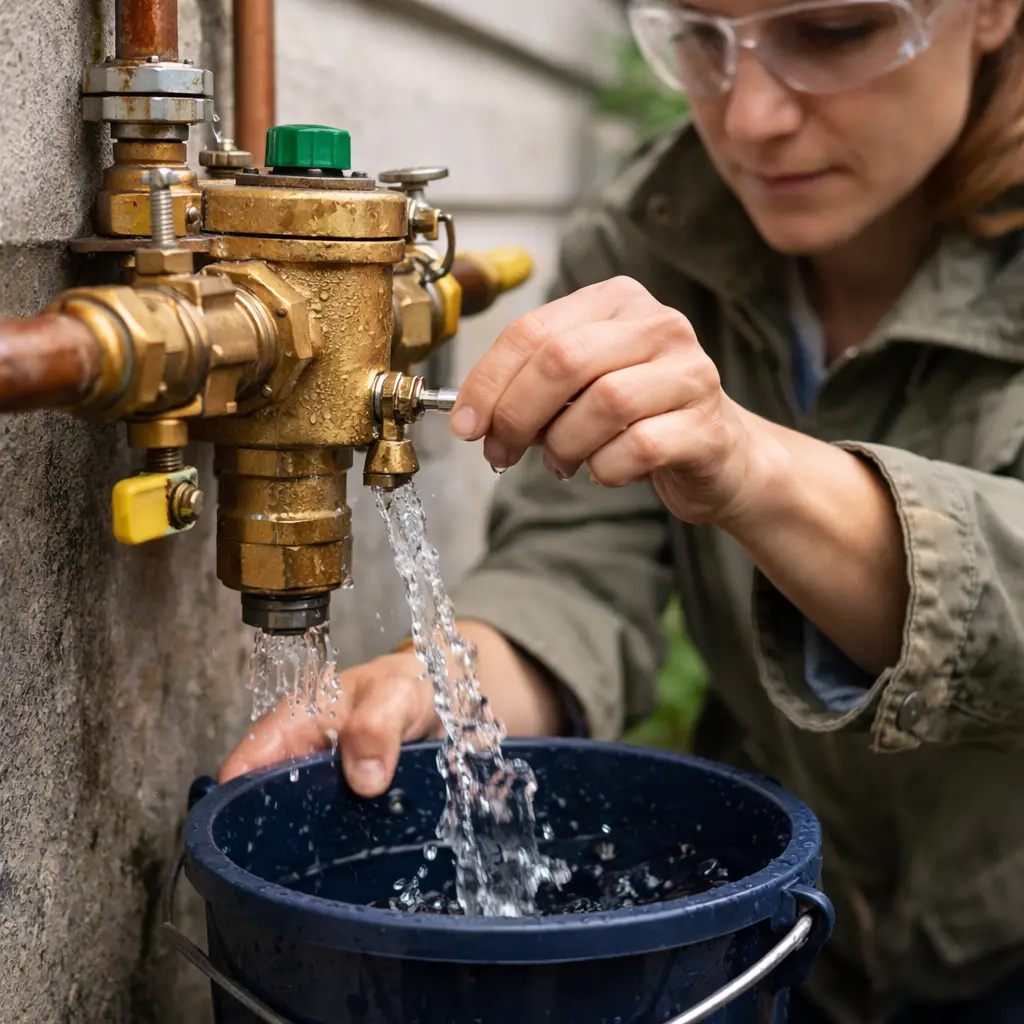
Confirm the valve is actually the problem before swapping parts. Misdiagnosis leads to wasted time and money. Check for these clear signs across common applications.
Listen for Backflow Sounds
Hear water rushing back into a sump pit or gurgling in RV pipes after the pump stops? That is backflow, and your valve is not sealing. In pools or spas, a drop in water level when the pump turns off means water is draining backward through the system. A loud bang in the walls, known as water hammer, often points to a flapper slamming shut due to sudden reverse flow or sharp pipe bends.
Watch for Pump Cycling Issues
Short-cycling is a major red flag. If your sump pump turns on and off repeatedly during light rain or with no new water entering the pit, backflow is likely refilling the area. This strains the motor and shortens its life. In RVs or homes, difficulty priming the water pump or inconsistent pressure at faucets also suggests a failed check valve.
Inspect for Physical Damage
Remove the valve if accessible. Look for these failure points:
- Cracks in the housing
- A flapper that will not close fully
- Worn, flattened, or cracked O-rings
- Debris like sand or grit blocking the seal
In spa systems, degraded gaskets or a misaligned cover arrow are common failure points. If the flow arrow on the valve body is missing or installed backward, the valve will not function at all.
Safety and System Shutdown Steps
Always de-energize and drain the system before starting. Skipping safety steps risks electrical shock, flooding, or pressure bursts.
Cut Power and Water Supply
Unplug the sump pump or turn off the circuit breaker. For RVs or homes, shut off the water supply to the pump. Never assume the system is safe just because it is off. Verify power is disconnected with a voltage tester if working near electrical components.
Drain Residual Fluid
Let water drain from the discharge line. In sump pits, wait for the water level to drop below the valve, or use a wet/dry vac to clear it. When removing the valve, place a bucket underneath to catch remaining water. For RVs, open low-point drains to empty the plumbing system completely.
Document Current Setup
Take photos of the valve position, flow direction, and connection points. Note how hoses, clamps, or fittings are arranged. This prevents mistakes during reassembly, especially if you are working in a tight space or returning later.
Measure and Select the Right Replacement Valve
Choosing the wrong valve causes leaks, poor performance, or premature failure. Match size, material, and type to your system.
Match Pipe and Valve Size
Measure the outer diameter of the pipe. Most sump pumps use 1.25″, 1.5″, or 2″ PVC. If replacing a 1.5″ valve, consider upgrading to a 2″ check valve with reducers. This reduces flow resistance and clogging risk. Never reduce pipe size at the valve.
Choose the Correct Valve Type
Different systems need different valve designs:
- Swing check valves work with horizontal flow, using gravity to close the flapper
- Spring-assisted quiet check valves suit vertical or noisy systems, with a spring that prevents slamming
- Ball or piston check valves are common in high-pressure or RV systems
- Clear-body valves allow visual confirmation of flap movement
For sump pumps, a spring-loaded 2″ valve in vertical orientation works best. In RVs, brass or stainless steel valves outlast plastic.
Verify Material Compatibility
Material choice affects corrosion risk and seal life:
- PVC valves suit sump and drain lines
- Brass works with copper or PEX but should avoid direct contact with galvanized steel
- Stainless steel should not connect directly to copper; use a dielectric union or plastic adapter to prevent galvanic corrosion
- O-rings and seals need EPDM or rubber with silicone grease; never use petroleum-based lubricants
Gather Tools and Prep Materials
Having the right tools on hand prevents mid-job delays. Most replacements take less than 30 minutes with proper preparation.
Essential Tools by Connection Type
Stock your workspace with these tools:
- Hacksaw or miter saw for cutting PVC or metal pipe cleanly
- Pipe wrench or adjustable wrench for threaded or flanged fittings
- Nut driver (5/16″) or screwdriver for removing hose clamps
- Sandpaper (180 to 220 grit) for deburring cut pipe ends
- Torque wrench for flanged connections with bolted gaskets
- Hand screwdriver for plastic housings to prevent cracking
Avoid power tools when tightening plastic components. Hand tools give better control.
Required Supplies
Keep these supplies ready:
- Replacement check valve
- PVC primer and cement for glued joints
- Silicone grease for O-rings and gaskets
- PTFE tape or thread sealant
- Hose clamps or zip ties
- Rubber seals, reducers, or couplers as needed
- 45-degree PVC elbows to replace 90s and reduce noise
Keep a dry cloth and bucket nearby for spills.
Replace a Sump Pump Check Valve
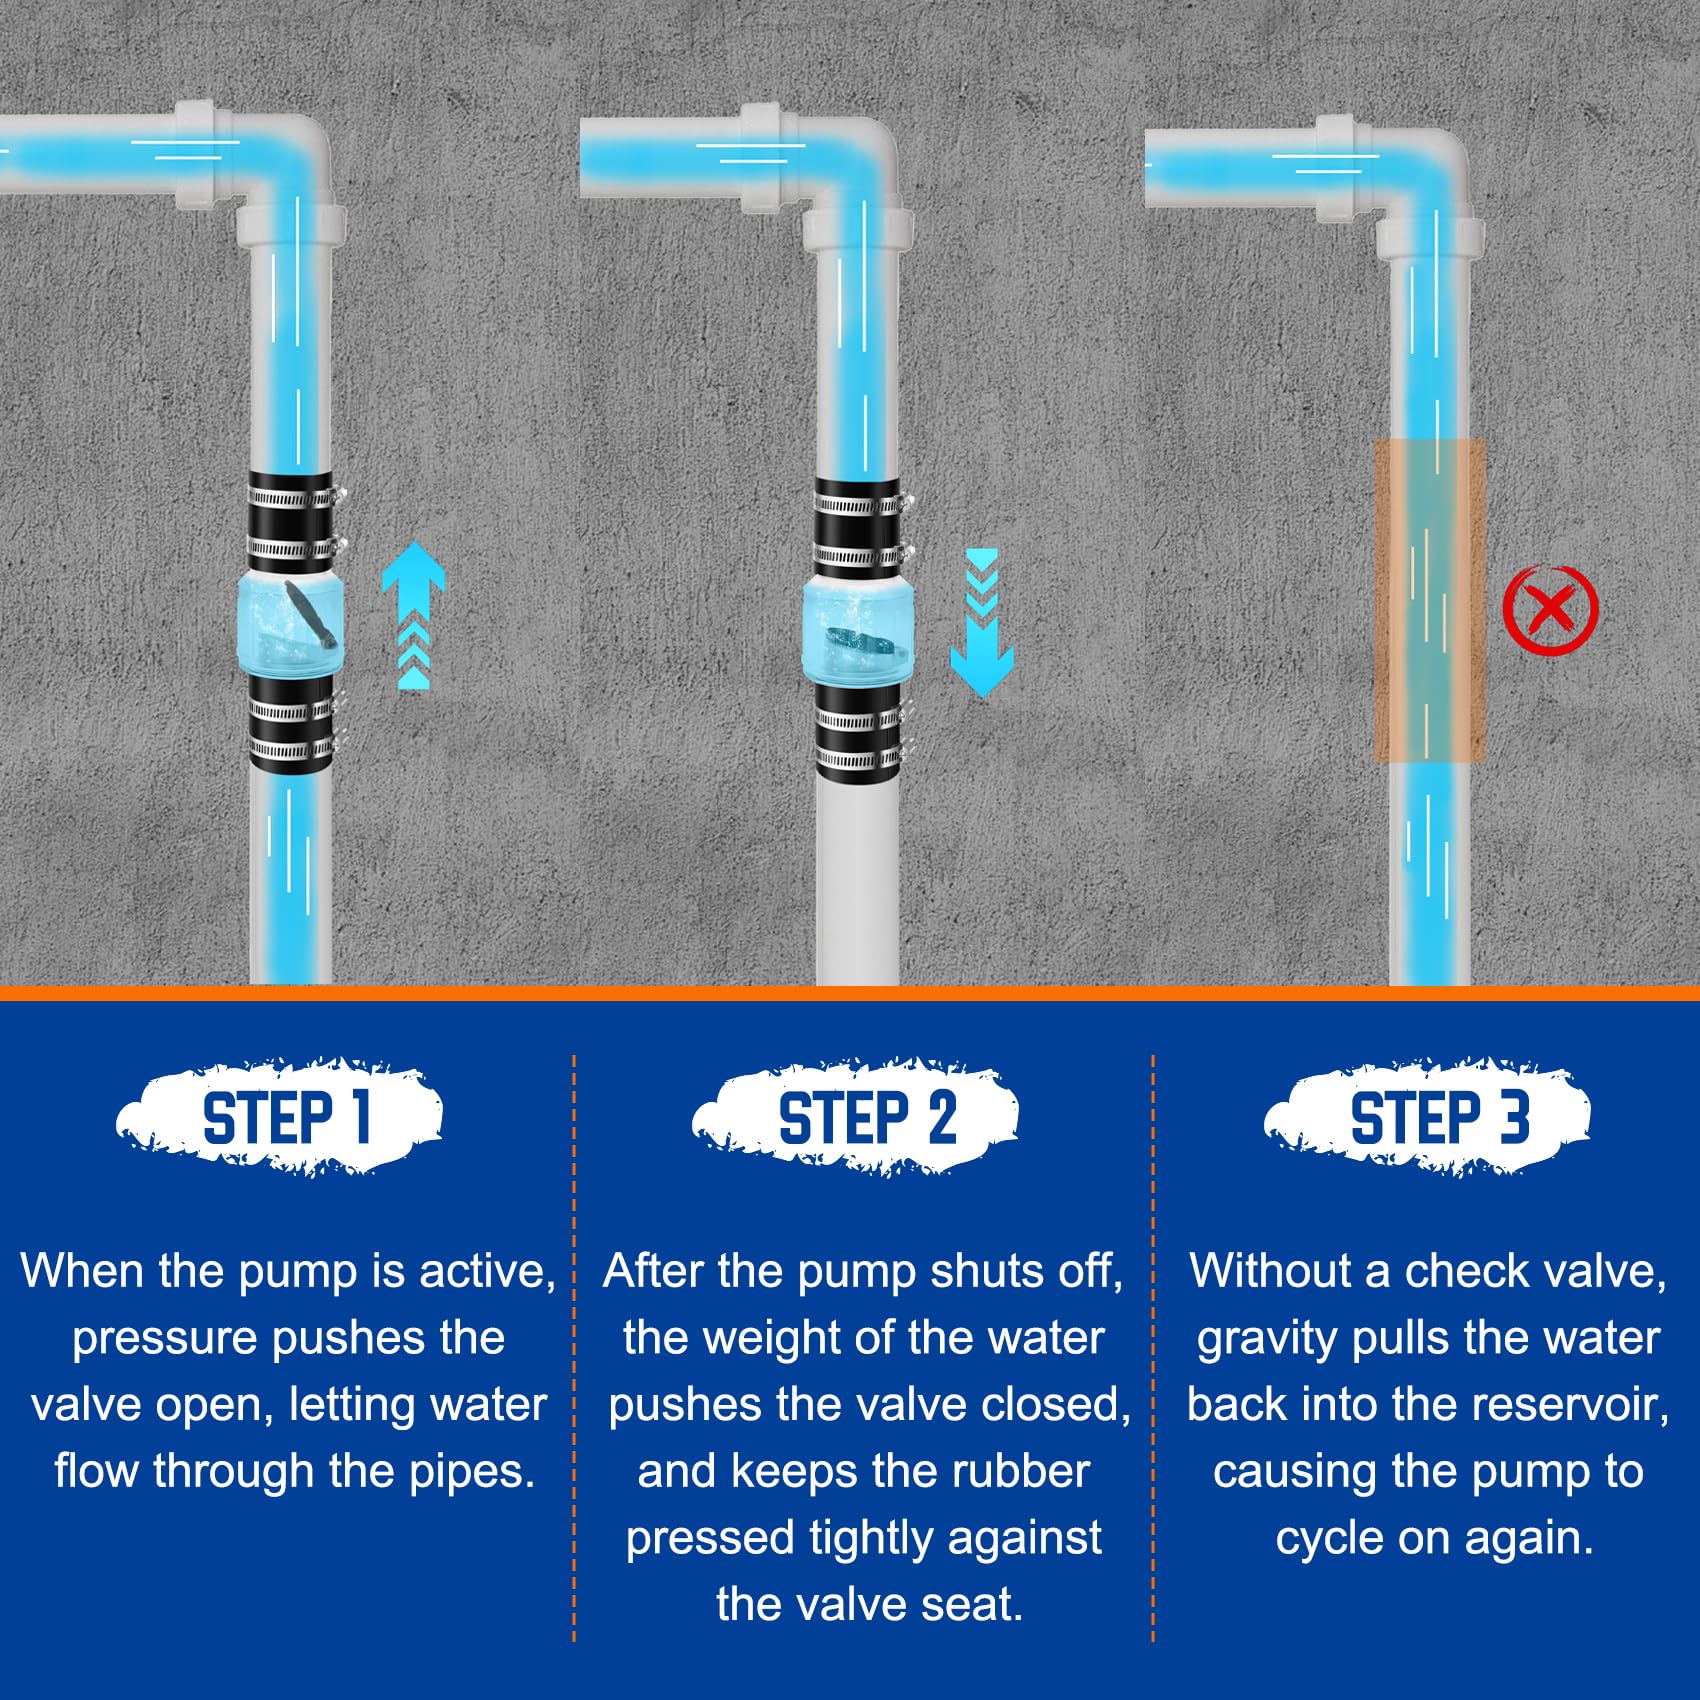
This is the most common application. Install the valve vertically, 18 to 24 inches above the pump to prevent short-cycling and allow easy pump removal.
Remove the Old Valve
Loosen hose clamps at both ends with a nut driver or screwdriver. If the valve is glued, heat the joint with a hairdryer for 30 seconds, then twist with pliers to break the bond. Cut out the old section with a hacksaw if necessary. Drain residual water into a bucket by lifting the flapper open.
Prepare and Cut New Pipe
Cut the discharge pipe square using a miter saw or pipe cutter. Remove burrs with sandpaper. Replace any 90-degree elbows with 45s to improve flow and reduce water hammer. Ensure the straight run above the valve is at least 10 pipe diameters long, such as 15 inches for 1.5″ pipe.
Dry Fit the Assembly
Assemble the new valve, couplers, and reducers without cement. Slide fittings onto the pipe and verify the length fits. Confirm the flow arrow points upward toward the discharge line. Adjust if needed before gluing.
Glue and Install the New Valve
Follow these steps for a secure bond:
- Apply PVC primer to pipe ends and fitting sockets.
- Apply solvent cement evenly.
- Insert pipe into fittings with a quarter-turn motion.
- Hold for 30 seconds to prevent push-out.
- Install the check valve last, ensuring the arrow faces up.
- Tighten hose clamps securely but do not crush rubber seals.
Allow 2 hours for full cure before testing.
Replace a Pool or Spa Check Valve
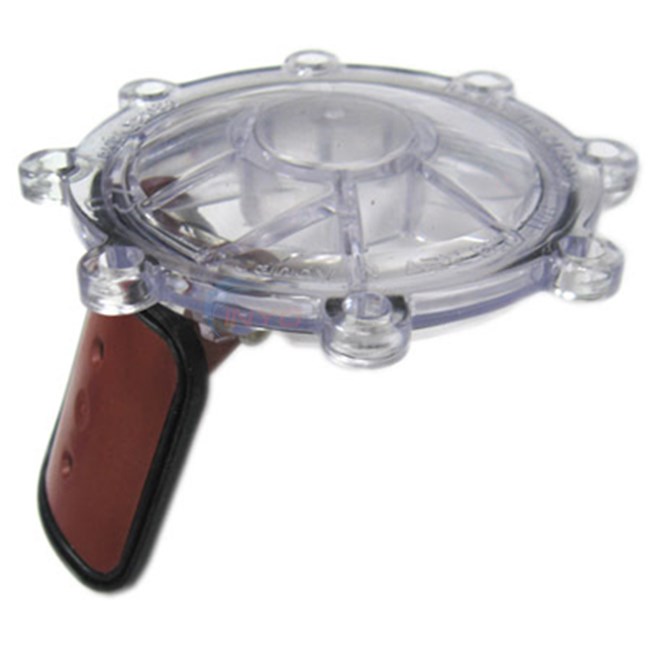
These valves prevent water from draining back into equipment when the pump stops. A failed seal causes water loss and air locks.
Disassemble the Valve Housing
Take photos first. Remove all screws (usually 8) using a hand screwdriver. Gently pry the clear cover off with a putty knife. Remove the perimeter O-ring and inspect the internal gasket for warping or cracks.
Clean and Lubricate Seals
Wipe all sealing surfaces with a clean cloth. Apply silicone-based grease to the new O-ring, gasket, and housing groove. Never use petroleum grease because it degrades rubber.
Reassemble with Proper Alignment
Reassemble the valve carefully:
- Seat the new O-ring on the cover.
- Align the flow arrow on the cover with the water direction.
- Place the cover back, ensuring the O-ring is not pinched.
- Insert screws by hand first, then tighten evenly in a crisscross pattern.
- Do not use power tools, as overtightening cracks plastic.
Let the seal settle for 24 hours before turning on the pump.
Upgrade RV Plumbing Check Valves
RV water pumps often come with low-quality plastic valves that fail from sediment or freezing.
Locate and Isolate the Valve
Find the valve near the water pump or in the main line. Turn off the water supply and drain the system. Disconnect inlet and outlet lines using a wrench or screwdriver.
Install a Durable Replacement
Replace plastic valves with brass or stainless steel models. Use PTFE tape on threaded connections. For push-fit systems, ensure the pipe is cut straight and fully seated.
Add Redundancy and Filtration
Install a second check valve upstream for backup. Add an inline filter before the pump to catch debris. Consider a pressure-regulating check valve to maintain consistent flow.
Install a Quiet Check Valve for Noise Reduction
If pipes bang when the pump stops, you are dealing with water hammer.
Replace 90-Degree Elbows
Sharp bends disrupt flow and prevent flapper closure. Swap 90s for 45-degree elbows to improve water dynamics and reduce noise.
Use a Spring-Assisted Valve
Standard swing valves slam shut. A spring-loaded quiet check valve closes before reverse flow builds momentum. The spring ensures a soft, silent closure.
Verify Silent Operation
After installation, run the pump and turn it off. Listen for any drip or bang. A clear-body valve lets you watch the flap close smoothly. If noise persists, check for air pockets or undersized piping.
Follow Best Practices for Long-Lasting Performance
A proper installation prevents repeat failures and extends system life.
Ensure Correct Flow Direction
The arrow on the valve must point with the flow and never backward. In sump systems, this means upward. In horizontal lines, align with the pump discharge direction. Reversed installation blocks flow and damages the pump.
Maintain Straight Pipe Runs
Install the valve on a straight section with proper clearance:
- 5 pipe diameters of straight pipe before the valve
- 10 to 15 diameters after
This stabilizes flow and ensures reliable flap operation.
Test and Monitor Performance
Run through these checks after installation:
- Reconnect power and run the pump.
- Watch for leaks at joints.
- Turn off the pump and listen for backflow or dripping.
- In sump systems, pour water into the pit to trigger a cycle.
- Confirm the pump does not restart immediately.
If water backs up, double-check valve orientation and seal integrity.
Prevent Future Check Valve Failures
A check valve should last 5 to 10 years with proper care.
Inspect Annually
Check valves during routine maintenance, such as before storm season for sump pumps or at pool opening. Clean out debris and replace O-rings every time you open the housing.
Winterize RV Systems
Drain and blow out water lines to prevent freeze damage. A cracked valve from ice expansion will not seal.
Replace with the Pump
When installing a new sump pump, replace the check valve too. This ensures both components are reliable and matched.
Install an Isolation Valve
Add a ball valve above the check valve. This lets you isolate the pump for service without draining the entire discharge line.
Frequently Asked Questions About Check Valve Replacement
How Do I Know If My Check Valve Is Bad?
Common signs include water flowing backward after the pump shuts off, dripping faucets when the pump is off, pump short-cycling, and loud banging in pipes. Physical inspection often reveals cracks, worn O-rings, or debris blocking the flapper seal.
Can I Replace a Check Valve Without Cutting Pipe?
It depends on the connection type. Valves with threaded or compression fittings can be unscrewed without cutting. Glued PVC valves typically require cutting the pipe, especially if the old valve is fused in place.
Which Direction Does a Check Valve Go In?
The flow arrow on the valve body must point in the direction of water flow. In sump pump systems, the arrow points upward toward the discharge line. Installing it backward blocks flow and can damage the pump.
How Long Does a Check Valve Last?
A properly installed check valve typically lasts 5 to 10 years. Quiet check valves in sump systems have demonstrated functionality beyond 10 years. Lifespan depends on water quality, usage frequency, and material durability.
Do I Need a Plumber to Replace a Check Valve?
Most homeowners can replace a check valve with basic tools and careful attention to flow direction. However, if the system involves complex plumbing, electrical components, or you are unsure about the diagnosis, hiring a licensed plumber ensures safe and correct installation.
What Causes a Check Valve to Fail Prematurely?
Common causes include debris accumulation, mineral buildup, freeze damage, incorrect installation orientation, and material incompatibility. Using petroleum-based lubricants on rubber seals also causes rapid degradation.
Key Takeaways for a Successful Check Valve Replacement

Replacing a check valve protects your home from flooding, extends pump life, and restores quiet operation. Start by confirming the diagnosis through backflow sounds, cycling issues, or physical inspection. Always shut off power and drain the system before beginning work.
Match the replacement valve to your pipe size, system type, and material requirements. Install the valve with the flow arrow pointing in the correct direction, and maintain straight pipe runs of at least 5 diameters upstream and 10 to 15 diameters downstream. Use silicone grease on rubber seals and avoid power tools on plastic housings.
After installation, test the system thoroughly by running the pump, checking for leaks, and listening for backflow. Schedule annual inspections and replace the valve whenever you install a new sump pump. With proper selection and installation, your new check valve will deliver reliable performance for years to come.