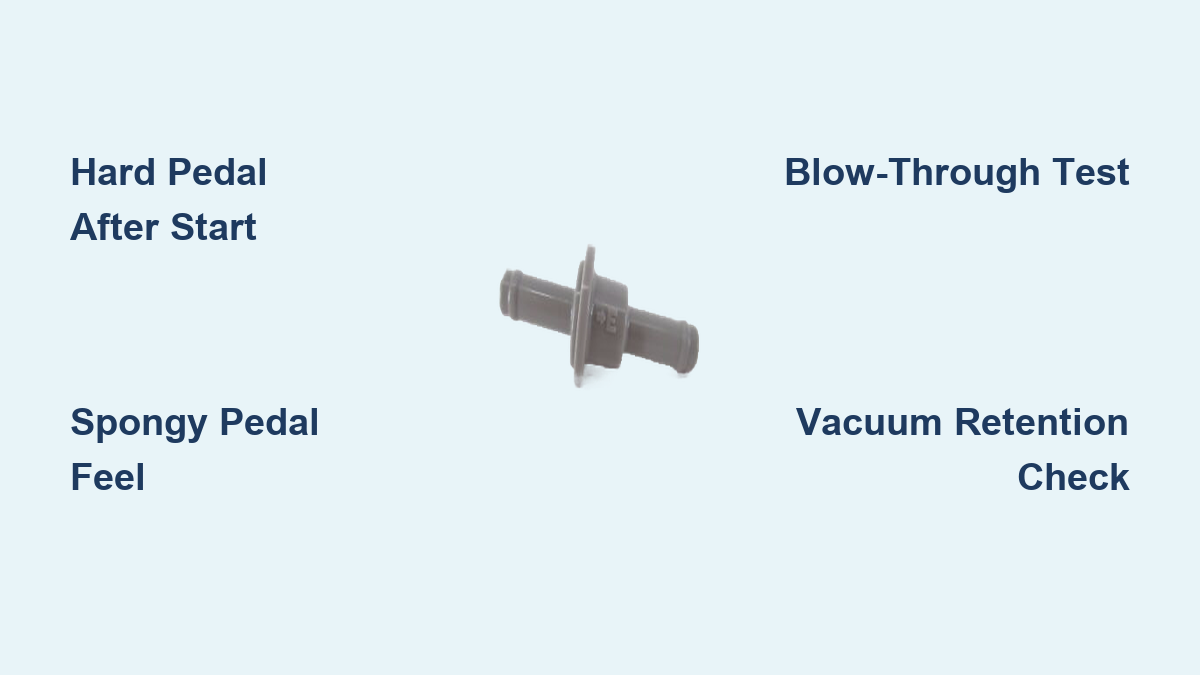
If your brake pedal suddenly feels like a workout, a faulty brake booster check valve could be the reason. This small part keeps vacuum assist alive in your braking system, so when it fails, every stop demands more leg strength. Worse, the problem often appears without warning and compromises safety. The good news is that learning how to check a brake booster check valve takes only a few minutes, requires no special tools, and helps you avoid replacing parts you don’t need. In this guide, you’ll discover proven testing methods, clear failure signs, and step-by-step replacement tips to restore confident braking.
Spot the Warning Signs of a Failing Check Valve

Hard Pedal Right After Engine Start
A sudden jump in pedal effort is one of the clearest red flags. Without a working check valve, vacuum assist never reaches the brake booster. You end up relying entirely on muscle to push fluid through the lines. If the pedal feels rock-hard after just one or two presses with the engine off, vacuum retention has failed.
Spongy or Mushy Pedal Response
When the valve leaks, outside air sneaks into the booster and migrates into the hydraulic system. Air compresses far more easily than brake fluid, which makes the pedal travel farther before engaging. Even tiny amounts of trapped air stretch stopping distances. If bleeding your brakes doesn’t restore firmness, look back toward the vacuum side, especially the check valve.
Braking That Feels Random
Do your brakes feel strong one moment and weak the next? A worn check valve may hold vacuum intermittently. You might get full assist while driving, then lose it after the engine sits off for several minutes. This on-again, off-again behavior usually worsens as the valve continues to degrade.
A Faint Hum at Idle
Some drivers hear a soft humming noise while holding the brake at a stoplight. The sound pulses with pedal pressure and stops the moment you release. While not always dangerous, this noise points to unstable vacuum flow, often tied to a failing or misinstalled check valve.
Confirm Vacuum Retention with the Pedal Sink Test
Before pulling anything apart, check whether the brake booster holds vacuum at all. This quick in-vehicle test reveals whether the entire system, including the check valve, is doing its job.
Run the Pedal Sink Test
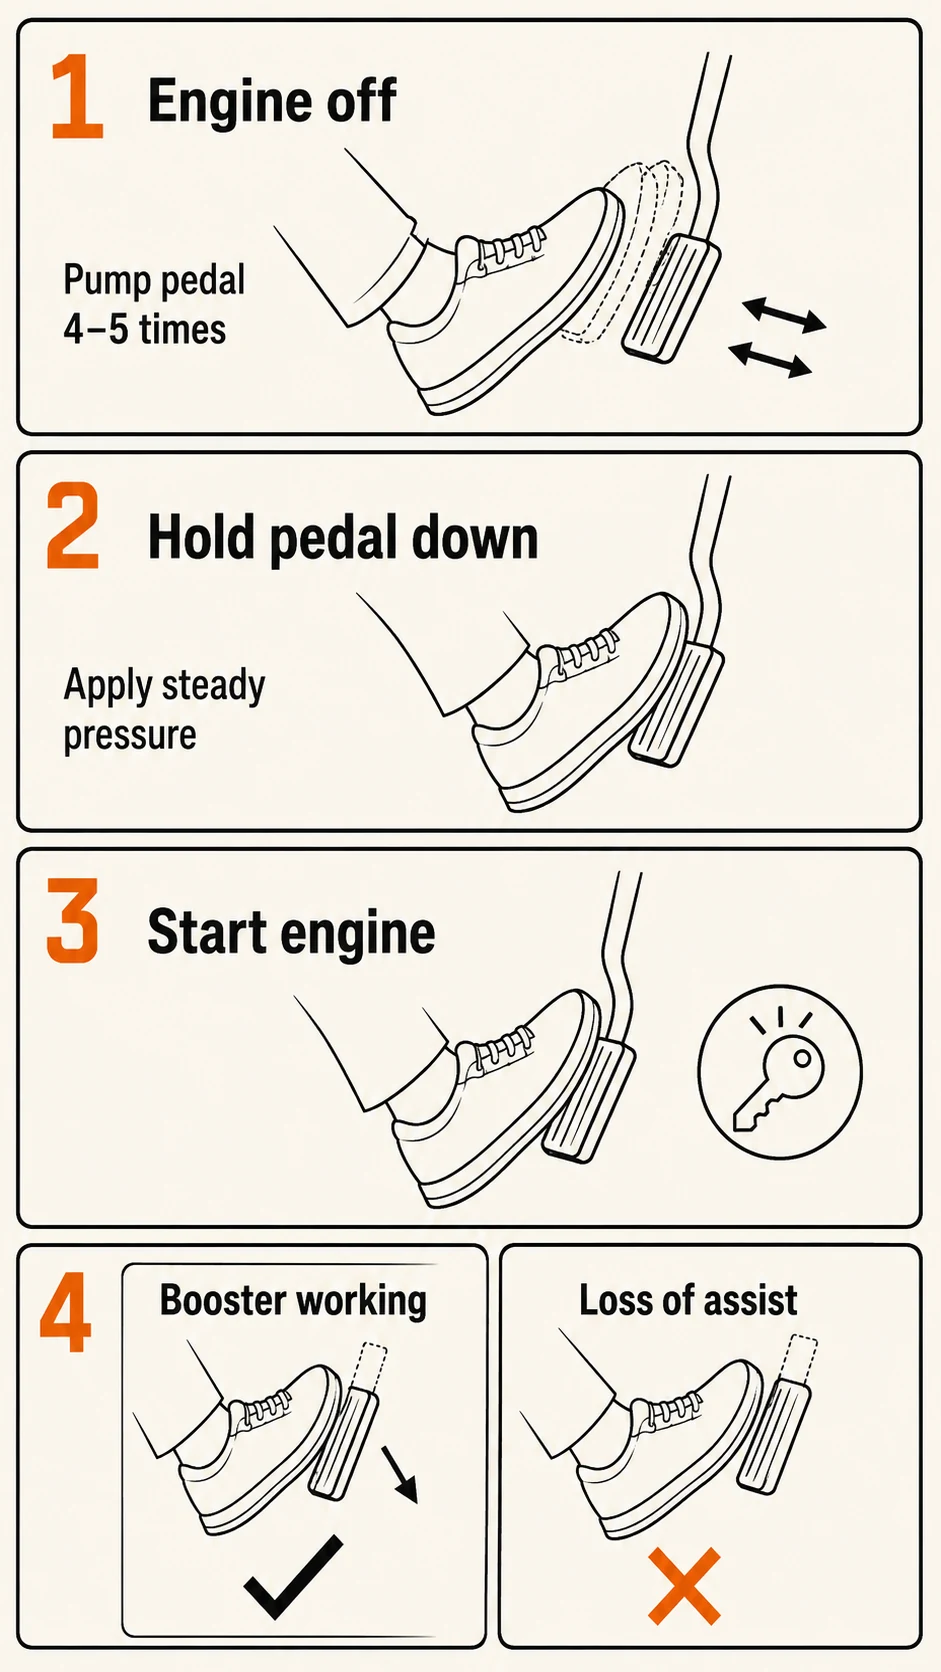
- With the engine off, press the brake pedal six times to bleed out stored vacuum.
- Hold steady pressure on the pedal.
- Start the engine while keeping your foot down.
- Watch what happens:
– Pass: The pedal sinks slightly as vacuum returns.
– Fail: No movement at all means no vacuum assist is reaching the booster.
If the pedal sinks, vacuum is being restored and the booster is working. If nothing happens, move on to isolating the check valve itself.
Isolate the Check Valve with the Blow-Through Test
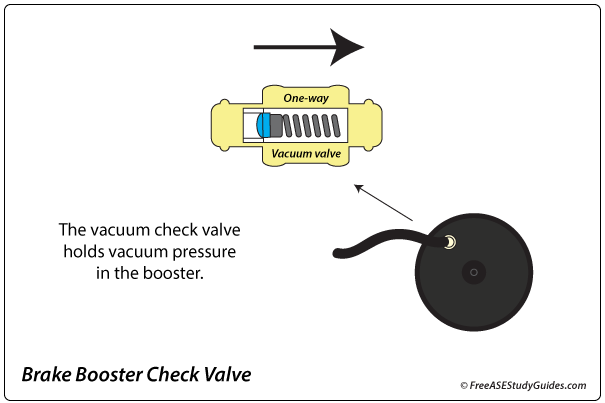
Remove and Inspect the Valve
- Find the check valve where the vacuum hose meets the brake booster.
- Pull the hose loose and unscrew the valve from the booster.
- Pop out the rubber grommet and look it over:
– Cracks, brittleness, or hardening mean it needs replacement.
– A healthy grommet stays pliable and seals tightly.
Now you can test the valve directly.
Perform the Blow-Through Test
This is the definitive way to confirm one-way operation.
Blow from the Engine Side
- Blow into the port that was connected to the vacuum hose.
- Air should pass freely out the booster-side port.
- Normal: Unrestricted airflow in this direction.
Blow from the Booster Side
- Now blow into the port that was attached to the booster.
- Failure: Air passes through.
- Success: No airflow at all, the valve blocks reverse flow.
A working check valve only allows one-way flow from the booster toward the engine. If air moves both directions, the internal mechanism has failed. Replace the valve right away.
Test Vacuum Flow Without Removing the Valve
Try the In-Place Suction Test
You don’t always need to pull the valve out. This method verifies real-time vacuum draw.
- Disconnect the check valve from the booster but leave it attached to the vacuum hose.
- Start the engine.
- Hold your finger or cheek near the open booster-side port.
- Look for suction:
– Good: A strong pull means the valve is drawing vacuum.
– Bad: No suction means the valve is blocked, installed backward, or the hose is kinked.
If you feel nothing, disconnect the hose from the engine end. If the engine stumbles when you pull the hose off, manifold vacuum is fine. Then blow through the hose to check for blockages.
Inspect Every Supporting Component
Examine the Rubber Grommet
The grommet creates the airtight seal between the valve and booster. Even a perfect valve leaks if the grommet is cracked or hardened. Replace it if it resists insertion, shows visible damage, or feels brittle. Never force a new valve into a worn-out grommet.
Check the Vacuum Hose
Trace the hose from the check valve back to the intake manifold. Look for cracks, soft spots, collapsed sections, or loose connections. Brittle rubber near heat sources is especially common. A single split can bleed off enough vacuum to kill power assist. Replace the hose if anything looks questionable.
Confirm Clamp Security
Tighten the worm-style clamp with a screwdriver. A loose clamp allows air leaks that mimic a bad valve. For long-term reliability, install a fresh clamp whenever you replace the valve.
Replace the Check Valve the Right Way
Pick the Correct Replacement
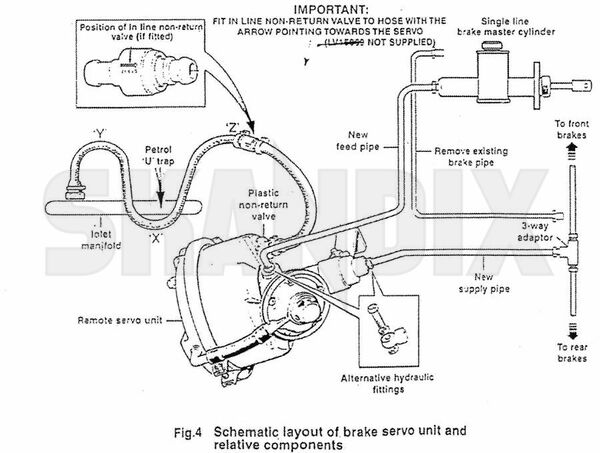
Check valves are not universal. Match the thread size, flow direction, and grommet style for your specific vehicle. Generic kits often fail to seal on certain applications, such as older Ford Econoline vans. When in doubt, consult your repair manual or use OEM specifications.
Install in the Correct Orientation
Flow direction matters. The valve must allow vacuum to be drawn from the booster toward the engine only. Most valves have arrows on the body that point toward the engine. Installing it backward blocks all vacuum and disables assist completely.
Seat Everything Properly
- Press the new grommet into the booster port until flush.
- Thread the new check valve in until snug, but don’t overtighten.
- Push the vacuum hose onto the valve and secure with a new worm clamp.
- Reconnect any linkages or hoses you moved.
Verify the Repair After Installation
Reset the Brake System
- Pull the check valve out briefly to release trapped pressure.
- Reinstall it.
- Pump the brake pedal six times with the engine off.
- Hold the pedal down and start the engine.
This resets vacuum levels and lets the system re-engage.
Validate Vacuum Retention
With the engine off, press the pedal several times in a row.
- First press: Should feel soft and assisted.
- Second and third presses: Should remain firm but still supported.
Pass: Vacuum assist lasts two or more pumps.
Fail: Assist disappears after one pump, meaning a leak is still present.
If failure persists, inspect the intake manifold’s vacuum nipple or suspect internal booster diaphragm damage.
Troubleshoot Persistent Problems
Pedal Still Hard After Replacement?
Even with a brand-new valve, stiffness can linger. Consider these possibilities:
Defective New Valve
Some aftermarket units fail out of the box. Swap it for a known-good or OEM part.
Grommet Not Seated Flush
Make sure the grommet is fully pressed into the booster with no gaps. Even a small gap leaks vacuum.
Intake Manifold Vacuum Leak
Inspect small rubber vacuum ports on the intake. A torn nipple on any line can sap overall vacuum. Temporarily seal suspect ports with duct tape to confirm.
Internal Booster Failure
If every vacuum component tests good but assist stays weak, the booster’s internal diaphragm may be ruptured. This requires full booster replacement, since there is no field repair.
Hum Still Present?
If the noise continues despite a working valve:
- Repeat the reset procedure.
- Inspect the booster diaphragm for wear.
- Check for vacuum fluctuations in the intake system.
Noise without performance loss may be harmless, but keep an eye on it.
No Suction Despite Good Engine Vacuum?
If engine vacuum is confirmed but none reaches the booster side:
- The valve is likely blocked or installed backward.
- Clean or replace the valve.
- Double-check flow direction against the arrow on the body.
Key Maintenance Habits
Inspect During Related Repairs
The check valve isn’t part of scheduled service, but inspect it whenever you’re already in the area:
- During brake jobs
- When replacing the master cylinder
- On older vehicles with high mileage
Catching failures early prevents safety risks.
Always Bleed Brakes After Air Entry
If the system was opened and the pedal feels spongy afterward:
- Bleed all four wheels
- Follow proper procedure to purge trapped air
- Never drive with a soft pedal
Air in the lines drastically reduces stopping power.
Use Correct Parts Only
Avoid universal kits unless confirmed compatible. Mismatched grommets or valves cause leaks and recurring headaches. When in doubt, choose OEM-specified components.
Frequently Asked Questions About Brake Booster Check Valves
What does a brake booster check valve do?
It controls one-way vacuum flow between the brake booster and the engine intake manifold. This keeps stored vacuum inside the booster so you get power assist even after the engine shuts off. Without it, every brake press would require full leg strength.
How long does a brake booster check valve last?
There is no fixed service interval. Most valves last the life of the vehicle, but heat cycles, age, and rubber degradation cause failures on older cars. Inspect the valve whenever you notice brake symptoms or perform nearby repairs.
Can I drive with a bad check valve?
You can technically drive, but stopping distances increase and pedal effort becomes exhausting. In worst cases, brakes can fail entirely. If you suspect a bad valve, address it quickly or have the vehicle towed.
How much does it cost to replace a brake booster check valve?
The part itself usually costs between $10 and $40 for most vehicles. Labor is minimal if you do it yourself, often under 30 minutes. A shop may charge an additional hour of labor depending on access.
Do I need to bleed the brakes after replacing the check valve?
Only if air entered the system. If the pedal feels firm after replacement, bleeding isn’t necessary. If it feels spongy, bleed all four wheels to remove trapped air.
What happens if I install the check valve backward?
The valve will block all vacuum flow, disabling power assist completely. The pedal will feel rock-hard. Remove the valve and reinstall it with the arrow pointing toward the engine.
Final Takeaways on Checking Your Brake Booster Check Valve
Learning how to check a brake booster check valve puts you in control of one of the most common brake assist failures. Start by recognizing symptoms like a hard or spongy pedal, then confirm with the pedal sink test before isolating the valve with the blow-through or suction method. Always inspect the grommet, hose, and clamps alongside the valve itself, since supporting parts cause many false diagnoses. When replacement is needed, match the correct part, install it in the proper orientation, and verify retention with two or more pedal pumps. Your next step is simple: set aside 20 minutes this weekend, gather basic tools, and run through the tests above. Safe, confident braking is well within reach.